1. Feature Overview
Using Geo-tracking, you can capture the geographical location (physical location) of your Field Sales Users through the LeadSquared mobile app. There are two ways in which Geotracking works –
- When sales users post custom activities from different physical locations. When this happens, the LeadSquared mobile app captures the locations from which the sales user’s posted these activities.
- When the Track Real Time Location Mobile Permissions setting is enabled on your account. This ensures that your user’s location is tracked when they Check In and Check Out from the LeadSquared mobile app.
This feature can be used to monitor authenticity when your Field Sales Users are –
- Collecting KYC documents from your lead’s location.
- Collecting the lead’s signature.
- Delivering parcels to your lead.
Note:
- Your user’s location is continuously tracked every few minutes through their Android device. But if they’re using an iOS device, they need to show signs of movement for their location to be tracked.
- To ensure your users complete tasks and post activities only within a defined radius, enable LeadSquared’s Geofencing feature.
![]()
2. Prerequisites
- You must be the Administrator of your LeadSquared account.
- Ensure location tracking is enabled on your user’s mobile device. To know more, refer to Location Tracking on LeadSquared Mobile.
- Users must be checked-in to LeadSquared for their locations to be tracked.
- In order to access this feature, you must be running the following versions of the mobile app –
- Android v5 or higher
- iOS v11 or higher
3. Enable Geo-tracking
- From the LeadSquared web app, navigate to Settings>Leads>Custom Activity & Scores.
- Alongside the Custom Activity type for which you want to enable tracking, click
 .
. - On the Update Custom Activity Type pop-up box, alongside Track Location, click
 .
.- To know how to create a custom activity, see How to Add Custom Activity types.
- Once you’re done, click Next. After you fill in the other details, click Save.

4. Track Real Time location
You can track the real time location of your sales users when they are checked-in to LeadSquared. You can also view the user’s location history through LeadSquared Reports.
To enable the Track real-time location setting –
- From your LeadSquared web app, navigate to Settings>Mobile App>Permissions.
- Click Edit.
- Scroll to the bottom of the page and alongside Track real-time location, click .
- Once you’re done, click Save.
Note: To know more about Mobile App settings, see Configure Mobile App Settings from the Web Platform.
5. View Location
The location of your field sales user will be displayed on the Activity History page in Web and Mobile Applications. The entire location history of the user will be displayed on the Reports page.
- From the Lead Details page.
![]()
- From the LeadSquared mobile app.
![]()
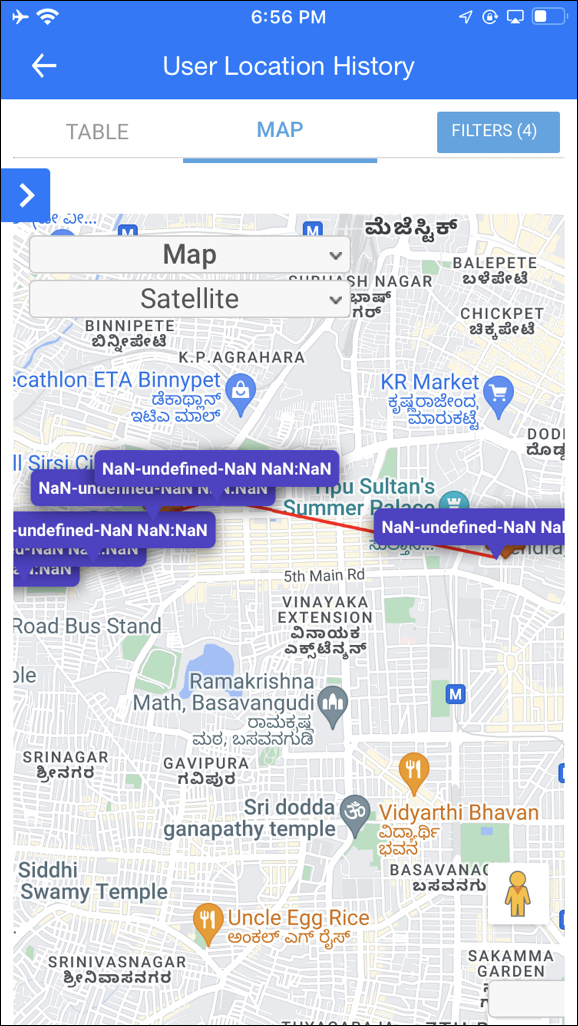
- User Location History view from the mobile app.
- View Location History Reports
- From the main menu, navigate to Reports>Reports Home.
- Click Field Sales Tracking, and click on any of the following reports –
- Field Sales Activity Tracker
- Last Known Location of Users
- User Location History Tracker
Any Questions?
Did you find this article helpful? Please let us know any feedback you may have in the comments section below. We’d love to hear from you and help you out!


