1. Feature Overview
Send one-to-one emails to your leads. You can send emails immediately or schedule them to be sent at a later time. You can also send emails to leads on behalf of their lead owners. Admins can
- Restrict permissions for these features from the Email Settings page.
- Configure email settings for other users. To know more, see Email Settings – Feature Guide.
2. Prerequisite
You must have permissions enabled to send emails to leads.
3. Send One-to-One Emails to Leads
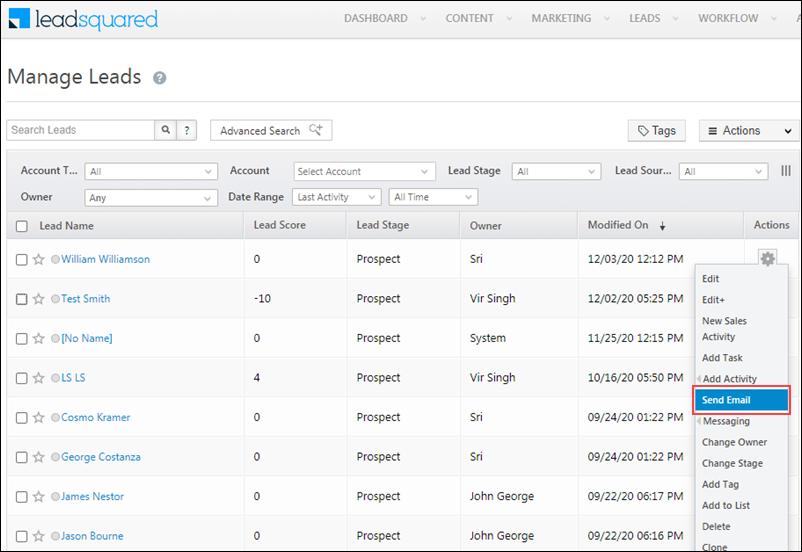
3.1 From Manage Leads Page
- Navigate to Leads>Manage Leads.
- Alongside the relevant lead, click
 and then click Send Email.
 - Once you’re done drafting the email –
- If you need to send the email immediately, click Send Now.
- If you wish to schedule the email delivery for a later time, on the top left side, click Send. Then, click Schedule for Later.
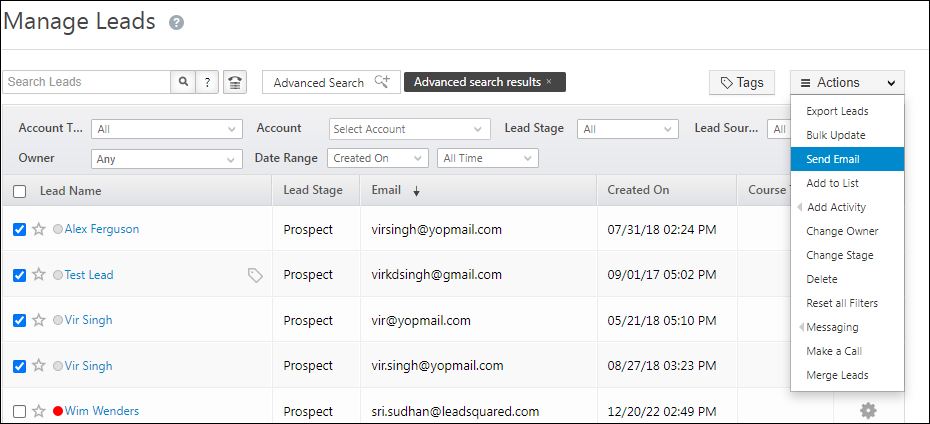
You can also select multiple leads and send them an email.
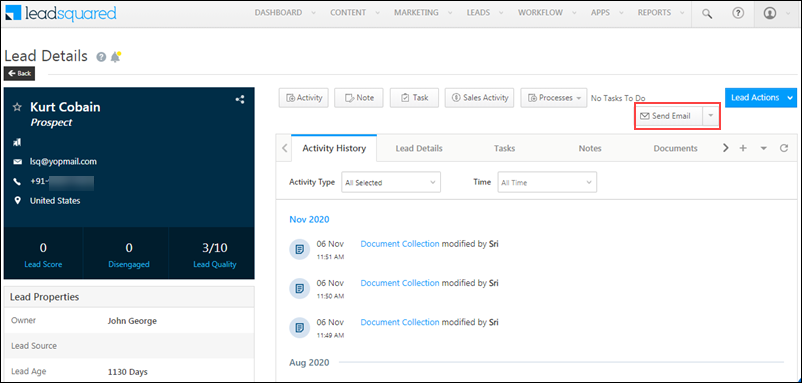
3.2 From Lead Details Page
- Navigate to Leads>Manage Leads.
- Click the name of the relevant lead to view the lead’s details.
- Click Send Email.
- Once you’re done drafting the email –
- If you need to send the email immediately, click Send Now.
- If you wish to schedule the email delivery for a later time, on the top left side, click Send. Then, click Schedule for Later.
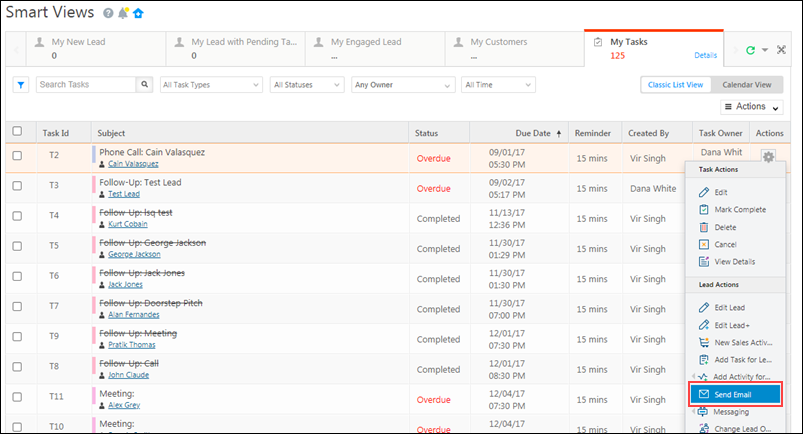
3.3 From Smart Views Page
- Navigate to Leads>Smart Views.
- Alongside the relevant lead, click and then click Send Email.
- Once you’re done drafting the email –
- If you need to send the email immediately, click Send Now.
- If you wish to schedule the email delivery for a later time, on the top left side, click Send. Then, click Schedule for Later.
3.4 Through Automation
- Navigate to Workflow>Automation and click Create Automation or open an existing automation.
- Click
 and under Messaging, click Send Email.
 - Choose an Email template or design your own email from scratch.
- Once you’re done, click Save.
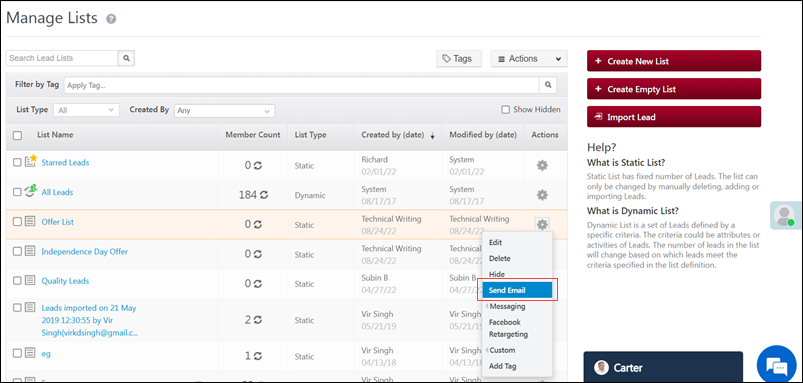
3.5 From Manage Lists
- Navigate to Leads>Manage Lists.
- Alongside the relevant list, click and then click Send Email.
- Once you’re done drafting the email –
- If you need to send the email immediately, click Send Now.
- If you wish to schedule the email delivery for a later time, on the top left side, click Send. Then, click Schedule for Later.
4. Send Files As Attachments
Previously, files attached to an email would get rendered as a link (not as an email attachment). Now, when sending one-to-one emails to your leads, use the ![]() button to attach files to the email (uploaded to the Images and Documents Library or through lead notes).
button to attach files to the email (uploaded to the Images and Documents Library or through lead notes).
Once the mail is delivered, you can view the attachment on the Lead Details page, under the Activity History tab.
5. CC/BCC other leads in your email
- On the email designer, next to the To address, click CC or BCC.
- Enter the email addresses of the relevant leads on the CC or BCC field.
- To view the conditions of this feature, click
 .
.
Any Questions?
Did you find this article helpful? Please let us know any feedback you may have in the comments section below. We’d love to hear from you and help you out!


Some of our clients have multiple emails like a Designated Point of Contact. When an email is sent, and that activity is added to the activity log, is there a way to display “who” (the To: field) it was sent to?
Hi, Zak. Currently, we do not display the recipient’s email address in the Activity History section.