Image and File Manager
1. Feature Overview
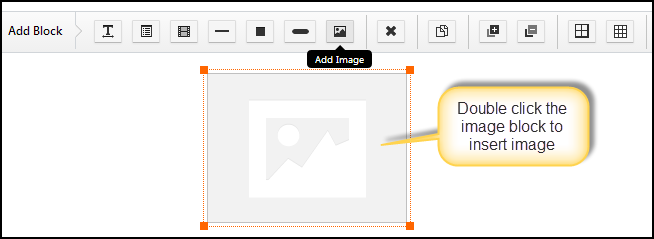
You can manage your images and documents in LeadSquared’s Content Library. This content will be available in landing page designer and email composer.
2. Procedure
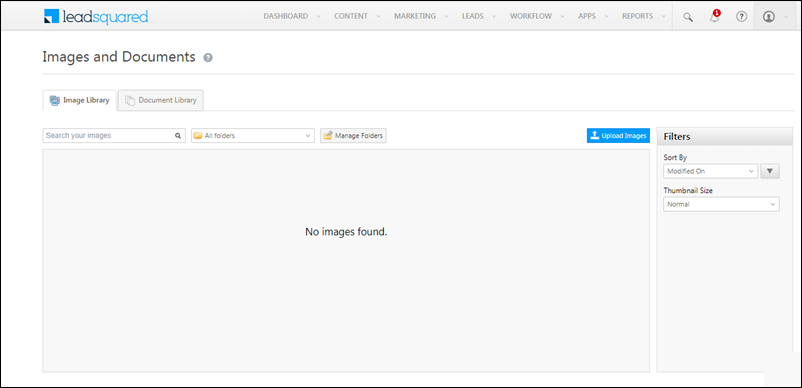
- To access the library navigate to Content>Images & Documents
- You can manage your images in the Image Library.
- You can manage your documents in Document Library.
- Use Manage Folders to organize images into a folder. You can also add new folders, rename an existing folder or delete a folder.
1. Upload Images
- Under Manage Folders, create a new folder or select an existing folder.
- Select the folder in which you want to upload the images, and click the Upload Images button
- You can also drag and drop the image files inside the dotted area.
Note: You can upload up to 10 files in one go. Each file size should be 1 MB or less.
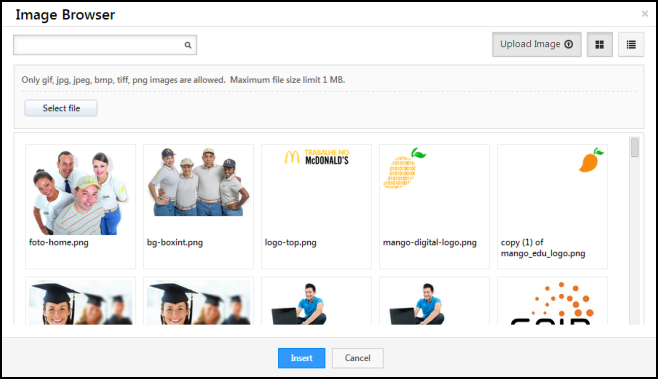
2. Browse Images
- You can select All Folders if you want to see all the images. Select Root Folder if you want to view the images in their default folder.
- Search for file based on image file name
- Use the Sort By and Thumbnail Size on the right to narrow down your search.
3. Image URL
Select the image and click the Copy URL button to get the URL on your clipboard.
4. Upload Documents
- Under Manage Folders, create a new folder or select an existing folder.
- Select the folder in which you want to upload the images, and click the Upload Images button
- You can also drag and drop the image files inside the dotted area.
5. Browsing Documents
- You can select All Folders if you want to see all the documents. Select Root Folder if you want to view the documents in their default folder.
- Search for files based on the document file name.
- Use the Sort By and Thumbnail Size on the right to narrow down your search.
6. Document URL
Select the image and click the Copy URL button to get the URL on your clipboard.
3. Configure Access to Image and Document Library
Admins can configure and restrict user access to the Image and Document Library files through Permission Templates for View, Upload, and Delete actions.
A user without View, Upload, or Delete permission will get the following message when trying to perform the action –

Troubleshooting
Why am I seeing an ‘Internal Server Error’ while uploading an image in Email Campaigns or the Library?
- This error usually occurs when the image file name contains special characters (e.g., colons, commas, ampersands, etc.). Special characters can break the upload process.
- How to fix it –
- Rename the image file to remove any special characters.
- Save the file and re-upload it.
Any Questions?
Did you find this article helpful? Please let us know any feedback you may have in the comments section below. We’d love to hear from you and help you out!