How to Use Advanced Search?
1. Feature Overview
Advanced Search feature of the LeadSquared application allows you to search for leads that satisfy one or more conditions. This feature is useful when you want to make a list of Leads that satisfy multiple criteria. For example, Leads coming from California, Leads from the education industry and Leads who submitted a form on a particular landing page could be advanced search conditions.
2. Use Cases for Advanced Search
You can use the advanced search feature during any one of the following scenarios –
- You want to see any last activity on a lead or a specific last activity on a lead. See Advanced Search: Last Activity on a Lead.
- You want to see leads on which there was some activity in the last few days.
- You want leads that are submitted on a particular landing page, using a particular keyword to arrive at the page, who are from a specific location and belong to a specific industry type.
- You want leads who received a particular email campaign, who clicked on a link in that email, whose job title is similar, and from a specific industry type, and time period as yesterday, since, maybe you ran a campaign yesterday.
- You want leads that visited a particular web page on your website (typically a pricing page), who are from a specific location, and from a specific industry, in the last 30 days.
3. How to Perform an Advanced Search
- Go to Leads>Manage Leads. The Manage Leads window will appear.
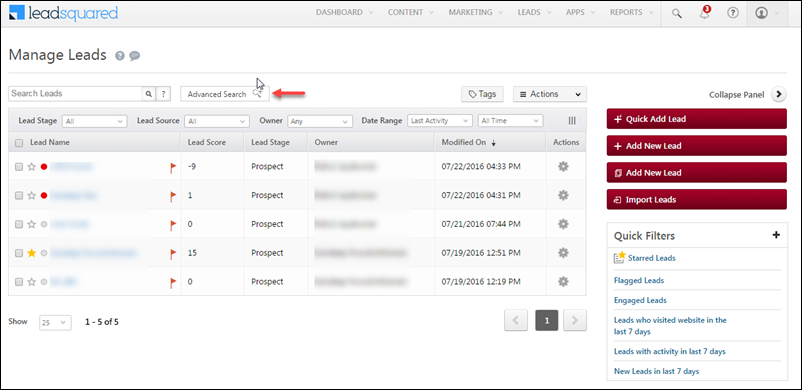
2. In the Manage Leads page, click Advanced Search. The Advanced Search pop-up box appears.
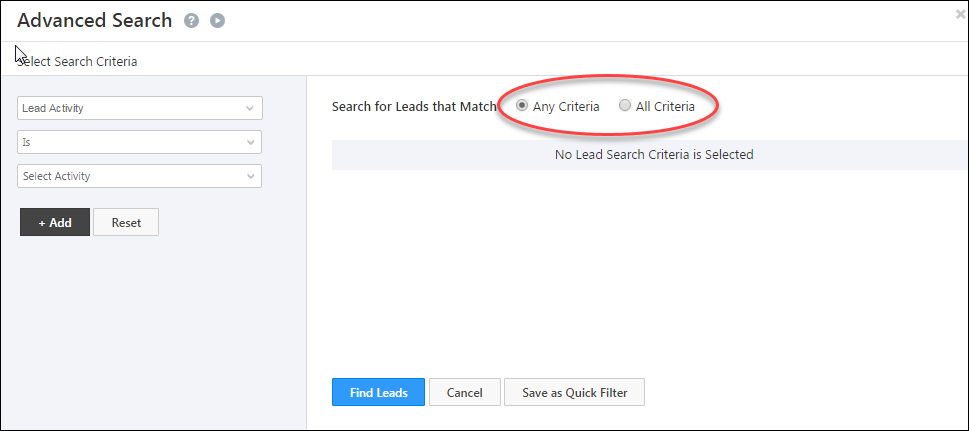
3. Click on Any Criteria to search for leads that match any selected search criteria.
4. Click on All Criteria to search for leads that match all the search criteria.

Advanced Search feature allows you to search leads based on two broad categories, namely, Activity and Lead Details.
1. Activity
This is any type of action that the lead has performed. Activity also has different sub-divisions or criteria, based on which you can search leads.
- Sales Activities – These are sales-related activities that were made by the customer. There are 15 sales activities which you can configure. Out of these, Product, Order Value, Sales Date and Sales Owner are mandatory fields, and are available in the search criteria. The remaining sales activities, if selected as Show In Form from the Sales Activity Fields section will be available as search criteria. For more information on Sales Activities, refer to Sales Activity Management.
- Email Activities – These activities are related to the lead’s response with respect to Email Campaigns and Autoresponders that you send. It includes Email Sent, Opened, Bounced, Link Clicked, Marked Spam, Unsubscribed, Inbound Lead through Email and View in Browser Link Clicked.
- Web Activities – These activities are related to the lead’s presence on a particular website. It includes Page Visits on the Website.
- Landing Page Activities – These activities are related to the lead’s response with respect to your landing pages. It includes Conversion Button clicked and Form Submitted on the website.
- Phone Activities – These activities are related to the lead’s response with respect to the phone conversations with the marketers. It includes Inbound and Outbound Phone Call Activity.
- Other Activities or Custom Activities – These are the activities which you can create based on your requirement. There are also some sample activities, based on which you can create your own activity.
Note:
- In Advanced Search for Opportunity Activities, filters can only be applied within a 90-day time frame.
- You can search using Custom Activity which you create from Custom Activities & Scores. The additional fields for the custom activity can also be used along with the custom activity as the search criteria in Advanced Search. For more information on Custom Activities and additional fields, refer to How to add Custom Lead Activity and associate a Score to it?
- If you get an error notification while performing an Advanced Search with wildcard operators (Contains, Does not contain, Starts with, and Ends with), you might have exceeded the rate limit. To know more, refer to Wildcard Search Limitations.
2. Lead Details
These are the lead fields that are present in LeadSquared, the fields that you have created. You can also search for leads based on Lead Details. Typical examples could be Lead Source, Lead Stage, Country and so on. You can select any relevant criteria.
3. Tasks
Tasks can be used as a filter to search for leads. You can find leads with –
- Open tasks of specific task type
- Overdue tasks
- Tasks that were completed yesterday
- Tasks that are due today for a particular owner
4. Selecting Activity as a Search Criteria
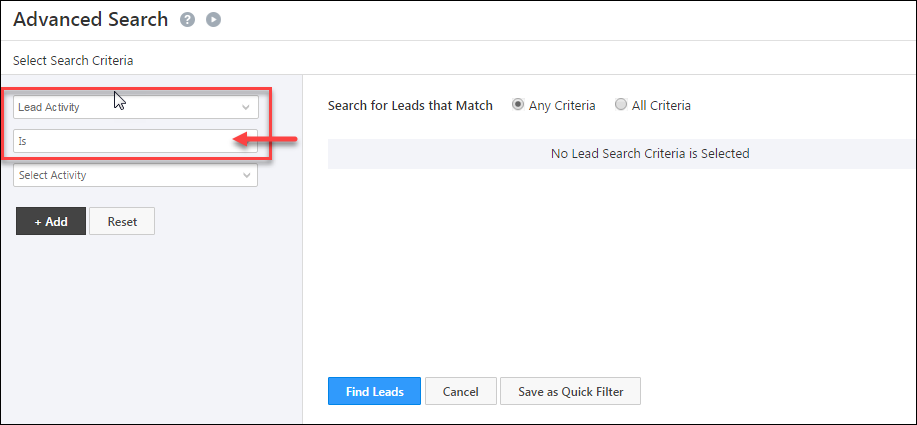
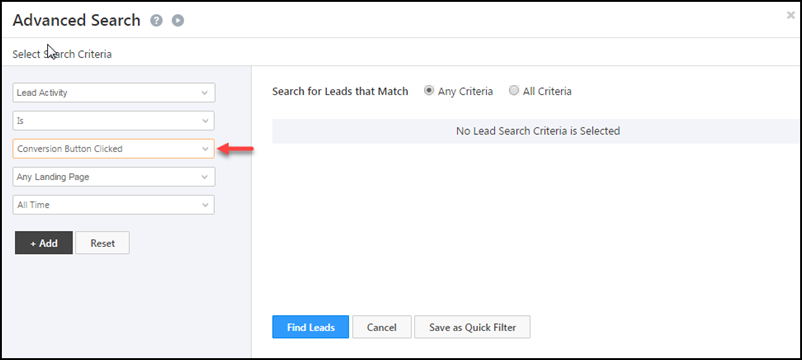
1. In the Select Search Criteria section under Advanced Search, select an activity from the drop-down. Set the condition as Is –
2. As mentioned above, you can select criteria based on the Lead Activity. It could be again sub-divided into activity related to Email Campaigns, Landing Pages, Websites or even Phone Calls (You must have enabled Super Receptionist connector). Select the required activity. For example, in the screenshot below, Conversion Button Clicked is selected.
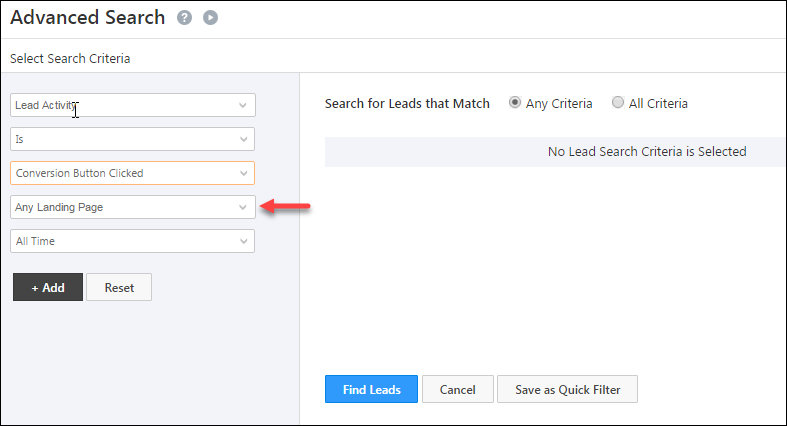
3. Next, select the Landing Page or Website on which the condition has to be satisfied. The Landing Page or Website can either be selected from the drop-down, or typed in. In the screenshot below, Any Landing Page is selected –
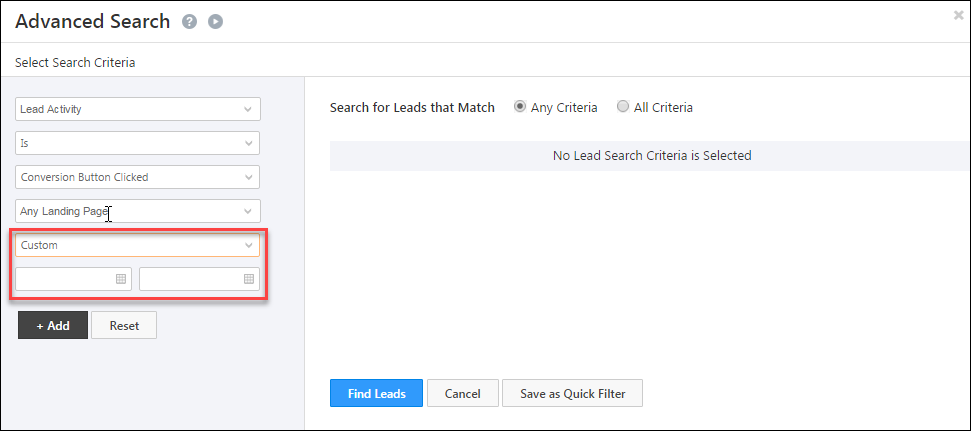
4. Next, select the time interval, during which the lead has performed the particular activity. The time interval can be all time, today, yesterday, this month, this year or even a custom time interval. In the screenshot below, Custom is selected and the Start and End Dates are specified.
5. Click on Find Leads button to see the leads that satisfy the specified criteria. You will be redirected to the Manage Leads page, with the leads that satisfied the criteria, being displayed.
5. Selecting Lead Details as a Search Criteria
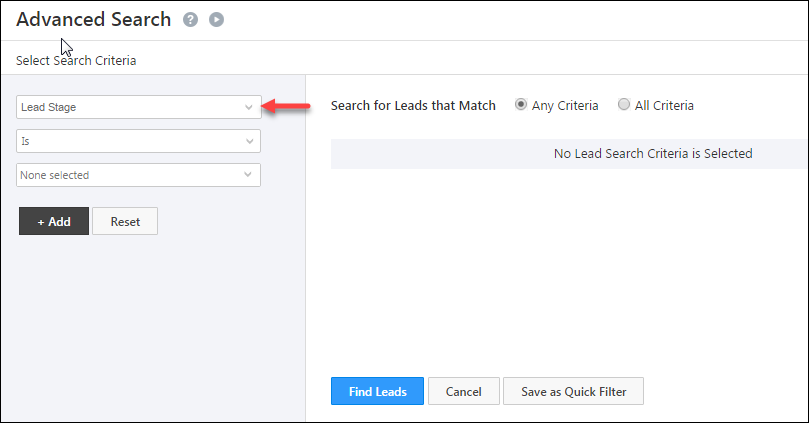
1. In the Select Search Criteria section under Advanced Search, select any relevant Lead Detail from the drop-down. In the image, Lead Stage is selected –
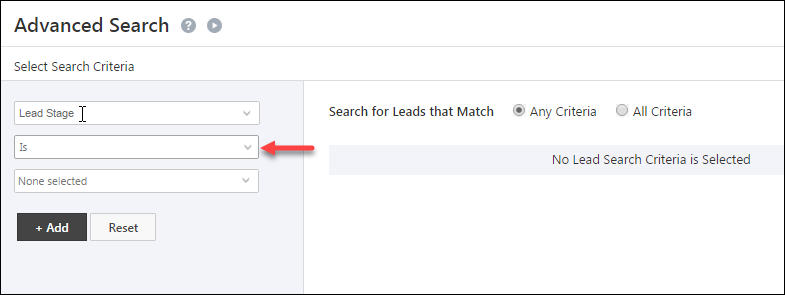
2. Select the required condition in the next dropdown. In the screenshot below,
Is is selected –
3. Next, select the available lead stage options from the drop-down list. Note that these lead stages are already present in LeadSquared. In the image below, Opportunity is selected –

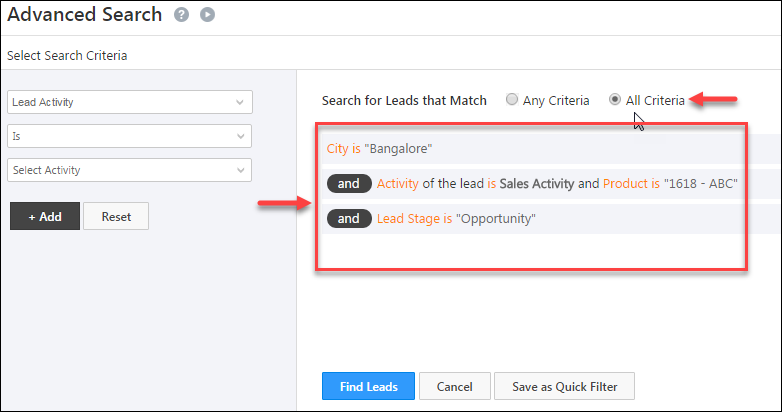
4. Once you have specified the conditions, click on the Add button. Similarly, you can specify any number of criteria to filter the leads. You can also choose, whether all the selected criteria is to be satisfied, or any of the criteria is to be satisfied –
5. Click Find Leads button to see the leads that satisfy the specified criteria. You are redirected to the Manage Leads page, with the leads that satisfied the criteria, being displayed.
6. Creating a List of Leads who Satisfy the Criteria
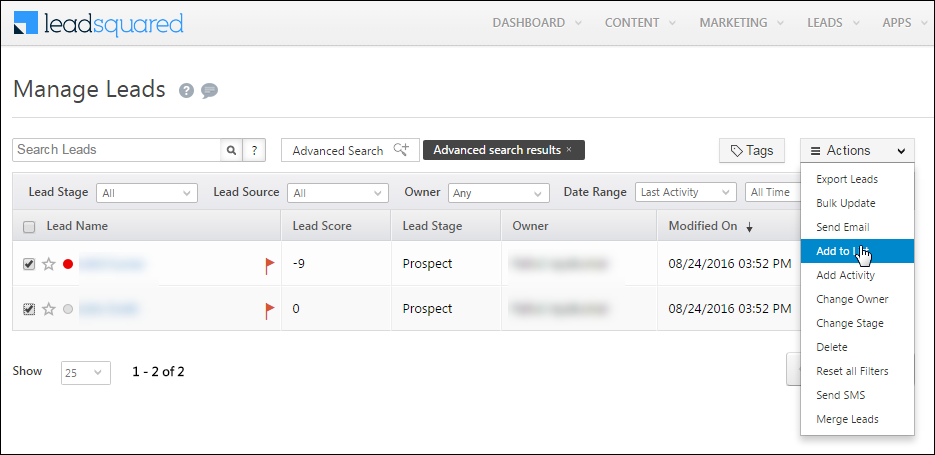
1. After you specify the conditions and retrieve the relevant leads, you can create a list of those leads. Select all the displayed leads and hover over the Actions button. Click on Add to List –
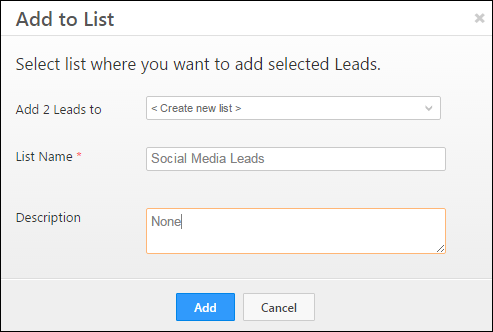
2. The Add to List box opens up. Here, you can add the leads to an existing list or create a new list. Click Add once you have chosen the list –
7. Selecting Tasks as Search Criteria
In this example, we’re searching for all leads with Overdue tasks –
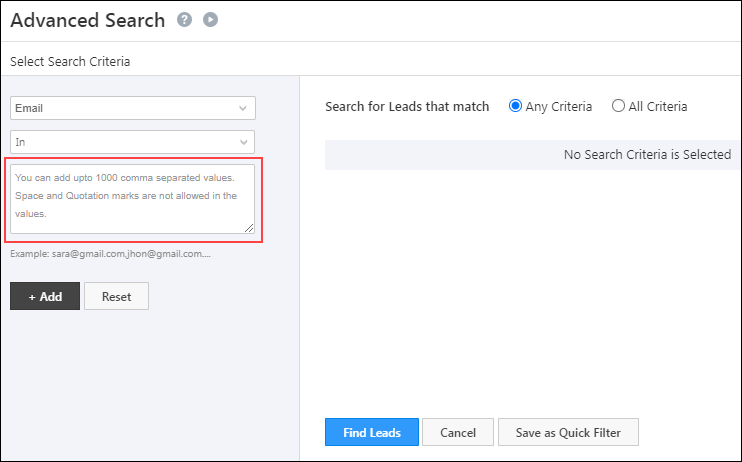
8. Search Up to 1,000 Values in a Single Advanced Search
You can search up to 1,000 comma-separated values (for Text, Email, Number, and Phone lead fields) using the In operator on Advanced Search (provided the total character count doesn’t exceed 20,000). This allows you to copy large data volumes from CSV files, and use it to filter leads using fewer search conditions.
Note:
- For this setting to work, you must enable the Include in Quick Search setting for these lead fields.
- This feature is available in Advanced Search across the platform, including Automation.
- This setting isn’t available by default. To enable it on your account, contact your account manager, or write to support@leadsquared.com.
9. Troubleshooting
1. Conditions not visible/No options appearing under the Advanced search conditions drop-down.
If no options appear when selecting your advanced conditions, it may be due to interfering browser extensions. Removing the extensions should resolve the issue. If you need more assistance, contact us at support@leadsquared.com.
Any Questions?
Did you find this article helpful? Please let us know any feedback you may have in the comments section below. We’d love to hear from you and help you out!