1. Feature Overview
The Bookings & Events module is the central hub for publishing, managing, and sharing all scheduling experiences created in Flostack. Whether you’re hosting personal consultations, running large-scale webinars, or offering multiple types of sessions to leads and customers, this module brings everything together in one place.
It consists of three core components:
- Booking Links – Personalized one-on-one scheduling pages that let individuals book time directly with an advisor, counselor, or team member.
- Events – group sessions such as webinars, orientations, demos, or training programs with configurable capacity, presenters, and landing pages.
- Listing Pages – A single, public-facing catalog displaying all your booking links and events, making it easy for users to browse and register.
All these components are powered by Meeting Types, which define the underlying rules—availability, duration, buffers, capacity, form fields, and more. Meeting Types ensure consistent scheduling behavior across every booking experience, while Bookings & Events determine how these experiences are shared with your audience.
2. Prerequisites
To learn more about FloStack (www.flostack.io), and enable it on your account, contact flostack@leadsquared.com.
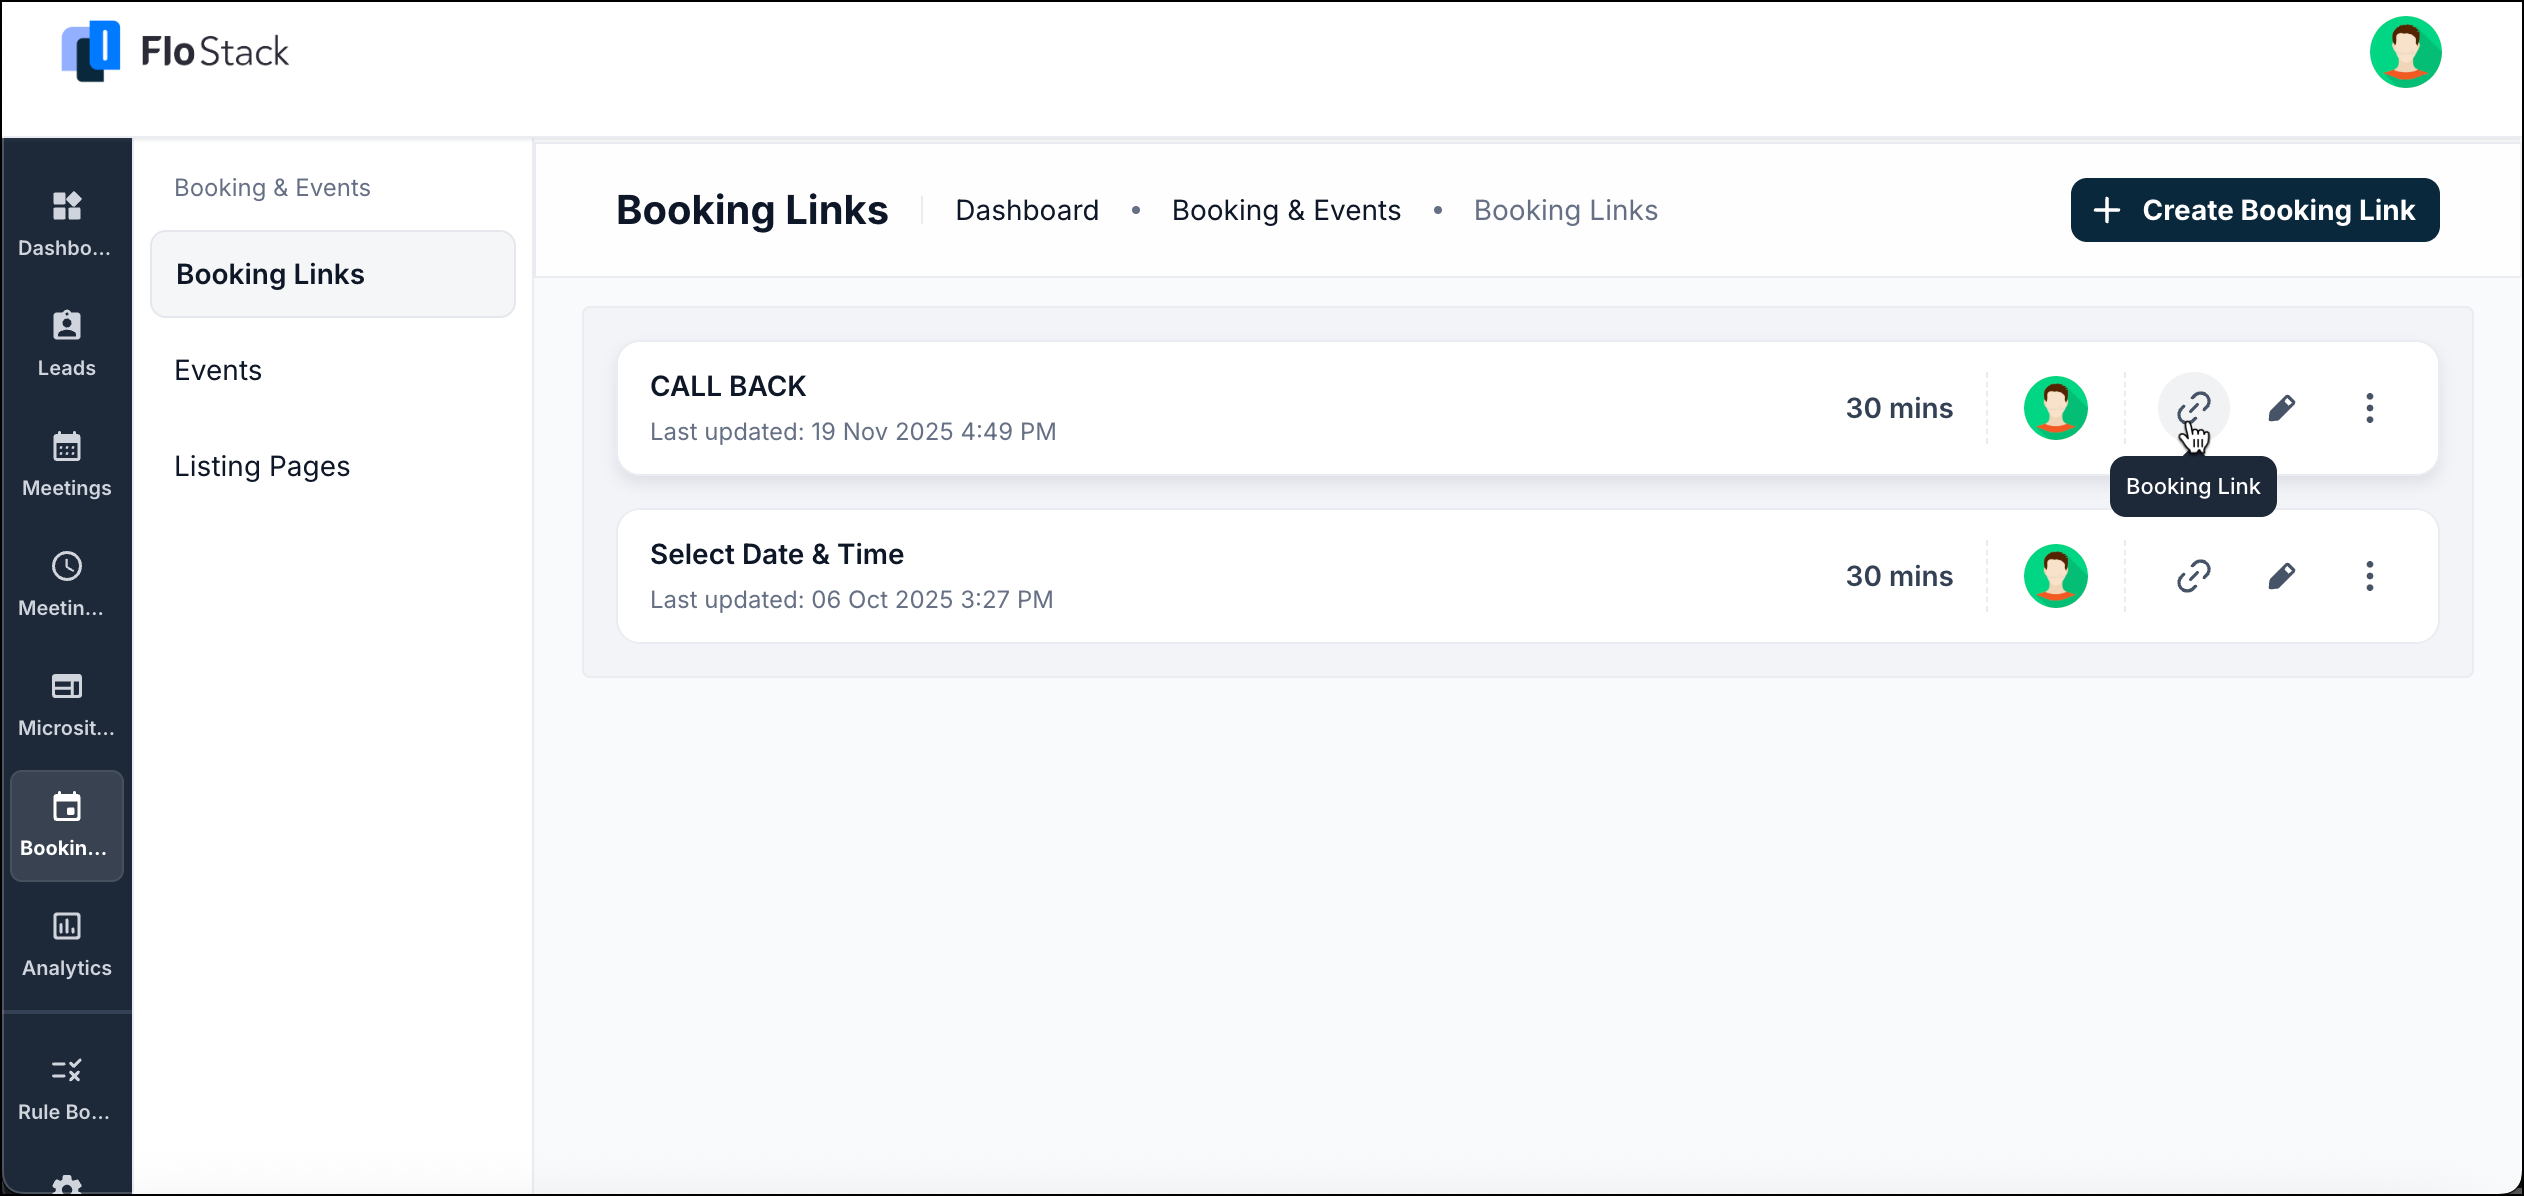
3. Booking Links
Booking Links allow you to create personal or team scheduling pages for one-to-one meetings. Each link is powered by either your default availability or Meeting Type and automatically respects your availability, duration, buffers, and calendar sync settings.

Create a Booking Link
- Navigate to Booking & Events>Booking Links.
- Click Create Booking Link.
- Configure:
- Booking Link URL – The public link attendees will use to book time with you
- Name – Internal name for identifying the booking link
- Use Default Availability –When enabled, the link will use the default availability configured on your Settings page.
- Duration – Pulled from the default calendar, this can be overridden.
- Meeting Type – Instead of the Default Availability option, you can select a meeting type that defines the availability, buffers, increments.
- Welcome Message – Shown on the public scheduler
- Save to generate your booking link.
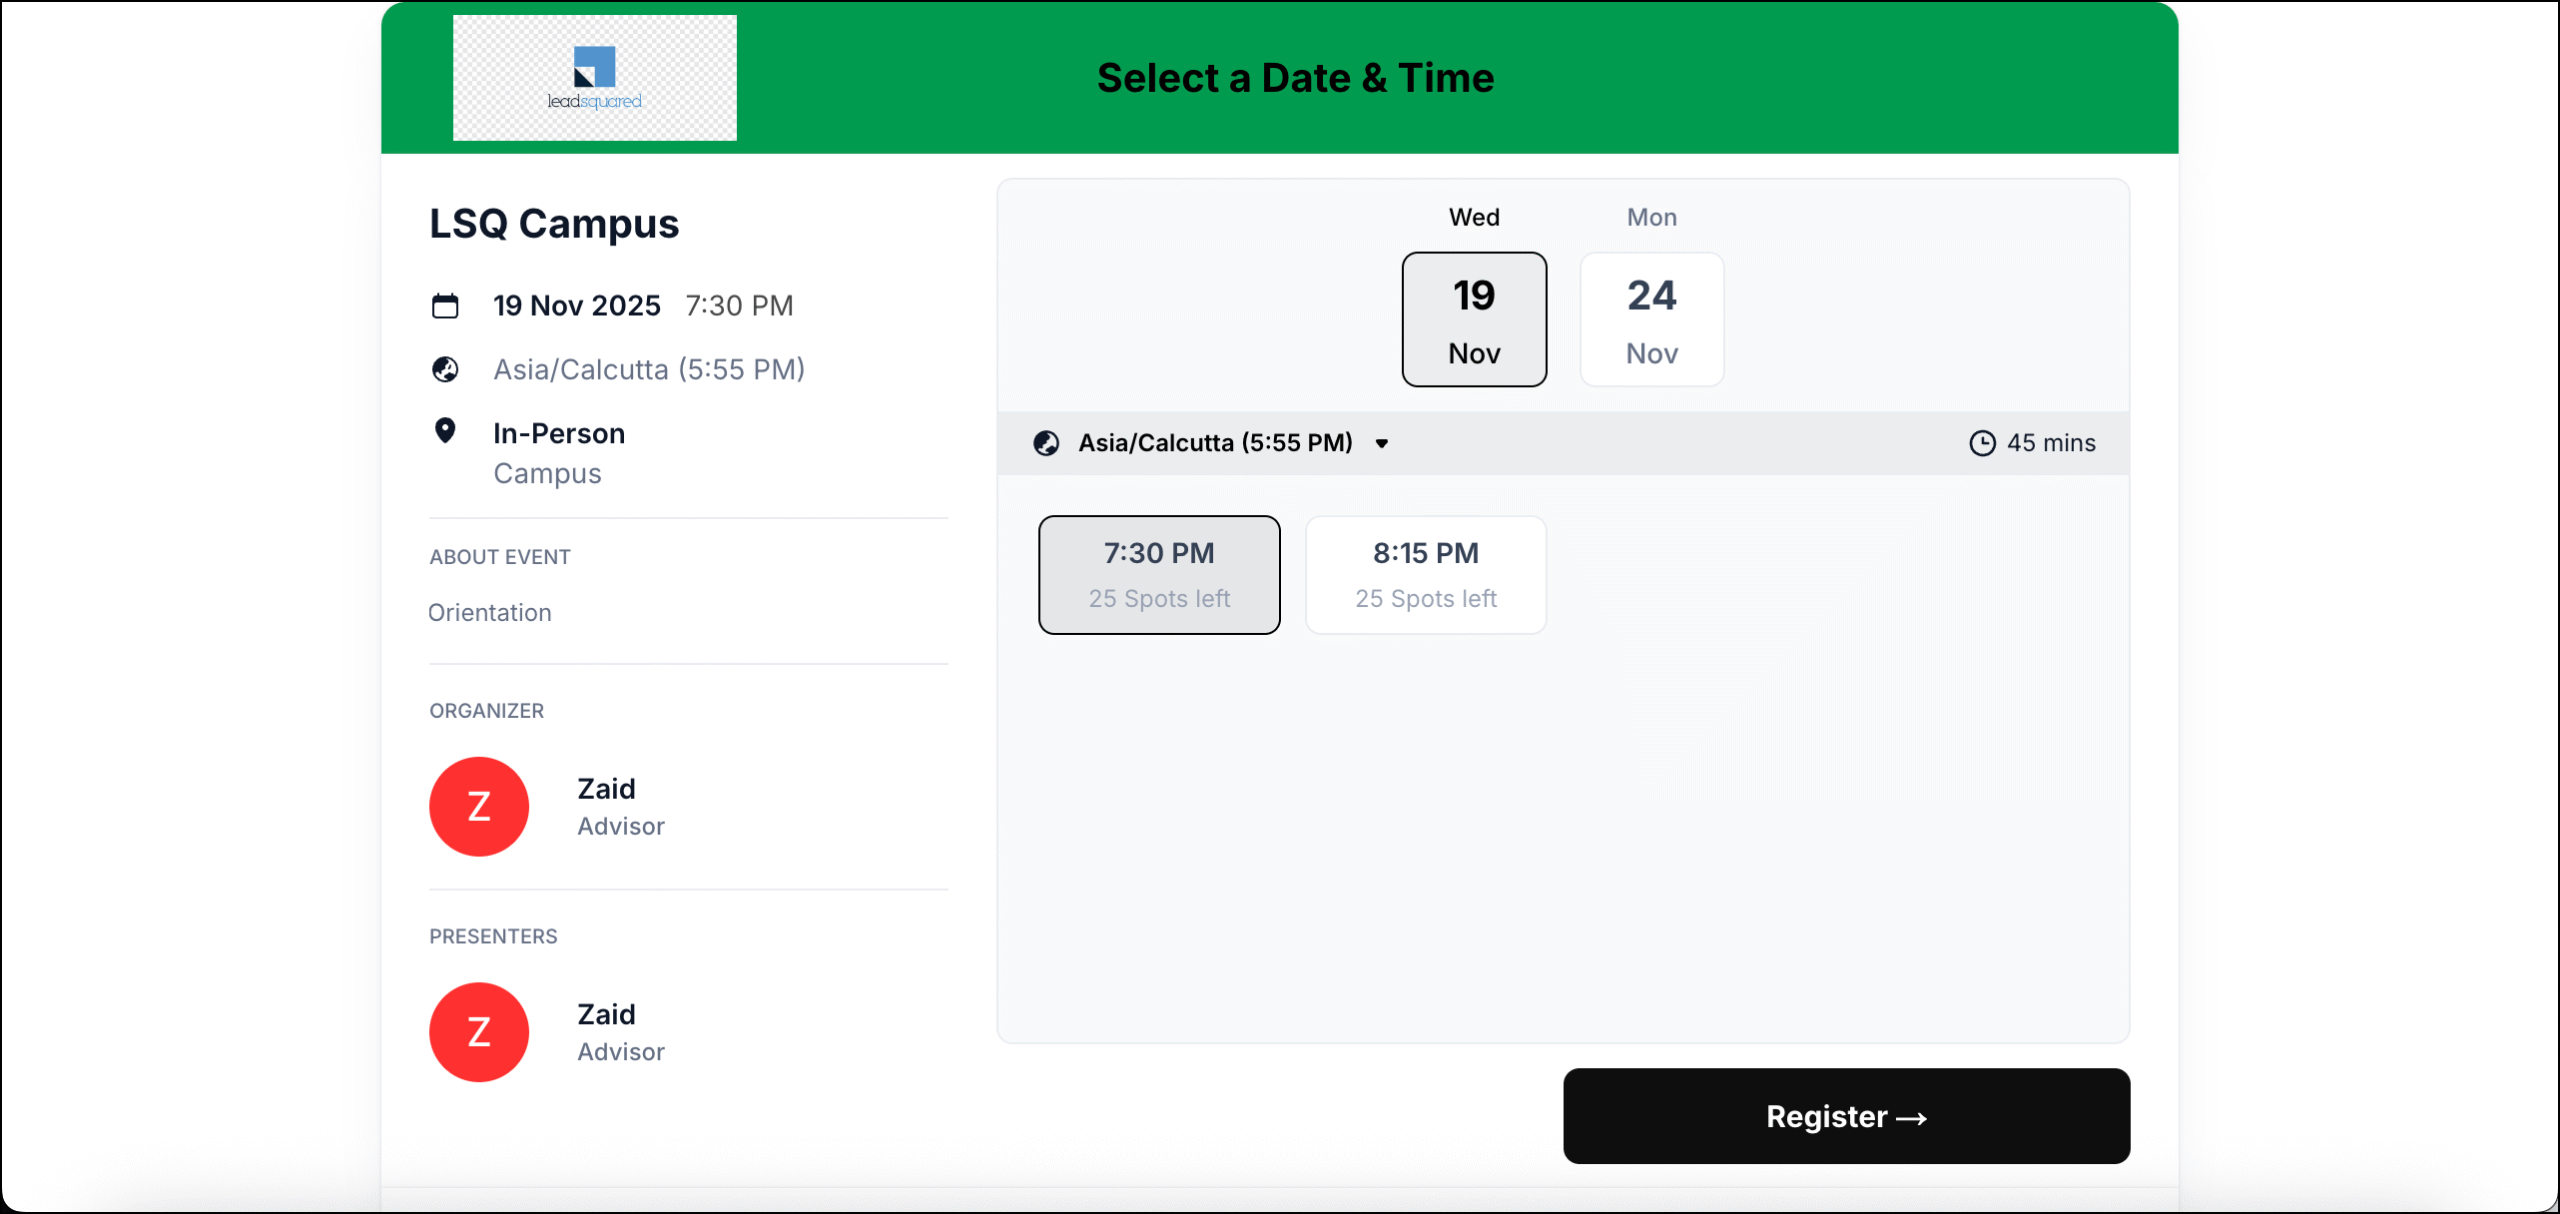
4. Events
Events let you create group sessions such as webinars, workshops, or open houses. An event uses a meeting type as its base configuration and allows you to add presenters, capacity limits, and a fully customizable landing page.
The Events section in Flostack provides a centralized view of all scheduled and created events. It includes two primary tabs—Agenda and All Events—along with options to create new events and manage attendees.
4.1 Agenda Tab
The Agenda tab displays the full calendar of upcoming and past event occurrences, helping organizers quickly track what’s scheduled.
Key Features
- Upcoming / Past View: A side toggle lets you switch between upcoming and past event occurrences.
- Event Overview: Each event entry shows details about the events.
- Manage Attendees: Click the Manage Attendees button on an event to –
- View the list of all registered attendees
- Check in attendees who have arrived, and specify if they’ve brought guests.
- Export the attendee list
- Add attendees manually
This tab is ideal for tracking real-time event activity and managing participant lists.
4.2 All Events Tab
The All Events tab shows every event that has been created in your workspace—regardless of event status or number of attendees. This tab acts as your complete repository of events.
Creating an Event
Click Create Event to start building a new event. You will first choose between two creation modes:
4.2.1 Event Scheduler
Choose this when you want a standard scheduler-based booking experience. This option is ideal for straightforward scheduling without a custom landing page.
You can configure:
- Event Details –
- Name
- Description
- Meeting type
- Organizers & Presenters
- Capacity management
- Schedule –
- Date & event duration
- Availability/working hours
- Meeting limits.
- Booking Form –
- Create Event Link
- Invitee Form Questions
- Enable or disable the option to allow the registrants to bring guests.
- Confirmation Page
Most of the configuration for the Schedule and Booking Form section will be autopopulated with the Meeting Type configuration you’ve selected. It’s possible to further modify some of the configuration once it’s autopopulated.
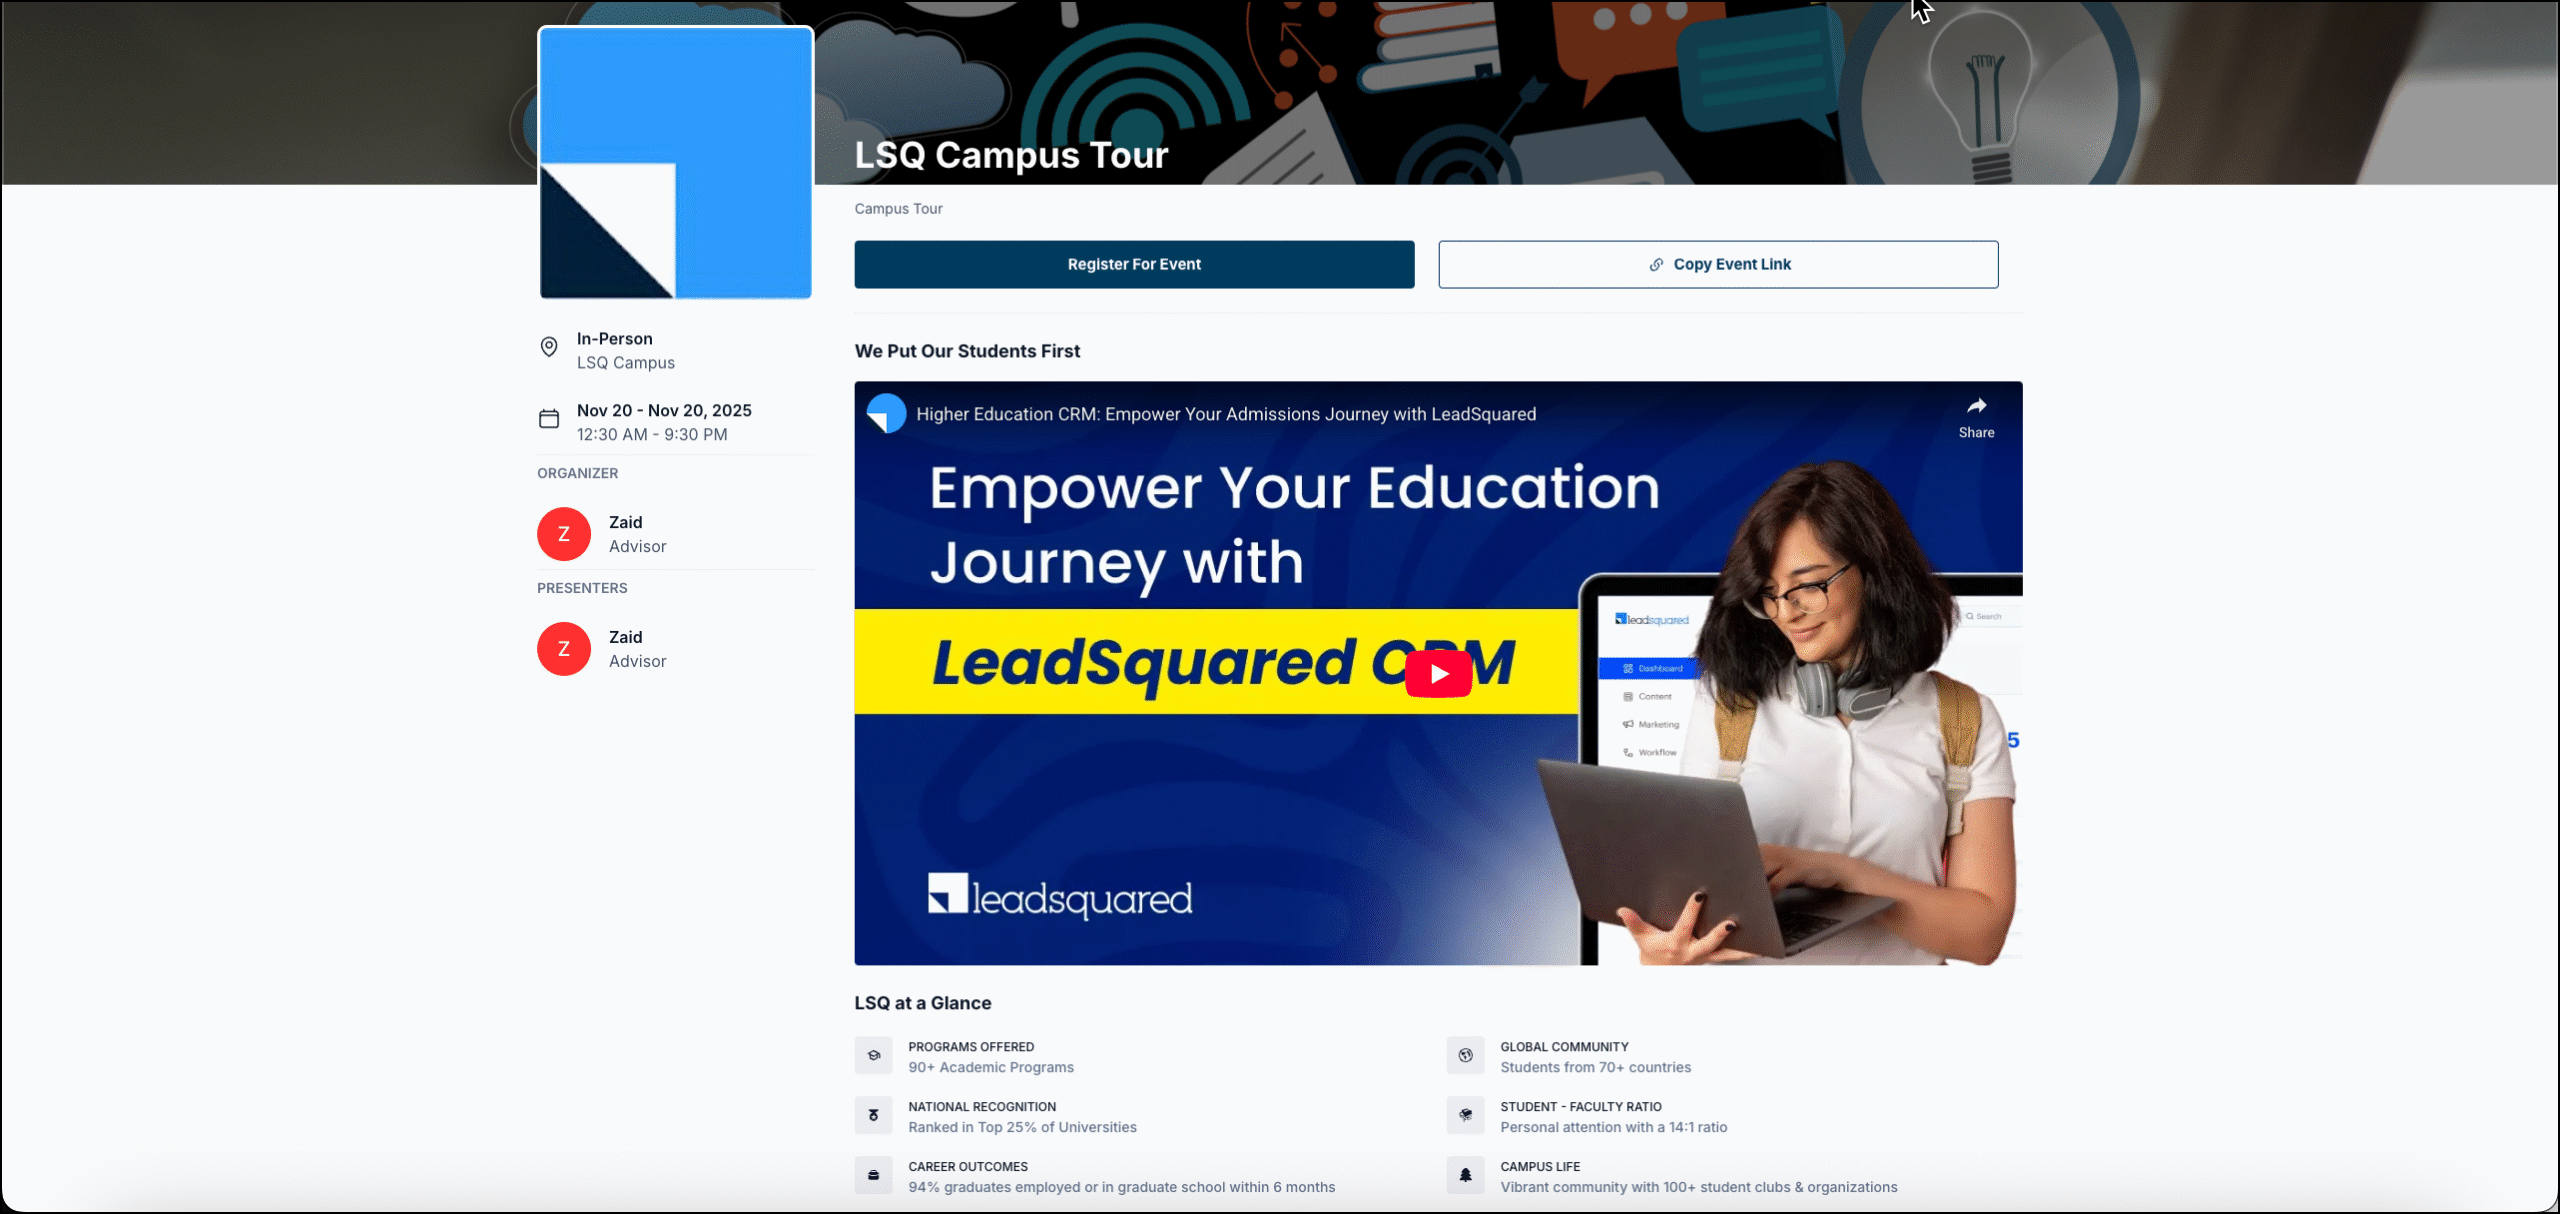
4.2.2 Event Landing Page
Choose this when you want a fully branded event page with images, highlights, multimedia, and custom sections. This option provides a richer, marketing-friendly page to promote the event.
You can configure:
- Type of Event Landing Page – Select either one-off or recurring. Select one-off if you want to create a fresh events landing page without a pre-configured meeting types template.
- Event Details –
- Name
- Description
- Meeting type (only available in the recurring type, in the one-off event you can select the Mode of meeting).
- Organizers & Presenters
- Capacity management
- Schedule –
- Date & event duration
- Availability/working hours
- Meeting limits.
- Booking Form –
- Create Event Link
- Invitee Form Questions
- Confirmation Page
- Landing Page Design –
- Upload Images: Add Banner and Main Image to the page.
- Register Button: Configure the button label and color for the Register/CTA button.
- Landing Page Widgets: The following widgets are available –
- Highlights: Add highlights to showcase important numbers or information.
- Embed URL: Enter URL to embed resources from web in your landing page.
- Image Gallery: Add images alone or with text content as cards.
- Text Block: Add heading and body text.


5. Listing Page
A Listing Page serves as a unified public catalog for all your Events and Booking Links, making it easy for visitors to discover and register for any session you offer.
Use Case
- A university publishes a Listing Page to showcase all available sessions—counseling appointments, campus tours, orientation events, and workshops—allowing prospective students to browse and register from one central page.
- A multi-specialty clinic uses a Listing Page to display all consultation types and group health sessions in one place, enabling patients to quickly find and book the right appointment without contacting the clinic.

How It Works
On the Listing Page screen, you can create dedicated listings for Events or Booking Links.
- In the Events tab, click Create to build a listing page that showcases selected events.
- In the Booking Links tab, click Create to publish a listing page containing selected one-on-one scheduling links.
For either type, you can configure:
- Name – Internal and public-facing title of the page
- Link – The URL for sharing the listing page
- Description – A short summary shown at the top of the page
- Items to Display – Add the specific events or booking links you want to include
Once saved, the listing page becomes a single, shareable destination for visitors to browse and register for your events or book one-on-one sessions.

Any Questions?
Did you find this article helpful? Please let us know any feedback you may have in the comments section below. We’d love to hear from you and help you out!


