


Get Started
Sales Suite
Field Ops
Marketing
Service CRM
Integrations & Apps
FloStack
Google reCAPTCHA on Landing Pages
1. Feature Overview
On your Landing Page, for form submission, you can now use Google reCAPTCHA instead of a number-based captcha. This will reduce spam submissions on your website.
2. Prerequisites
- You should have access to a Google account, to generate reCAPTCHA keys.
- All your Landing Page domains should be registered in your LeadSquared account. To view the list or add a new domain, navigate to Profile>Settings>LeadTracking>Website & Landing Page Domains.
3. Process
3.1 Generate reCAPTCHA Keys
If you have an existing API key pair from Google for your website, you can skip this section and move to the next step.
To create an API key pair, Site Key and Secret Key, for your website –
- Log in to your Google account.
- Navigate to the Google reCAPTCHA page.
- Click on the Admin console button on the right-top corner.
- Click the + icon to register your site.
- Give a relevant label.
- Select the reCAPTCHA type (v2 or v3). If you selected reCAPTCHA v2, you can further select –
- The I am not a robot tickbox or
- The Invisible reCAPTCHA badge
- Under domain – register all landing page domains registered in your LeadSquared account.
- Accept the terms and services checkbox, then click Submit.
- Copy the Site Key and Secret Key that have been generated.
3.2 Add the Keys to LeadSquared
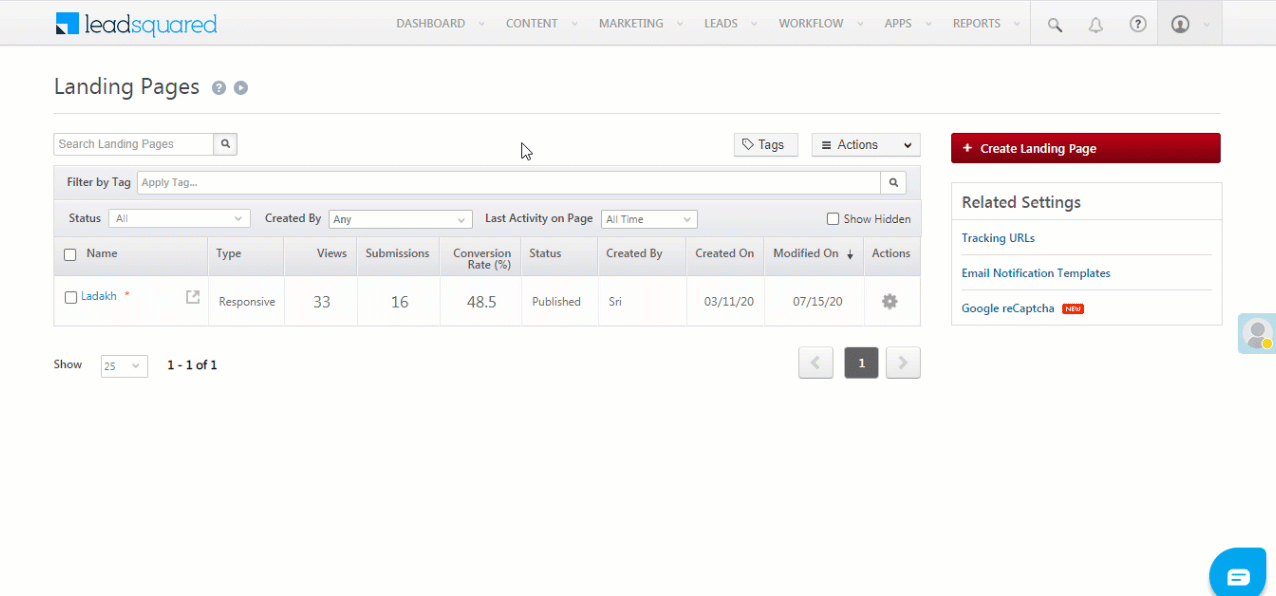
- Once you’ve successfully created the API key pair for your website, navigate to Marketing>Landing Pages and click Google reCaptcha.
- Depending on the reCAPTCHA type you selected, choose from the options listed on the Google reCaptcha pop-up.
- Paste the Site Key and Secret Key in the pop-up window, and click Save.
3.3 Link the Keys to your Landing Page
Once you have added the keys, you will have to make reCAPTCHA live on your landing page. To do this –
- For an existing Landing Page, hover over the icon and click on Edit from the dropdown.
or
For a new landing page, complete the following on Step 02, once you have added a submission form. To know more, refer to How to Create and Publish a Landing Page? - Double click on your submission form.
- Under Special Fields, click the
 icon against Google reCaptcha.
 - Click on Save.
- For an existing landing page, scroll down to the bottom of the page, click on Save and Republish.
or
For a new page, click on Save and Next. - You will get a report stating if your page has been successfully republished.
- Please wait for 10 minutes, for reCAPTCHA to become live on your landing page.
3.4 Preview reCAPTCHA
After the 10-minute window has ended, refresh your landing page. You can now view reCAPTCHA.

Troubleshooting
Why is Captcha not working on Landing Pages?
If Captcha isn’t working, check the following:
- Ensure all Landing Page and website domains are added in the Captcha console (If you’re using an Iframe, ensure the domain for that Iframe is also added in the Captcha console).
- After adding the domains, update the Captcha key, re-add the Captcha field in the form, save, and republish the Landing Page.
Any Questions?
Did you find this article helpful? Please let us know any feedback you may have in the comments section below. We’d love to hear from you and help you out!
Hello,
What is invisible recaptcha v2?
Hi, Swathi. You can find more about Google’s Invisible reCAPTCHA feature here – Invisible reCAPTCHA
Hi,
We did this. Recaptcha was implemented, but we stopped capturing info using UTM parameters. Any idea why this is so?
Hi, Naman. Thank you for your question. Can you please elaborate on this issue, and drop a mail to support@leadsquared.com.