


Get Started
Sales Suite
Field Ops
Marketing
Service CRM
Integrations & Apps
FloStack
How to Map Entity Options for Lead Capture
1. Feature Overview
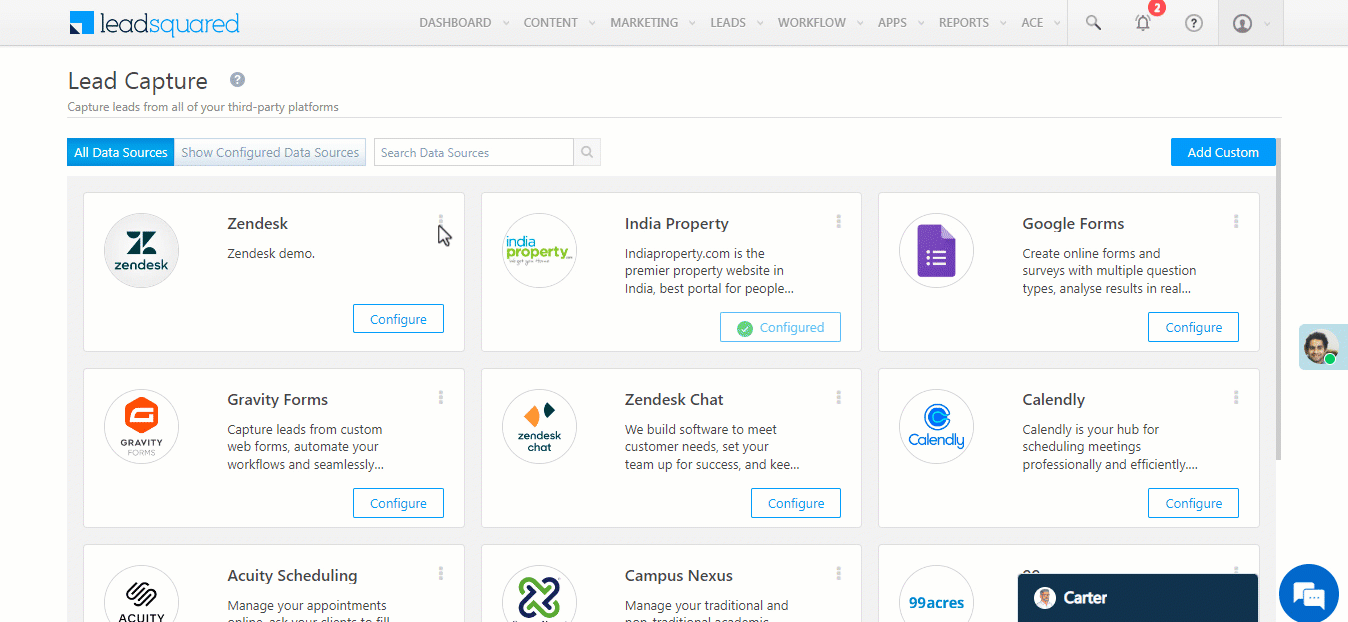
In addition to the default lead capture connectors (99acres, Zendesk Chat, Google Forms, Zoom Webinars, etc.) listed on your account, you can also build your own custom connectors to capture leads and activities from other data sources.
This document will show you how to map the Entity Options on Lead Capture.
2. Prerequisites
- You must be the Administrator of your LeadSquared account.
- You must have developer experience. The custom connector requires API integration.
- API to facilitate periodic lead sync from the third-party application to LeadSquared. The API must allow leads to be fetched by date range. The API must satisfy the following conditions –
- Only REST APIs are supported.
- Only GET and POST methods are supported.
- The API must return data in JSON and form-data formats.
- Authentication must be passed through the API (using the header or query string). Complex authentication methods such as OAuth are not supported.
3. Mapping Lead or Contact Entity
1. In the View Logs section of your connector, click on a Job Status and then click on the  icon under Sync API Response. Click Copy This Snippet.
2. Paste your payload into JSON Path Finder. Copy the desired mapping key from the path location. For example, if the path is x.Current.Phone, the mapping key will be Current.Phone.

3. Once you configure the Sync Behaviour, click Edit Mapping and click on the + Add Custom button.

4. Paste the mapping key into the Response Map field. Next, type in a Display Name, and map the field with a valid LeadSquared field from the Lead Field drop-down.
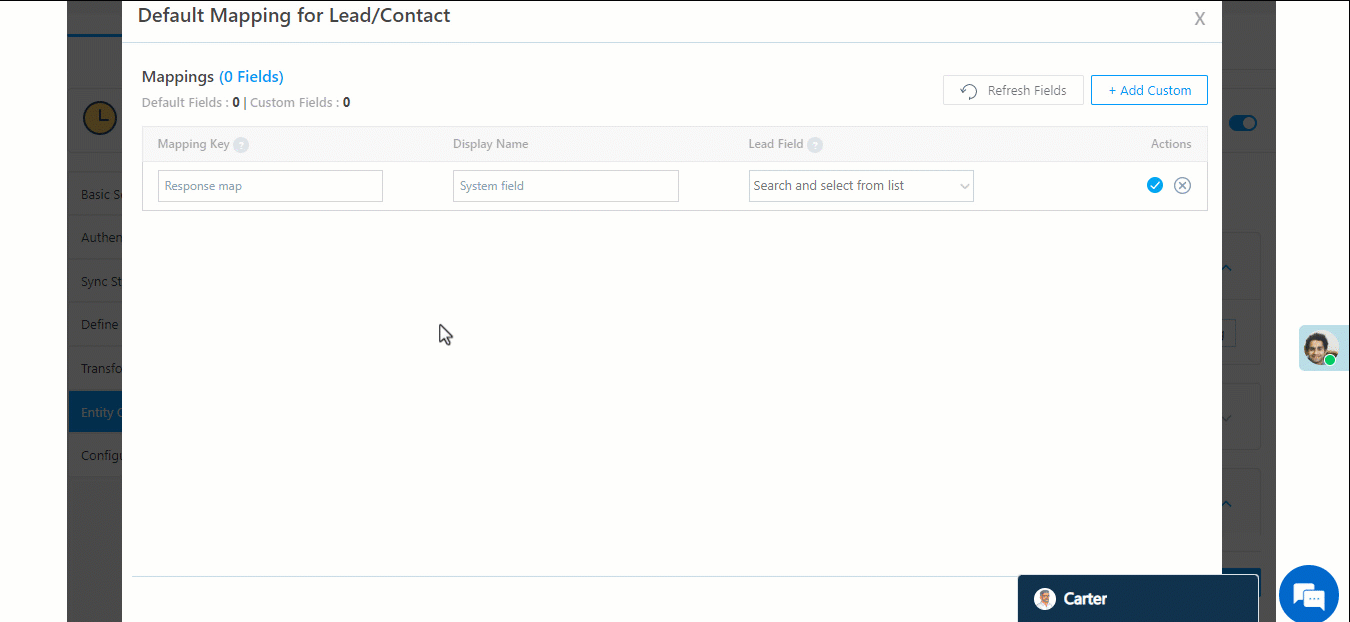
5. Click on the  icon under Actions, and click Save & Close to save your lead mapping.

4. Mapping Custom Actions Entity
1. In the View Logs section of your connector, click on a Job Status and then click on the icon under Sync API Response. Click Copy This Snippet.
2. Paste your payload into JSON Path Finder. Copy the desired mapping key from the path location. For example, if the path is x.Current.Phone, the mapping key will be Current.Phone.
3. On LeadSquared, Alongside Call Custom Actions, enable ![]() , and click Add Custom Action.
, and click Add Custom Action.
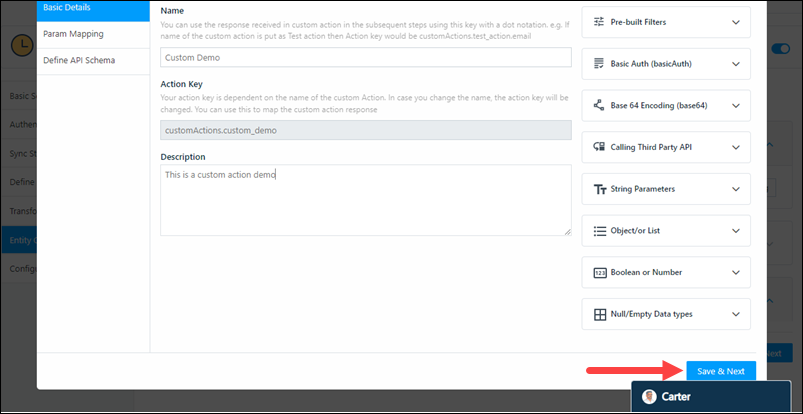
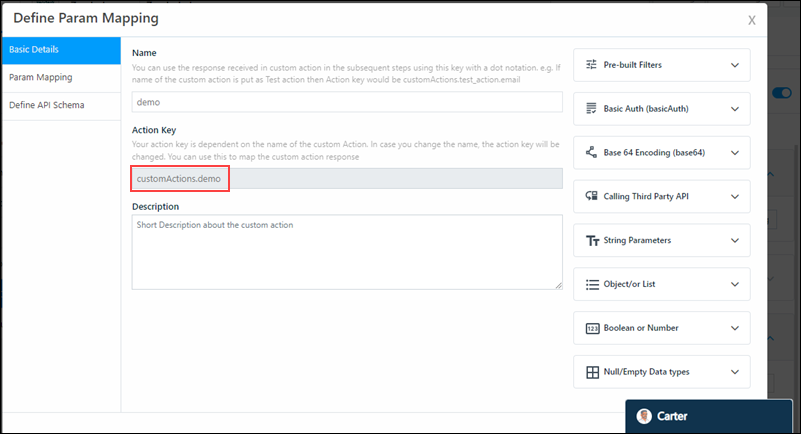
4. Enter a Name and Description for the custom action, and click Save & Next.
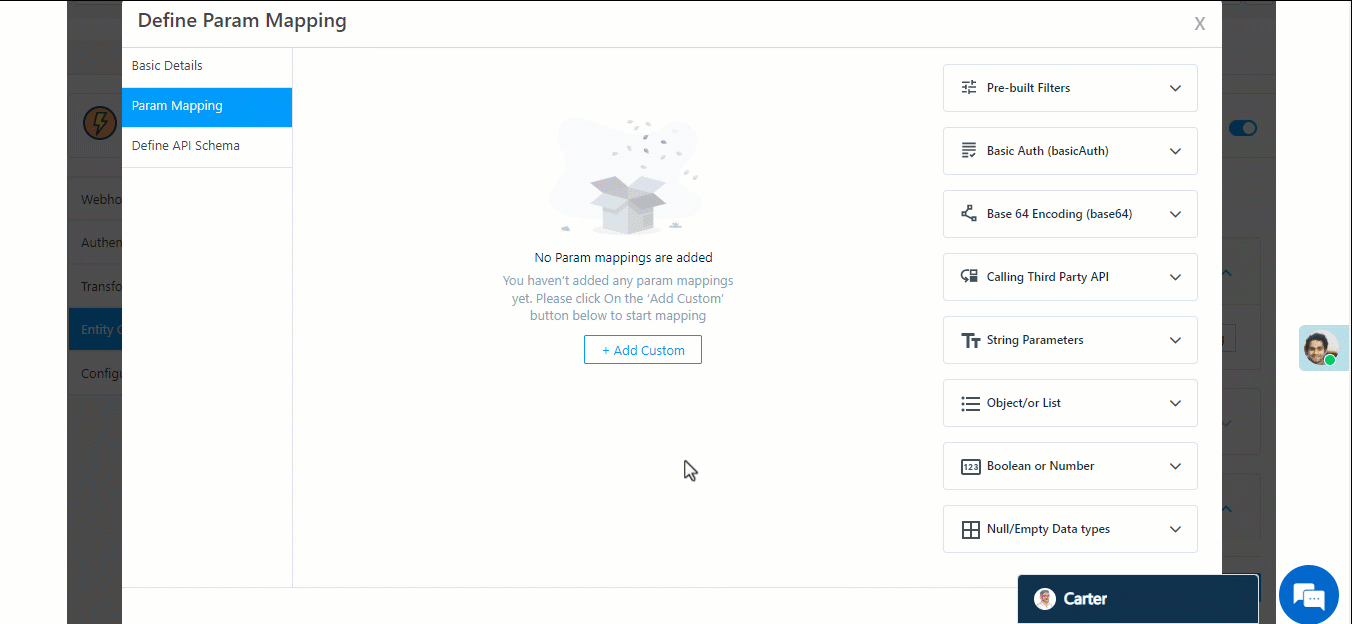
5. In Param Mapping, click on the + Add Custom button. Define the API Param based on the payload required to be posted in API. Enter the mapping key you copied into the Default Mapping Key field. The mapping key needs to be enclosed between 2 curly braces: {{Current.Phone}}.
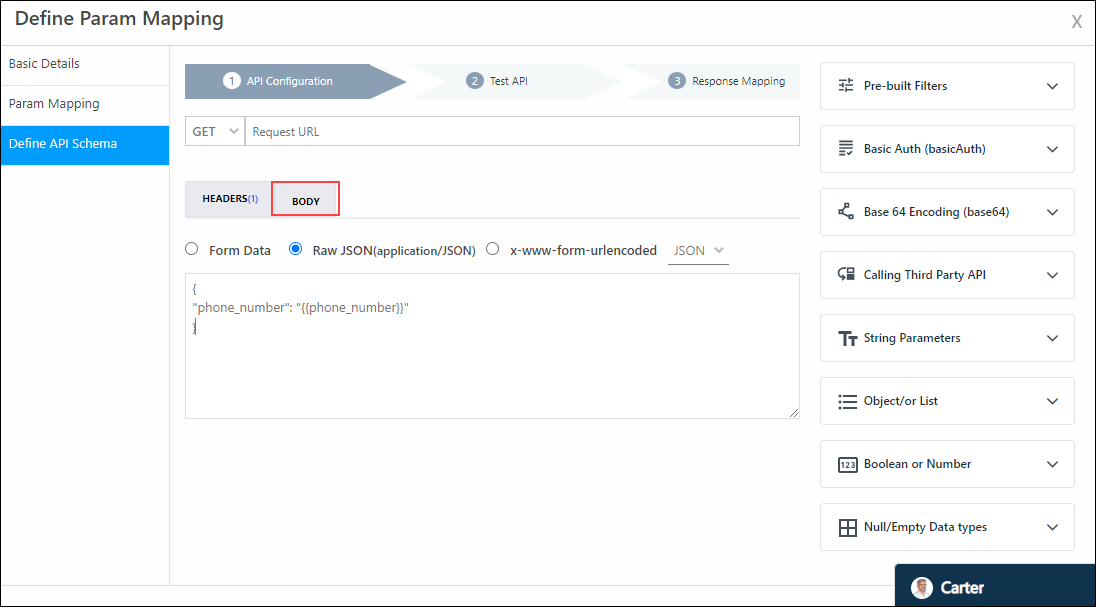
6. In Define API Schema, you can define the Body as { "Key": "{{API Param}}" }. For example, { "phone_number": "{{phone_number}}" }.
5. Mapping Activities Entity
5.1 Mapping the activity entity when you are receiving data
1. In the View Logs section of your connector, click on a Job Status and then click on the icon under Sync API Response. Click Copy This Snippet.
2. Paste your payload into JSON Path Finder. Copy the desired mapping key from the path location. For example, if the path is x.Current.Phone, the mapping key will be Current.Phone.
3. Once you configure the Sync Behaviour, click Edit Mapping.
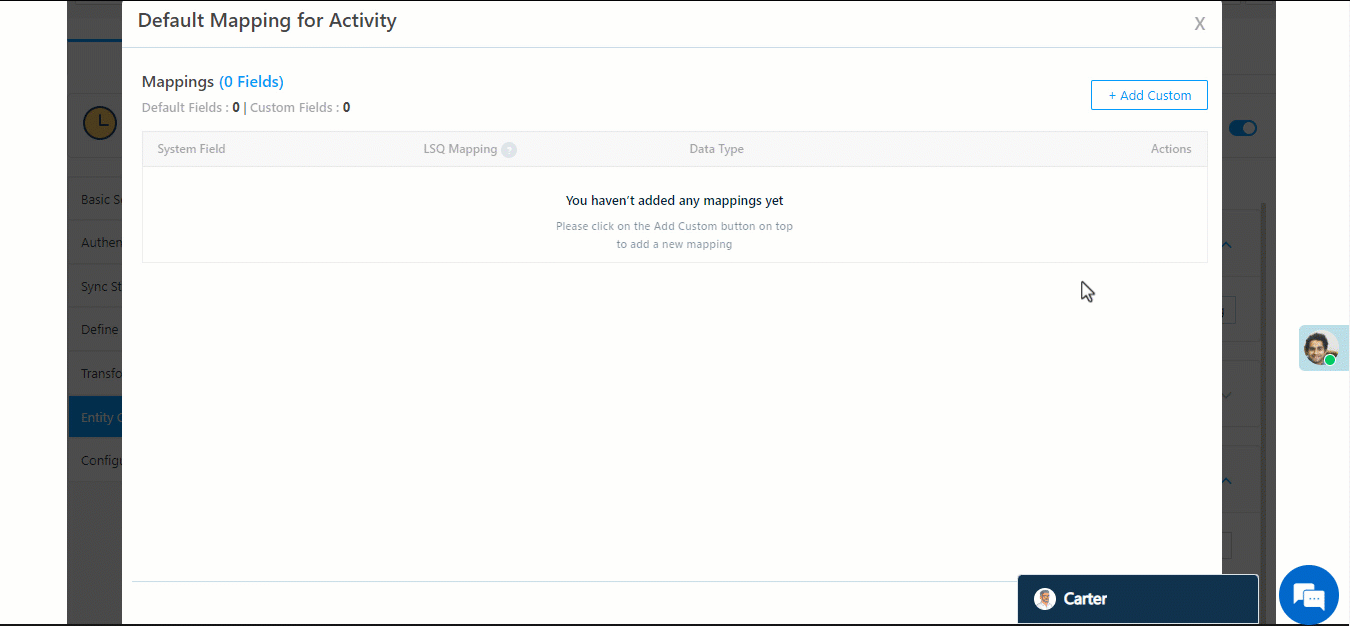
4. Click on + Add Custom button. Paste the mapping key into the System Field and map the field with a valid LeadSquared field in LSQ Mapping. Choose the Data Type and click the icon. Click Save & Close to save the mapping.
5.2 Mapping the activity entity when you send a sample request and receive a response through Custom Actions
Consider the following sample request and sample response –
Sample Request :
{
"phone_number" : "9987675643",
"country" : "India"
}
Sample Response:
{
"Message" : "Indian Number",
"Success" : "True"
}
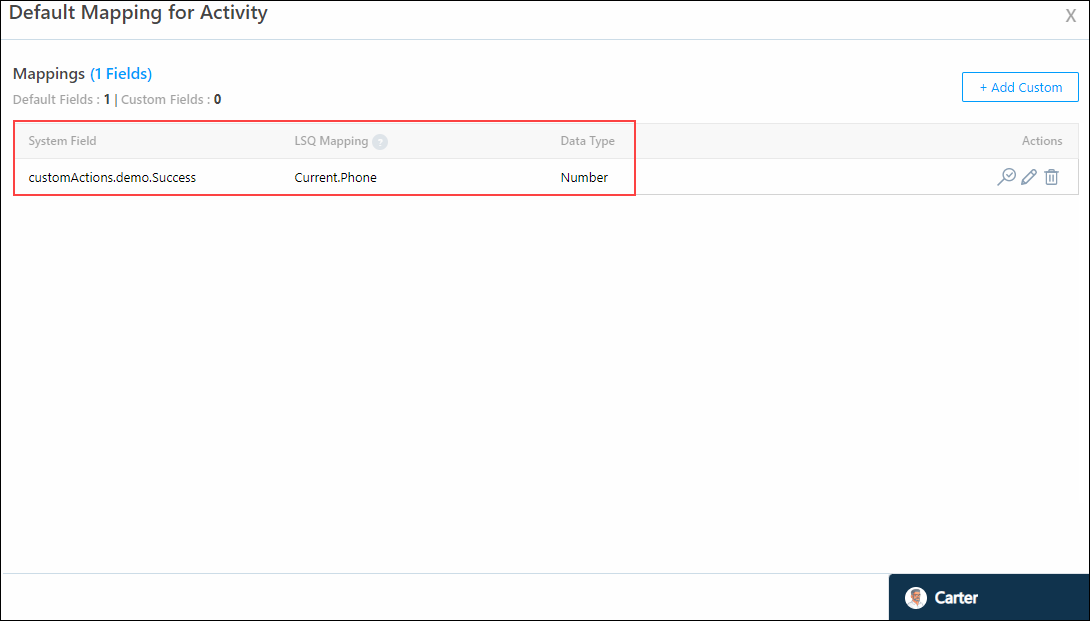
1. First, copy the Action Key from a Custom Action mapping.
2. Append the value of a key from the sample response to the Action Key (ActionKey.status), and paste it into the System Field in activity mapping. For example, customActions.demo.Success.
Map the field with a valid LeadSquared field in LSQ Mapping and select the Data Type from the drop-down. click the icon.
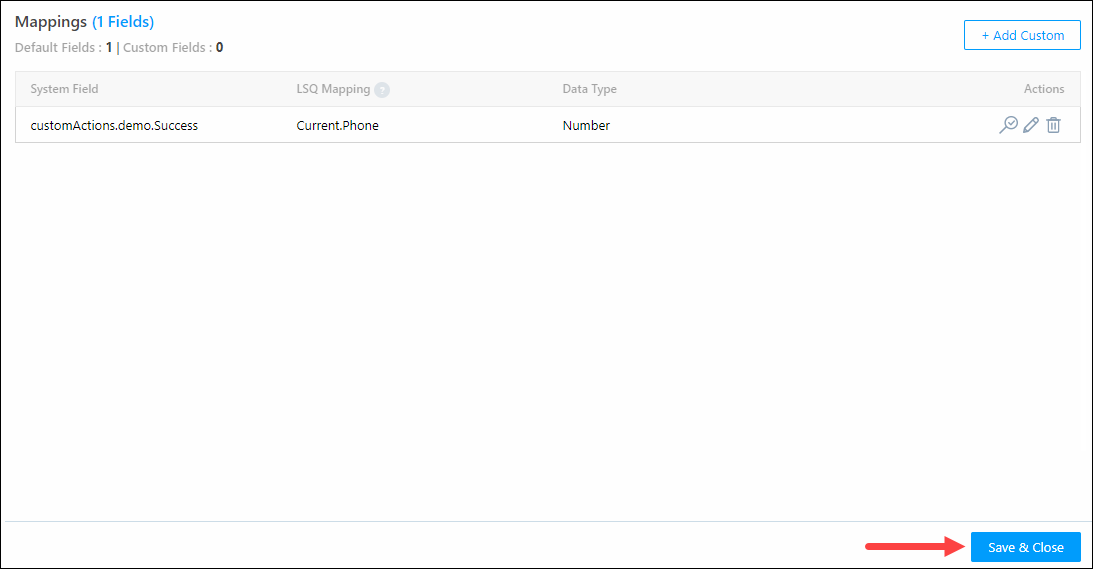
3. Click Save & Close to save the activity mapping.
6. Map Payload of Type
In addition to mapping data transferred in the JSON format between LeadSquared and your data provider, you can also map data transferred in the format. This can be done from the Entity Options tab, similar to how you would map fields through the Edit Mapping action.
Listed below are some examples of key-value pairs, and how to map them –
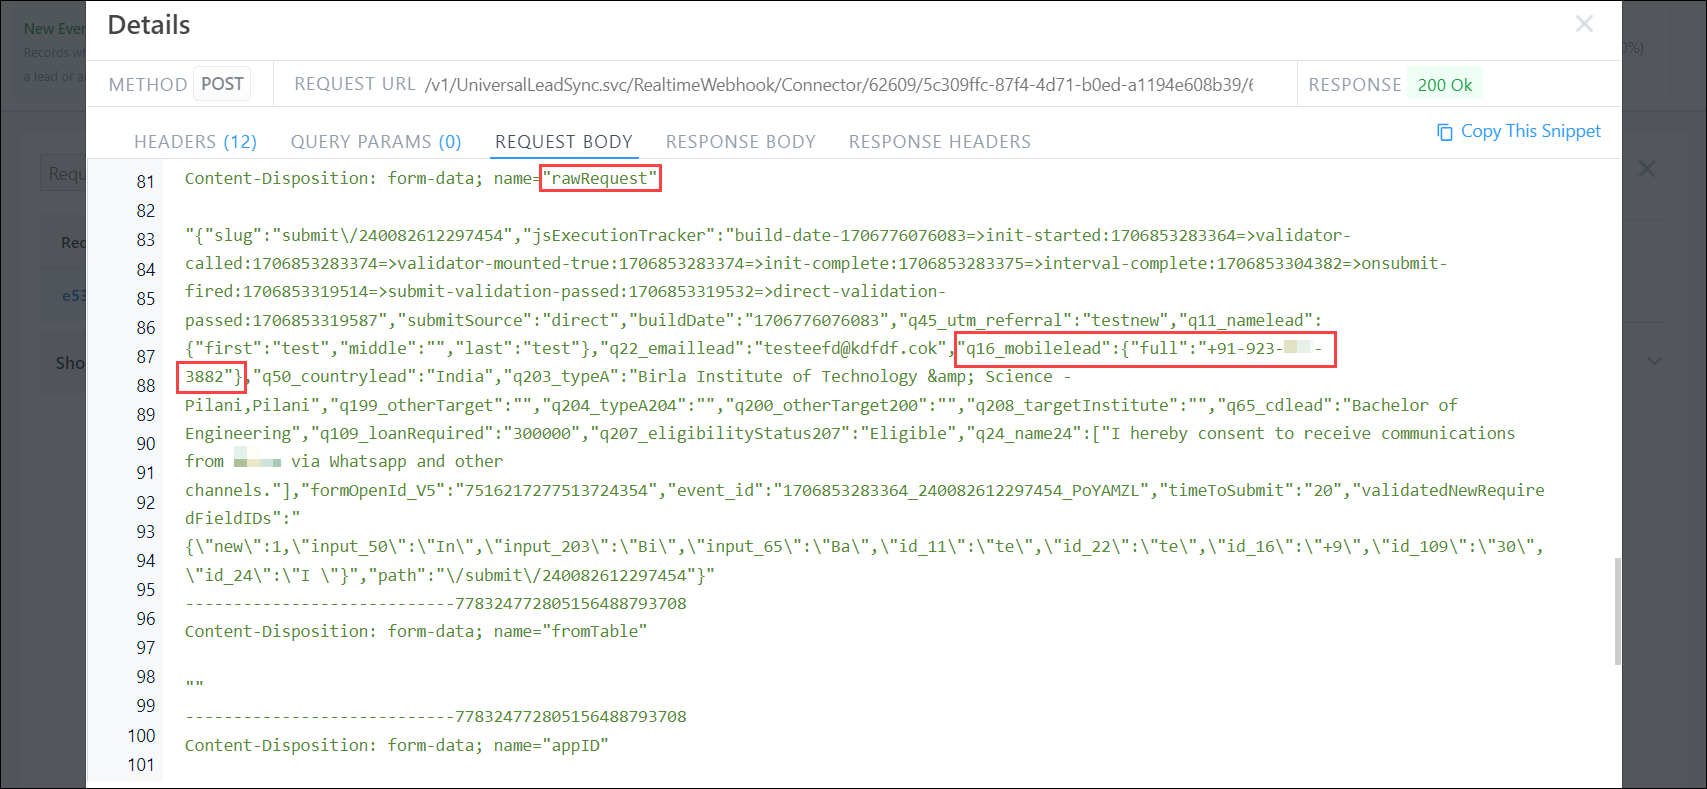
- Single key-value pair – When there’s a single key-value pair, pass the key as the Mapping Key. In the example listed below, where the key-value pair is “submissionID”:”5819011515519341517″, use “submissionID” as the MappingKey.

- Nested key-value pair – When there’s a nested key-value pair, pass the key as the Mapping Key, with a ‘rawRequest.’ prefixing the key. In the example listed below, where the key-value pair is “q22_emaillead”:”testeefd@kdfdf.cok”, pass “rawRequest.q22_emaillead” as the MappingKey.
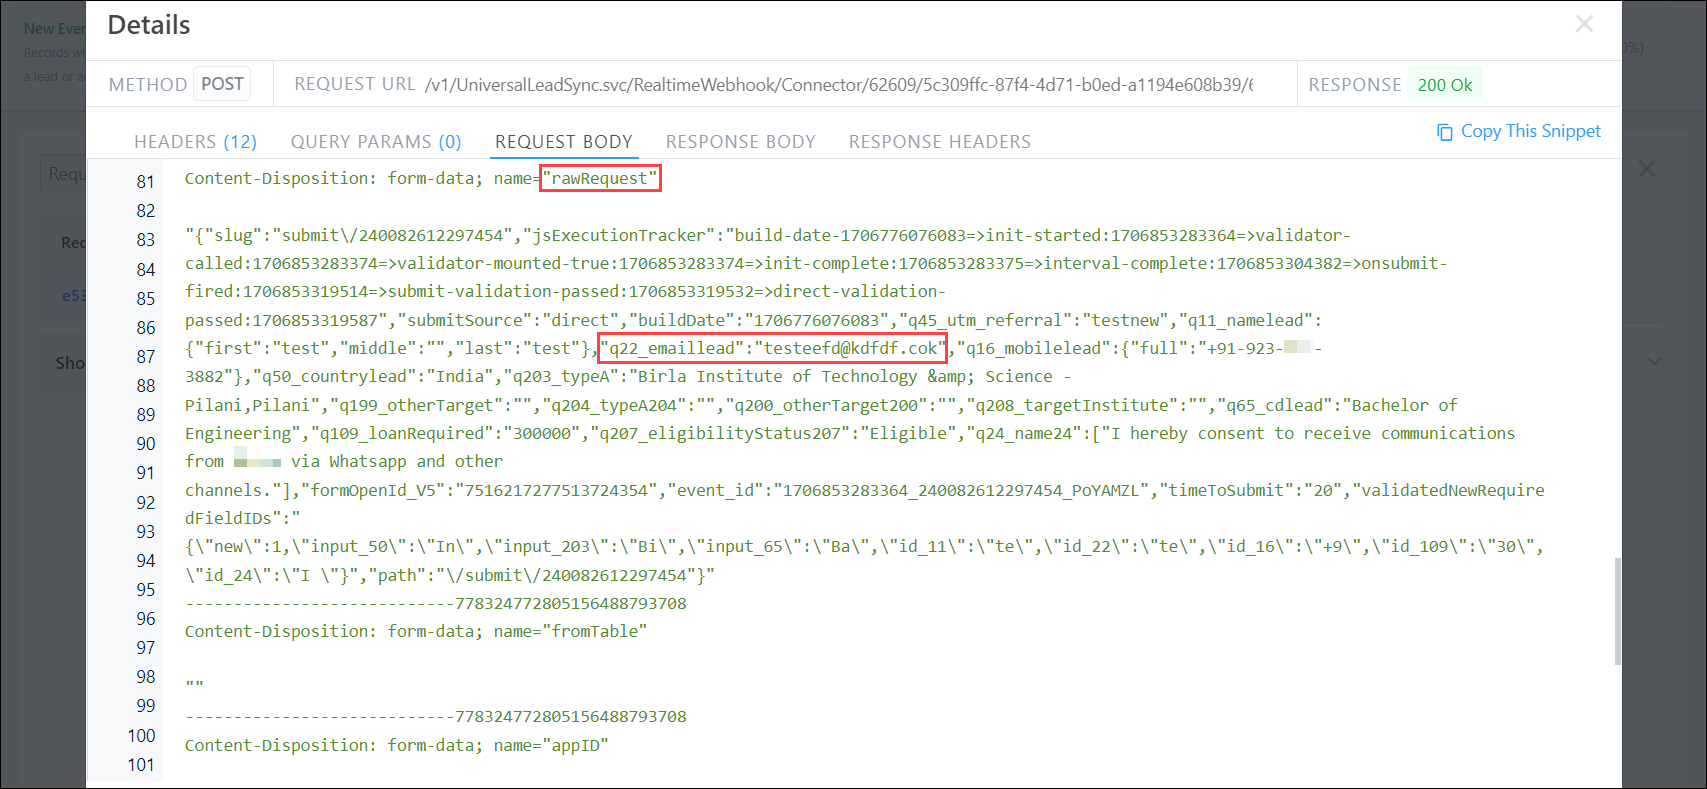
- Double Nested key-value pair – When there are two layers of a nested key-value pair, pass both the keys as the Mapping Key, with a ‘rawRequest.’ prefixing the key. In the example listed below, where the key-value pair is “q16_mobilelead”:{“full”:”+91-984-xxx-3882″}, pass “rawRequest.q16_mobilelead.full” as the MappingKey.
Any Questions?
Did you find this article helpful? Please let us know any feedback you may have in the comments section below. We’d love to hear from you and help you out!