


Get Started
Sales Suite
Field Ops
Marketing
Service CRM
Integrations & Apps
FloStack
ADFS Integration for Signing in to LeadSquared
1. Feature Overview
LeadSquared offers sign-in integration with a self-hosted Active Directory Federation Services (ADFS) server.
ADFS is a Microsoft service that allows you to log-in to web applications using your Active Directory (AD) credentials. After integration, you won’t need to manage a separate set of credentials for LeadSquared, and can log-in directly with your AD credentials.
To integrate, you must complete the following steps –
- Add a Relying Party Trust to your ADFS server
- Obtain the Certificate Thumbprint
- Configure LeadSquared Authentication Provider settings
To integrate Azure AD with LeadSquared, see Integrating Azure AD with LeadSquared using ROPC Approach.
2. Prerequisites
- You must be a LeadSquared administrator user.
- You must set up an Active Directory instance, where all users have an email address attribute and the email address is the same as their LeadSquared account.
- ADFS service must be installed and configured.
- A Global SSL certificate and the thumbprint for that certificate.
3. Adding a Relying Party Trust
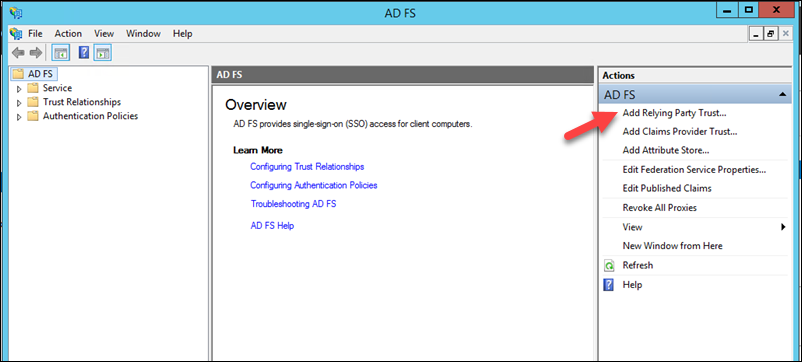
1. Open the ADFS Management console (Server Mangager>Tools>ADFS Management).

2. Under the Actions pane, click Add Relying Party Trust.
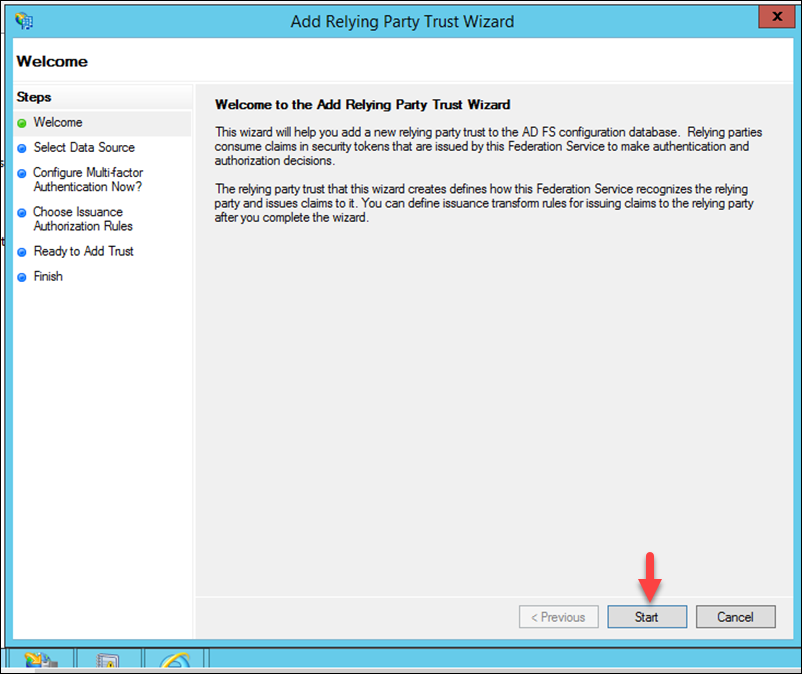
3. You’ll now see the welcome page of the Add Relying Party Trust Wizard. Click Start.
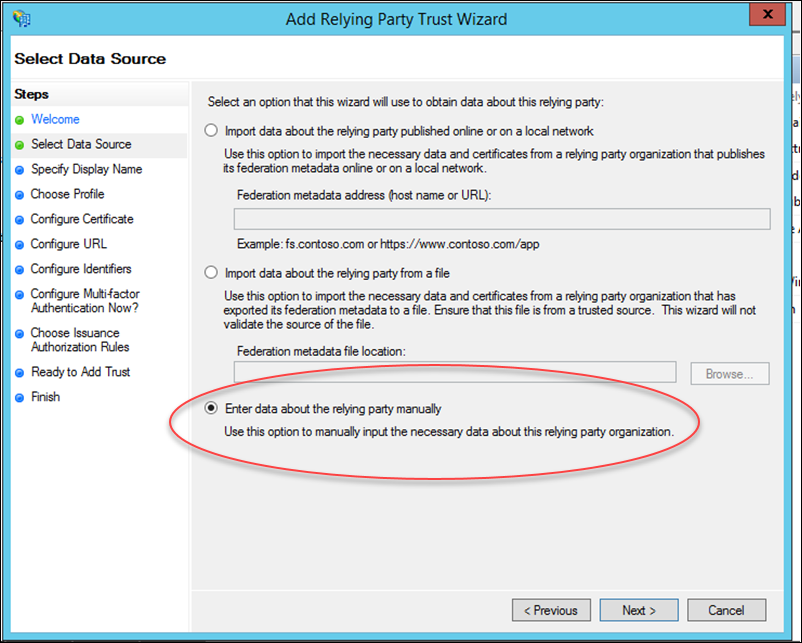
4. Now click Enter data about relying party manually radio button, then click Next.
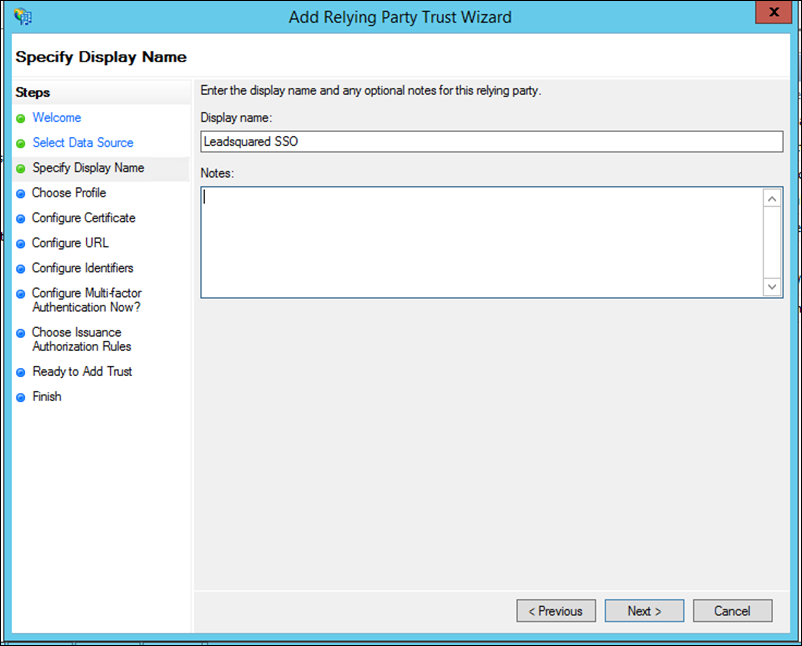
5. Enter a display name of your choice, then click Next.
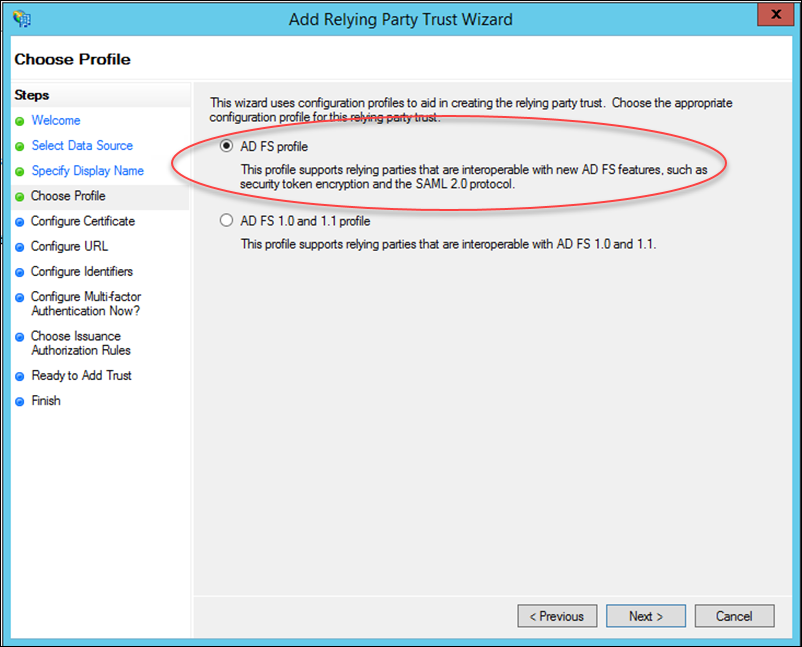
6. Select AD FS profile and click Next.
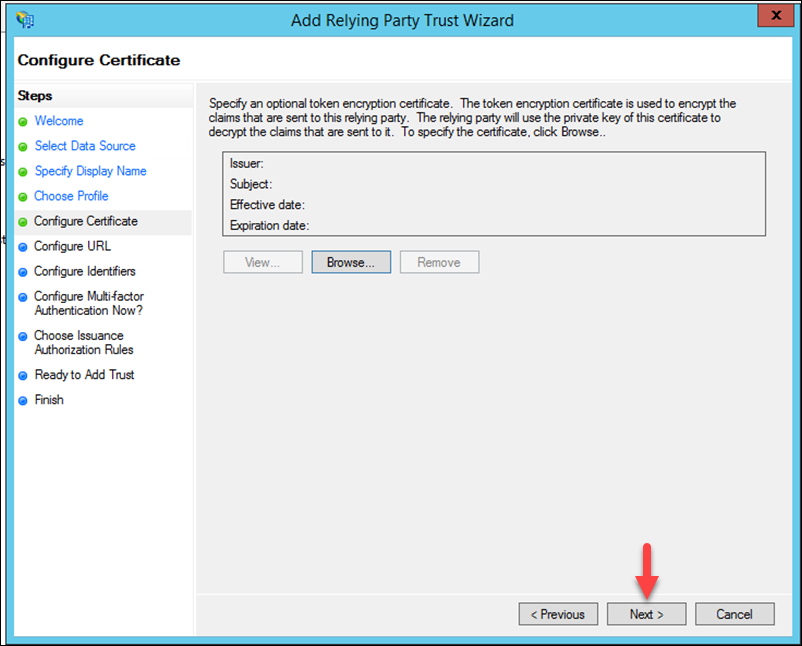
7. Leave the certificate settings here as their defaults and just click Next.
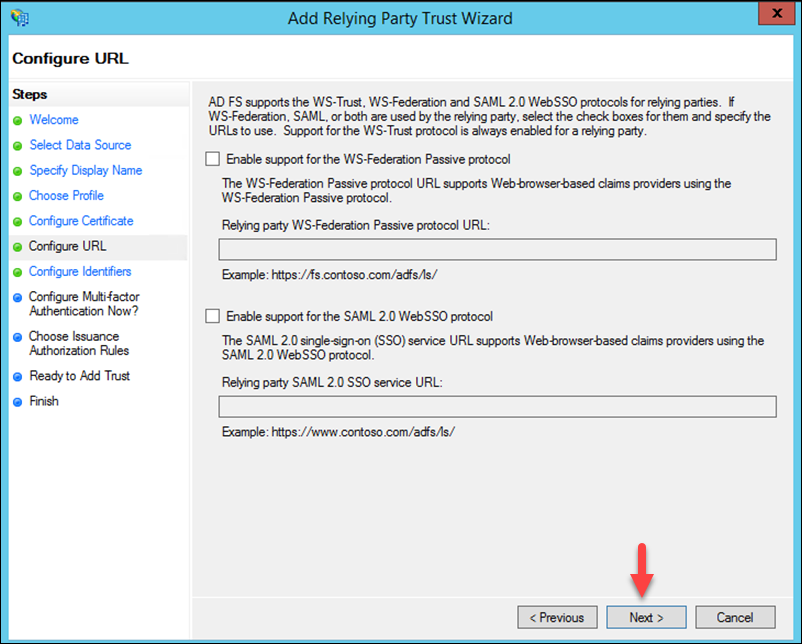
8. No action is required here, click Next.
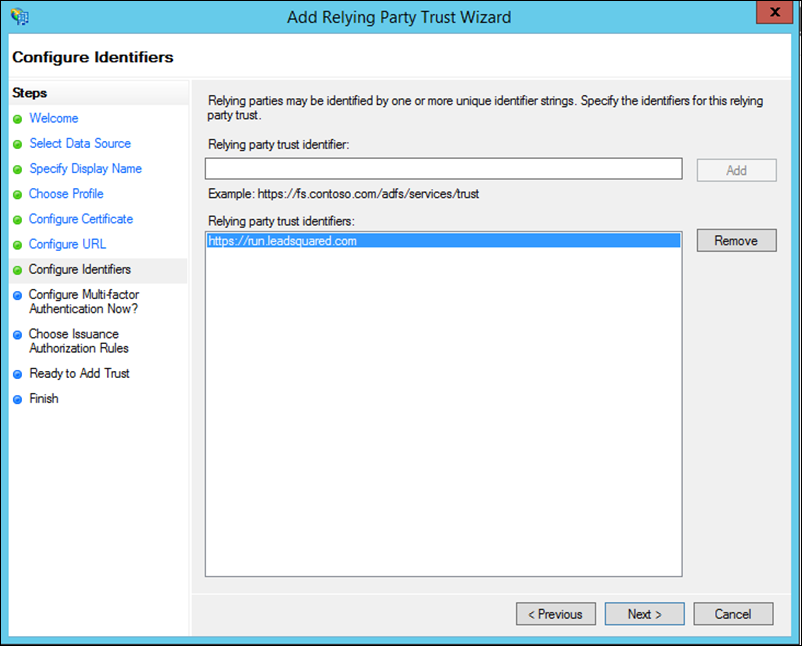
9. Add a Relying party trust identifier depending on the region your account was created –
- https://run.leadsquared.com for accounts created in the Singapore region.
- https://us11.leadsquared.com for accounts created in the US region.
- https://in21.leadsquared.com for accounts created in the India (Mumbai) region.
- https://in22.leadsquared.com for accounts created in the India (Hyderabad) region.
- https://ir31.leadsquared.com for accounts created in the Ireland region.
- https://ca12.leadsquared.com for accounts created in the Canada region.
Click Next.
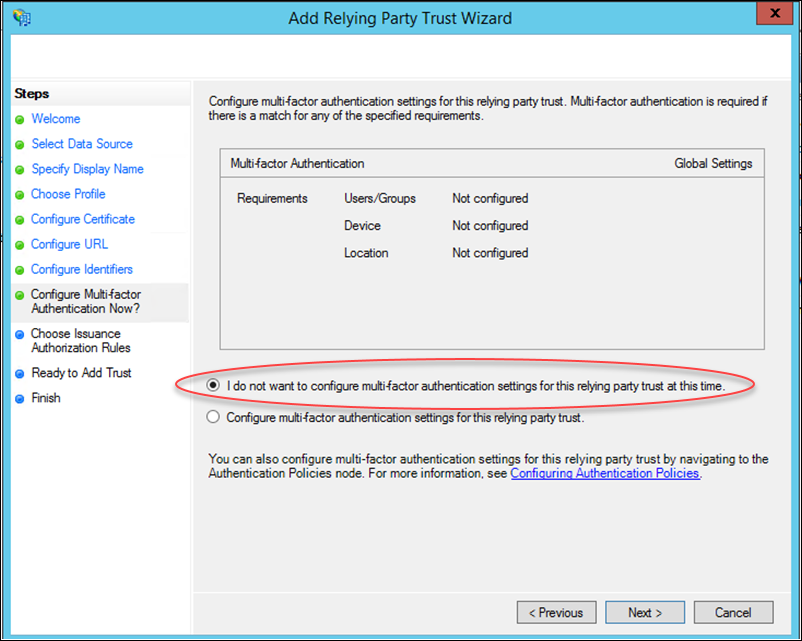
10. Select the I do not want to configure multifactor… checkbox, then click Next.
11. Keep the default setting (Permit all users to access…) and click Next.

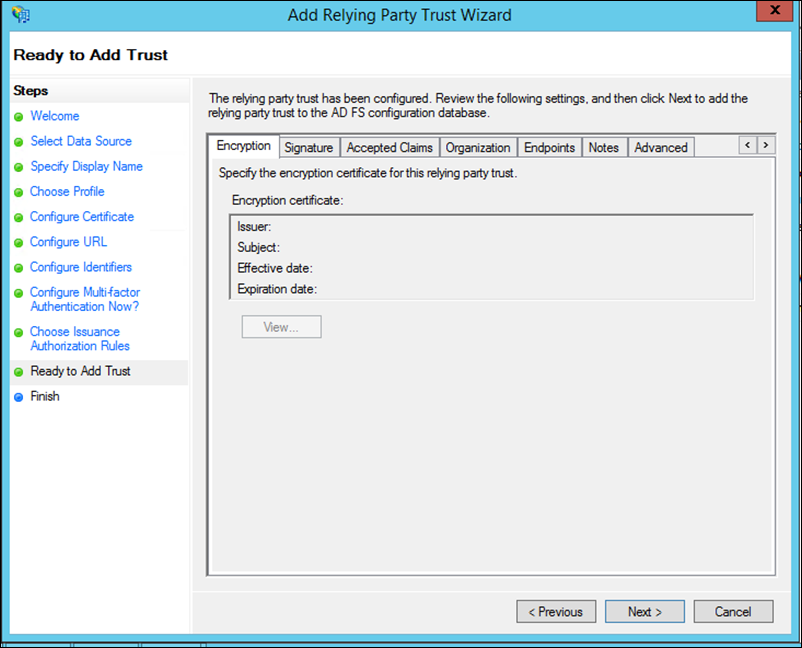
12. The configurations are now complete. Click Next to continue.
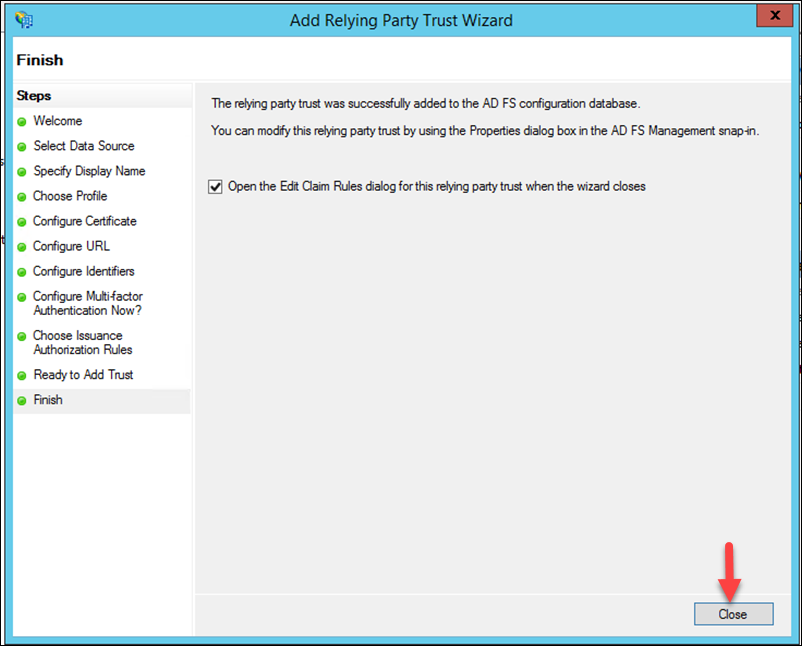
13. The relying party trust has now been added. Click Close to proceed to the Edit Claim Rules dialog.
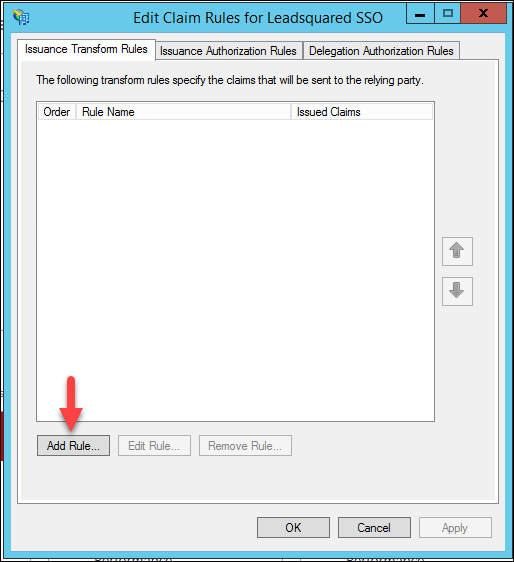
14. Click the Add Rule button.
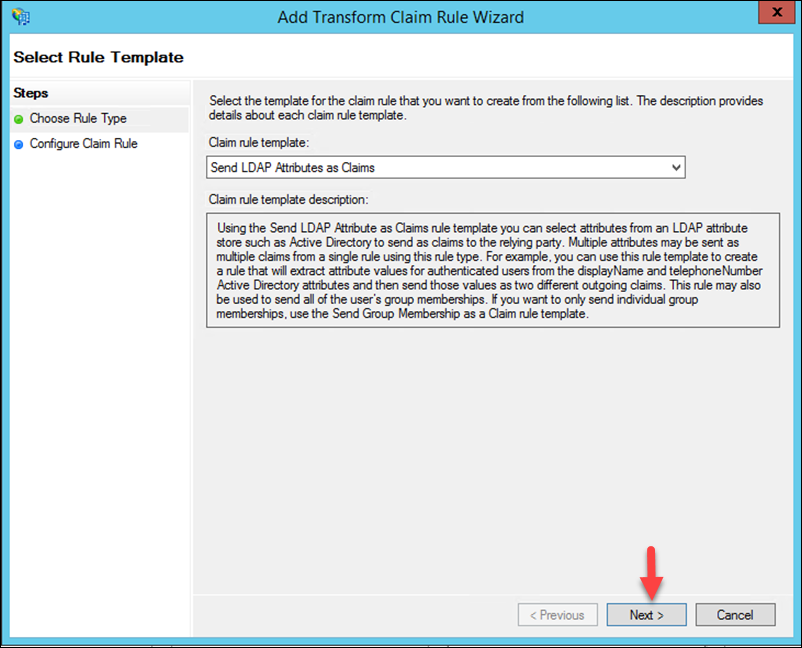
15. Click Next to create a Send LDAP Attributes as Claims rule.
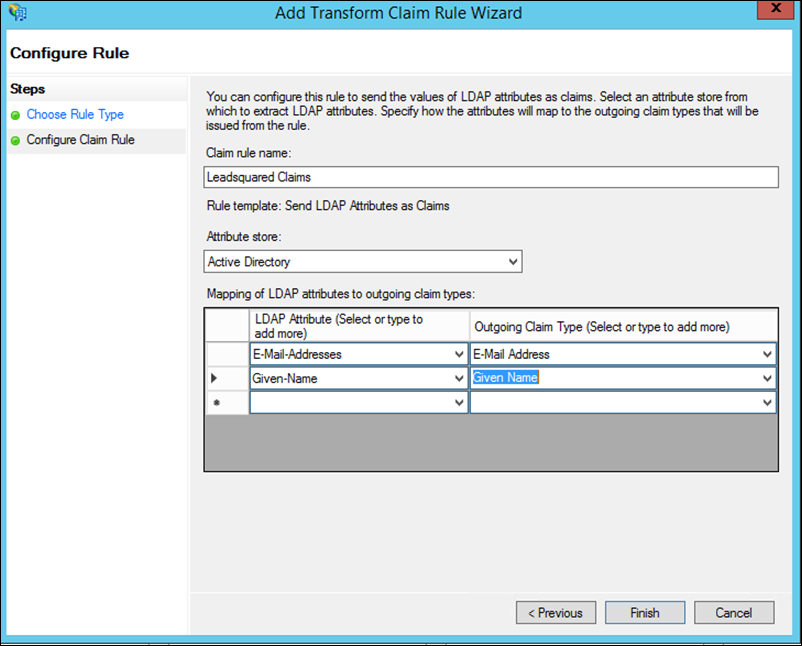
16. Enter a name for the claim rule, select the Attribute store as Active Directory (this is where the LDAP attributes will be extracted from), then map the LDAP attributes to the outgoing claim type as shown below. Click Finish when you’re done.
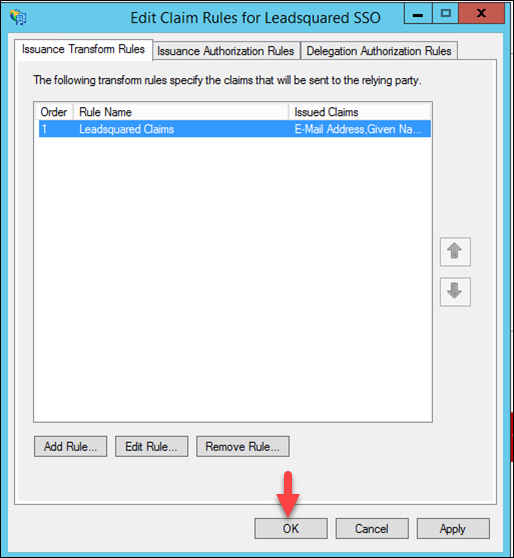
17. Now click OK.
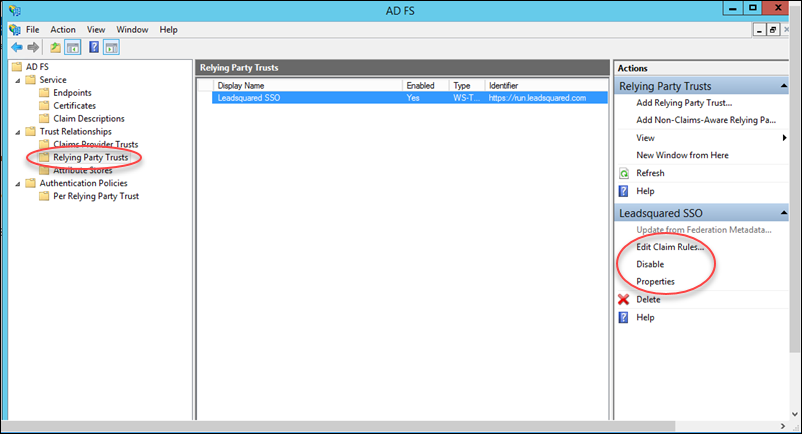
18. Now navigate to ADFS Management>Relying Party Trusts, You can see all relying party trusts here. If required, you can edit claims by clicking Edit claim rules. You may also change identifiers by clicking Properties.
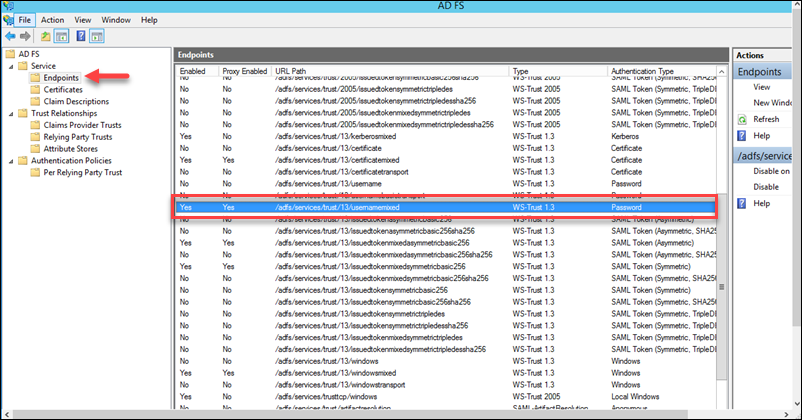
19. Navigate to ADFS>Service>Endpoints, and ensure that the following endpoint is enabled /adfs/services/trust/13/usernamemixed
4. ADFS Certificate Thumbprint
1. Navigate to ADFS>Service>Certificates.
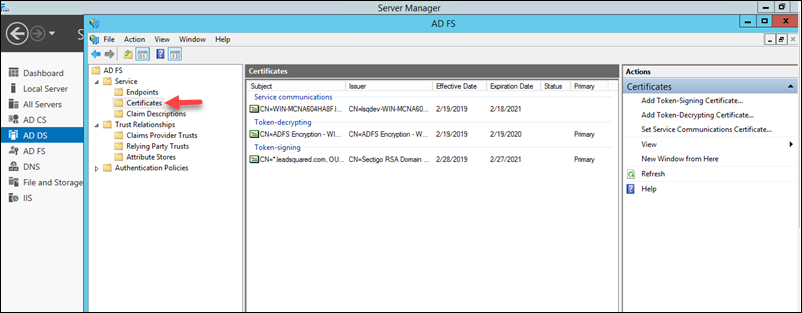
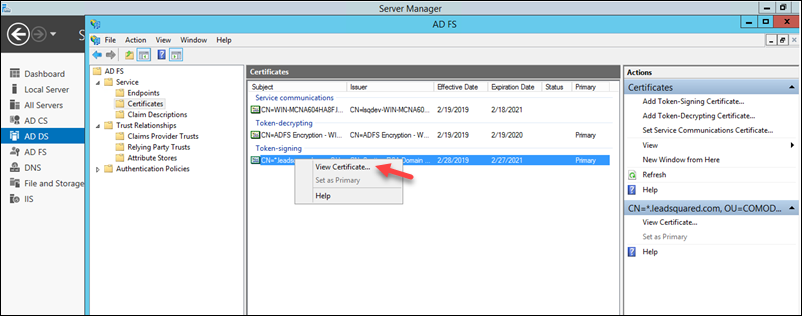
2. Right-click the certificate under Token-signing, then click View Certificate.
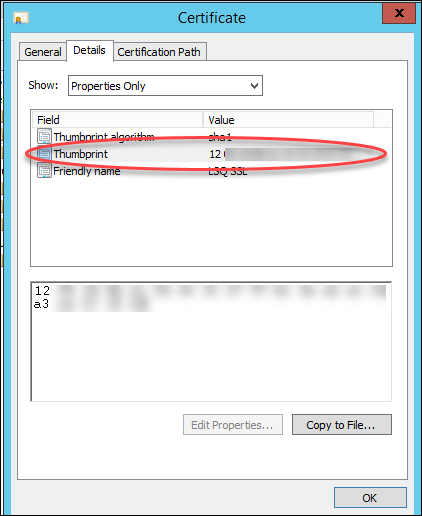
3. On the Certificate pop-up, navigate to the Details tab, then copy the Thumbprint value of the certificate. You will need to paste this value in the LeadSquared Authentication Provider wizard as instructed below.
5. LeadSquared Authentication Provider Settings
This section assumes that you’ve completed the steps described above on the ADFS server side. Now log-in to the LeadSquared application and follow these steps –
- Navigate to My Profile>Settings>Security>Authentication Provider.
- Click the slider
 to Enable Third Party Authentication Provider.
 - On the Choose Authentication Provider window, click Active Directory.
- Alongside ADFS URL, enter your server URL. Be sure to choose the correct protocol – as either http:// or https://
- Now paste the value of the Certificate Thumbprint (see Step 3 under the ADFS Certificate Thumbprint section above).
- Click Test.
- Now enter your Active Directory password and click Next.
- Once the password is verified, you’ll receive a success message. Click Enable, then click Yes on the Enable Authentication Provider pop-up.
Your LeadSquared account has now been integrated with your Active Directory.
Note:
- The next time you log in to your LeadSquared account, you must enter your AD credentials*.
- To disable the integration, just click the slider alongside Enable Third Party Authentication Provider on the Authentication Provider Settings page.
*The email address of your LeadSquared users may be different from the AD user. For example, you may have your employee Id as the AD login. If this is the case, you can create a custom user field to store these login Ids.
When a LeadSquared user logs in with the regular email address, we’ll internally pick the value from the custom field and send it to your AD for authentication. Please reach out to support@leadsquared.com to enable this feature.
6. FAQs
1. Why are users unable to log in to the LeadSquared application when ADFS is configured?
- Issue Description: Users are facing an error while trying to log in to the LeadSquared application, even when entering the correct credentials.
- Root Cause: This error typically occurs when the client side’s Active Directory (AD) is failing. The login authentication is handled by ADFS (Active Directory Federation Services), not by LeadSquared.
- Solution: Please reach out to your internal IT team, as the issue is related to your ADFS configuration.
2. Can we disable ADFS for specific users?
- Issue Description: Can ADFS can be disabled for specific users.
- Solution: If ADFS is enabled, it is applied to all users by default. It cannot be disabled for specific users because it is enabled at the account level.
Any Questions?
Did you find the content here helpful? Leave a comment below and we’ll be happy to address your doubts.