


Get Started
Sales Suite
Field Ops
Marketing
Service CRM
Integrations & Apps
FloStack
How to Create a Facebook Custom Tab for Lead Capture?
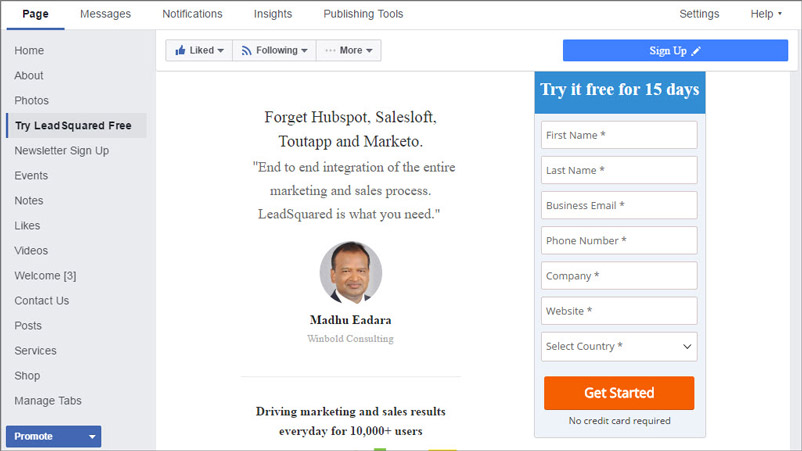
This article would help you to understand how to create a Facebook Custom Tab for Lead Capture using LeadSquared landing pages and iFrame host. This would help you capture leads from your Facebook page, when someone fills the form out.
Your end product would look something like this:
How to create the Facebook custom tab
Here are the steps to display your landing page as an iframe on your Facebook page:
Step 1: Go to iframehost.com. The window in the below image appears:
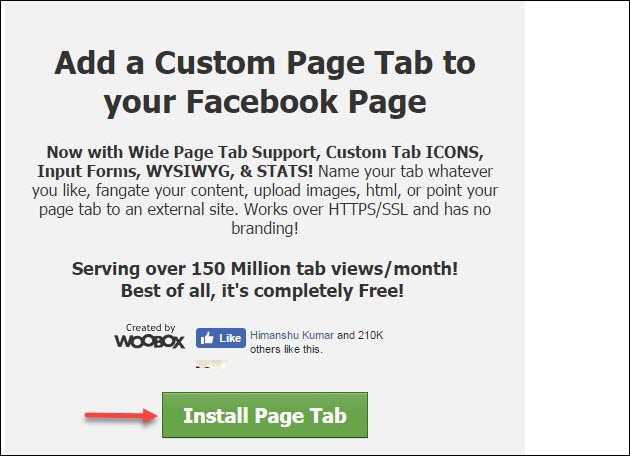
Step 2: Click Install Page Tab. It redirects you to a window where you can select the Facebook page where you wish to add this custom tab.
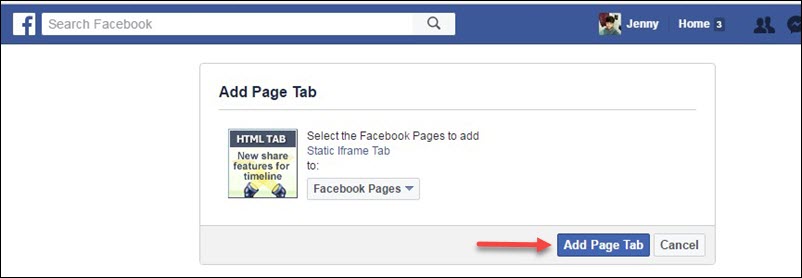
Step 3: Click the drop-down list highlighted in the image above and select the page to which you want to add your landing page.
Step 4: Click Add Page Tab. It redirects you to your Facebook page.
Step 5: Click Configure Page Tab.
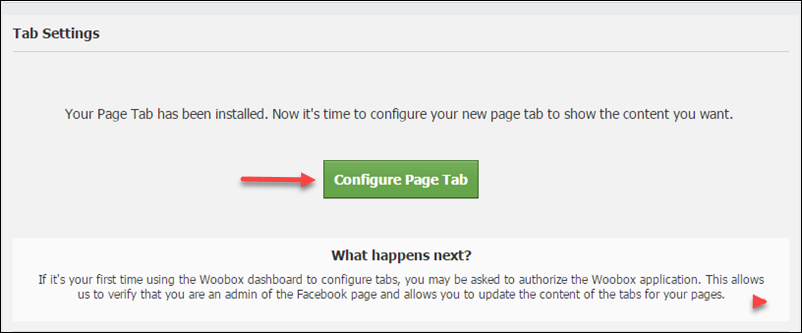
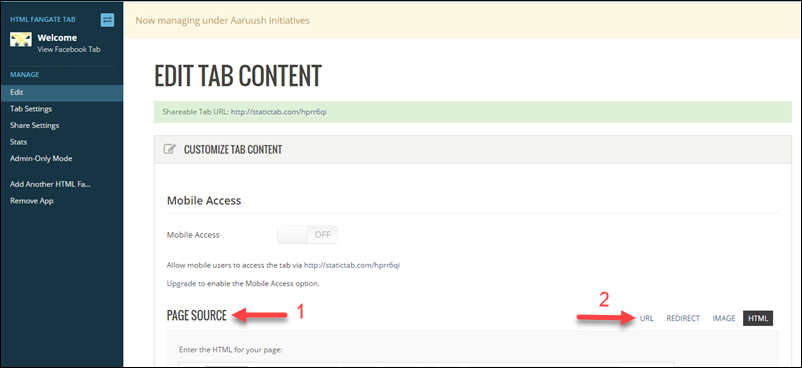
Step 6: You will now be redirected to the following woobox page.
Under the Page Source column, click URL.
Step 7: Enter the URL of your landing page. Select height as per your preference (around 700px would be visible in one fold). Keep FanGate settings as “off.”
Note: The URL should be https, as Facebook does not accept an unsecured URL. (Get the https url of your LeadSquared landing page. Here’s how you can do it.)
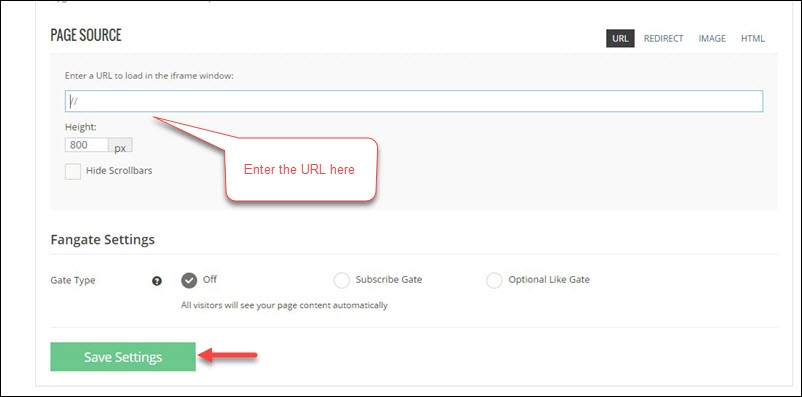
Step 8: Click Save Settings.
Step 9: Click Tab settings to change the Name and Image to completely customize your Facebook custom tab.
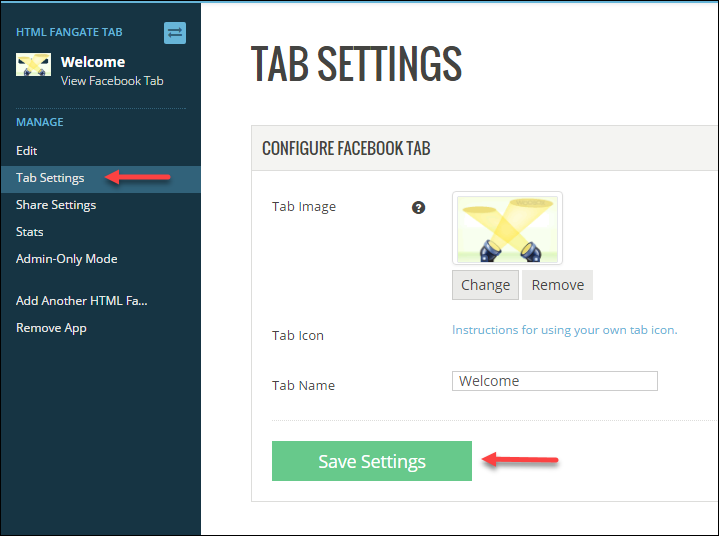
Step 10: Once the settings are changed, click Save Settings.
Once this is done, go to your Facebook page and refresh. Your required tab along with the landing page is now live on your Facebook page.
This seems to be out of date. Could you please update it if there is still a way to add an iframe tab to a Facebook page or Instagram?
Thanks for pointing this out, Michael. I’ll update this article, and let you know once it’s done.