


Get Started
Sales Suite
Field Ops
Marketing
Service CRM
Integrations & Apps
FloStack
How to Customize the Lead Card on Mobile?
1. Feature Overview
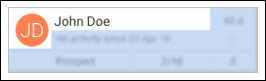
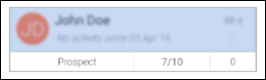
You can customize the lead card on the mobile app to show the lead details you want to see. Here’s what the default lead card looks like –

It can be customized to include the fields and identifiers your users need to see.
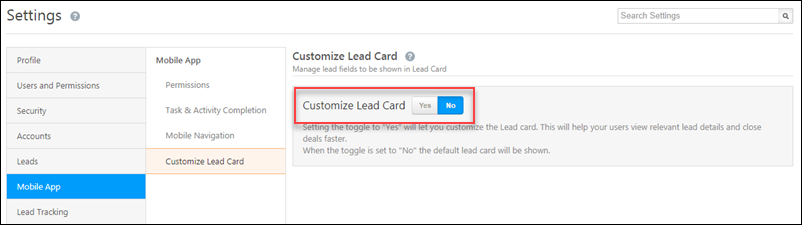
2. Customize the Lead Card
To customize the lead card on your mobile app –
- Login to the LeadSquared web application
- Navigate to My Profile>Settings>Mobile App>Customize Lead Card.
- Alongside the Customize Lead Card setting, click
 .
. - Drag and drop the fields from the hidden field column into the appropriate sections.
- Click Save.
2.1 Lead Identifiers
The default lead identifiers include –
- Lead Name: First Name + Last Name
- Email Id
- Phone Number
- Default text option.
These identifiers are displayed as 4 different options. If the first option field values are blank, the second option will be displayed. For example –
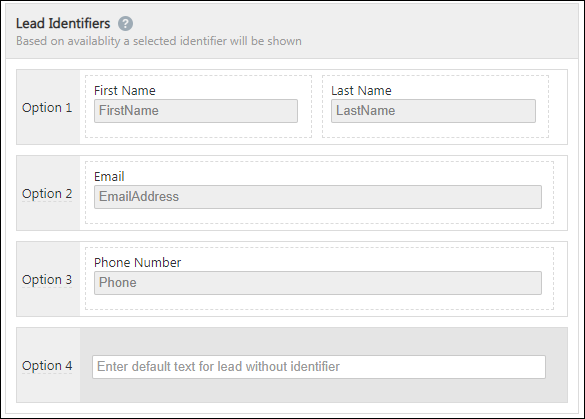
With the configurations in the screenshot above,
- If first name + last name are blank fields then option 2 – Mobile Number will be displayed as the identifier.
- If Mobile Number is also blank, then option 3 – Secondary Email will be displayed as the identifier.
- If Secondary Email is also blank, then option 4 – a static text message will be shown.
Note:
- All field types can be added
- Two fields can be added to each option. Both fields will be displayed with a space in between them.
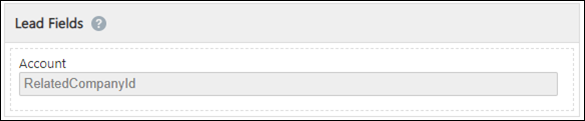
2.2 Lead Fields
You can add only one lead field here. It is also not mandatory to add a field here, you can leave the section blank.
2.3 Lead Parameters
The lead parameters are displayed at the bottom of the lead card. It is mandatory to add at least 1 field to this section, and a maximum of 3 fields can be added.
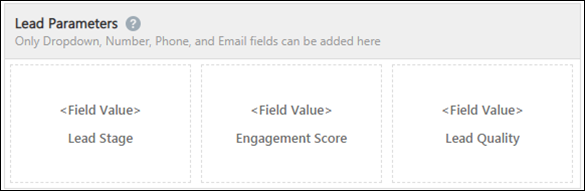
Note: Only the following field types can be added to this section –
- Single select dropdowns
- Maximum 3 fields can be added
- Numbers
- Maximum 3 fields can be added
- Email
- Maximum 1 field can be added
- Email Icon will be shown on the Mobile App
- Phone number
- Maximum 1 field can be added
3. Lead Card on Android vs. iOS
Once you’ve customized the lead card, it will reflect instantly on the mobile app for all users.
Note:
- Clicking on the email icon will redirect the user to an email platform of his choice with the email field value auto-populated in the ‘Send to’ section of the email.
- Clicking on the phone icon will redirect the user to the phone dialler with the field value auto-populated in the dialler.
- If the field value is blank, then it will be displayed as a greyed out icon.
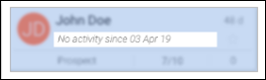
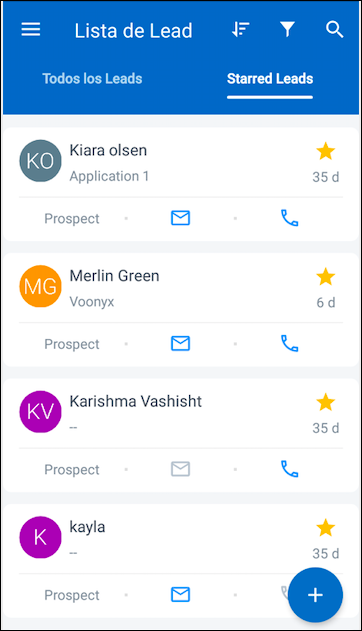
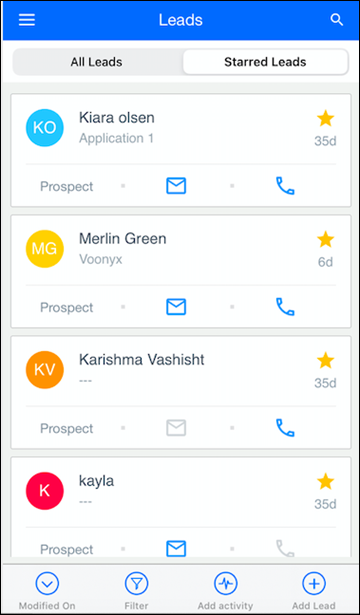
Here’s what a customized lead card looks like on Android –
iOS –
4. Reset the Lead Card to Default
To revert back to the default lead card –
- Navigate to My Profile>Settings>Mobile App>Customize Lead Card.
- Alongside the Customize Lead Card setting, click
 .
. - On the confirmation dialog box, click Reset Lead Card.

Any Questions?
Was this helpful? Leave us a comment below and let us know!
How to add last acivity below lead name?
Hi, Umesh. If you’re looking to customize the lead card, and add the Last Activity field to the card, that won’t be possible. However, the Last Activity field is available on the default lead card. Hope this helps.