


Get Started
Sales Suite
Field Ops
Marketing
Service CRM
Integrations & Apps
FloStack
Lead Automation Actions – Messaging
1. Feature Overview
Automate the entire process of contacting your leads!
Send emails and SMS to leads at the opportune moment. For example,
- Send a warm welcome message when a lead signs up on your website.
- A nurturing email to engage a lead who visited a pricing page.
- A thank you note after you’ve made a sale.
- Send an automated email on special occasions/holidays.
- And lots more…
2. Send Email
This allows you to send emails to leads based on the condition satisfied.
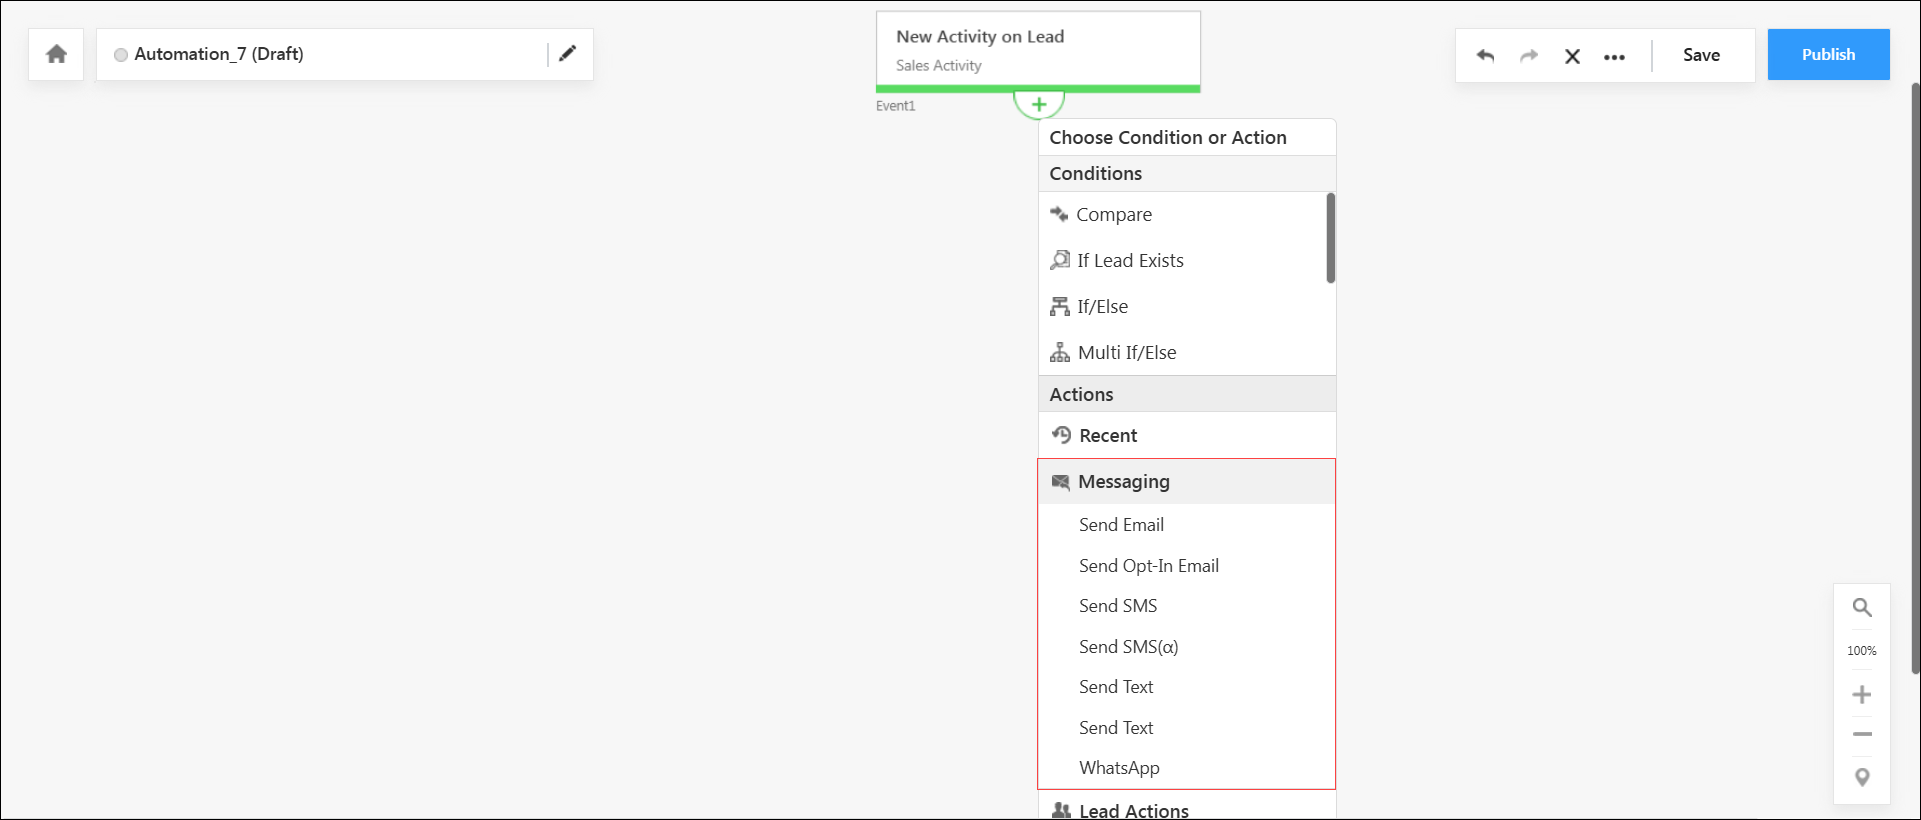
- After clicking the Add
 icon on the previous card, under Actions, click Messaging, then click Send Email.
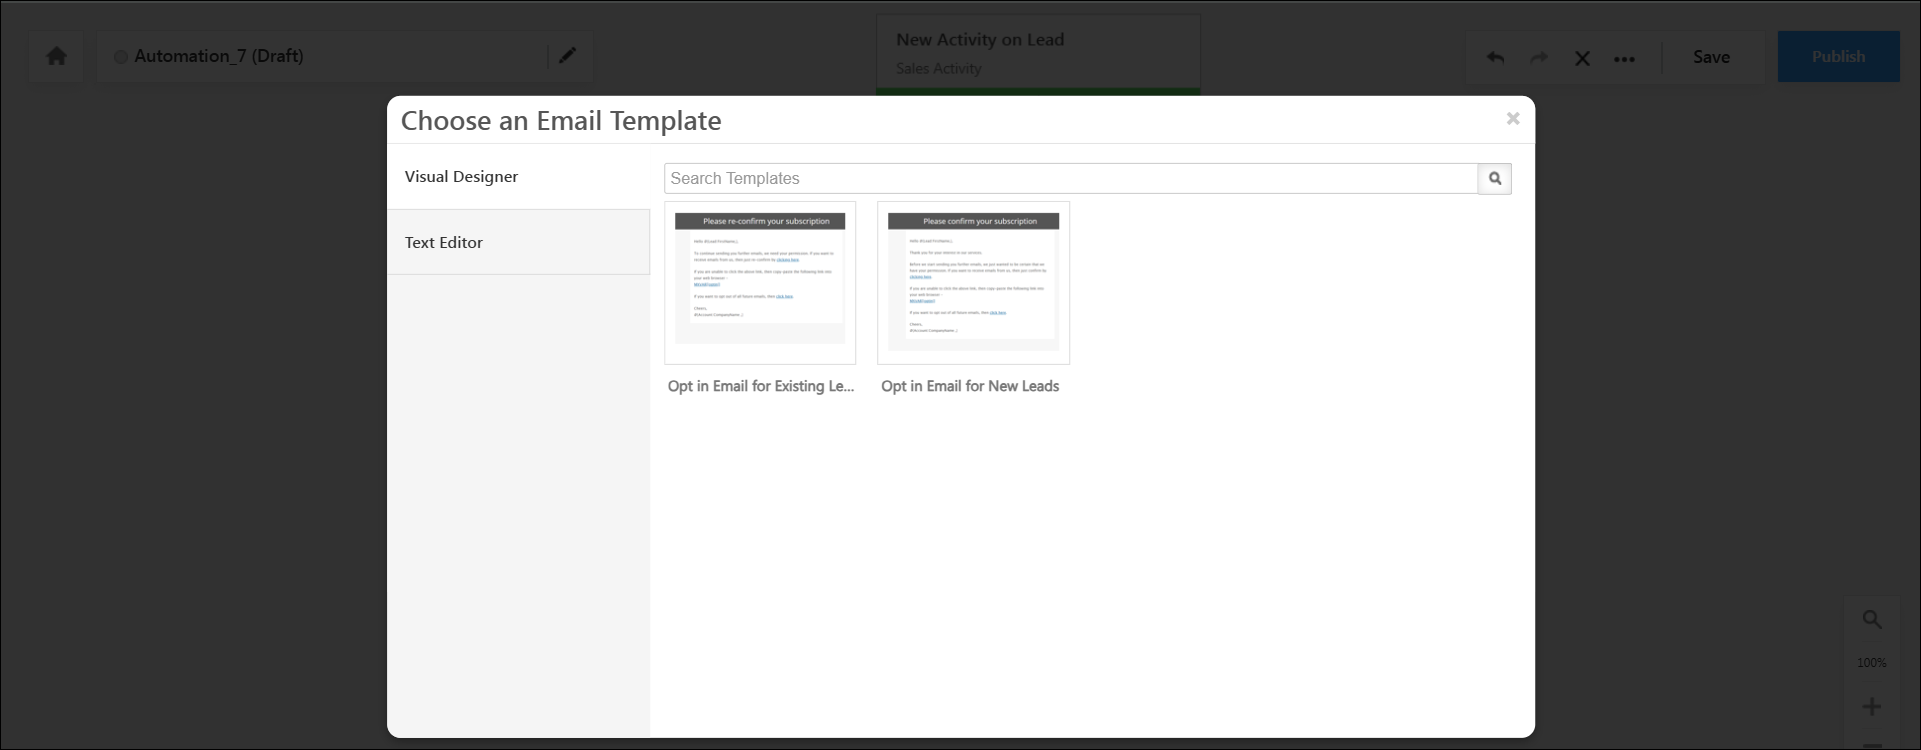
 - On the Choose an Email Template pop-up box, select an existing email template or create a new one.

You’ll be directed back to the automation page and the send email action will be visible.
3. Send Opt-in Email
Email Opt-in settings help protect your lead’s privacy rights. By combining these settings with the email opt-in automation action, enable leads to choose whether or not they want to receive emails from your organization. To know more, refer to Data Protection and Privacy Settings.
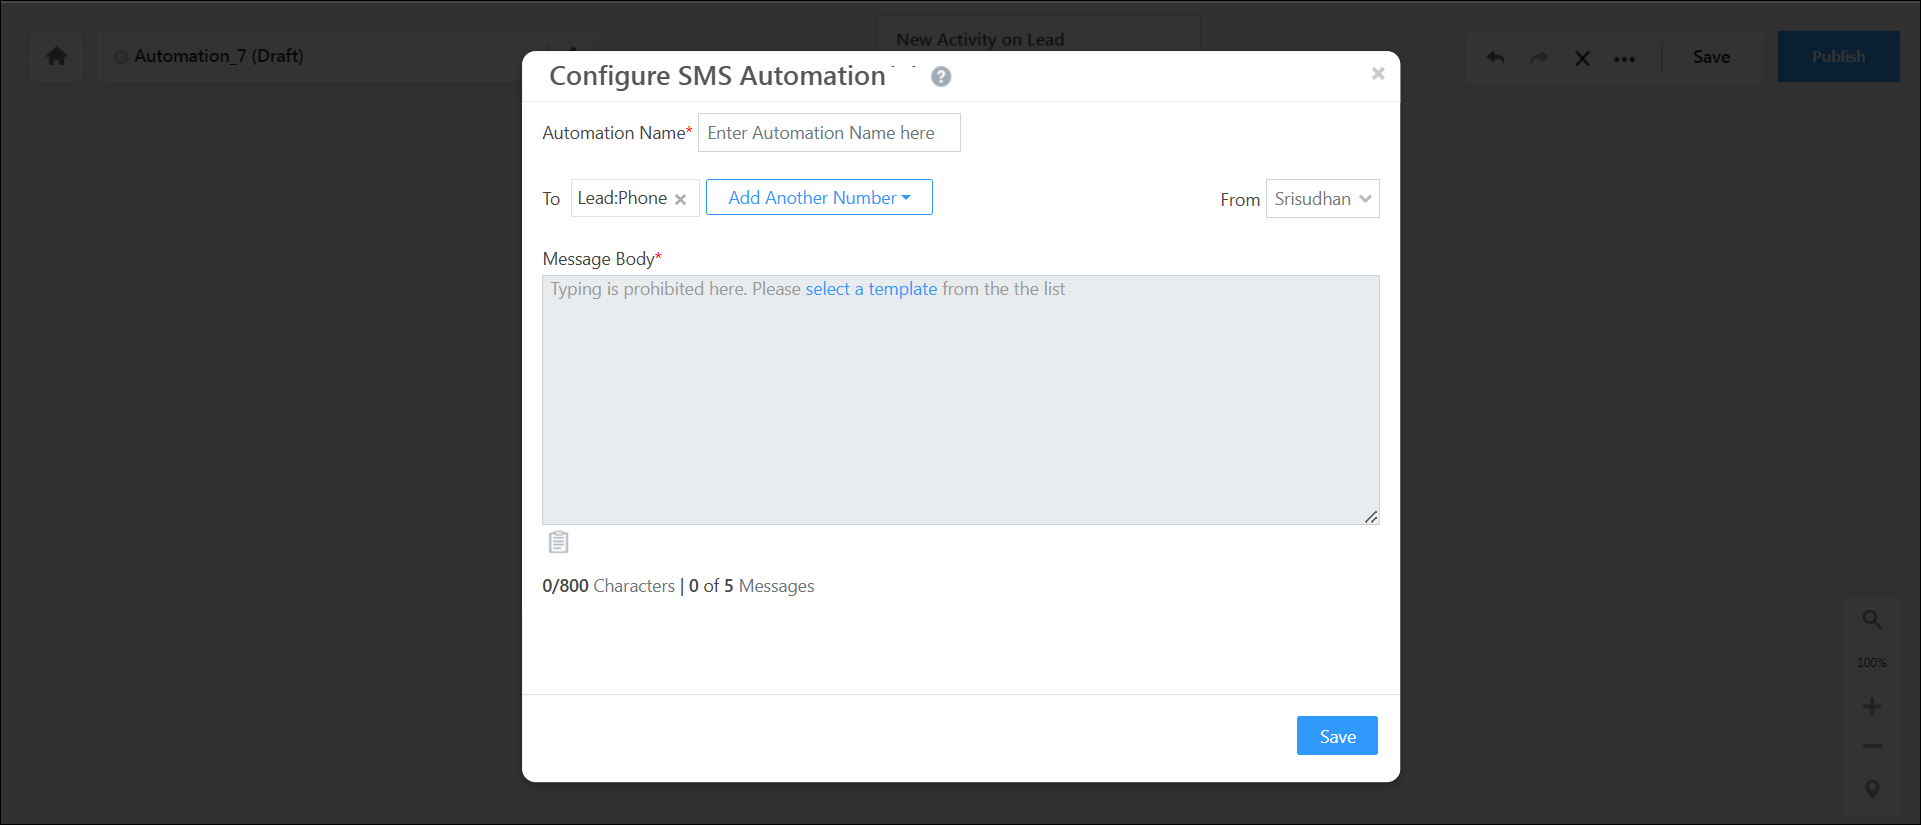
4. Send SMS
Sending SMS through automation required you to first install and configure an SMS connector. See How to Send SMS using Automation, for all the details.
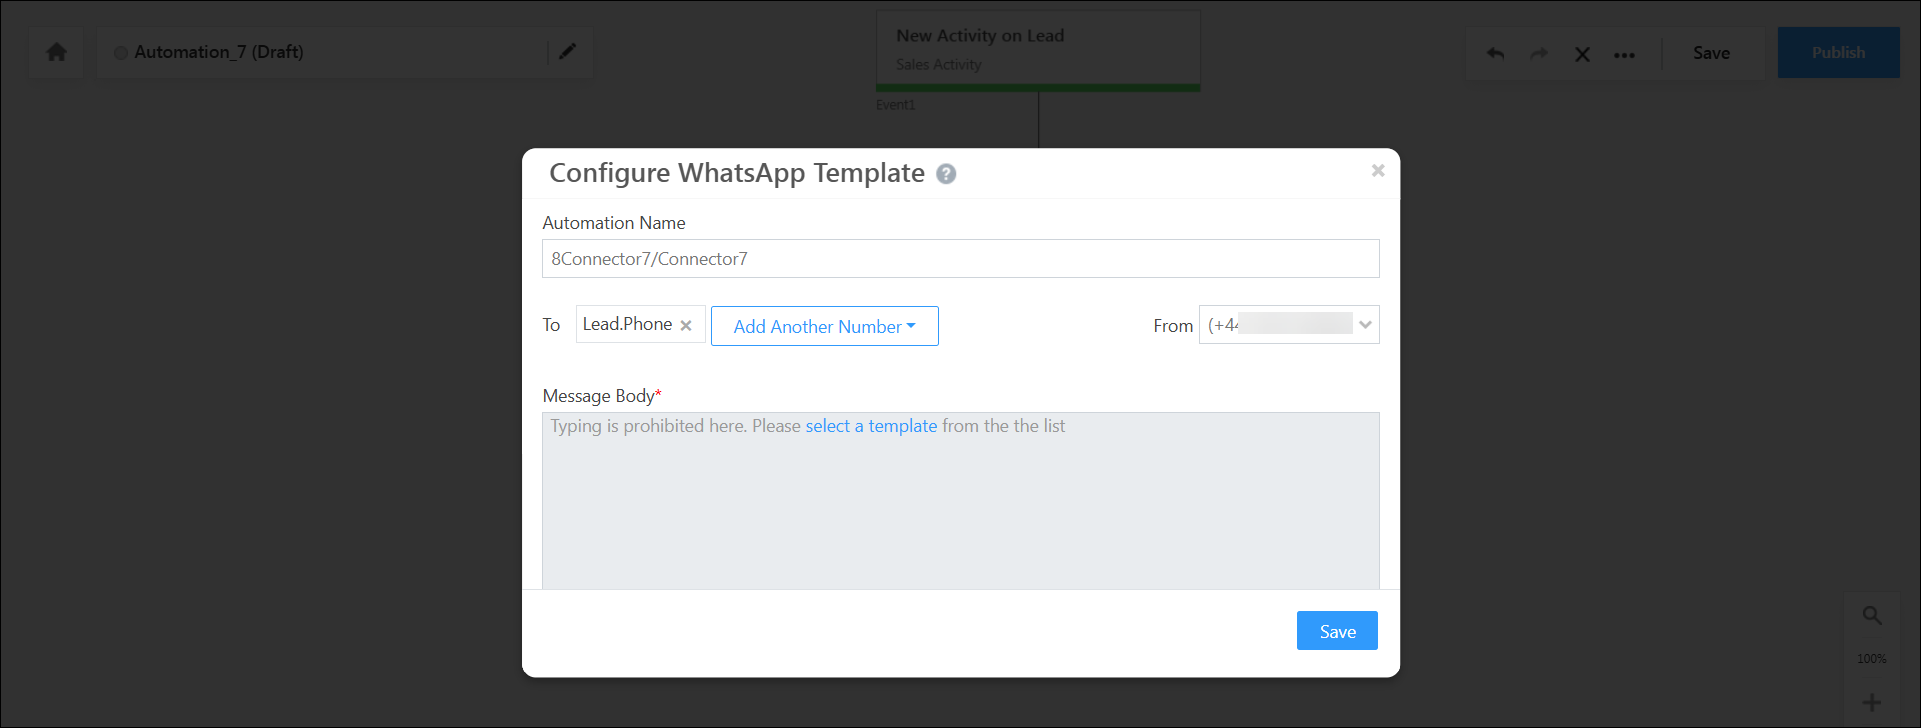
5. WhatsApp
To send automated WhatsApp messages to your leads, refer to Send WhatsApp messages using Automations.
6. Troubleshooting
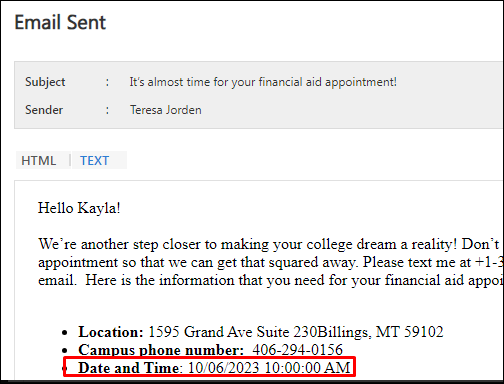
Issue: Appointment times vary between text reminders and email reminders for users in different time zones.
Example:
Text Reminder

Email Reminder
Root Cause:
This discrepancy occurs due to expected platform behaviour:
- Email Reminders: The “Send Email” card loads the appointment or DateTime values statically based on the company’s time zone set in the “Company Profile” settings. As a result, email reminders reflect the time according to the company’s time zone.
- Text Reminders: The “Send Text” card dynamically pulls data from the LeadSquared database. The DateTime values are updated based on the user’s time zone, as the telephony connector maps the DateTime according to user-specific data.
Solution:
Enable the ‘Enable Automation Mail Merge as per ‘From’ User’s Time Zone in Email Cards’ advanced configuration settings shown below. If you can’t find the setting, contact us at support@leadsquared.com.

FAQs
1. Can I view a report of the emails sent through my automations?
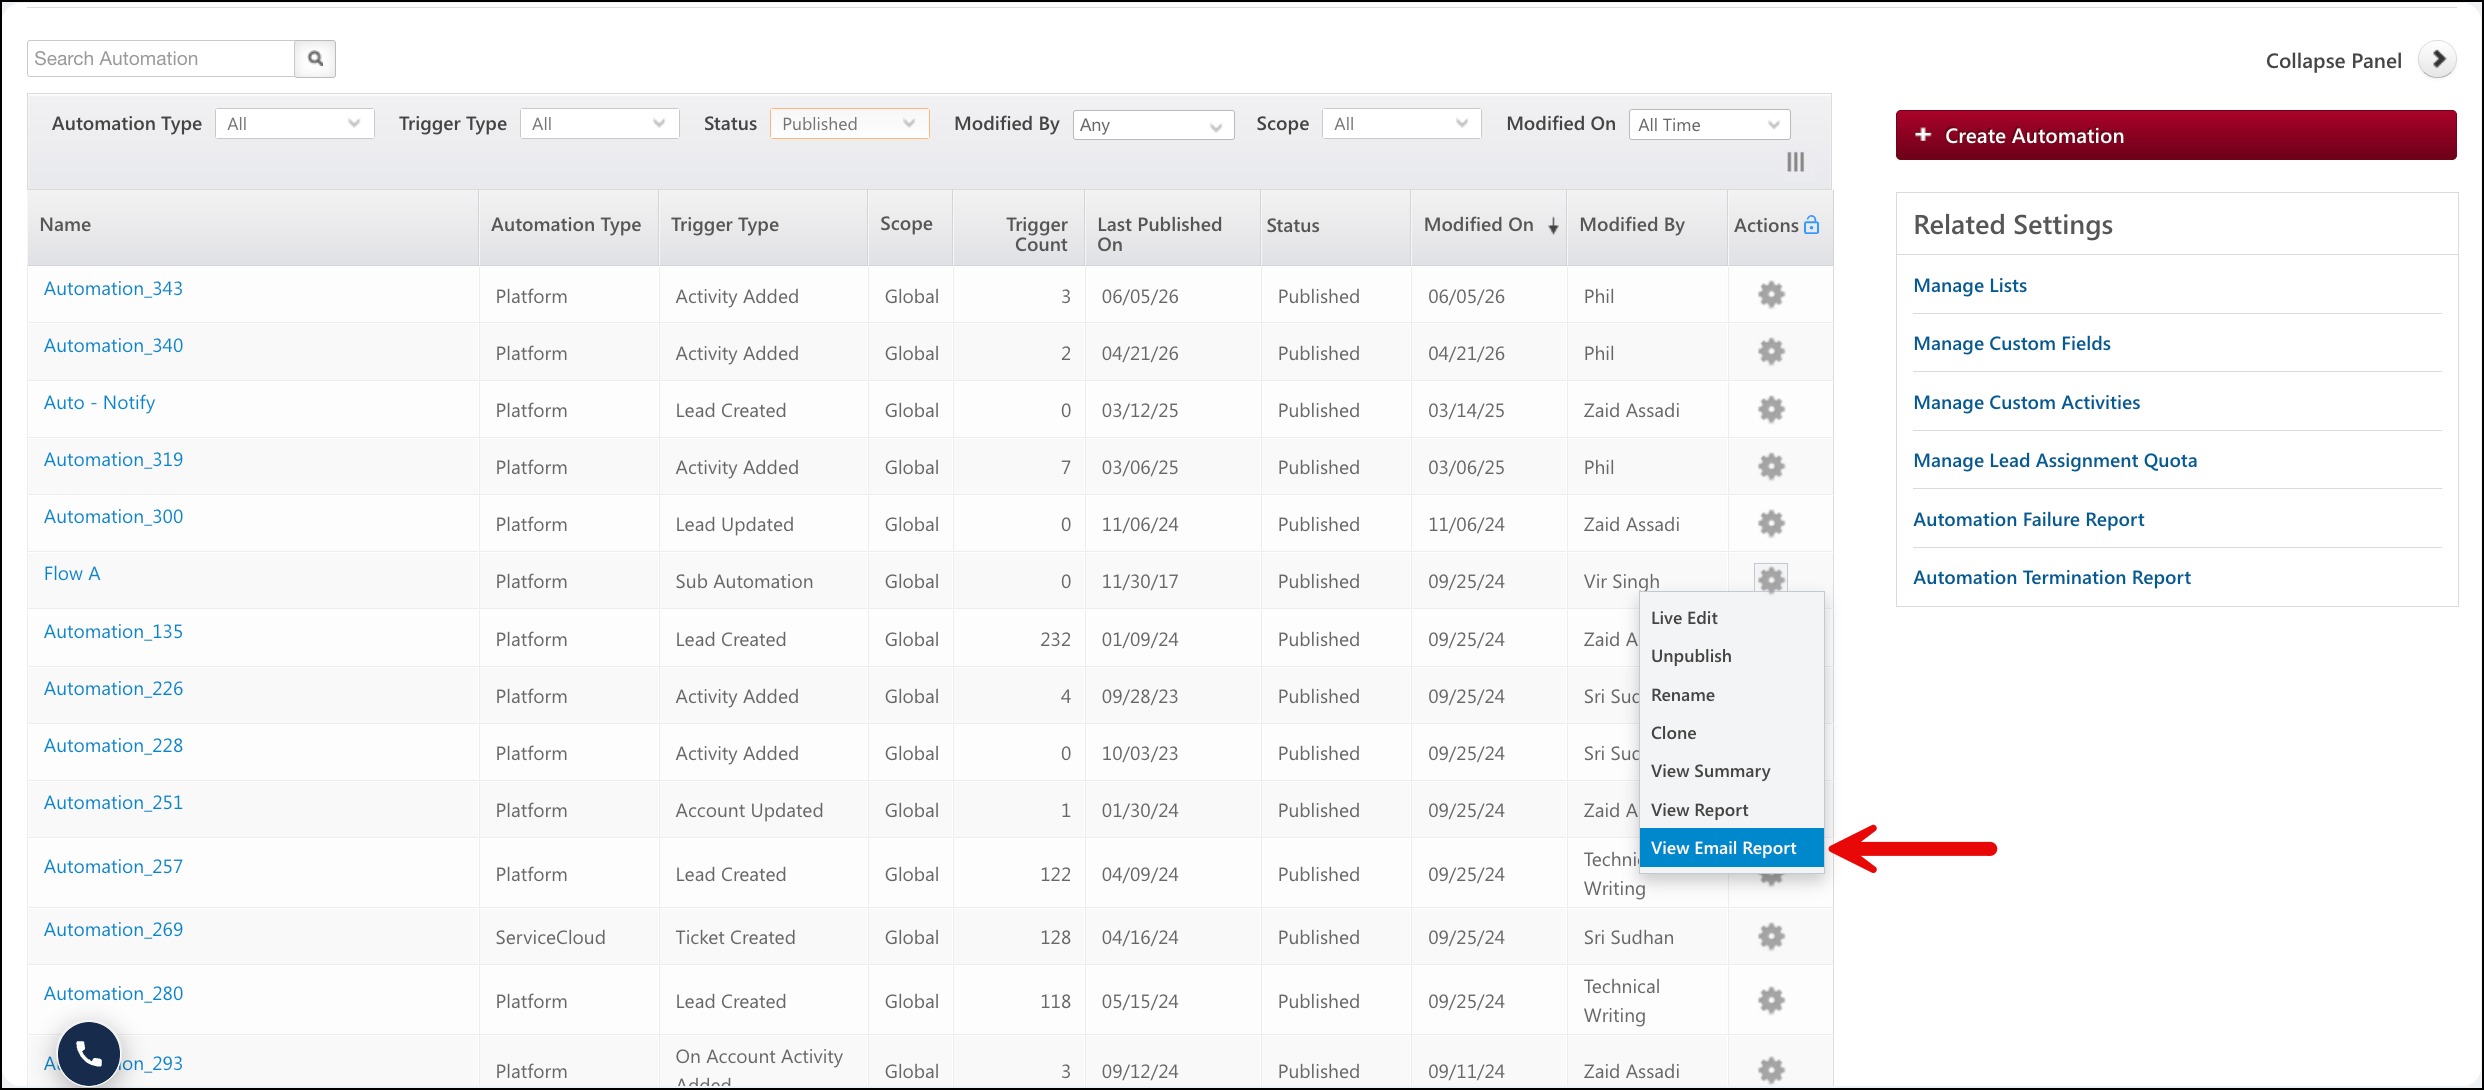
Yes. If you have a published automation that contains a Send Email action, you can view its email analytics from the Manage Automations page. To view the email report for an automation:
- Navigate to Workflow>Automation.
- Hover your cursor over the settings icon next to the published automation, and click View Email Report.
Any Questions?
Was this article helpful? Leave us a comment and let us know.