


Get Started
Sales Suite
Field Ops
Marketing
Service CRM
Integrations & Apps
FloStack
How to Rename the Lead Entity to Reflect Your Business Terminology
1. Feature Overview
A ‘lead’ in LeadSquared refers to both an individual (a person, a contact, etc.) and an enquiry (What are the services the lead is looking for? Through which marketing channel did the lead find us?). The ‘leads’ terminology works best for businesses whose objective is to acquire customers for a single product or service. But there are a few scenarios, for certain businesses when the usage of ‘leads’ doesn’t entirely hold true. These scenarios are for –
- A business where the lead enquires for multiple products. An example is a bank, where the same person might enquire for a savings account, a credit card and a vehicle loan. In such cases, you would have to distinguish the customer from the enquiry. Here, you can rename the ‘lead’ to ‘Contact’ or ‘Applicant’ or anything that suits the business, and use ‘Opportunities’ to model each enquiry.
- A business where salespersons deal with leads that are referred to by a specific noun. Examples of this are –
- An education platform, where ‘leads’ can be renamed to ‘Students’.
- A healthcare service, ‘leads’ can be renamed to ‘Patients’.
In the above-mentioned scenarios, the ‘lead’ display name can be changed to better reflect the nature of the business. This change will get displayed across the LeadSquared platform – on the main menu, the Manage Leads page and the Lead Details page. 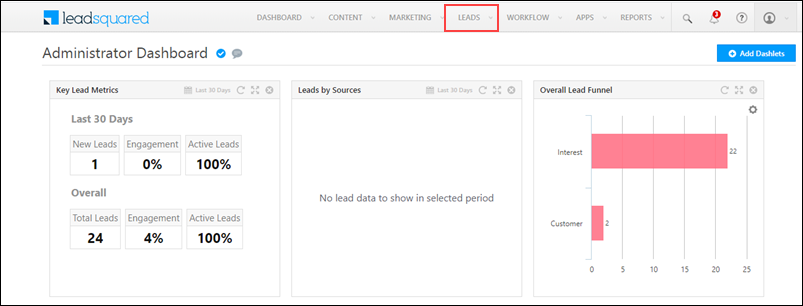
Exclusions:
- Lead and Contact/Person will continue to remain synonymous in LeadSquared.
- The name change will not change or affect the display name on the Settings page. This will continue to remain as Leads.
- The name change will also not change or affect the display name in APIs and Reports. This will continue to remain as Leads.
2. Prerequisites
You must be the Admin of your LeadSquared account.
3. Process
You can change or edit the display name of your Leads on the Lead Settings page.
- From the main menu, navigate to Profile>Settings>Leads>Lead Settings>Rename Leads.
- On the Rename Lead tab, under Actions, click the
 icon.
icon. - On the Rename Lead pop-up, change the Display Name and Plural Name, and click Save.
- On the Confirmation pop-up, click the Confirm button.
- You will receive a confirmation notification at the top of the page once the name change has been accepted by the system.
Notes:
- It will take up to one hour for the name change to reflect in your account.
- If you want to revert back to the default name, you can edit it on the Lead Settings page. Click the icon to change the name.
4. View Changes
The change in name will reflect across the main menu.
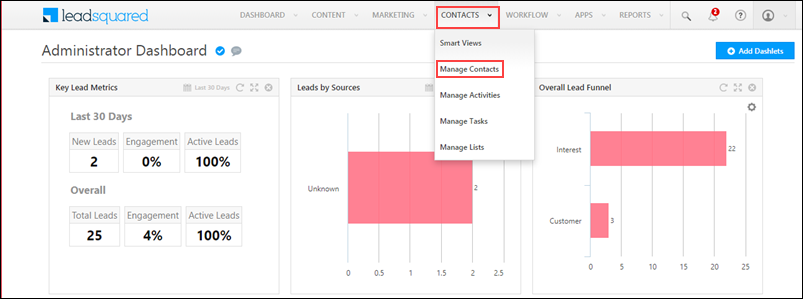
And also the Manage Leads page, and the Lead Details page.
Any Questions?
Did you find this article helpful? Please let us know any feedback you may have in the comments section below. We’d love to hear from you and help you out!