1. Feature Overview
LeadSquared’s One-to-One Email feature lets you send personalized emails directly to individual leads (immediately or scheduled for later). You can also include attachments, CC/BCC other leads, and send emails on behalf of lead owners.
Admins can –
- Restrict permissions for these features from the Email Settings page.
- Configure email settings for other users. To know more, see Email Settings – Feature Guide.
2. Prerequisite
You must have permissions enabled to send emails to leads.
3. Send One-to-One Emails to Leads
3.1 From Manage Leads Page
- Navigate to Lead Management>Leads.
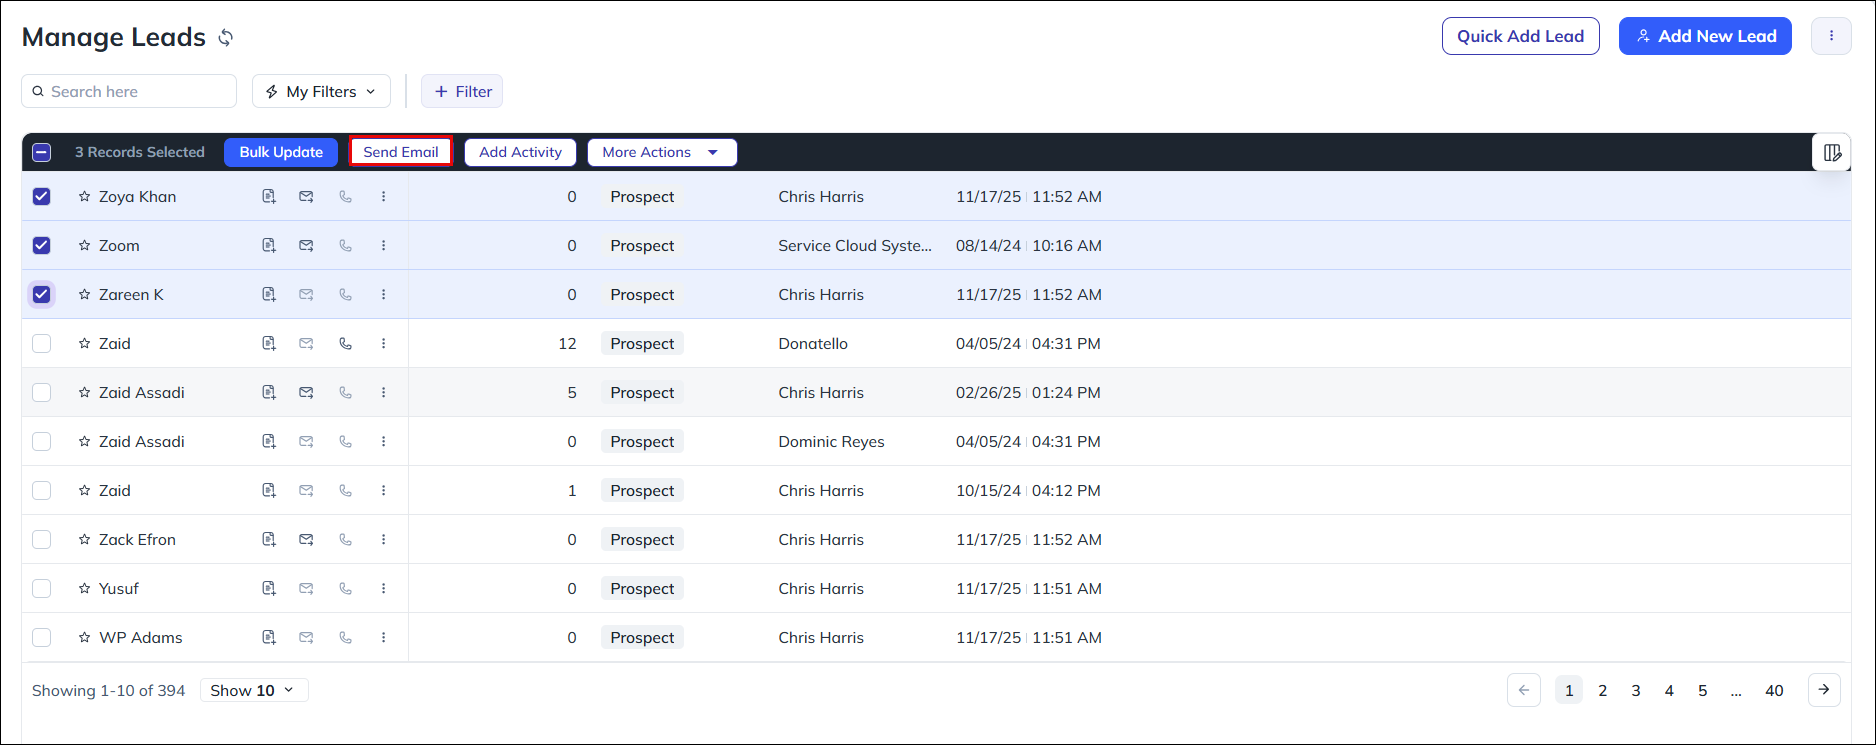
- Alongside the relevant lead, click the Send Email icon.
- Once you’re done drafting the email –
- If you need to send the email immediately, click Send.
- If you wish to schedule the email delivery for a later time, click the Schedule Email icon.

You can also select multiple leads and send them an email.
3.2 From Lead Details Page
- Navigate to Lead Management>Leads.
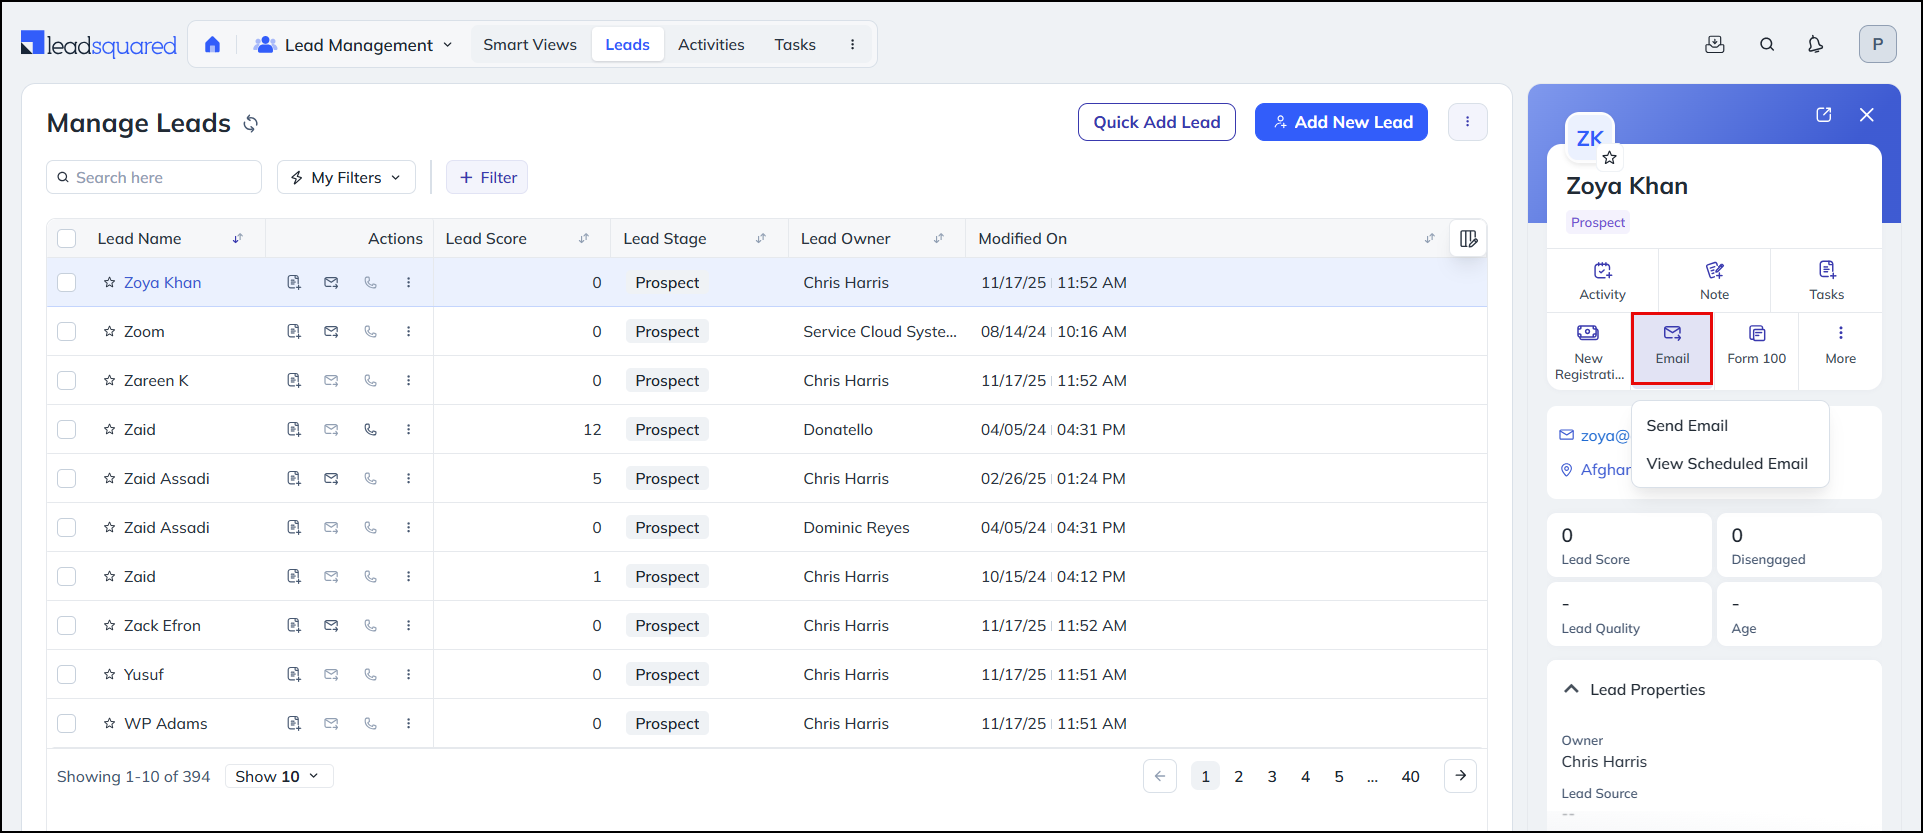
- Click the name of the relevant lead to view the lead’s details.
- Click Email.
- From the dropdown box, select Send Email if you need draft an email to send immediately.
- Once you’re done drafting the email –
-
- If you need to send the email immediately, click Send.
- If you wish to schedule the email delivery for a later time, click the Schedule Email icon.

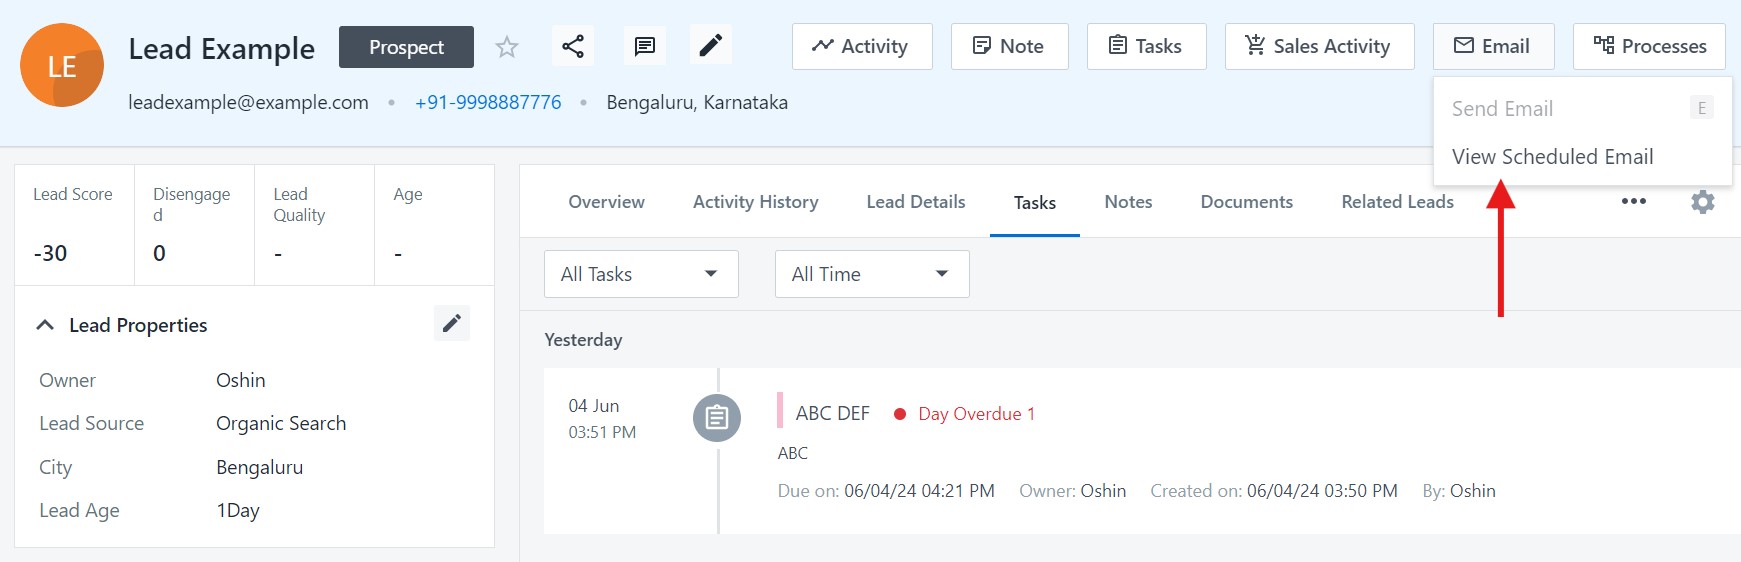
You can view and cancel the emails that you have scheduled to send later on the Lead Details page.
- Click Email.
- Select View Scheduled Email.
- You can see the details of the scheduled email on a pop-up.
- To cancel the email, click Cancel on the pop-up.
3.3 From Leads Quick View
Click the relevant lead row to open the quick view. You can send emails to the lead from here.
3.4 From Smart Views Page
- Navigate to Lead Management>Smart Views.
- Alongside the relevant lead, click the Actions icon and select Send Email from the dropdown.
- Once you’re done drafting the email –
- If you need to send the email immediately, click Send.
- If you wish to schedule the email delivery for a later time, click the Schedule Email icon.
3.4 Through Automation
- Navigate to Workflow>Automation and click Create Automation or open an existing automation.
- Click the plus icon and under Messaging, click Send Email.
- Choose an Email template or design your own email from scratch.
- Once you’re done, save or publish the automation.
3.5 From Manage Lists
- Navigate to Lead Management>Manage Lists.
- Alongside the relevant list, click the Send Email icon.
- Once you’re done drafting the email, send a Test Email to yourself or others to make sure your content renders correctly.
- Then –
- If you need to send the email immediately, click Send Now.
- If you wish to schedule the email delivery for a later time, click the Schedule Email icon.
4. Send Files As Attachments
When sending one-to-one emails to your leads, use the Attachment button to attach files to the email (uploaded to the Images and Documents Library or through lead notes).
Once the mail is delivered, you can view the attachment on the Lead Details page, under the Activity History tab.
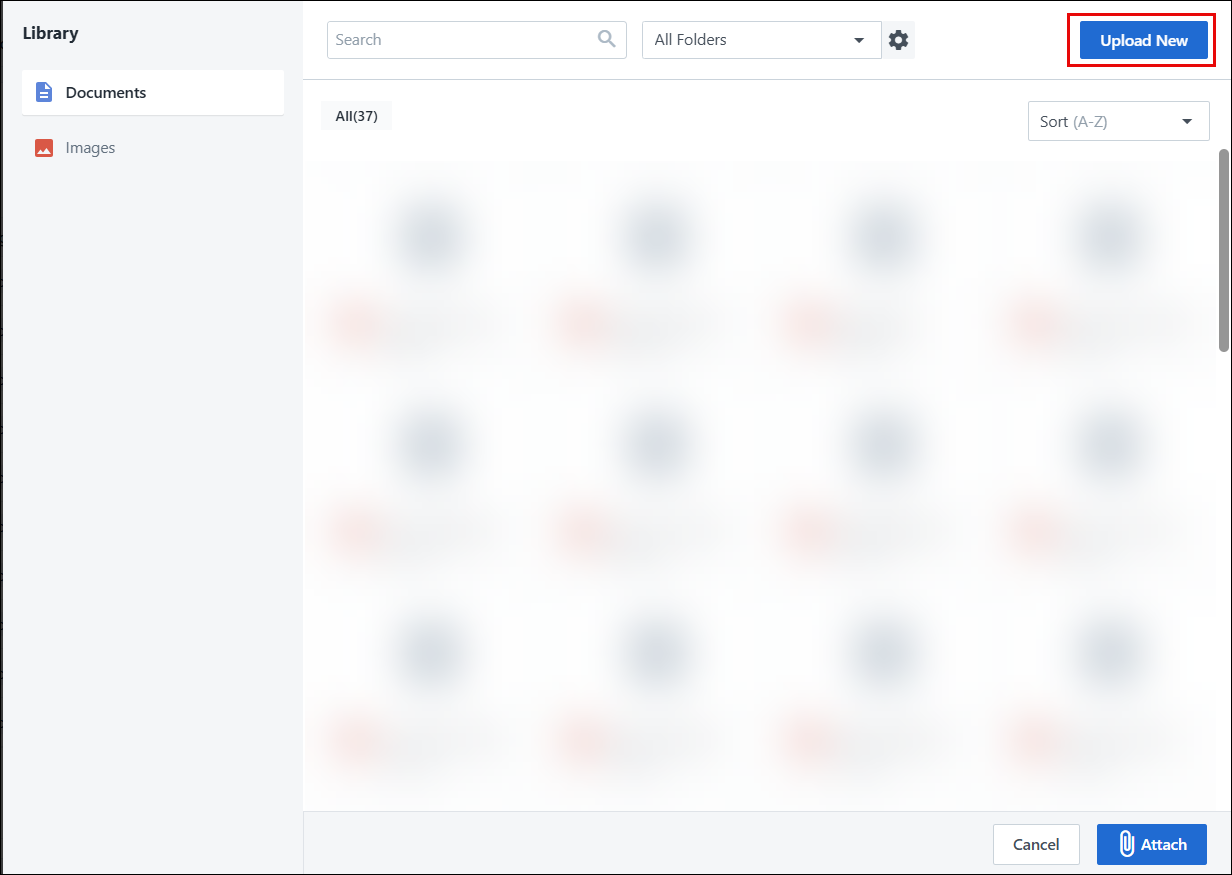
While attaching a document to the email, you can upload a new document from your device. Click the Upload New button and select the relevant document to be added to the library.
5. CC/BCC other leads in your email
- On the email designer, next to the To address, click CC or BCC.
- Enter the email addresses of the relevant leads on the CC or BCC field.
Troubleshooting
YouTube Video Preview Glitch in One-to-One Email
- Issue: A YouTube video was added to an email template created using the Visual Designer (Email Campaigns feature). While the video preview appears correct in the test email, it becomes glitched when sending a one-to-one email.
- Cause: The Visual Designer is designed for email campaigns and not for one-to-one emails. When a template created in the Visual Designer is used for a one-to-one email, it opens in the Rich Text Editor, which may alter the formatting and cause display issues with the video preview.
- Solution: To ensure the video preview appears correctly in one-to-one emails, create the template using the HTML Editor or Rich Text Editor, as these are compatible with one-to-one emails.
Any Questions?
Did you find this article helpful? Please let us know any feedback you may have in the comments section below. We’d love to hear from you and help you out!


Is there a place where you can see one to one emails that you’ve scheduled?
Hello Katie.
1. Navigate to the relevant lead details page.
2. On the top right corner of your screen, click Email.
3. Select View Scheduled Email.
Some of our clients have multiple emails like a Designated Point of Contact. When an email is sent, and that activity is added to the activity log, is there a way to display “who” (the To: field) it was sent to?
Hi, Zak. Currently, we do not display the recipient’s email address in the Activity History section.