


Get Started
Sales Suite
Field Ops
Marketing
Service CRM
Integrations & Apps
FloStack
Create and Schedule Email Campaigns
1. Feature Overview
With LeadSquared’s Email Campaign feature, you can –
- Design and send powerful Email Campaigns to your prospect base within minutes.
- Schedule your emails to be sent at a later date and time.
- Engage with your existing Leads and nurture them by sending updates, offers, greetings, or informational content.
- Use Automation to send email campaigns based on lead behaviour.
- Track the activities of your Email recipients (leads).
- Gain useful insights from Email Campaign Reports and Analytics.
2. Prerequisites
You must be an Administrator or Marketing User.
3. Create Email Campaign
Navigate to Marketing>Email Campaigns and click Create Email Campaign.
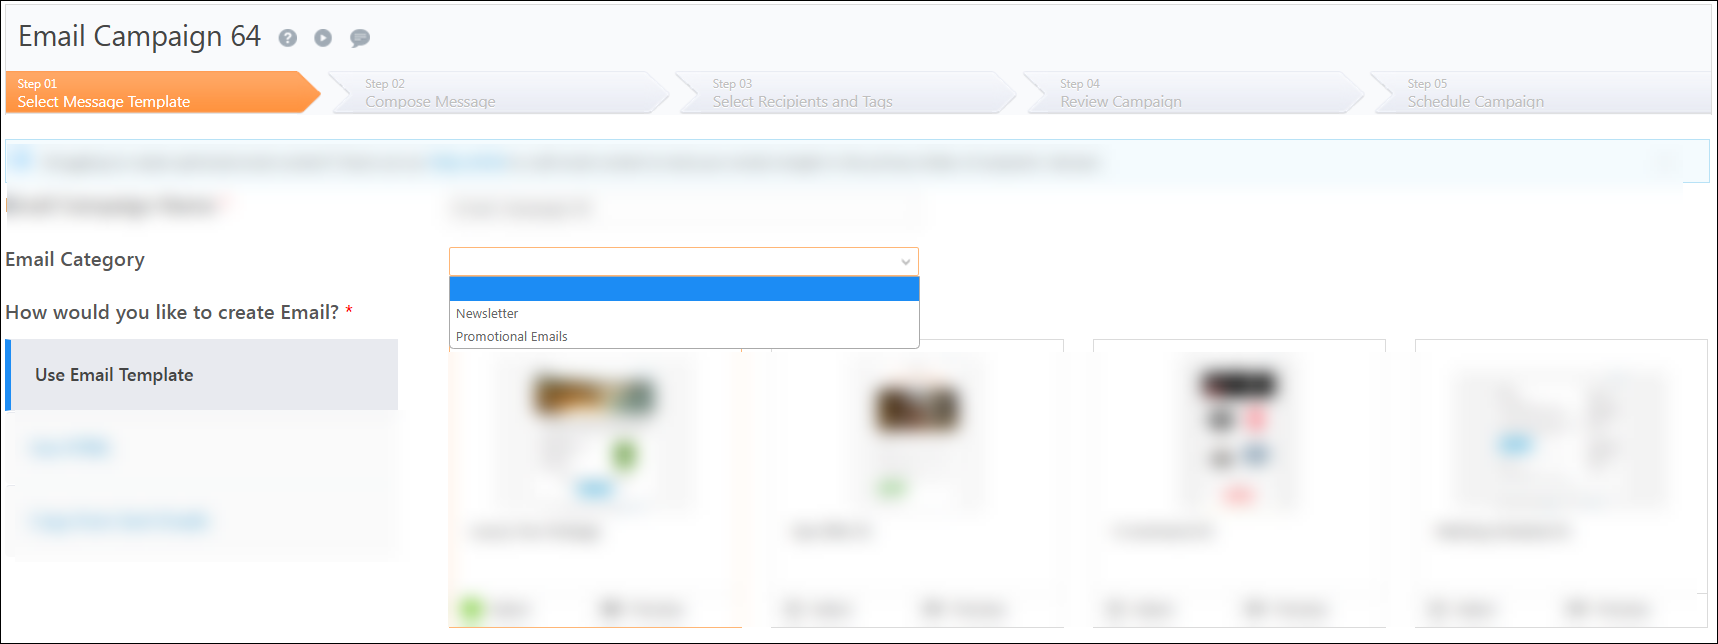
3.1 Select Message Template
- Enter the values for Email Campaign Name and Email Category.
- Create your Email by
- Using available Email Templates.
- Using HTML (see HTML Editor and Use your own Custom HTML to design Email Template)
- Copying the template of your Sent Emails.
- Click Next.
Note:
- You can also choose a blank template from the available templates and design your email from scratch. To know more about how to use the visual designer, see Bee Editor.
- For information on simple, plain-text emails, see Plain Text Emails.
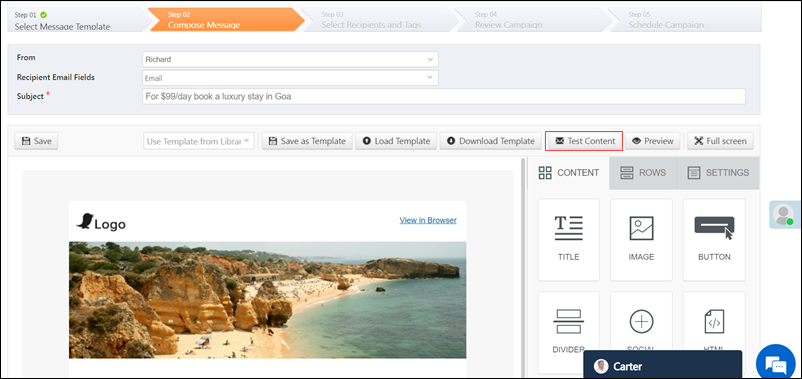
3.2 Compose Message
Draft personalised messages for your leads in this section and test your email campaign. Format the text by using the standard icons on the editor panel to –
- Add different structures and text boxes.
- Add buttons and icons.
- Add images.
- Change font size.
- Add colour to text and background.
- Adjust the alignment of content structures.
- Add bullets and numbers.
If you’ve chosen HTML as your base template –
- To write using HTML or copy/paste your content, select HTML Message.
- Once you finish writing your HTML message, click Text Message.
- Click Copy from HTML Message.
Creating a text message along with HTML is a mandatory requirement to meet the CAN-SPAM guidelines. If the HTML message is not delivered for any reason, the text email is sent to the inbox of the recipient. For more best practices to follow while drafting an email, see How to Prevent Emails from Ending up in the Spam Folder.
Note:
- You must send a test email before moving on to the next step. To do so, click Test Content.
- To know more about personalising your emails, see How to Personalize your Emails by Using Mail Merge Tags.
3.3 Select Recipients and Tags
You can send emails to a large number of leads by creating a list of all the recipients.
- To search for recipient lists, click the Type to Search dropdown and enter the list name.
- To add more lists, click Add.
- To create a new list, click Create Recipient List.
- To exclude any leads in your list from receiving the email, add them under Suppression Lists.
- Under Marketing Tags, add tags to your marketing campaign.
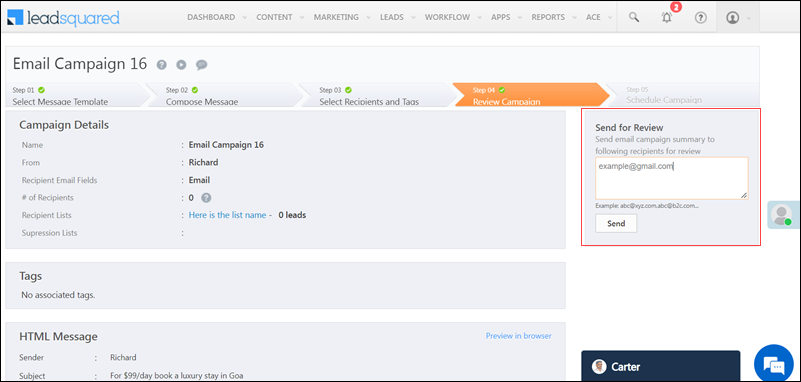
3.4 Review Campaign
You can review your email campaign in this step by viewing the summary of your work or by sending it to another email ID for review.
3.5 Schedule Campaign
You can send your email campaign to leads immediately or schedule it to be sent later.
- To execute immediately –
- Alongside Send Email Campaign, click
 .
. - To send immediately, click Send Now.
- To save the email campaign as a draft, click Save and Exit.
- Alongside Send Email Campaign, click
- To schedule the email for later –
- Alongside Schedule Email Campaign, click .
- Select the date and time to send the email campaign. Specify the time zone you wish to follow as well.
- To send the email at the scheduled date and time, click Schedule.
- To save the email campaign as a draft, click Save and Exit.
- Alongside Schedule Email Campaign, click
4. Troubleshooting
You may encounter the following error when opening an email campaign – “Access Denied. You don’t have permission to access <email campaign URL> on this server”.
To fix the error –
- Check if the user’s role was recently changed to Marketing user. It may take some time for the system to update. Check back later to see if he can view the email campaign.
- The issue may also be caused due to a Web Application Firewall (WAF) issue. Contact us at support@leadsquared.com and we’ll help you out.
5. FAQs
Why is my email campaign sending 2 emails? / Email received twice from email campaign.
When you send a test email from the email campaign designer, the system sends two versions to the test recipients:
- A plain-text version (used for spam filter checks)
- The actual email you designed
This is expected behavior during the test phase only. When the final campaign is sent to your leads, they will only receive the designed email. The plain-text version is not sent to them.
Why Does a Lead Receive Emails After Unsubscribing?
- Issue: A lead continues to receive emails even after unsubscribing.
- Explanation: When a lead unsubscribes from an email campaign, the behaviour depends on the email category used during the campaign setup:
- If the lead unsubscribed from a specific category (e.g., “Newsletter” or “Promotional”), they will stop receiving emails from that category only.
- The lead will still receive emails from other categories (e.g., “Newsletter,” or “Promotional”) if included in subsequent campaigns.
- Solution: As a best practice for email campaigns and to ensure a lead is unsubscribed from all future emails, leave the email category field blank when running campaigns. This way, unsubscribing will apply to all email types sent to the lead.
Any Questions?
We’d love to answer your questions or hear your own unique use cases. Feel free to share your experiences in the comments section below.
How should i be interpreting, or communicating, the size of the list and campaign?
Like there’s the # of recipients in campaign details & recipient lists in campaign details, which both have differing totals.
So for example, if a manager asks me, “how large is the email list” – which # would be the best to communicate? The # of recipients? This is important because we have email limits so we’re trying to allocate how many emails we can send.
Hi Alexa. The # of Recipients are valid recipients selected for that particular email. Recipient Lists is the total count of recipients. In your case, you must take into account the # of Recipients.
how to pause the campaign
Hi Varsha, you won’t be able to stop an email campaign once it is sent. But, if you have scheduled it for a later time, then you can cancel it.
1. Navigate to Marketing>Email Campaign.
2. Hover over the Actions icon alongside the relevant scheduled email campaign and click Stop.
Hope this answers your question.
How can I change the default sender name?
Hi Aamir. To change the Sender Name –
1. Open the relevant Email Campaign.
2. In Step 02 (Compose Message), alongside From, click Change Sender Name.
3. On the Change Sender Name popup, enter the new name and click Apply.
If you’ve already changed the Sender Name and would like to restore it to the default name, on the Change Sender Name popup and click Reset to Default Sender Name. Click Apply.
I hope this answers your question.
Hi, Elakkiya.
The Email Campaign feature is available by default to all users who have opted for it while creating their account. Please send a detailed mail about the issue you’re facing to support@leadsquared.com. We’ll get back to you ASAP.
How to add an html
Hi, Raj. Refer to Working with custom HTML to add your HTML block in the design. If you want to create a custom email campaign using Html, refer to Email Campaign HTML Editor. Hope this helps!