


Get Started
Sales Suite
Field Ops
Marketing
Service CRM
Integrations & Apps
FloStack
Lead Automation Conditions – Compare
1. Feature Overview
The Compare automation action lets you compare the values of lead and activity fields and set up different courses of action based on the results. You can also use saved responses from webhooks and Lapps in your comparisons.
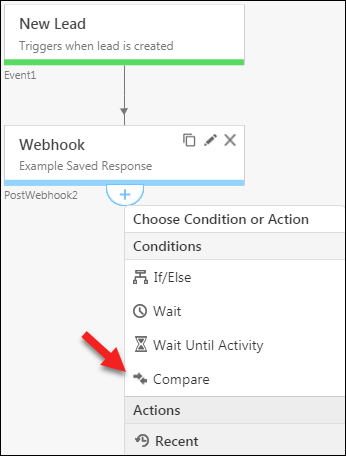
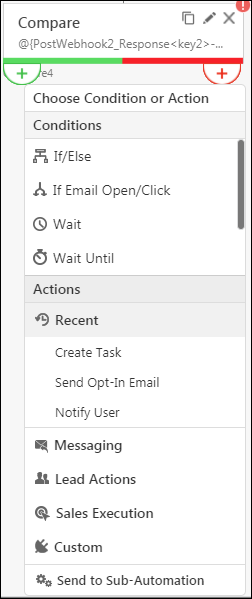
2. Set Up the Compare Condition
You can set up the compare condition at any point after the automation trigger. If you want to make use of a saved response from a webhook or lapp and compare it with a lead or activity field, select the Compare condition after the saved response card –
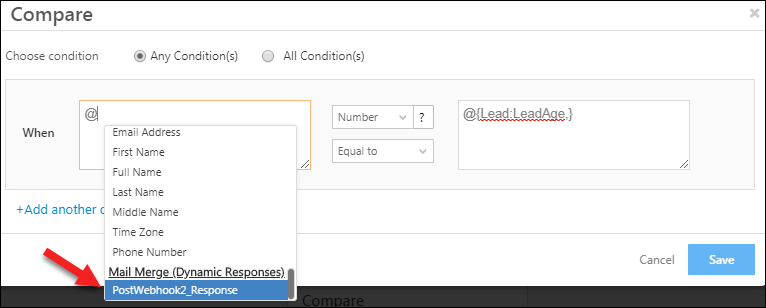
3. Enter the Fields You Want to Compare
Select a field to compare by typing in @<fieldname>. The auto-suggest options should help you find the field quicker. If you’ve saved the response from a webhook or lapp, the option to select it will appear below the lead and activity fields as shown below.
Note: To compare activity fields, the automation must have an activity based trigger (New Activity on a Lead, Activity Update on a Lead).
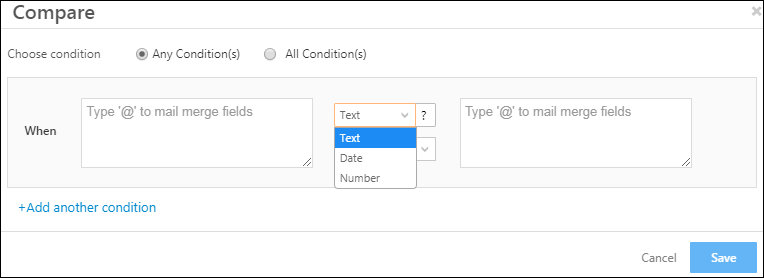
4. Choose a Data Type and Operator
When comparing fields, it is imperative to choose a data type –
Click the help icon to understand how the comparison for each data type works –

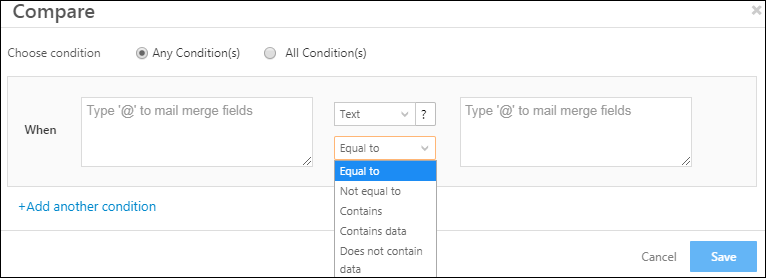
Based on the data type, different operators will appear –
Here’s what you can do with each data type –
| Data Types | Operators | Notes |
| Text | Equal to, Not equal to, Contains, Contains Data, Does not contain data. | You can combine mail merge lead and activity fields as well as dynamic responses to create a bigger string.
For example, you can combine a lead’s first and last name.<@{Lead:FirstName,} @Lead:LastName,}> |
| Date | Equal to, Not equal to, Before, After, Is defined, Is not defined. | The date you enter must be in the format yyyy-MM-dd HH:mm:ss
For example, 2018-07-26 09:45:00 If you’re comparing a date in a dynamic response, ensure that the correct format is followed. |
| Number | Equal to, Not equal to, Lesser than, Greater than. | You can perform the following arithmetic operations with number fields –
For example., (@{Lead:Score,} + 1)/2 |
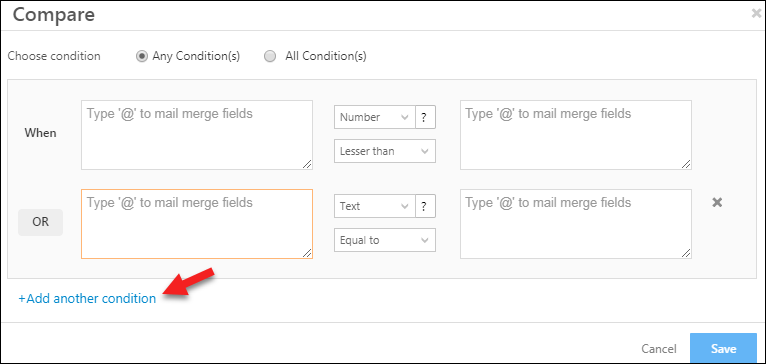
5. Add Multiple Conditions
You can add multiple conditions for comparison. Be sure to choose whether you want Any Condition(s) or All Condition(s) met when proceeding to the next action in your workflow.
6. Choose Follow Up Actions
After setting up the condition you can choose 2 sets of follow up actions. Actions on the Yes path will trigger for leads when the Compare conditions hold true, while actions on the No path will trigger when your conditions are false.
Note: If the date format is incorrect, the lead will go down the No path. The automation will not fail due to incorrect date formats.
7. Example Use Case
In this example, a clothing brand is sending out discounted offers to new leads based on gender. They’re sending a particular catalog to male leads and another to female leads. Here’s how they’re doing it –
- Choose the New Lead automation trigger.
- Under the new lead trigger set up a webhook action (Custom>Webhook) and save the webhook response as a JSON file. This webhook has the lead’s gender data. For more information on how to use saved responses, see Dynamic Responses in Lead Automation.
- Select the Compare condition. Compare the saved response with Male. Ensure the data type is Text.
- Follow up the yes path with the male catalog. Follow up the no path with the female catalog.
Any Questions?
Was this article helpful? Leave us a comment and let us know.