1. Customizable Themes for Enhanced Brand Identity
With the new Theming feature on Casa, you can now personalize the LeadSquared Mobile App to align with your organization’s branding. Admins have the ability to customize the app’s primary, secondary, and neutral colors by entering specific hex codes, allowing for a unique and cohesive visual identity. Additionally, there are two predefined themes in green and orange available for quick customization. To make these changes, simply navigate to Apps>Casa>Theming. However, the profile icons will remain grey across the application.

Once the theme is configured, it will be applied to all users within your organization.


2. Ace Notifications to stay informed on Goals and Incentives
Stay up-to-date with your goals and incentives directly from the LeadSquared Mobile App. Users will receive real-time notifications from Ace, keeping them informed about their targets and performance. This means you’ll be notified immediately whenever there’s an update related to your goals or incentives. By tapping on a notification, you’ll be taken directly to the relevant page in the app, whether it’s the Ace page or a specific URL configured for you. With instant alerts, you won’t miss any important updates, and take more timely actions.
If you prefer not to receive Ace notifications, you can disable them on the LeadSquared Mobile App by navigating to Settings>Notifications. If you tap on a notification while offline, you’ll receive a message prompting you to connect to the internet. Notifications are queued and sent out once a day, ensuring you receive all your updates promptly.
3. Enhanced Geofencing for Multiple Locations
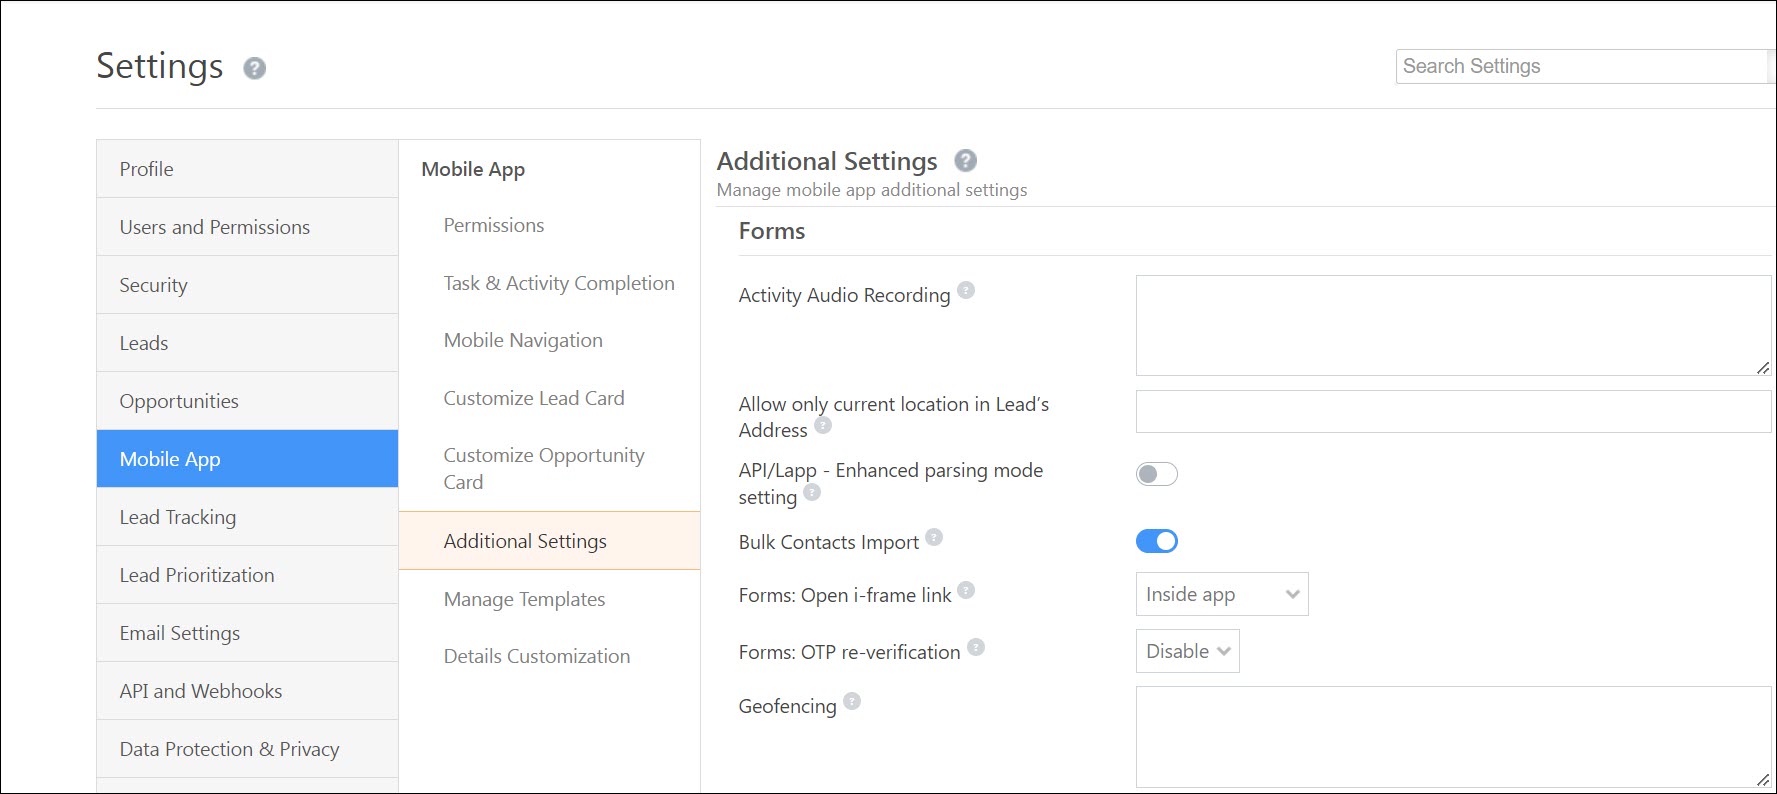
Experience greater flexibility when managing activities for leads with multiple locations. Previously, geofencing was limited to the location which is Lead’s Address 1. Now, you can configure geofencing to work with any location associated with a lead, through the newly introduced Geolocation CFS (Custom Field Set) fields. This ensures that activities can be posted from any valid location of the lead. Now, JSON configuration lets you decide whether geofencing should apply to only the Lead’s Address 1, specific Geolocation CFS fields, or both. Navigate to Settings>Mobile App Additional Settings>Geofencing and configure the JSON to enable this feature.
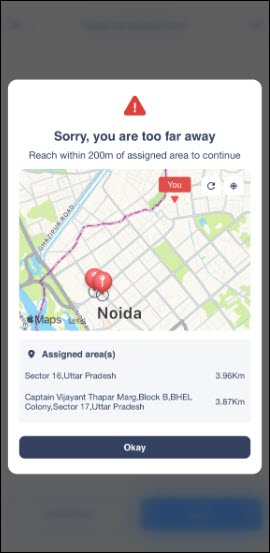
Sales users who visit leads at multiple locations can now post activities from any of the associated locations.
Sample JSON
[
{
"EntityType": "Activity",
"EntityLocationSchemas": [
"mx_Street1",
"mx_Alternate_Location"
],
"RestrictedEvents": [
{
"EventCode": " 200 ",
"RestrictedActions": [
{
"Action": "Create",
"Geofence": "200"
}
]
}
]
}
]
4. Streamlined Login Process with Retained Username
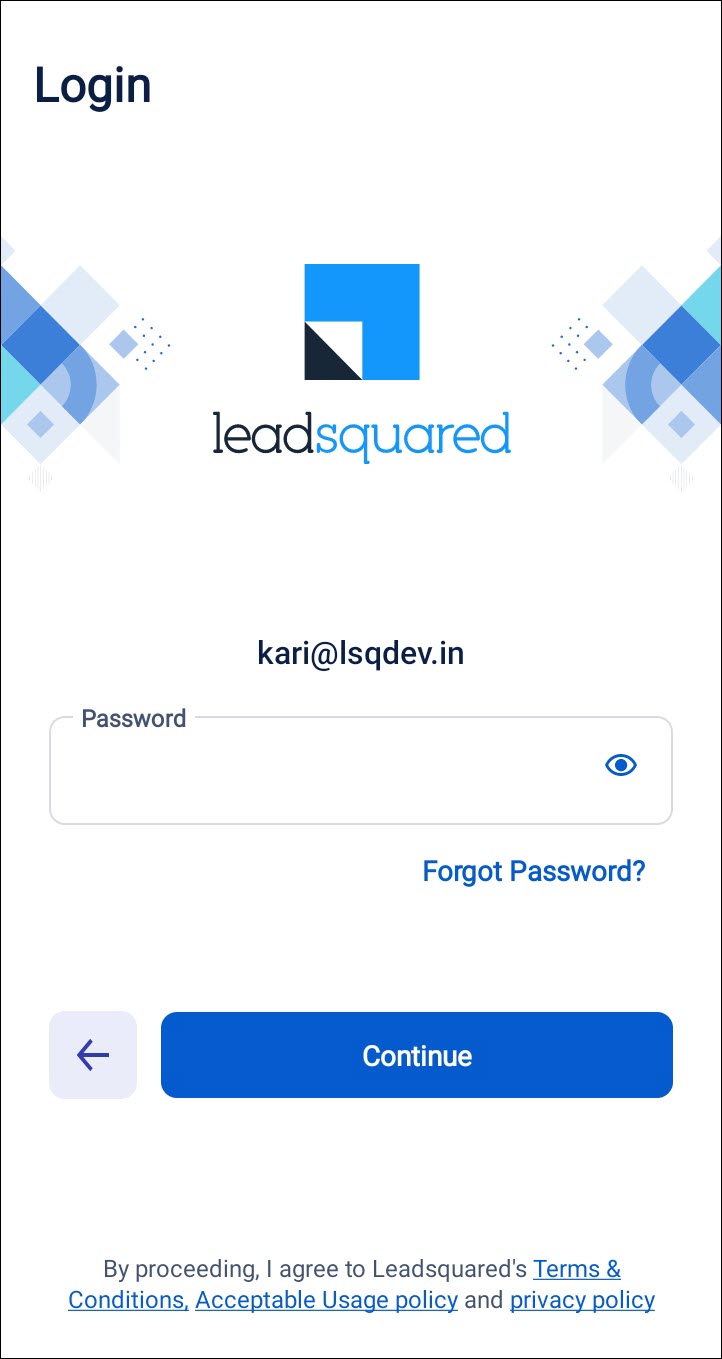
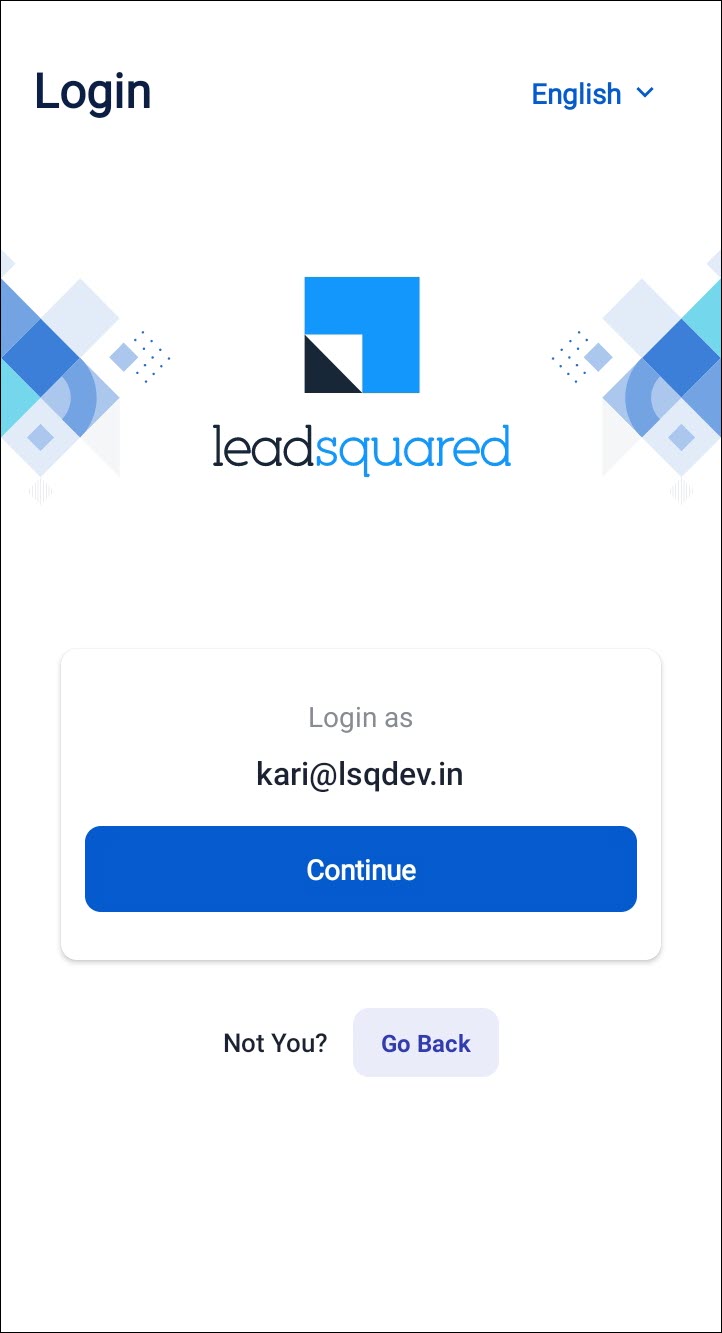
Experience a faster and more convenient login process with our latest enhancement. On your mobile app, after logging out, the last logged-in email will now be displayed on the ‘Login as’ screen, so you won’t need to re-enter your email each time you log in. On this screen, you have two options:
- Continue – Enter your password to complete the login.
- Go Back – Choose to log in with a different email.
Single-Sign-On users will be taken to the SSO screen directly bypassing the password screen on tapping Continue. Additionally, the Back button on the password screen has been repositioned next to the Continue button for easier access. This improvement saves time by pre-filling your last used email, allowing you to get back to work more quickly.
5. Journeys Updates
Smart Views Selection in Lead-Based Plans
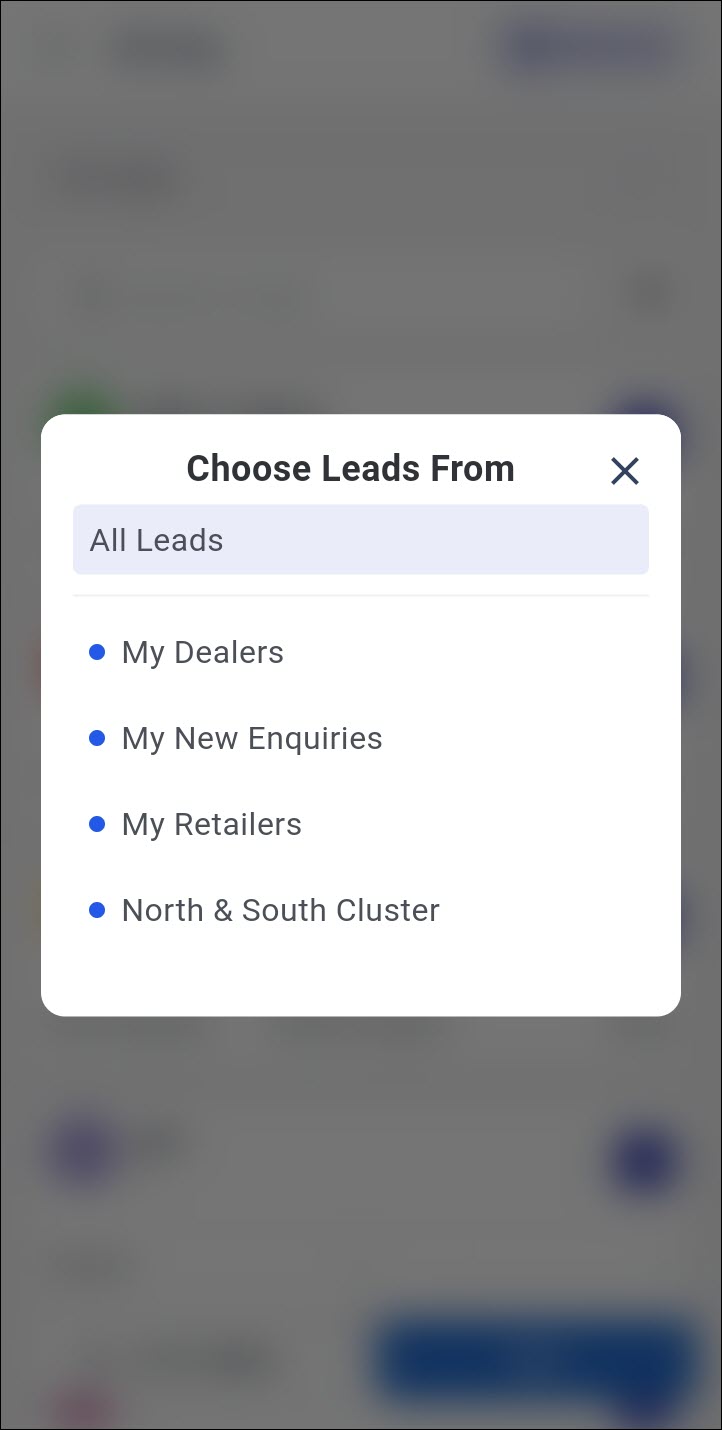
Create plans focusing on the most relevant leads by choosing from Lead-Based Smart Views or Lead Types. While adding leads to your plans, you can now filter and select leads from the Lead-Based Smart Views option. This gives you more control over the plan. While creating or editing a plan, a dropdown field called All Leads would be visible on the top of your screen. Tap on it to access a list of all available Smart Views and Lead Types. From here, you can choose the relevant leads for your plan. To provide a consistent planning experience, the selected Smart View or Lead Type will be retained even if you switch between days within the same plan. With the ability to filter leads directly within your plan, you can save time and effort, making the planning process more efficient and aligned with your goals.
Enforced Minimum Quota Check While Editing Lead-Based Plans
Improve your sales users’ productivity and ensure they are consistently performing by enforcing the minimum number of leads they must cover in a day. Previously, admins could set the minimum number of leads a sales user should cover each day under Define Quota. Now, on the LeadSquared Web App, admins can enable the Force Minimum Quota feature in the Journeys settings and set a standard minimum number of leads for all users to comply. While editing a plan, if the users have not met the specified minimum lead quota, the system will block submission and notify the user of the shortcoming. This feature boosts productivity ensuring that all plans created by users meet a minimum standard to improve sales performance.
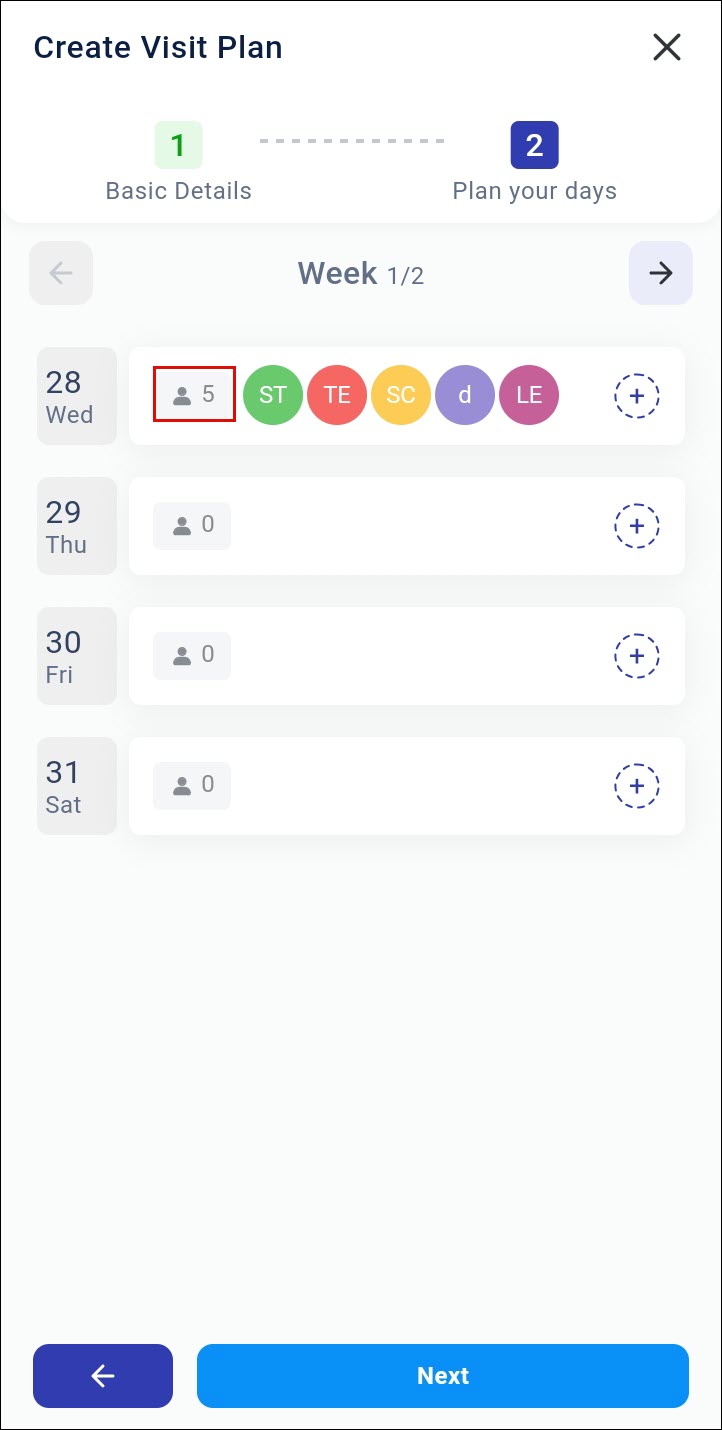
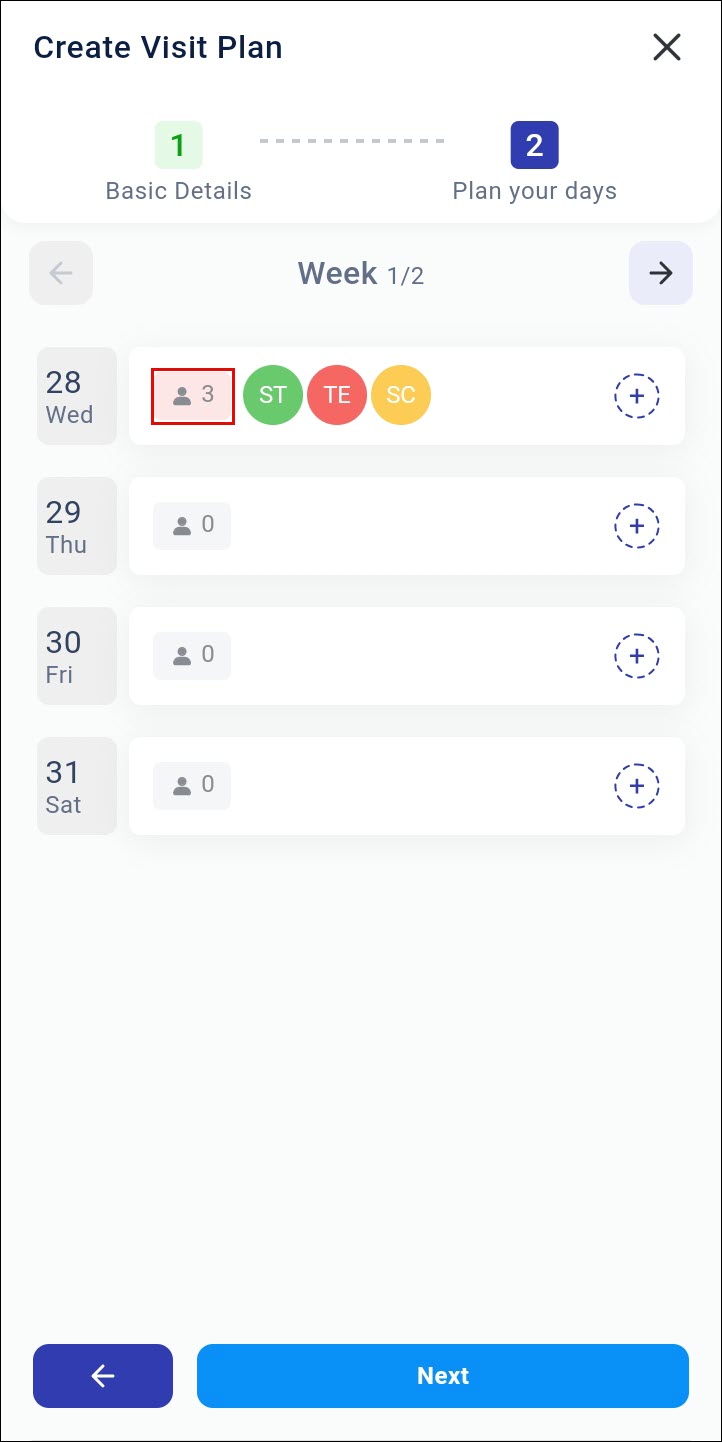
Users can view updated lead chips on planned days to easily track whether their quota is being met. Plans that have met the quota will display a grey lead chip while plans where the lead quota has not been met will show a red lead chip. This enhancement provides you a view of your quota status, to manage your plans easily.
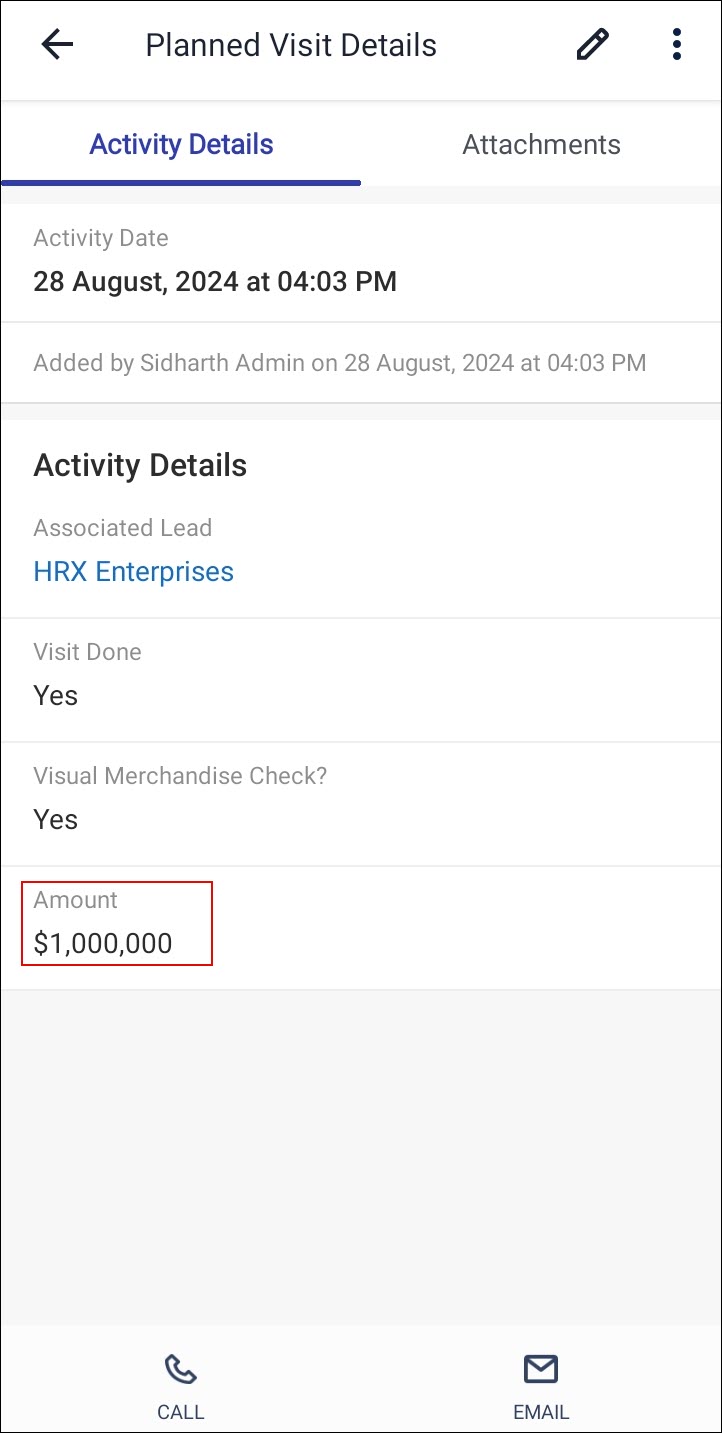
6. Ability to Display Number in the Currency Format for Opportunity, Task, Activity and CFS fields
Currency format is now available for Opportunity, Task, Activity and CFS fields. Previously, monetary values were displayed as numbers without any formatting. Now, admins can specify a format for displaying currency values using the Currency Format feature in the Company Profile Settings on the LeadSquared Web App. Once this is set up, on Custom Lead Fields, when a Number type field is set to Integer and Show As is set to Currency, it will adhere to the currency formatting specified in the company profile.

This ensures that monetary values are displayed consistently and clearly, reducing the risk of errors and enhancing user experience.
7. Object Type
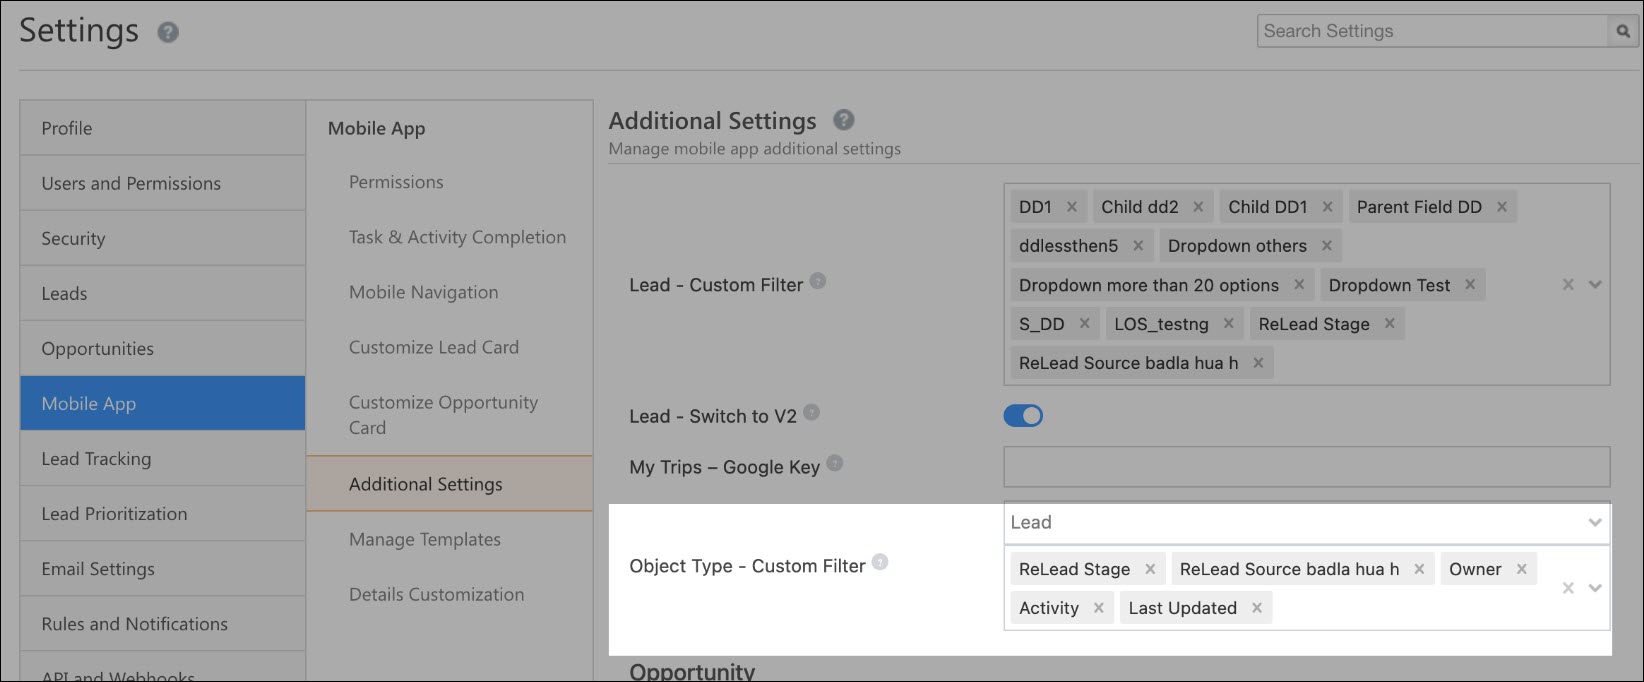
Custom Filters
Now, you can configure and manage a different set of filters for each lead type and get an enhanced user experience. This enhancement is available only if you have enabled Object Types on your account. The Object Type – Custom Filter feature is now available on the Mobile App Additional Settings in your LeadSquared Web App. There are pre-selected filter options provided for the default lead type while you can set custom filters for custom object types. The newly configured option for each Object Type will be applied to the respective Object List, Objects Near Me (when selecting the chip), and Journeys filters. If Object Type is not enabled on your account, the app will continue using the previous filter settings without any changes.
