LeadSquared allows you to set up what happens after a visitor submits on your landing page. You can create a work flow for the lading page visitor as well as the marketer who is using LeadSquared. You use this procedure to set actions after publishing the landing pages.
Prerequisites
- You have logged in to LeadSquared.
- You are an Admin or Marketing User of your LeadSquared account.
- You have completed Selecting the Landing page Template and Built Landing Page using the landing page editor. (Step 1 and Step2)
Procedure
- Actions for the visitor who submits on the landing page. Click here for more information.
- Actions for the marketer. Click here for more information.
- Other actions. Click here for information.
- Click Next to customize the SEO Options. Alternatively, you can click on Save or Save and Exit to customize the SEO options at a later time.
Actions for the Visitor (Lead)
You can show the visitor a Thank You message, redirect him to another URL or provide him a document to download based on your requirement.
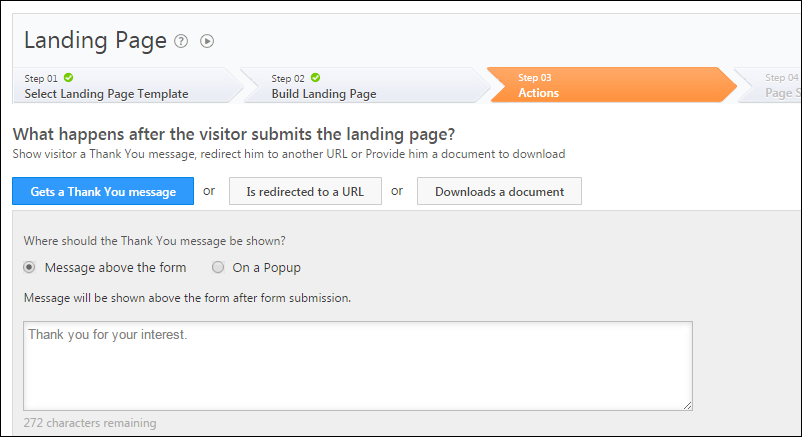
- Gets a Thank You Message: This options allows you to configure a Thank You message that the visitor (Lead) will see after submitting on the Landing Page. The thank you message can be shown either above the the form or be displayed as a pop-up.
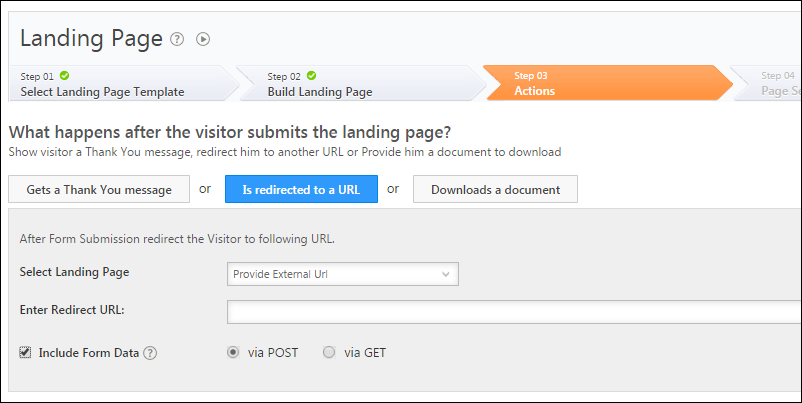
- Is redirected to a URL: This allows you to enable the lead to be redirect to a URL after submitting on the landing page. This URL can include another landing page or your company’s website or any URL you prefer. You can select the landing page of your choice in the drop down menu (You can see landing pages in the drop down if you have created one earlier). You can also send the form data to the “redirect URL”. Both POST & GET methods can be used based on what is required. So you can use this feature to integrate with your automated user sign-ups, your own apps which require visitor data or even integrate with payment processing gateways like Paypal.
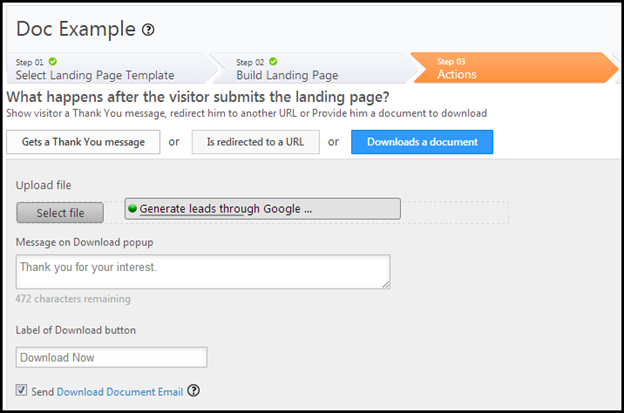
- Downloads a document: This option allows you to upload any document for the lead to download. You can provide the link of the document to be downloaded. You can also choose to send an additional email to the lead containing the link to download the same document. You can do so by selecting the Send Download Document Email check box.
Auto Response Email
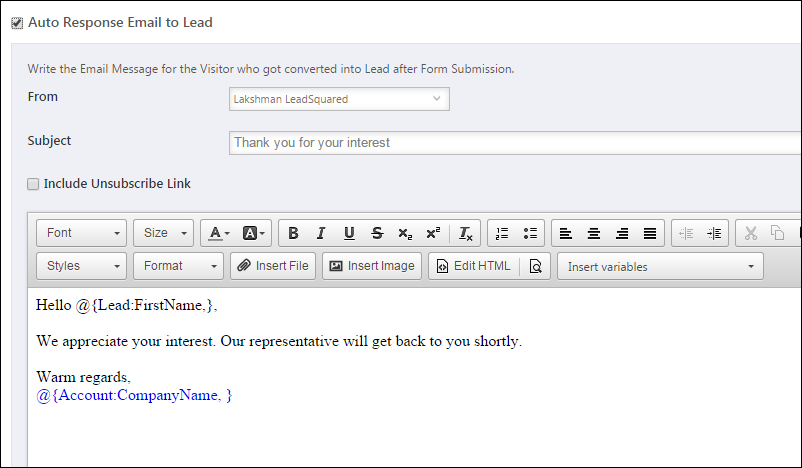
You can check the Auto Response Email to Lead check box to send a confirmation email to the lead after submission on the form of the landing page. This option allows you to select the email sender and customize the email notification template.
Actions for the Marketer
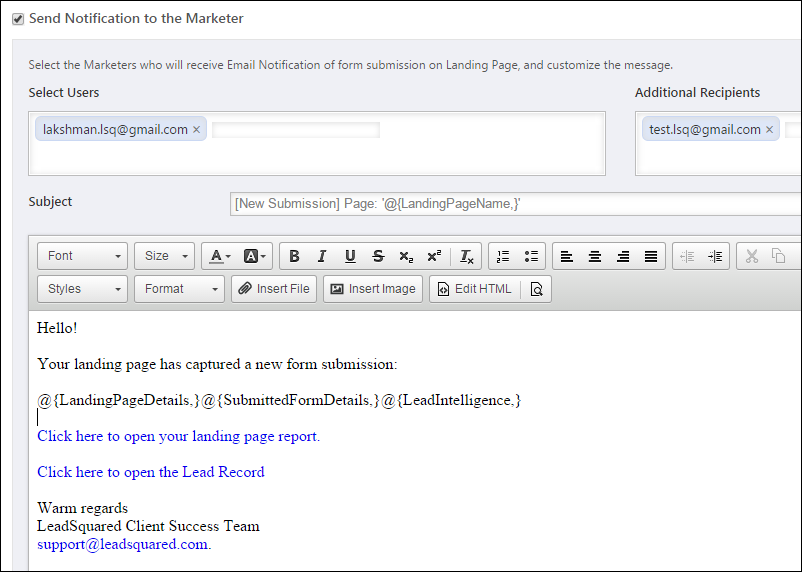
You can click on the Send Notification to the Marketer check box to enable Notification to be sent to the marketers by an Email when a visitor submits on the form of the Landing Page.
Besides Users of your LeadSquared account you may also send notification emails to Additional Recipients who are not necessarily leadsquared Users.
You can also customize the email according to your requirement.
Other Actions
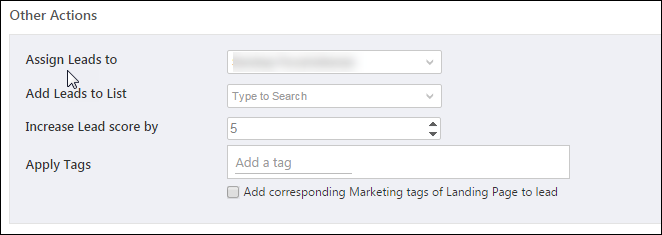
- In Assign Leads to, assign the leads obtained from the landing page to any of the users in LeadSquared. The user assigned will be the Lead Owner for the leads coming from this landing page.
- In Add Leads to List, you can add the leads obtained to the lists that you have created in LeadSquared. Alternatively, you can create a new list for the leads obtained through the landing page. The list created here will be a static list. You can create a list if you want to nurture the leads by sending them email campaign in the future.
- In Increase Lead score by, you can also assign lead score for the leads once they submit on the landing page.
- In Apply Tags, add the required Lead tags, which is combined with the marketing tags which you can provide from Step 01 of creating landing pages. These tags are used to filter the landing pages in the Landing Pages window.
Click Next to move to the next step (Page Settings).
