1. Feature Overview
In banks and insurance agencies, approvers handle customer applications (like loans or credit cards) and claims (like health insurance). When an approver goes on planned leave, they nominate a back-up (fallback) approver to step in. The approver (going on leave) usually sends a formal email to their manager, including their leave dates, reason, and the name of the fallback approver.
This connector reads that email, creates a leave record for the user, and updates the fallback approver field (a user field in LeadSquared). Some of the benefits of this connector are –
- Automated leave tracking – Reduces manual effort by auto-updating leave records from emails, saving time for HR managers or team leads.
- Audit and visibility – Maintains a record of leaves and fallback assignments, which helps with auditing and ensures managers have visibility into who’s handling approvals at any point.
- Better SLA compliance – Ensures that applications, claims, or requests continue to move through workflows without bottlenecks, helping teams meet SLA timelines even during staff absences.
- Empowered by AI – Intelligently extract key leave details from emails using AI, including absent approver, leave duration, fallback approver, and leave reason.
2. Prerequisites
- This is a paid connector. To enable it, contact your account manager, or write to support@leadsquared.com.
- For this connector to work as intended, install and configure the Email Sync Connector.
- When configuring the connector, on the Advanced Settings screen, you must Disable Sync for Internal Emails. Once this setting is disabled, internal emails automatically get synced through the connector.
- On the same screen, you must also enable the checkbox next to Capture email communication between internal users.
- Create a custom user field titled Fallback Approver with the schema name Fallback_Approver, and the DataType set to “Text”.
3. How it Works
This connector captures leave details of users and creates corresponding records on the Leave Tracker screen.
- After enabling the Fallback Approval Manager Connector, install and configure the user roles that need edit access.
- Once the connector is installed, Authentication Variables and connector flows are automatically generated to capture the fallback user’s details.
- On the Authentication Variables screen, no further action is required from you.
- On the All Flows screen, two actions are generated: Add Leave Record and Update Fallback User and Parse Data from Email. Each action includes a set of flows. Review and confirm each flow that’s listed under these actions.
- Once you review and save the flows, enable sync for both actions. When enabled, a webhook URL is generated for the Parse Data from Email action. Share this URL with us at appsmarketplace@leadsquared.com.
- After we complete the backend setup, the connector will start capturing your users’ leave details.
4. Install the Connector
- Navigate to Apps>Apps Marketplace.
- Search for Fallback Approval Manager, and click Install.
- Alternatively, you can find the connector on the left panel, under Lead Capture.
- Once installed, hover your cursor over
 , and click Configure.

5. Configure Fallback Approval Manager
After installing the connector, configure access for non-Admin users in your account. Only users with granted access can view and access the connector under the Apps menu.
- Select if you want to grant Connector Access that’s Based on Role or Advanced (User Level).
- Based on Role – From the Specify Roles dropdown, select the LeadSquared user roles that can access the connector.
- Advanced (User Level) – From the Advanced (User Level) dropdown, select a user boolean field. Based on the value in the selected boolean field, the user can access the connector. For example, for the user Sam, if the “Is Employee” boolean user field contains the value “Yes”, then this user can access the connector.
- Then, click the Create Automation Card.
- Once you’re done, click Save Details. To continue the configuration, refer to the sections below.
6. Enable Connector Sync
6.1 Authentication Variables
After the connector is installed and configured –
- Navigate to Apps>Fallback Approval Manager.
- No action is needed on the Authentication Variables tab. All configurations are pre-set.
- Click the All Flows tab.
6.2 All Flows
- Alongside Add Leave Record and Update Fallback user, click
 , and then click Edit Configurations.
 - On the All Actions screen, under each action, click Edit Configurations, and on the Param Mapping screen, click Close or Save and Close.
- After you do this for all the actions listed, click Save & Next.
- On the Add Leave Record and Update Fallback user page, no further action is required. Click Close.
- Back on the All Flows page, alongside Add Leave Record and Update Fallback user, enable the slider
 to enable sync.
 - Repeat the same steps for the Parse data from Email action as well, and enable sync.
6.3 Share the Webhook URL
Once the sync is enabled for both the actions, a webhook URL is generated alongside Parse data from Email. Copy this URL and share it with us at appsmarketplace@leadsquared.com.
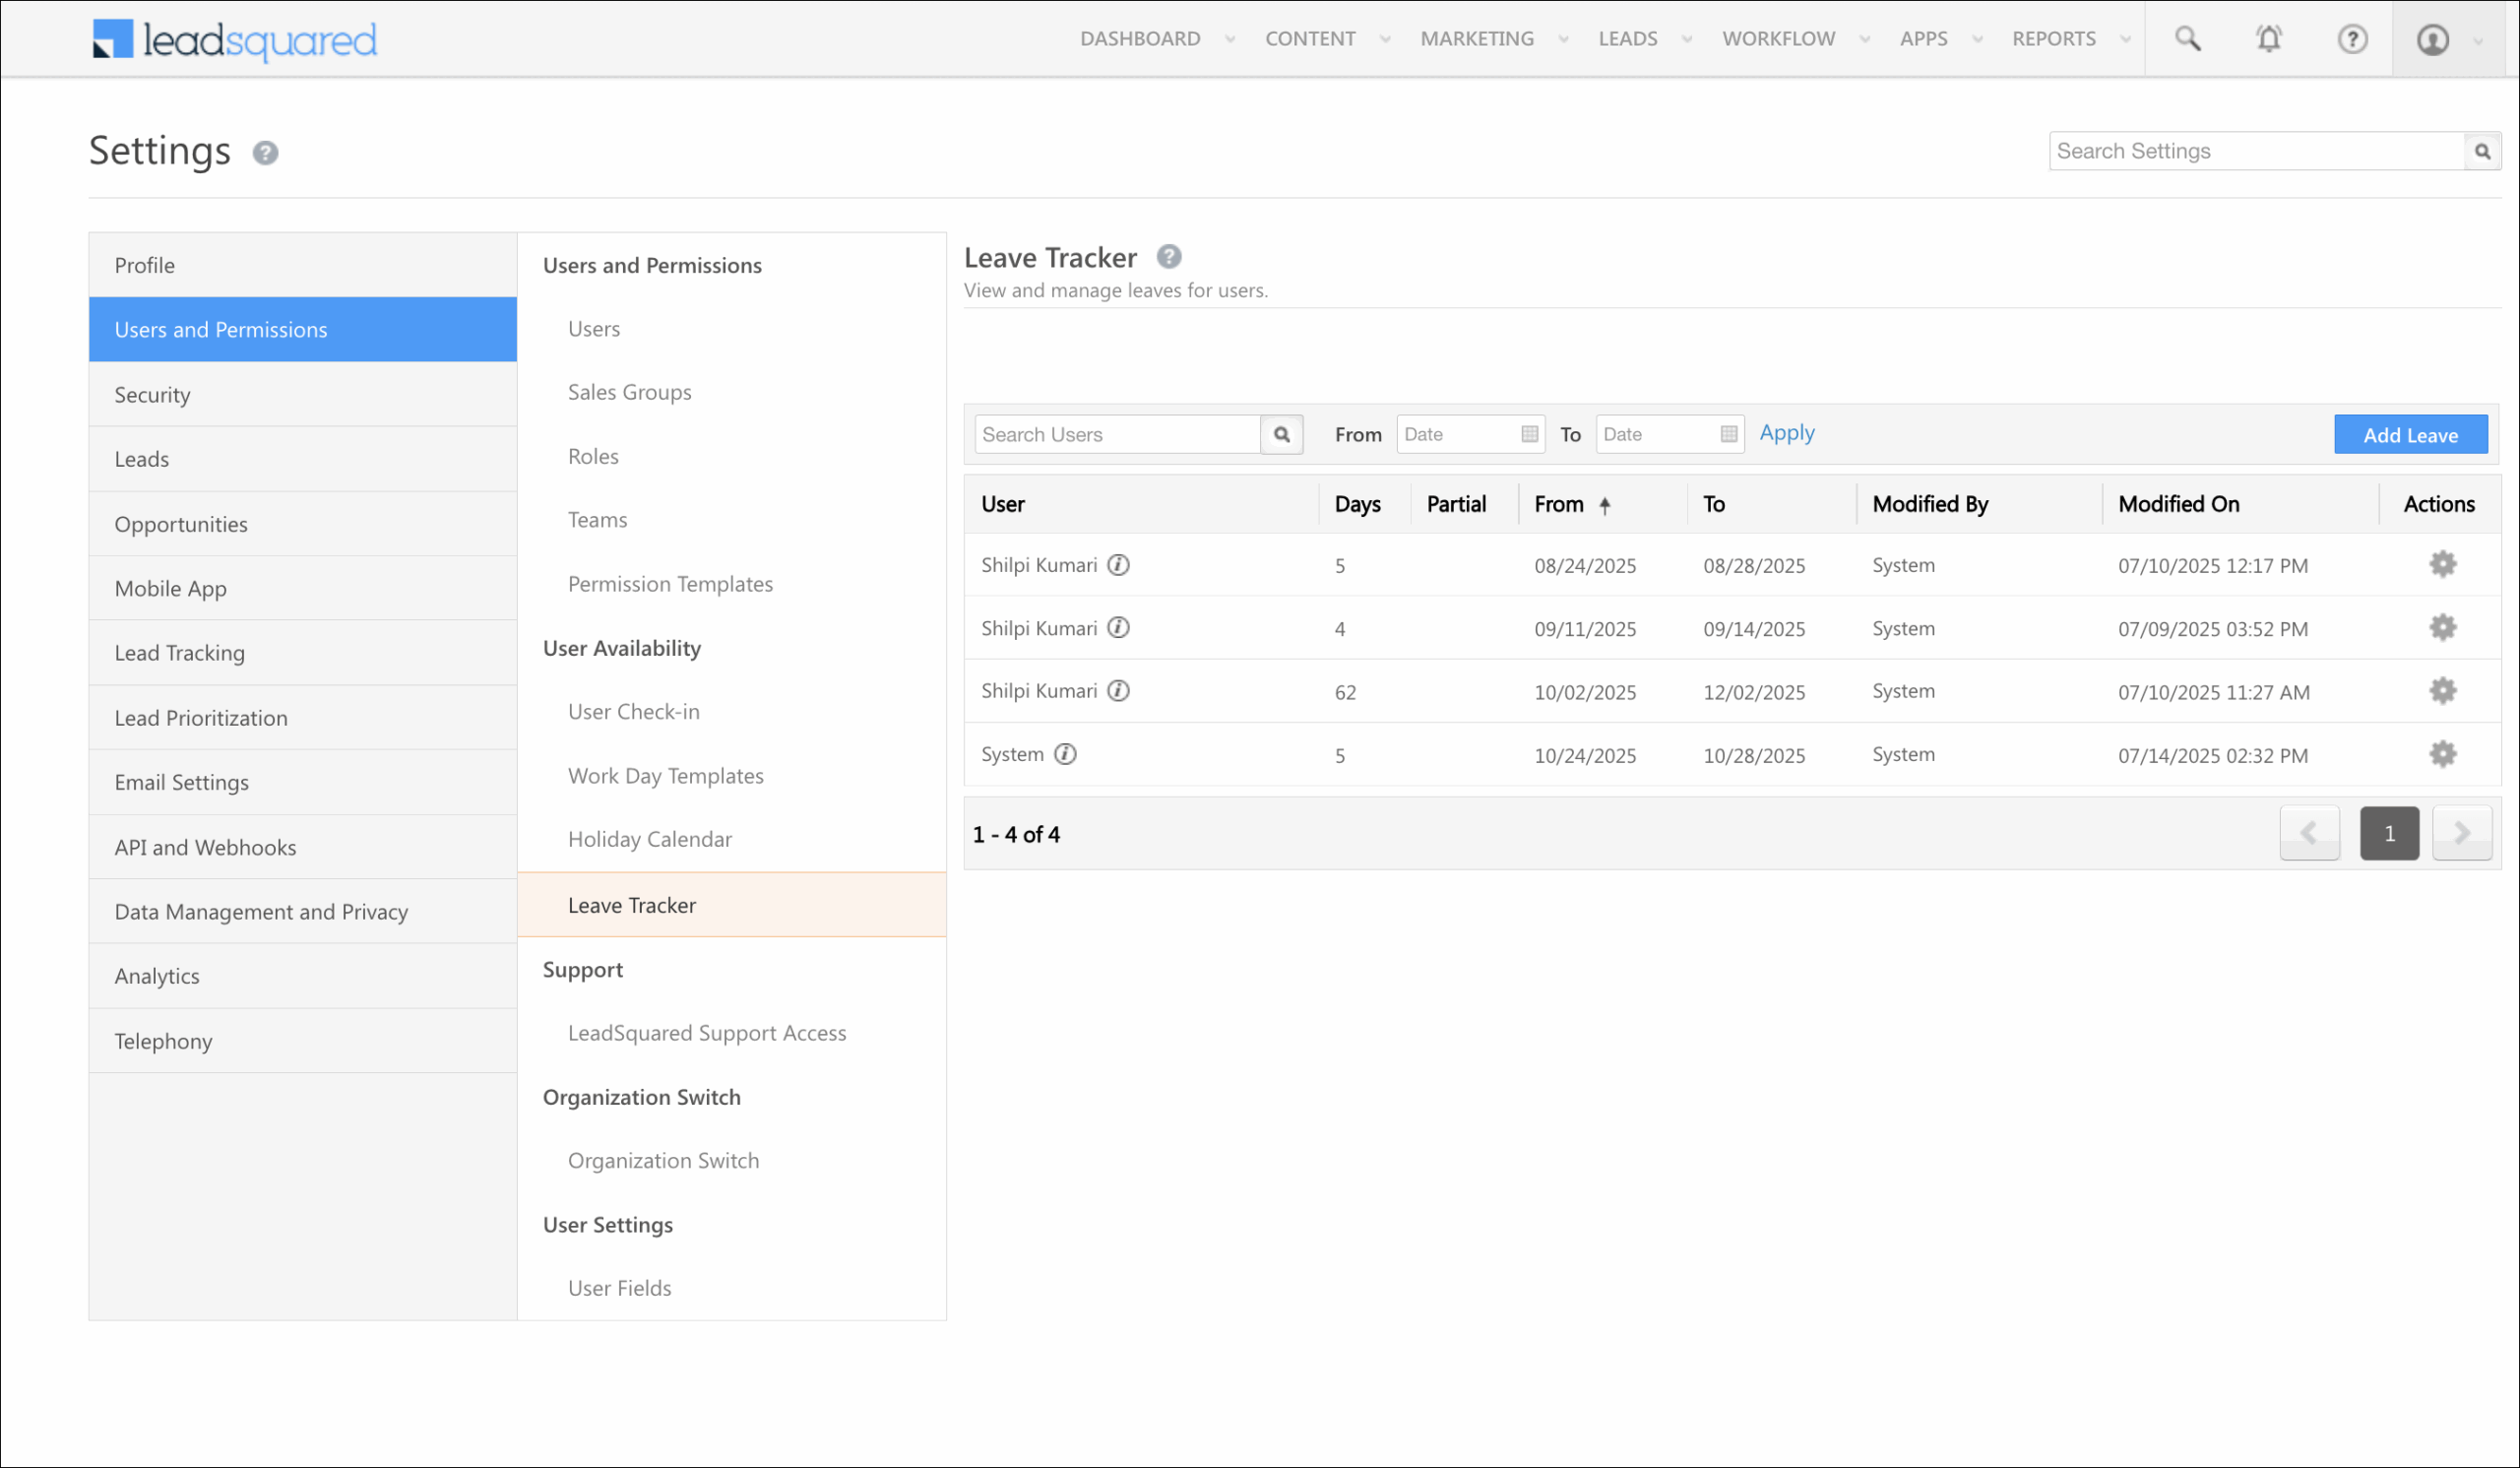
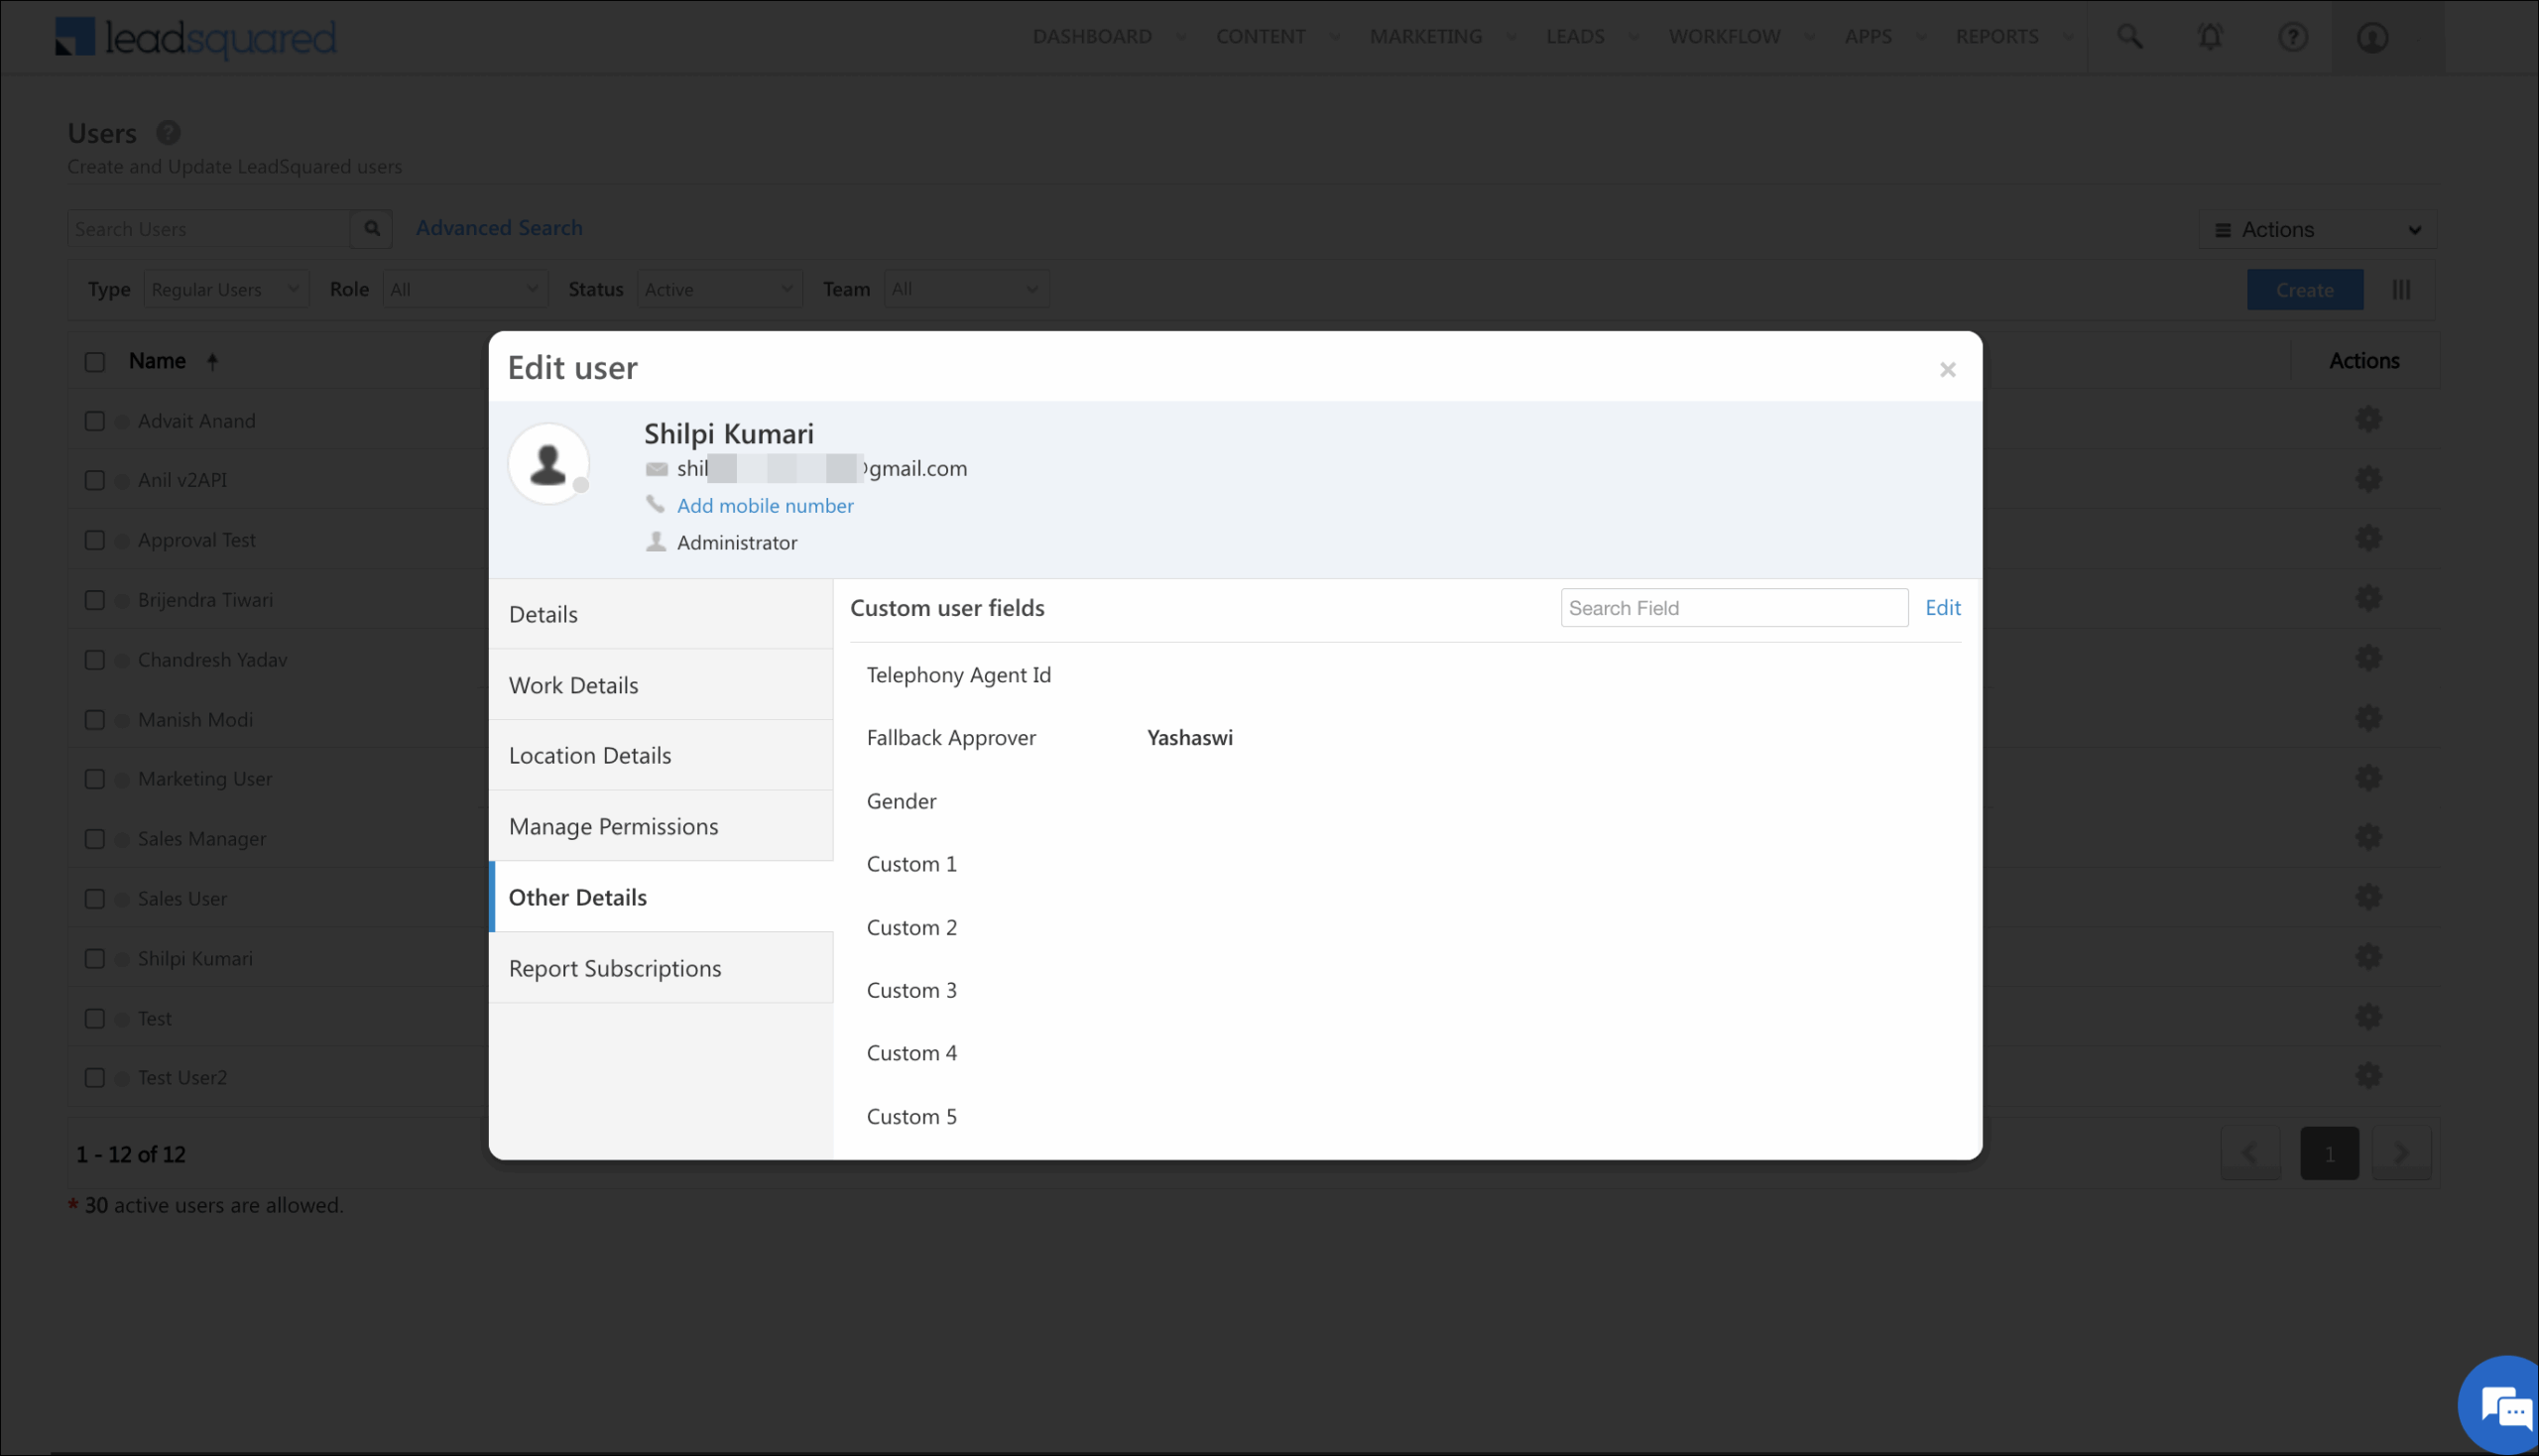
7. View Leave Records and Approver Details
Once the connector is configured, you’ll be able to view the updated leave records on the Leave Tracker screen.
To view a user’s fallback approver’s details, navigate to the Users page, and edit the details of the user who is on leave.
Any Questions?
Did you find this article helpful? Please let us know any feedback you may have in the comments section below. We’d love to hear from you and help you out!


