


Get Started
Sales Suite
Field Ops
Marketing
Service CRM
Integrations & Apps
FloStack
Capture Leads from Any Website with LeadSquared Form Widgets
1. Feature Overview
An LSQ Form widget acts as a “lead magnet”. An example of a lead magnet is a special deal offered to customers in exchange for their contact details. It can be a discount code, webinar, white paper, ebook, template, inquiry form, or another resource.
With LeadSquared, you can create and embed an LSQ Form Widget on your web page or landing page and start capturing leads in minutes.
Once the leads are captured, you can push them further down your sales funnel. For example, you can redirect the leads to a LeadSquared Application Portal, email them a welcome kit, or schedule a sales call.

2. Example Use Cases
These examples illustrate different functionalities you can use, and outcomes you can achieve using the LSQ Widget.
| Industry | Use Case |
| Education |
|
| BFSI |
|
| Health (ERM) |
|
| Real-Estate |
|
3. Prerequisites
- You must be an Administrator User to create and edit LeadSquared Widgets.
- To create an Enquiry Widget –
- You must have a Dynamic Form that is published.
- LeadSquared Portal license is not required.
- To create a Registration Widget –
- You must have a LeadSquared Portal that has been published.
- You must have a LeadSquared Portal Registration Form with OTP authentication enabled.
4. How It Works
The process to install an LSQ Widget is as follows –
- Create and configure your LSQ Widget by navigating to Manage Widgets in LeadSquared.
- Customize the look and feel of your LSQ Widget through the various properties at your disposal.
- First, publish your LSQ Widget to the test environment, and then to the live environment.
- Place the downloaded JavaScript snippet into your website.
- The widget is now live on your website.
5. Manage Widgets
- Navigate to Workflow>Manage Widgets.
- Click Create Widget.
- Give your widget a name and click Create.
5.1 Enquiry Widget or Registration Widget
| LSQ Widget Type | Description |
| Enquiry Widget | In an Enquiry Widget, OTP verification of lead details is not mandatory. |
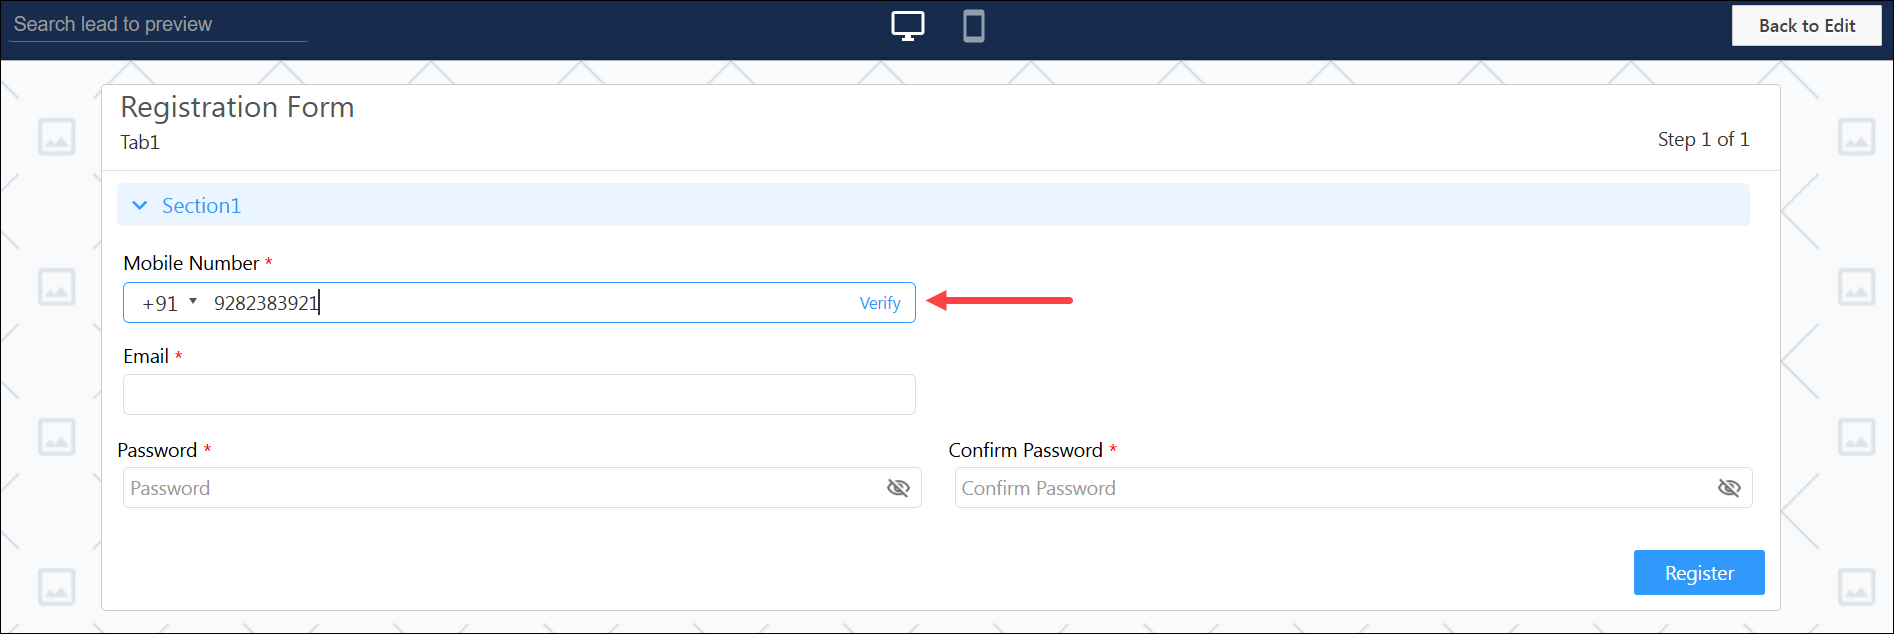
| Registration Widget | In a Registration Widget, your leads will need an OTP verification and will be registered on the LeadSquared Portal. You must have a LeadSquared Portal that has been published and a LeadSquared Portal Registration Form with OTP authentication enabled. |
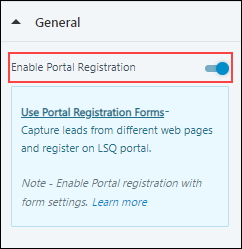
If you would like to create a Registration Widget, under the General tab, toggle ![]() Enable Portal Registration.
Enable Portal Registration.
5.1.1 Configure OTP Messages for Registration Widget
On a Registration Widget, users receive a default OTP for verification. You can customize this OTP message after selecting a registration form.
- Click the
 icon in the General Tab.
 - You can edit both the Email and SMS (Phone) content.
- Click the Custom button to edit the content.
- Email – For email, you can edit the following fields:
- From – Select a user as a sender.
- Subject – Enter the subject of the email.
- Select Email Template – Optionally, you can select an email template.
- Content – Enter the content for the OTP email.
- Phone – for SMS, you can edit the following field:
- Select SMS Template – Optionally, you can select an email template.
- Content – Select the editable field to enter your SMS content.
- Email – For email, you can edit the following fields:

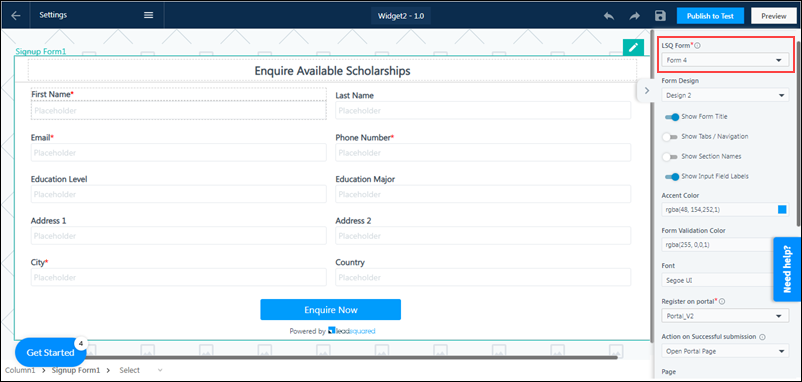
5.2 LSQ Form
Select a LeadSquared Portal Registration Form with OTP authentication enabled. The selected form will capture leads and register them on the LeadSquared Portal.
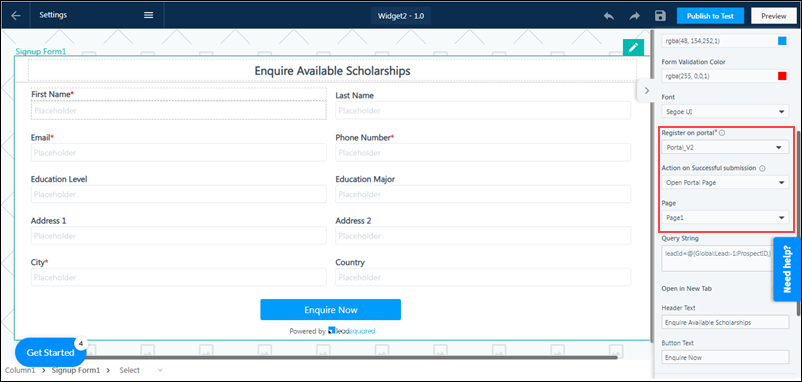
5.3 Register on Portal
Select a LeadSquared Portal to register the captured Leads. You must also define the Action on Successful submission of the form –
- Open Portal Page – Select the portal page you want the lead to be redirected to on successful submission.
- Page – From the dropdown, select the page or section you want your lead to be redirected to within the portal when the form is submitted.
- Open External Link – Add an external link, and configure if it opens in the same tab or a new tab.
- Link – If you choose Open External Link as the Action on Successful submission, then add the URL of the website you want your lead to be redirected to when the form is submitted.
- Download File – Enable your leads to download a file (like prospectus, etc.) on submission by uploading it here.
- Upload File – If you choose Download File as the Action on Successful submission, then under Upload File, click Choose File, to choose a file from your Document Library.
- Use Mail Merge Values – Alternatively, you can mail merge a custom field set (CFS) that contains a file, by selecting the CFS from the dropdown.
- Based On Rules – This option allows you to set-up rules based on the choices a lead makes. For example, if the lead chooses “City” as “New Delhi”, you can set-up a condition that redirects the lead to the portal page for leads in New Delhi. Similarly, if the lead chooses “Course” as “B.Tech”, you can set-up a condition to download the prospectus form for B.Tech applicants. To set-up rules –
- From the Actions on Successful submission dropdown, select Based on Rules.
- Click Configure Rules, and on the Configure Rules pop-up, rename the rule.
- From the any dropdown, choose if you want the condition to be any or all, and set-up the base rule.
- From the Then dropdown, select the action you want to be carried out when the condition is satisfied.
- None – No action will be taken on successful submission.
6. Customize Widget
The following video tutorial shows you how to customize the design of your widget using the options available in the widget designer –
The LSQ Widget can be customized using the following properties –
6.1 General
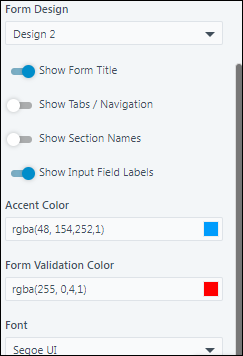
- Form Design – There are three default form designs available in the Widget Designer. You can select a relevant design from the Form Design dropdown.
- Show Form Title – To show the title of the form on your Form, toggle the slider.
- Show Tabs/Navigation – To show the tabs that hold the sections in a form, and to show navigations between different tabs in the form, toggle the slider.
- Show Section Names – To show the names of each section within the form, toggle the slider.
- Show Input Field Labels – To show the input field labels on the placeholder, toggle the slider.
- Accent Color – Select the font colour for section headers and buttons from the gradient screen or enter the hex code for a specific colour.
- Form Validation Color – Select the colour that will indicate a field as mandatory.
- Font – From the dropdown, select the font you want to display on the form.
- Query String – You can send the value of a particular field (First Name, Mobile field, etc.), by adding a mail merge parameter here. This will ensure that the field value is carried forward to the subsequent pages that have been configured.
- Open in New Tab – This is applicable only for Open External Link and Open Portal Page. To open the new page in a new browser tab, on successful submission of the form, toggle the
 slider.
 - Header Text – Enter the form’s title here.
- Button Text – Enter the submission button’s display text here.
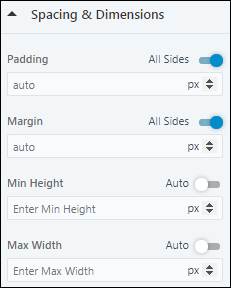
6.2 Spacing & Dimensions
You can customize the space and dimensions of the entire form, as well as each individual section within the form. To customize a section, click on the outer border of that section.
- Padding – Set the padding for the form. If you want the padding dimensions to be applicable on all sides of the layout, against All Sides, toggle the slider.
- Margin – Set the margin width for the form. If you want the margin to be applicable on all sides of the layout, against All Sides, toggle the slider.
- Min Height – Set a minimum height for the form. If you want the height to be applicable on all sides of the layout, against All Sides, toggle the slider.
- Max Width – Set the maximum width for the form. If you want the width to be applicable on all sides of the layout, against All Sides, toggle the slider.
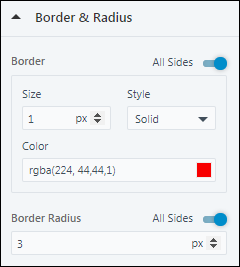
6.3 Border & Radius
- Border – Set the size, style, and colour for the border around the form. If you want the border to be applicable on all sides of the selected layout, against All Sides, toggle the slider.
- Color – Set a colour for the form’s border. You can select a colour either from the gradient screen or enter the hex code for a specific colour.
- Border Radius – Set the radius for the border around the form. If you want the border radius to be applicable on all sides of the layout, against All Sides, toggle the slider.
6.4 Background
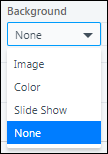
You can either choose to leave the form’s background blank or set an image or background colour.
- To add an image, from the dropdown, select Image. Then, click Choose Image to choose an image from your Image Library.
- To set the background colour, from the dropdown, select Color. Then, choose a colour from the gradient screen, or enter the hex code for a specific colour.
- Select Slide Show to extend the idea of a hero image, allowing you to present multiple images in a sequence. Click Manage Slides to add more slides.
- To leave the background blank, from the dropdown, select None.
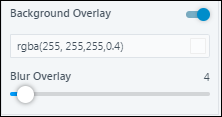
You also have the option to add a Background Overlay. It enhances the readability of the text and reduces visual stress for viewers. You can enable Background Overlay by toggling ![]() the slider. It has 2 options –
the slider. It has 2 options –
- Color Overlay – A color filter that puts a tint on the selected element to make the text more readable.
- Blur Overlay – Customize the intensity of the blur to be added to the background.
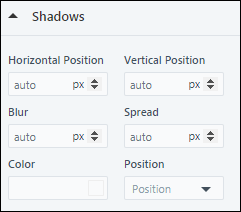
6.5 Shadows
Set a shadow for the form.
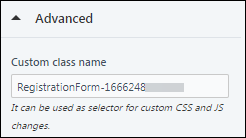
6.6 Advanced
Use this class name in your custom scripts to isolate and override its style and behavior without affecting any other components in the Widget.
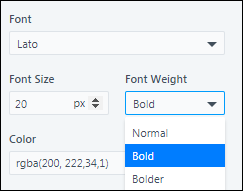
6.7 Typography
Click on any section within the form to access the typography setting.
- Font – Select the font you want to display in that section.
- Font Size – Enter the preferred font size for the font in that section.
- Font Weight – From the dropdown, select how thick or thin you want the font to look.
- Color – Select the colour for the font.
6.8 Configurations
To set a custom font or a custom script for the LSQ Widget, click on Settings.

7. Install LSQ Widget
7.1 Publish the Widget
- Once the Widget is designed click on Publish to Test to validate its functionality.
- Type in Change Notes and click Yes.
- To publish the LSQ Widget to a live environment, click Publish to Live.
- Once published to a live environment, click Download Widget
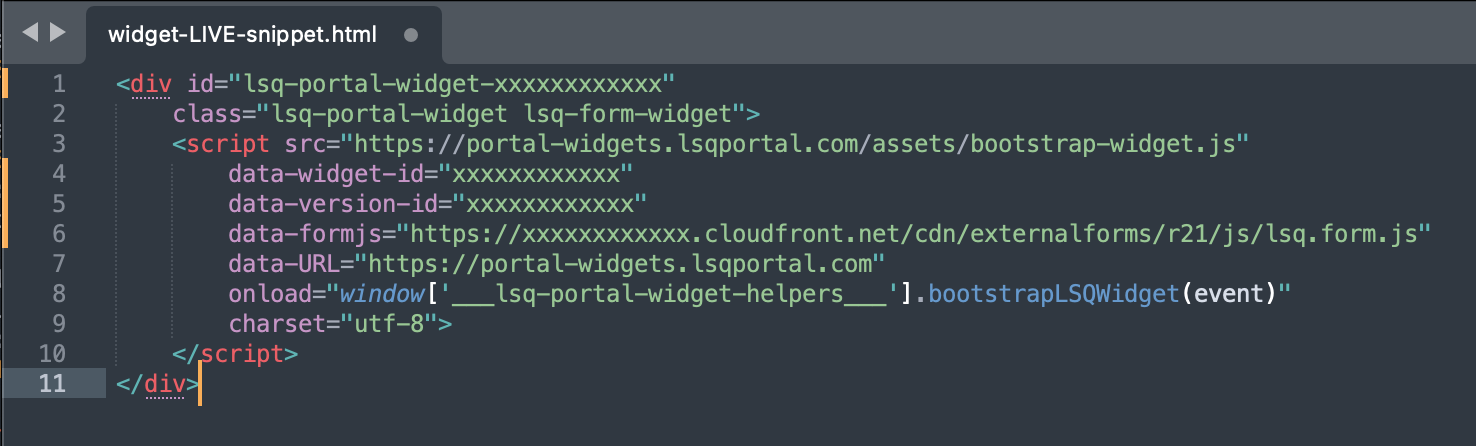
7.2 Embed the Widget on your Website
The file contains a JavaScript snippet that can be pasted into your website.
FAQs
1. Can I remove the LeadSquared logo from the Widget?
The Widget can be white-labeled. Please get in touch with your account manager for more information or contact support@leadsquared.com.
2. Can I display the Widget inside an iframe?
The Widget is already loaded inside an iframe by default. Pasting the widget code inside another iframe will create nested iframes. It’s important to note that using nested iframes can result in slower page load times, increased memory usage, and potential conflicts between different iframe styles and scripts. Due to these considerations, it is not recommended to use the widget inside an iframe.
3. Do widgets capture UTM parameters?
If the URL contains UTM parameters, the widget will capture five standard UTM parameters –
- utm_source
- utm_medium
- utm_campaign
- utm_term
- utm_content
These parameters will be recorded in the activity data. To view the captured parameters, please navigate to the Manage Activities page where you can access and analyze the captured UTM parameter data.
4. How can we test new enhancements on a widget that is currently live?
This is the suggested way to test new enhancements –
- Let’s assume you have a live widget called Home Loan.
- You can clone the Home Loan widget to get a cloned version called Home Loan Clone (You can clone a widget by selecting the Clone option under Actions on the Manage Widgets page).
- Make enhancements or changes to Home Loan Clone and publish it to the test environment.
- If you’re satisfied with the changes in the test environment, then publish it to live.
- If the cloned version did not provide satisfactory results, then the original Home Loan version is still available. You can choose to delete the cloned version and create a fresh clone of the original Home Loan version.
Any Questions?
Did you find this article helpful? Please let us know any feedback you may have in the comments section below. We’d love to hear from you and help you out!
How do you unpublish or delete a widget?
Hi. At present, you cannot unpublish or delete a widget. To remove a widget from a webpage, you’ll need to manually remove the widget script.