


Get Started
Sales Suite
Field Ops
Marketing
Service CRM
Integrations & Apps
FloStack
Custom Task Actions Connector
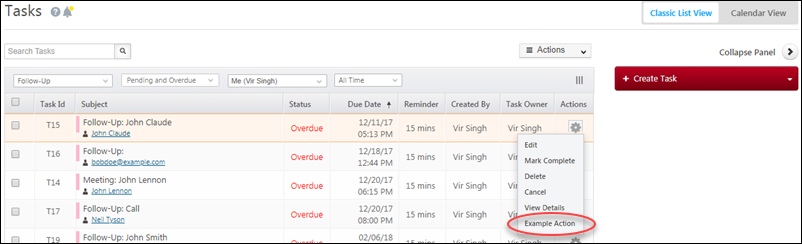
The Custom Task Actions connector lets you add new custom actions to the default list of actions (Edit, Mark Complete, View Details, Cancel, etc.) on the Manage Tasks page. These actions also reflect in task type tabs set up in Smart Views.
Here are some examples of custom actions you can create –
- Post task-related data to another tool/application
- Send a customized notification to a lead/task owner
- Open a new window with lead-related data from another application
You can create many more actions depending on your use cases. The connector gives you the ability to define the type of action, add a callback URL where you can mail merge task, lead and user parameters, display an Iframe and even get/post data.
Prerequisites
- You must be administrator user of your LeadSquared account.
- This connector is not available on all plans. If you want to enable it for your account, contact us at support@leadsquared.com.
Installation
First, install the connector from the Apps Marketplace –
- On the main menu, navigate to Apps>Apps Marketplace.
- Search for ‘Custom Task Actions’ in the search bar. Alternatively, you can navigate to the ‘UI Customization’ category on the left pane.
- Click Install on the Custom Task Actions connector.
- Once the installation is complete, hover your cursor over the settings
 icon and click Configure. Alternatively, you can click on the connector to open up a new page with the connector details, then click Settings>Configure.
Configuration
You can create task actions in two areas –
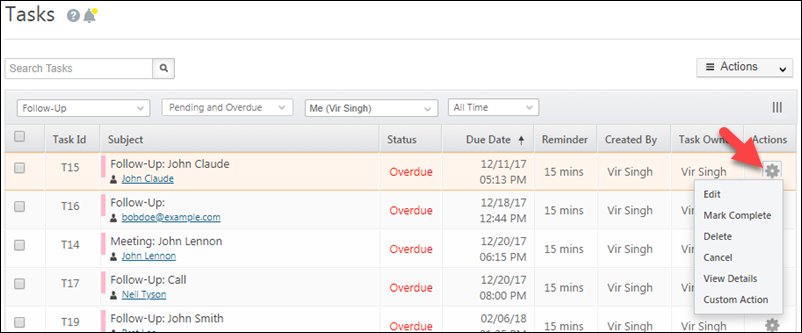
1. The tasks grid row action menu on the Manage Tasks page (and smart views).
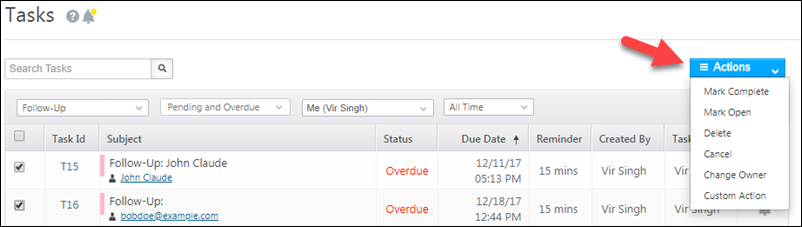
2. The bulk actions menu on the Manage Tasks page (and smart views).
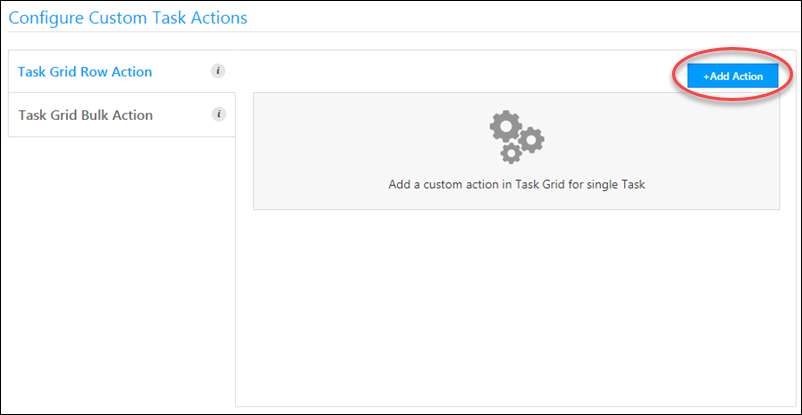
On the Configure Custom Task Actions pop-up, first select the area you want the action to appear (from the left pane), then click Add Action.
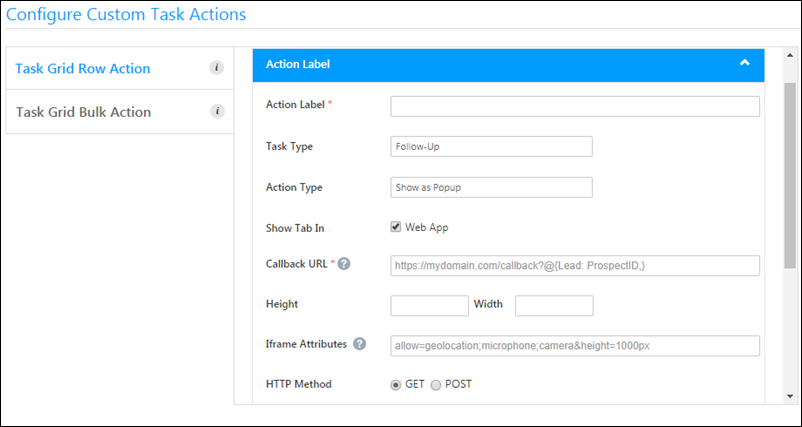
Enter the details of the custom action, then scroll to the bottom of the pop-up and click Save.
| Attribute | Description |
| Action Label | The display name of the action. |
| Task Type | The task type you want the action to appear for. For information on task types, see Managing Task Types. |
| Action Type | 3 action types are available –
|
| Show in Tab | Currently, only the Web App option is available. |
| Callback URL | Enter the HTTPs URL which will be rendered as a custom action. The URL should be of an action that accepts LeadSquared mail merge fields as parameters and passes them to an external application (e.g., a support system, another CRM or marketing system, another LeadSquared account, etc.) to get the data. Hover your cursor over the question mark Note: This attribute is mandatory. |
| Height | Enter the height and width of the pop-up. Applicable only for the ‘Show as Popup’ action type. |
| Width | |
| Iframe Attributes | Pass Iframe attributes you want to render on the pop-up. Applicable only for the ‘Show as Popup’ action type. |
| HTTP Method | GET and POST methods are supported. |
| Content-Type | application/json is the only supported content type. |
| Data | You can pass any data here in JSON format. |
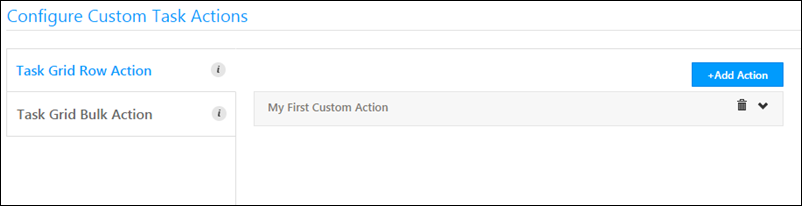
Once you’ve created a custom action it will appear as shown below.
- Click the delete
 icon to delete the custom action
 - Click the expand
 icon to edit the custom action
Click the Add Action button to create more custom actions.
Your custom task actions will now appear as configured on the Manage Tasks and Smart Views grid rows or bulk action menu for the chosen task type.
Any Questions?
If you still have doubts about this feature or any feedback you’d like to share, please leave a comment below.