


Get Started
Sales Suite
Field Ops
Marketing
Service CRM
Integrations & Apps
FloStack
How to Select Lead Fields to view on Lead Management page?
1. Feature Overview
The Column Customization feature lets you choose which columns appear on key pages such as Manage Leads, Manage Opportunities, Activities, and Tasks.
It helps you view important information at a glance, without opening individual Lead or Opportunity details. You can display both default fields (like Lead Score, Lead Owner, etc.) and custom fields (like Course Interest, Insurance Type, or Budget) directly in the grid.
Additionally, you can pin columns to keep important fields (such as Lead Name or Phone Number) fixed in place while scrolling through the grid. This ensures that critical information always remains visible.
2. Customize Columns in Manage Leads Page
- Navigate to Lead Management>Leads to view the list of all your leads.
- Click the Manage Columns icon on the top-right corner of the lead grid. Here, you’ll see the list of available and selected lead field columns.
- Hover over the relevant selected column, and drag and drop it in the desired position to reorder the grid.
- To add new columns, click on the relevant checkbox alongside the relevant field under Select Lead Columns.
- Once you’ve added the fields, click Update.
2.1 Pin Columns
Pin a column to move it to the front of the grid and freeze it in place. Pinned columns remain visible and do not move or get hidden when scrolling through the grid. You can pin upto four columns, with two primary columns pinned by default.
- Click the Pin icon alongside the relevant selected column to pin it. The field will move under the Pinned Columns section.
- Drag and drop to reposition the field within the column as per your preference.
- Once you’ve selected and pinned the columns, click Update.
2.2 Restore Default Columns
The default columns are Lead Name, Actions, Lead Score, Lead Stage, Lead Owner and Modified On. To view these default columns, click Restore Default and select Update.
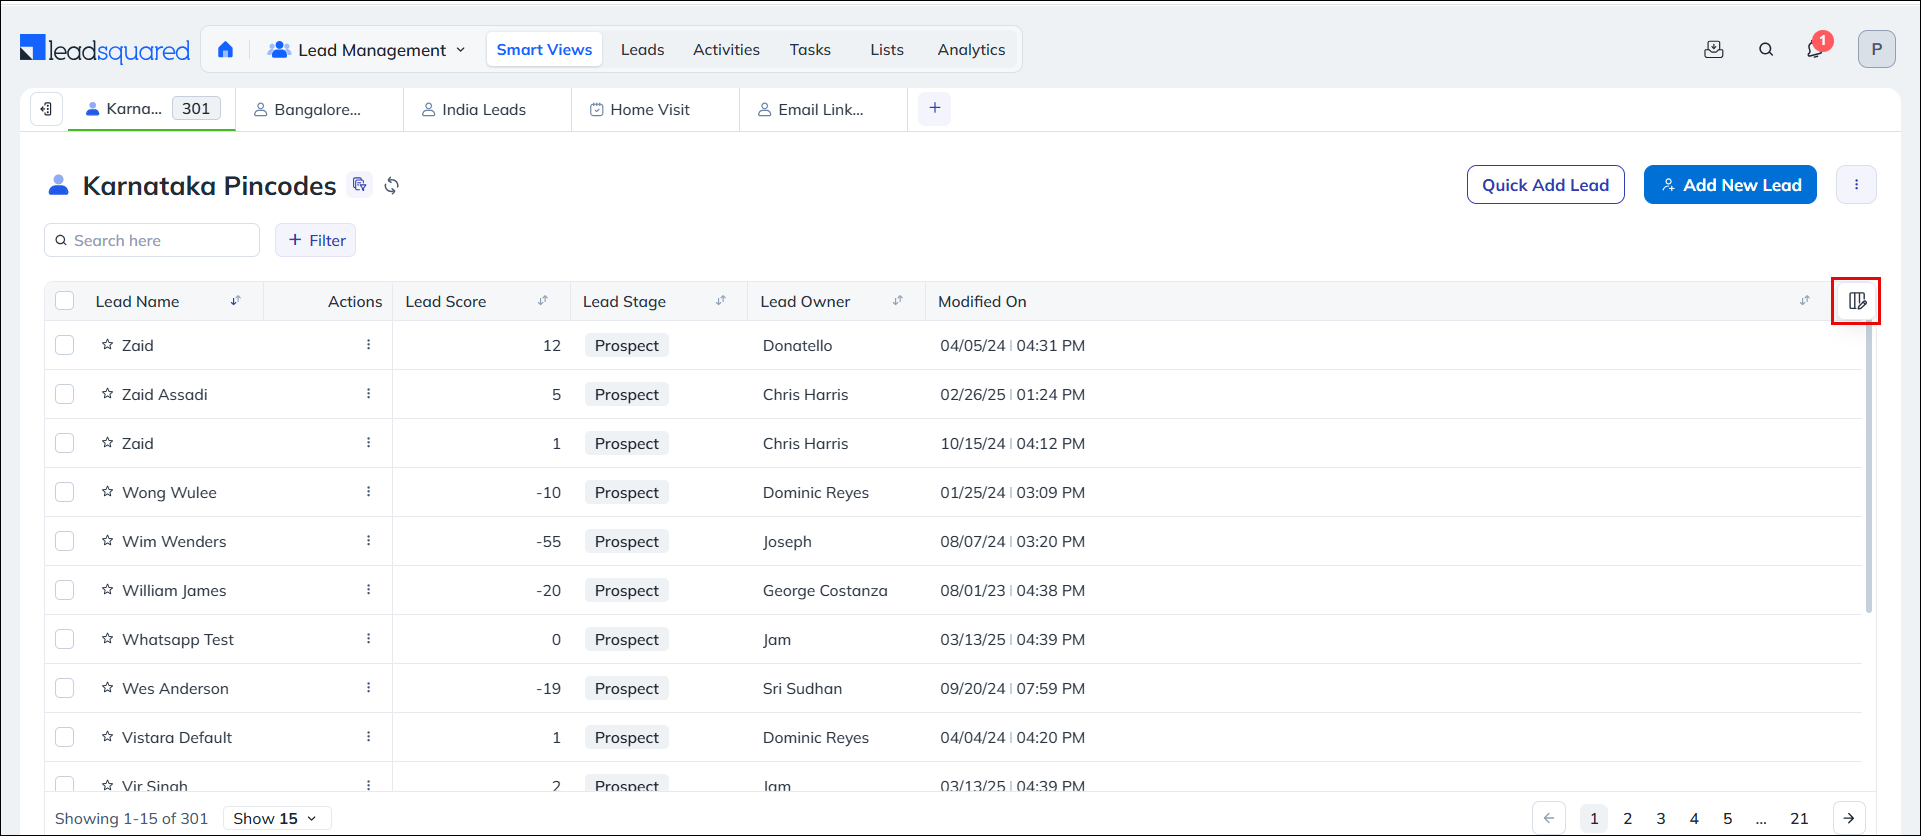
3. Manage Columns in Smart Views
You can also customize columns in Smart Views. To do so, click the Manage Columns icon on the upper right corner of the lead grid and follow the same steps as described above.
Any Questions?
Did you find this article helpful? Please let us know any feedback you may have in the comments section below. We’d love to hear from you and help you out!