1. Feature Overview
You can upload CSV files to create and update users in bulk. This article also covers exporting users and bulk updates through the UI.
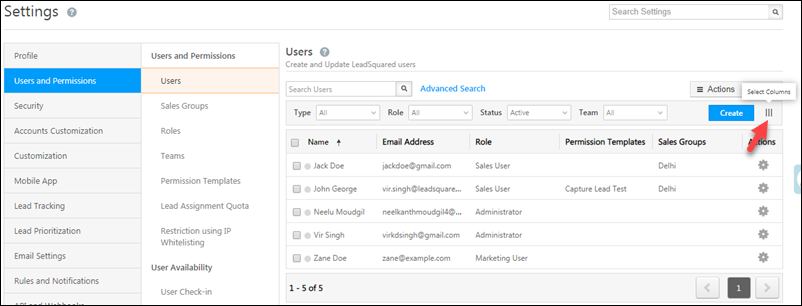
These features are available under the Actions tab on the Manage Users page (My Profile>Settings>Users and Permissions>Users).
2. Import Users
Note that the following fields are mandatory in your CSV file for creating new users –
- FirstName
- EmailAddress
- Role
2.1 Download the Sample CSV File
- On the Manage Users page, under Actions, click Import Users.
- The Import Users wizard will appear. Click the Download Sample CSV link.
The sample file will now be downloaded (to the downloads folder or any location you’ve configured for your browser’s downloads). View the file to understand how to structure the CSV you want to upload.
2.2 Upload Your CSV File
- On the Import Users wizard, either click the select a file from your computer link or directly drag and drop the CSV file into the area demarcated by the dotted line.
- Once the file has been uploaded, click Next.
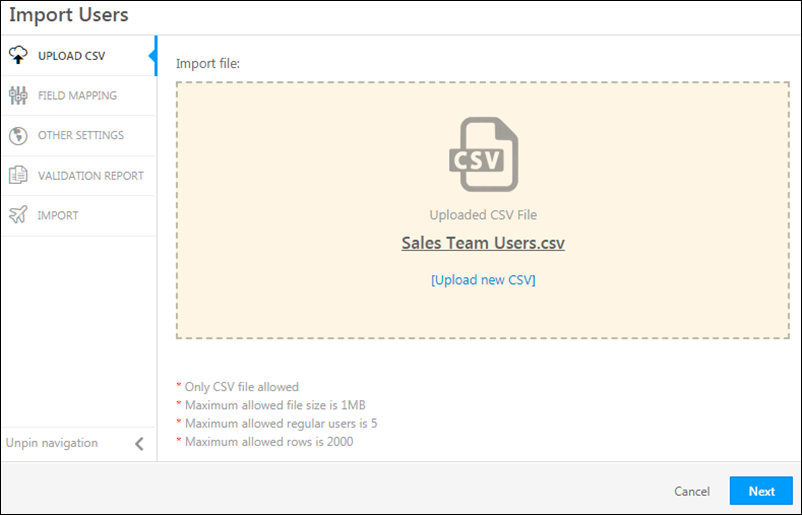
Note:
- The maximum allowed file size is 1MB
- Maximum allowed users and rows are configurable. Contact us at support@leadsquared.com for assistance.
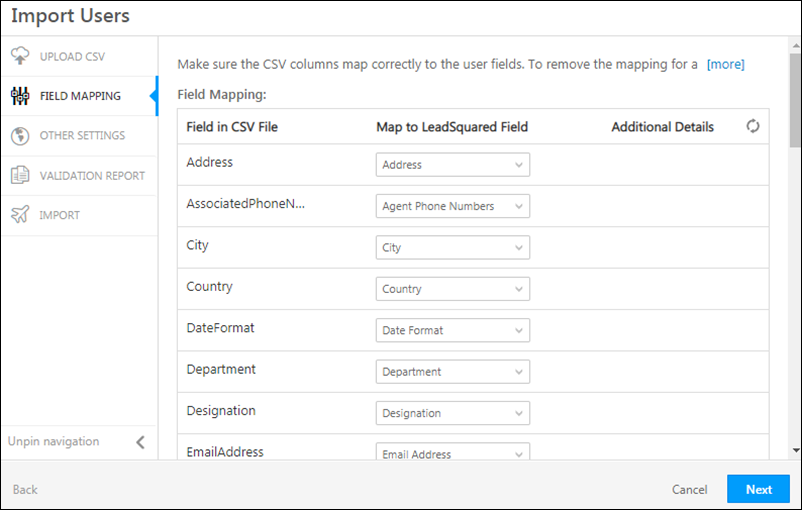
2.3 Map the CSV File Columns to User Fields
- Map the fields in the CSV file to the user fields in your account. Ensure that the mandatory fields – FirstName, EmailAddress and Role are mapped correctly.
- Click Next when you’re done.
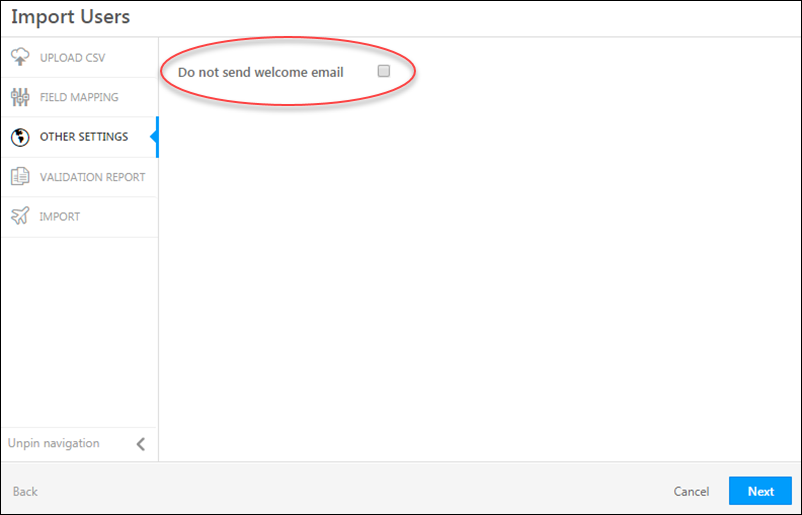
2.4 Other Settings
Select the checkbox if you do not want to send welcome emails to the new users. Click Next.
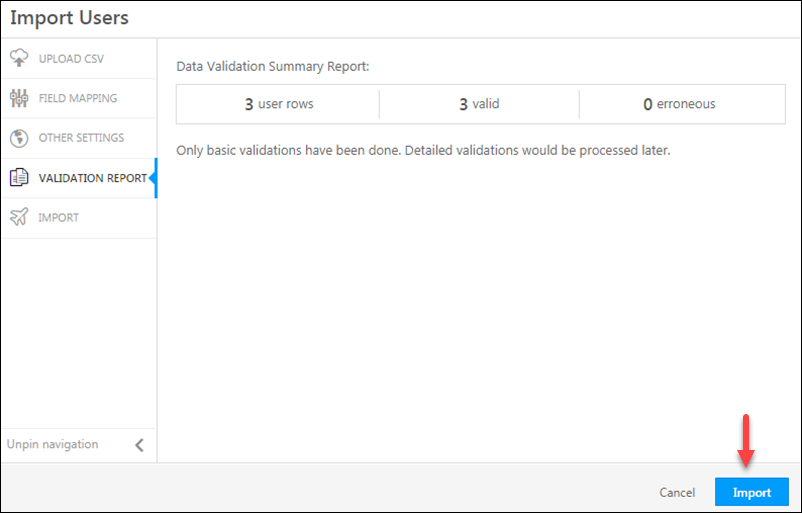
2.5 Review the Validation Report
The validation report will show you errors in your mapping configurations. You can –
- Fix these errors and re-upload the CSV
or - Ignore the errors and click Import. If you do so, users won’t be created for the rows which contained the errors.
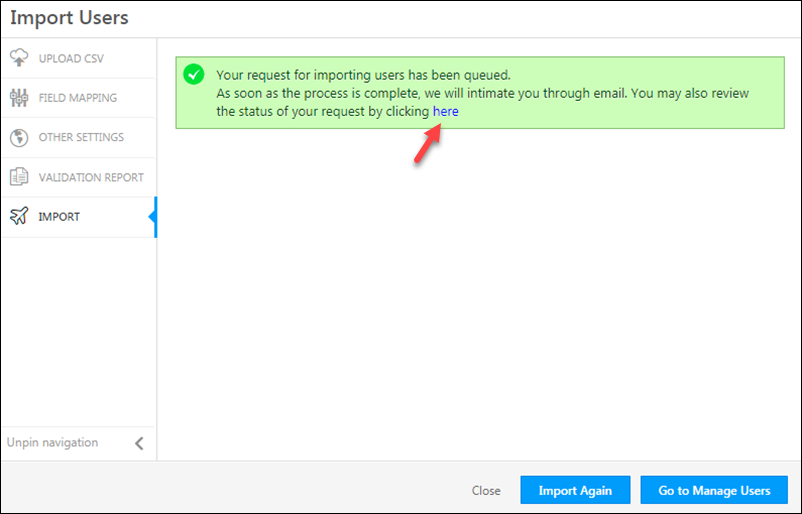
2.6 Check the Status of Your Import
Your import request is now successfully queued. Click the link shown below to view the status of the import. You’ll also be notified by email once the import is complete.
You can now choose to import another file or proceed to the Manage Users page.
3. Update Users via CSV
You can use this feature to update a large number of users in one go. For example, you can update the status fields to activate or deactivate users who join or leave your organization, add multiple users to a particular team or department, apply calendars and workday templates to a group of users, and lots more.
The process for updating users via CSV is similar to the lead import action, but has a few key differences –
- Your CSV must contain at least 2 user fields and it is mandatory to pass 1 user identifier –
- UserId
or - EmailAddress
- UserId
- The following fields cannot be updated and will not appear for mapping in the wizard (in the field mapping step) –
- Email Address
- Password
- PhoneMobile
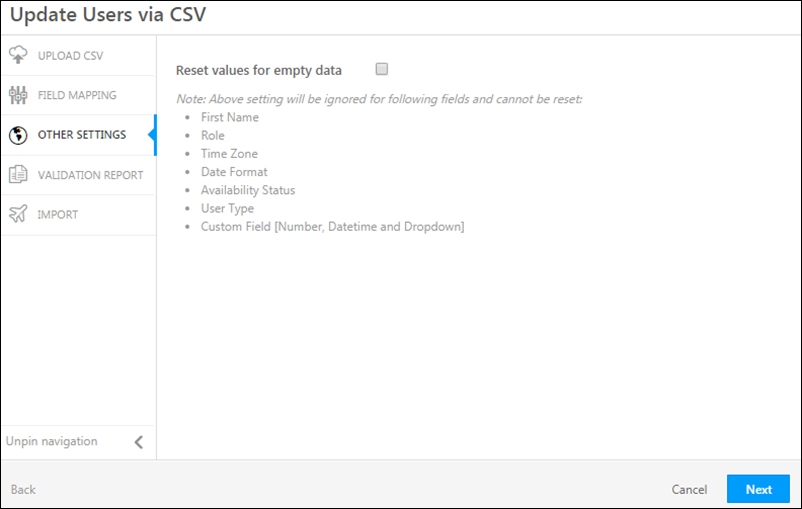
The Other Settings step in the update users wizard allows you to Reset values for empty data.
- If you enable this option, the corresponding fields in your account will be overwritten by the fields with empty values in your CSV file.
- If you don’t enable the option, the empty fields in the CSV file will be ignored, and corresponding user fields will retain their original values.
Use the Validation Report to identify errors in your CSV file. For more details, click the link highlighted in the screenshot below.
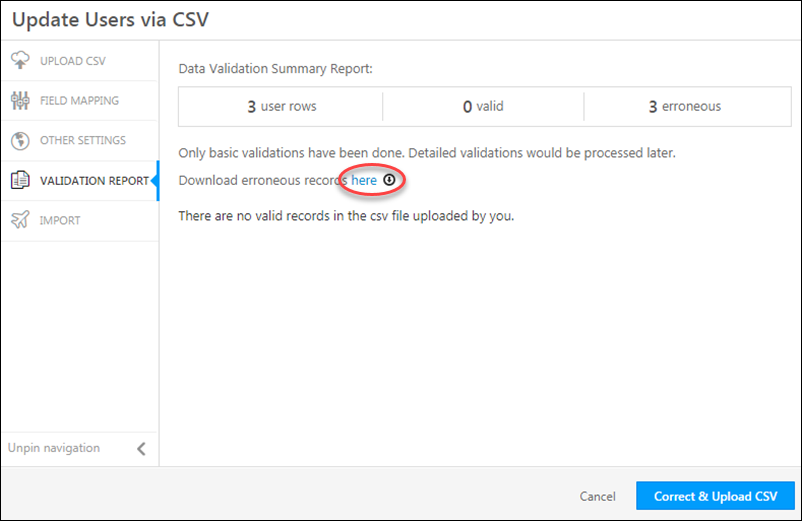
The CSV file that’s automatically downloaded will contain InvalidField and ErrorMessage columns to help you identify the exact error –

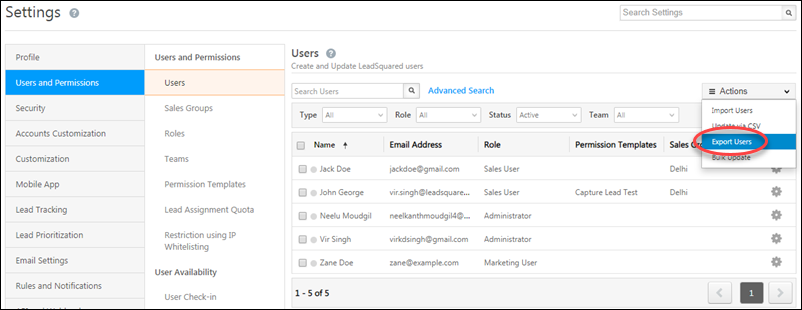
4. Export Users
The Export Users action exports the list of users in your account in CSV format.
The columns appearing on the Manage Users page are exported. In case you want to have a different set of columns, use the column customization option –
Under the Actions menu, click Export Users, then click Yes on the confirmation dialog box.
Note: Date-time fields will be exported in the user’s timezone.
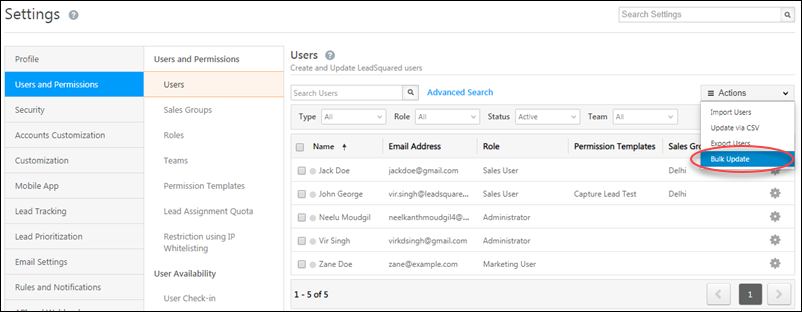
5. Bulk Update
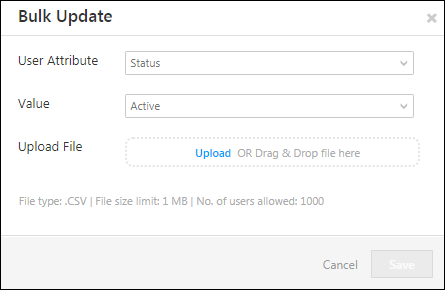
Unlike the update via CSV option, bulk update lets you change only a single user field. Be sure to select the checkboxes alongside the users you want to update before clicking the action.
Alternatively, you can also drag and drop a CSV file into the demarcated area on the dialog box. This will launch the update via CSV process detailed above.
Any Questions?
Did this article help you with your use case? Feel free to leave feedback in the comments section below.


How do I bulk add users to a Sales Group
Hi, Bishal. Sorry, this cannot be achieved through CSV file imports. However, you can do this by using the Add Users to a Sales Group API.
how to remove users in bulk?
Hi Dhruv,
In order to preserve the integrity of your history, we don’t allow you to delete users from LeadSquared. However, you can use the bulk update feature to change the status of selected users to ‘Inactive’. Deactivated users won’t be able to log-in to LeadSquared so ensure you move all their leads, activities, and tasks to an active user. Furthermore, once a user is deactivated, you can then mark them as obsolete (after which you can’t reactive the user).