1. Feature Overview
When your sales teams make a sale, they often remain the only point of contact for customers. When customers face an issue, they might email these sales users instead of raising a ticket through your support email ID.
When this happens, and your sales users forward the complaint to your support team, the system creates a ticket in your LeadSquared account with the sales user tagged as the customer instead of the actual customer. The system also creates your internal sales user as a customer (lead) in your account. Since this is incorrect, replies from your service agents go to the sales users, who must then forward them to customers.
The Requester feature avoids this roundabout and incorrect process. When internal emails are routed to your support teams, the system creates a ticket but keeps the customer field blank. Service Agents can then review the email thread, identify the customer, and update the ticket. This removes confusion, saves time, and improves the efficiency of your support and sales teams.
2. Prerequisite
This is a paid feature. To enable it, contact your account manager or write to scsupport@leadsquared.com.
3. How it Works
When your support email ID account receives an email, the system previously captured the sender as the customer and tagged the ticket to this customer. With the Requester feature, you can ignore the sender of internal email, and your service users can tag the ticket to the relevant customer instead.
To configure this, add the email domains you want the system to ignore when it receives an email. For example, if you add leadsquared.com as an ignored domain, every time an email is sent to your support email ID from this domain, the system does not tag the sender as the customer.
4. Configure the Requester
This section is for Admins.
- In your LeadSquared account (app.leadsquared.com), navigate to My Profile>Settings>Service Cloud.
- On the Service Cloud Settings page, under Advanced Ticket Settings, click Requester.
- On the Requester Settings page, alongside Enable Requester, enable the slider.
- Under Requester Domains, enter the email IDs for which the system leaves the customer field blank when it creates a ticket.
- Once you’re done, click Save.
5. Update the Customer’s Name
This section is for Service Agents. Once the system creates a ticket, you can update it and tag it to the right customer from the Ticket Details page.
Once you update the ticket with the customer’s information, the system creates a new customer in your account, and your reply from the Ticket Details page goes directly to the customer.
6. View Requester Details
Once this feature is configured, the Requester field is created by default in your account, and the field type is visible to Admins on the Ticket Fields and Form Configuration page.
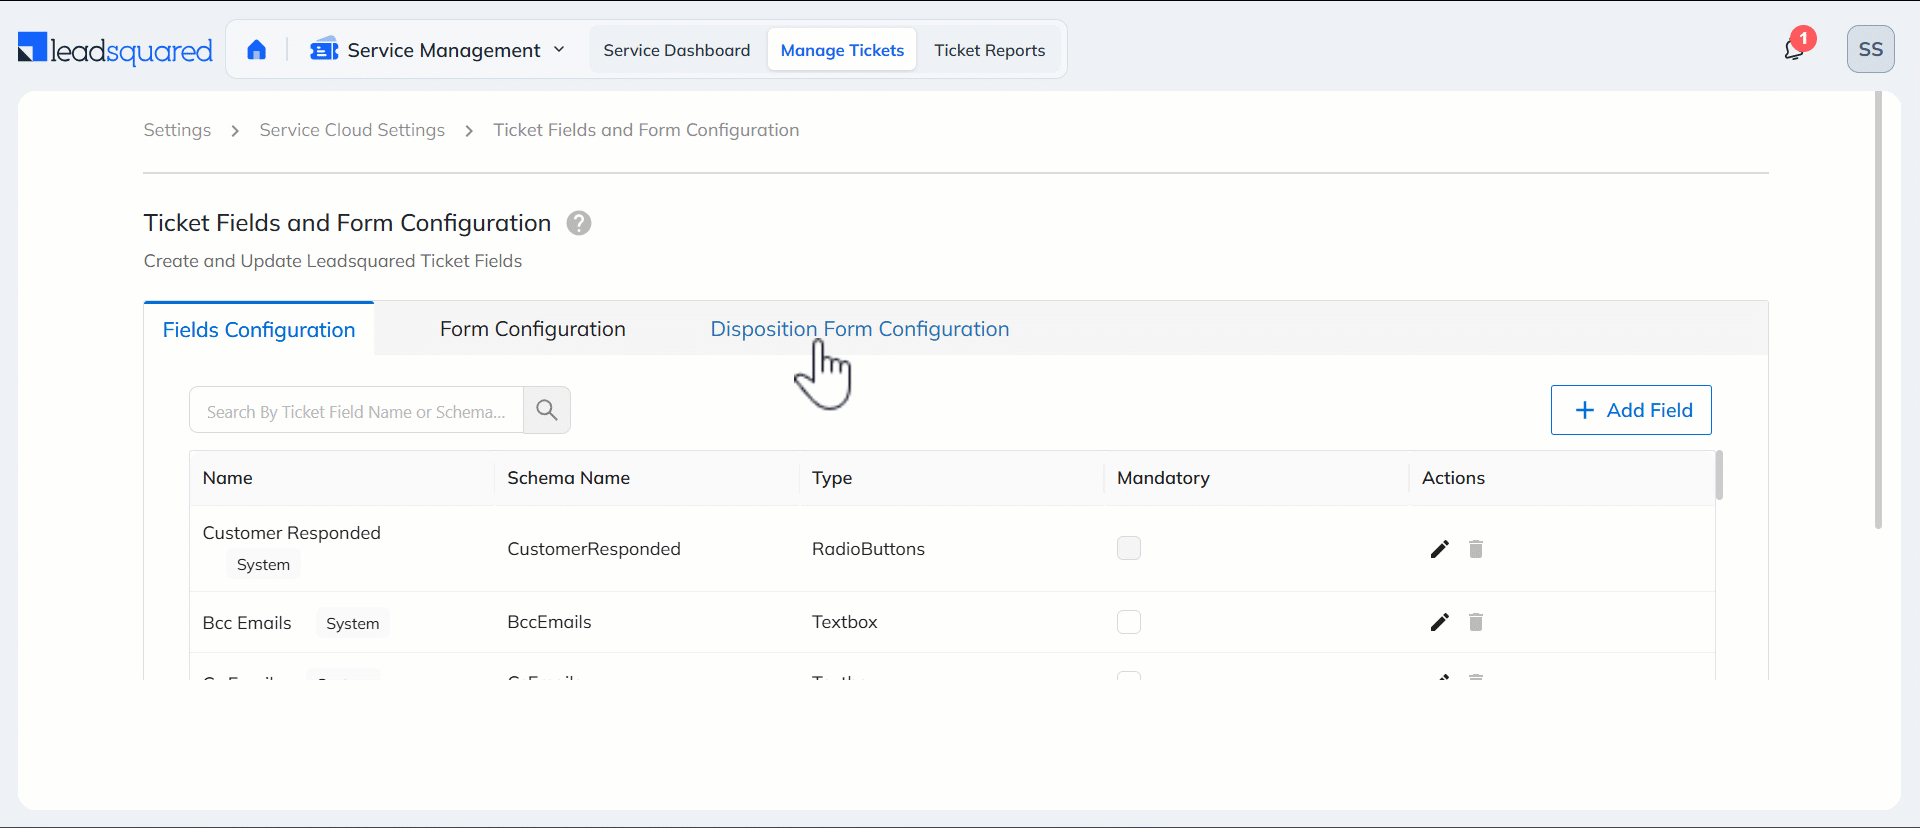
You can use the Requester field when running an Advanced Search on the Ticket Details page.

Any Questions?
Did you find this article helpful? Please let us know any feedback you may have in the comments section below. We’d love to hear from you and help you out!


