


Get Started
Sales Suite
Field Ops
Marketing
Service CRM
Integrations & Apps
FloStack
Configure Chatbot Channel
1. Feature Overview
Once you’ve built a chatbot, you must add it to a channel. We support three channels – WhatsApp, Web, and Mobile SDKs.
The WhatsApp channel lets you integrate your chatbot with your WhatsApp business account. The Web channel lets you integrate the chatbot on a portal/landing page/website/mobile apps of your choice.
Note: For the mobile SDK, the following are supported –
- Android
- iOS
- React Native

2. Prerequisites
- You must install and configure the Chatbot feature.
- If you’re integrating the chatbot with WhatsApp, you must have a WhatsApp Business account with a service provider supported by LeadSquared.
- If you’re integrating the chatbot with Web, prior developer experience is required.
3. Integrate the Chatbot with WhatsApp
Note: Before you integrate the chatbot with your WhatsApp , the following steps must be completed in LeadSquared. This is mandatory.
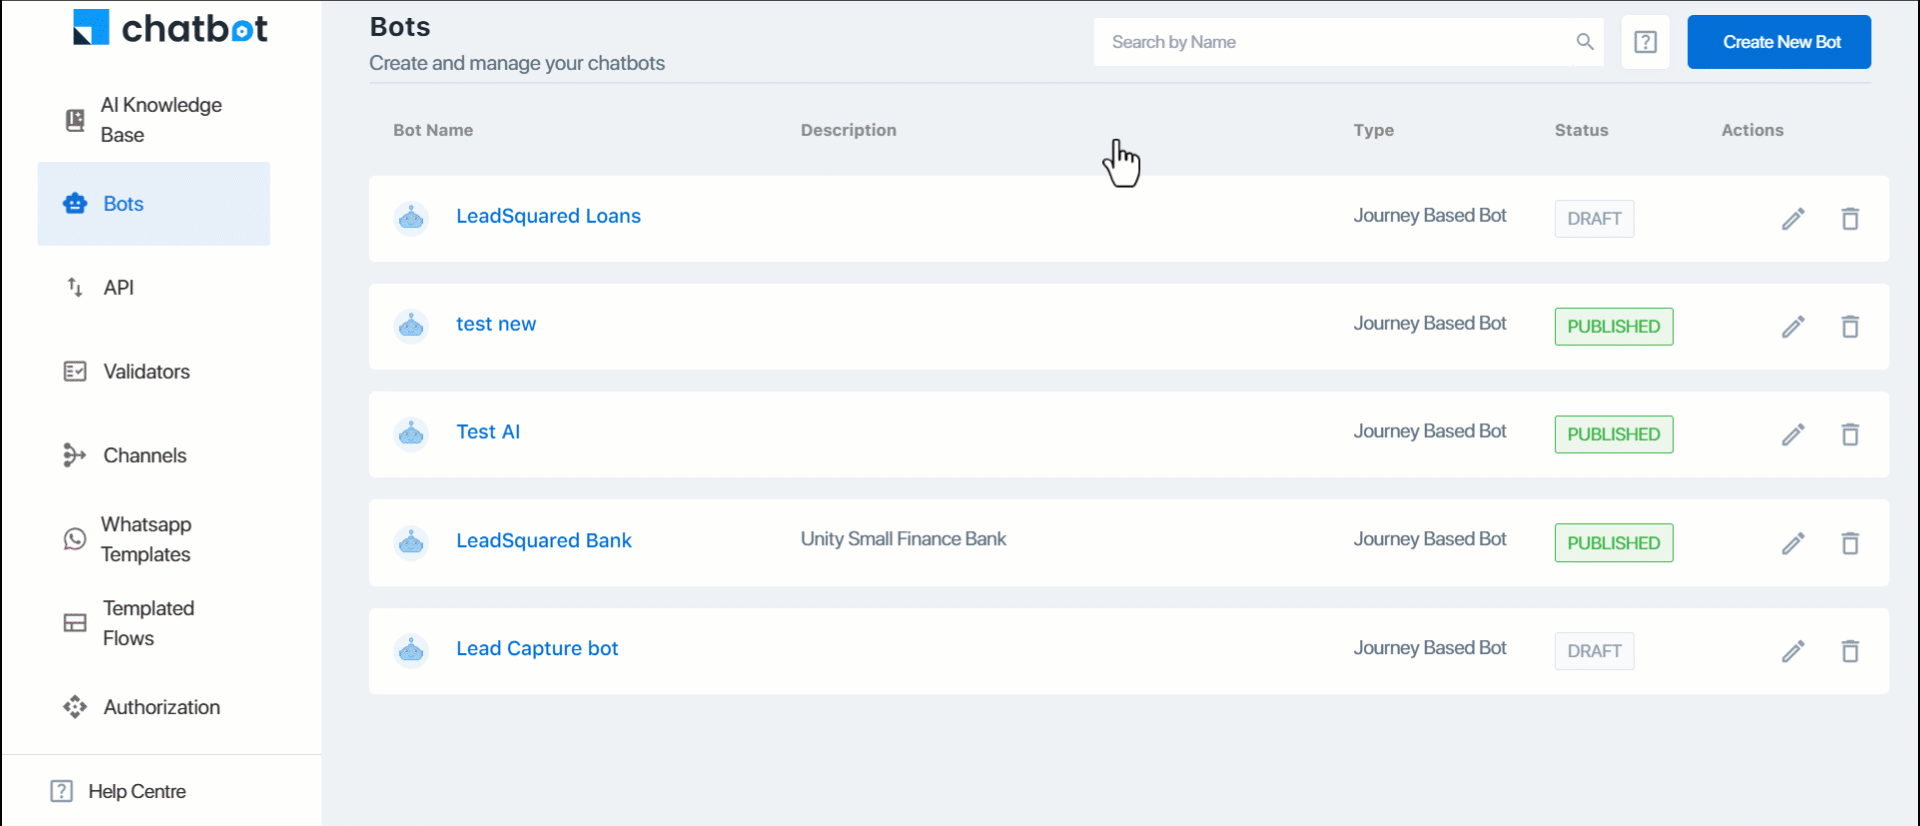
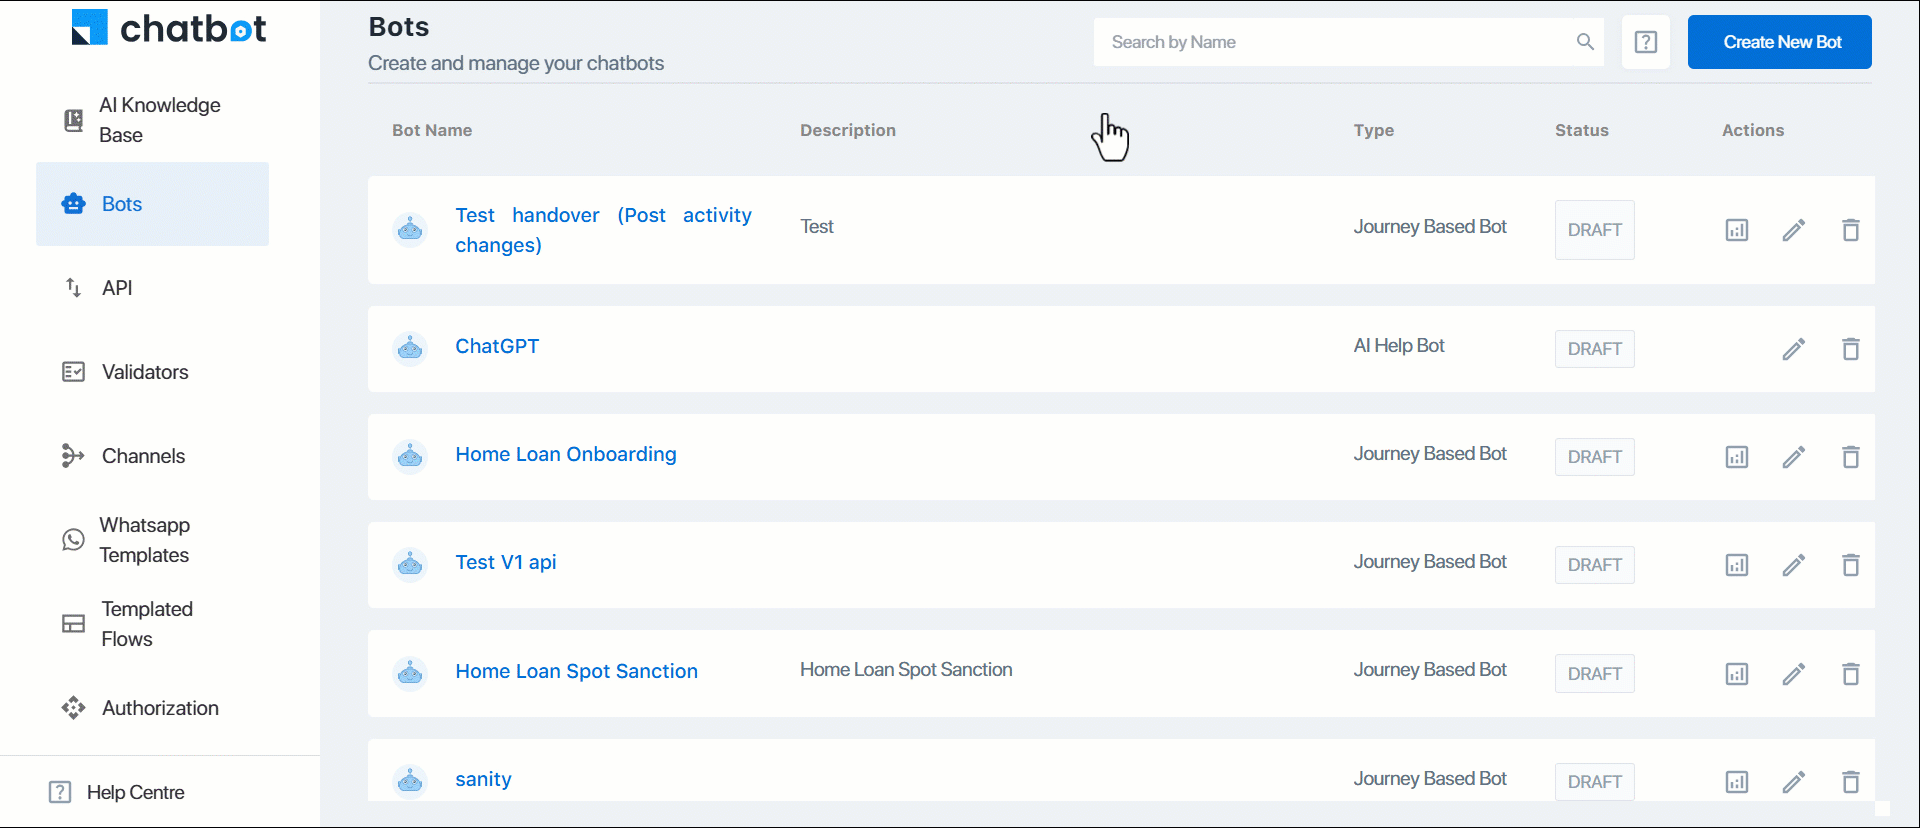
- On the Chatbot screen, from the left-menu, navigate to the Channels tab.
- Click WhatsApp, and then click the Add Configurations button.
- On the Publish WhatsApp Channel pop-up, choose the WhatsApp number and bot you want to integrate.
- Once you’re done, click Publish. The chatbot is integrated with your WhatsApp Business account, and your leads can now interact with the chatbot through WhatsApp.
4. WhatsApp Templates
You can create message templates for both Web and WhatsApp chatbots. When creating a node, you can add a Template Message Node, and use the content present in these templates as the response to your leads. The WhatsApp template’s content must be approved by your service provider.
To create a new template –
- From the left-menu, click WhatsApp Templates.
- On the Whatsapp Templates screen, click the Create New Template button.
- On the Create New Template pop-up, enter the following details for a WhatsApp Template –
- Template Name – Enter a relevant name for the template. This will be used to internally identify the template.
- Name – Enter the template name. This is mandatory.
- Message Type – Select the message type from the following options. This is mandatory –
- Text – This lets you send text- as the message content. Select the Button Type from the following options –
- None
- Quick Reply
- CTA (if you select this, pass the button URL)
- Image – This lets you send an image as the message content. In the Media URL box, pass the image URL.
- Video – This lets you send a video as the message content. In the Media URL box, pass the video URL.
- Document – This lets you send a document as the message content. In the Media URL box, pass the document URL.
- Text – This lets you send text- as the message content. Select the Button Type from the following options –
- Header – The header text of the message.
- Body Text – Enter the text for the message body.
- Body Parameters – If you’re using this template in a chat flow that contains an API, you can fetch response parameters from the API, and display it in this field. To do this, pass the response parameters (e.g., “EmailAddress”, etc.) within {{}} (e.g., {{EmailAddress}}, etc.).
- Enter the mailmerge parameters that are contained in the message body.
- Footer – Enter the footer for the message body.
- For a Web Template, enter the message in the Body Text.
- From the Buttons dropdown, select if you want the button in the template to perform a website open action or a phone call action.
- Once you’re done, click Save. These templates will now be available to use when you’re building the chatbot.
5. Integrate the Chatbot with Web
- On the Chatbot screen, from the left menu, navigate to the Channels tab.
- Click Web, and from the right panel, click Add New Configurations.
- On the Web pop-up, enter the following details –
- Bot Title – The external display name for the chatbot. This is what your leads will see when they interact with the bot.
- Bot Subtitle – If required, you can add a subtitle for the bot. Your leads can see this when they interact with the bot.
- Bot Logo – You can add a bot logo. To do this, add an image URL of the logo.
- Select Bot – From the list of chatbots you’ve created, select the bot you want to integrate with WhatsApp.
- Whitelist URL – Enter the website URL on which the bot is going to be integrated. This is to ensure the LeadSquared servers don’t block the website in which the bot is integrated. This is mandatory.
- Help Text – Help text on the bot, to help your lead initiate the chat. For e.g., the help text can read, “Send ‘Hi’ to begin the conversation”.
- Theme Color – The overall theme color for the bot. You can enter the hex code of a color, or select one from the colour picker.
- Font Color – The font color of the messages sent through the bot. You can enter the hex code of a color, or select one from the colour picker.
- Position – Configure the position of the chatbot on your website. The values you enter here are pixels to the right and bottom of the screen where you want to display the chatbot.
- Automatically expand Bot on page visit – When enabled, the chatbot screen will automatically expand when the lead lands on the website on which the bot is integrated.
- Disable input box for interactive messages – When selected, the chat input box for interactive messages will be disabled. This ensures the lead can only select an input from options provided in the interactive message.
- Show Powered by Converse – Disable this checkbox if you don’t want to display the Converse branding on your chatbot.
- Once you’ve entered the details, click Save.
- Once the channel is saved, click
 to copy the chatbot script. Embed this script into the header of the website on which you want to integrate the chatbot. Once this is done, the chatbot is live on your website.
6. Integrate Chatbot with Mobile SDK
The steps to integrate the chatbot with a mobile SDK are similar to those for integrating it with a webpage. However, you must also complete the additional steps listed below –
- On the Chatbot home screen, click Authorization.
- Under Generate API Key, alongside SDK, click Generate.
- You don’t have to copy this key. No further action is required on this screen.
- Navigate to Channels, and click SDK.
- On the SDK screen, click Add Configurations. To know how to set up the configurations, refer to Integrate the Chatbot with Web.
- If you have an existing SDK configuration, verify if the details are correct. To do this, click
 .
.
- If you have an existing SDK configuration, verify if the details are correct. To do this, click
- Once the SDK is configured, alongside the bot you configured, click
 . On the SDK Parameters for Scheduling pop-up, all the parameters, and use it in the SDK*.
7. Integrate Chatbot with LeadSquared Portals
Integrate a published bot with a LeadSquared Portal. Once integrated, leads can interact with the chatbot directly from the portal page. During these interactions, the bot captures the visitor’s information and the logged-in user’s details.
- On the Chatbot screen, from the left menu, click Channels, and then click Web.
- Alongside the bot you want to integrate with the Portal, under Actions, click
 .
. - In the pop-up, click to
 copy the HTML script displayed on the left side, under Add the below script in the head of your HTML page.
 - Next, from your LeadSquared dashboard, navigate to Workflow>Manage Portals, open the portal you want to integrate with the bot, and access the Portal Designer screen.
- You can also integrate the bot when creating a new portal.
- On the Portal Designer, click Configurations, and under Script, paste the script.
- Navigate back to the Chatbot screen, and now copy the HTML script displayed on the right side, Add the below HTML tag in your page.
- Then, navigate to the Portal Designer, and under End of Body, paste the script.
- Once you’re done, Publish the portal. The chatbot is now live on your LeadSquared portal.

8. Integrate Chatbot with Landing Pages
Integrate a published bot with a LeadSquared Landing Page. Once integrated, leads can interact with the chatbot directly from the landing page. During these interactions, the bot captures the visitor’s information and the logged-in user’s details.
- On the Chatbot screen, from the left menu, click Channels, and then click Web.
- Alongside the bot you want to integrate with the Portal, under Actions, click .
- In the pop-up, click to copy the HTML script displayed on the left side, under Add the below script in the head of your HTML page.
- Next, from your LeadSquared dashboard, navigate to Marketing>Landing Pages, and edit a published landing page.
- You can also integrate the bot when creating a new landing page, by following the steps listed below.
- Navigate to the Page Settings tab (Step 4 on the top-bar), under Embed JavaScript, select Inside Head, and paste the chatbot script into the textbox.
- Navigate back to the Chatbot screen, and now copy the HTML script displayed on the right side, Add the below HTML tag in your page.
- Then, navigate to Landing Pages, and under Start of Body, paste the script.
- Once you’re done, Publish the landing page. The chatbot is now live on your landing page.

9. Integrate the Chatbot with WordPress
You can integrate a published bot with a WordPress page. Once integrated, leads can interact with the chatbot directly from this page. During these interactions, the bot captures the visitor’s information and the logged-in user’s details.
- On the Chatbot screen, from the left menu, click Channels, and then click Web.
- Alongside the bot you want to integrate with the Portal, under Actions, click .
- In the pop-up, click to copy the HTML script displayed on the left side, under Add the below script in the head of your HTML page.
- On your WordPress page, navigate to the Code Editor, and paste the chatbot’s HTML script.
- Navigate back to the Chatbot screen, and now copy the HTML script displayed on the right side, Add the below HTML tag in your page.
- Then, navigate back to the WordPress page, and on the Code Editor, paste the HTML script.
- Once you’re done, save and publish your page. The bot will now be displayed on your page.
Any Questions?
Did you find this article helpful? Please let us know any feedback you may have in the comments section below. We’d love to hear from you and help you out!