


Get Started
Sales Suite
Field Ops
Marketing
Service CRM
Integrations & Apps
FloStack
Create Quick Filter to Find Leads
1. Feature Overview
Quick Filters allow you to save frequently used filters, making it easy for you to find leads and opportunities faster. For example, you can create filters like Leads who visited a site last week or Leads who completed demo. Once created, all your Quick Filters appear under the My Filters dropdown, located above the Manage Leads or Manage Opportunities grid. Simply select a filter to instantly view the corresponding records in the grid.
2. How It Works
- Create an Advanced Filter with your preferred search criteria.
- Save it as a Quick Filter for future use.
- Access the saved filter anytime from the Manage Leads or Manage Opportunities grid to instantly view matching records.
3. Create Quick Filters
- Navigate to Lead Management>Leads.
- On the Manage Leads page, go to Filter>Advanced Filters.
- An Advanced Search pop-up will appear. Select Search Criteria and click on Add.
- The selected criteria will appear. Now click Save as a Quick Filter.
- Assign a name to the filter and click Save.
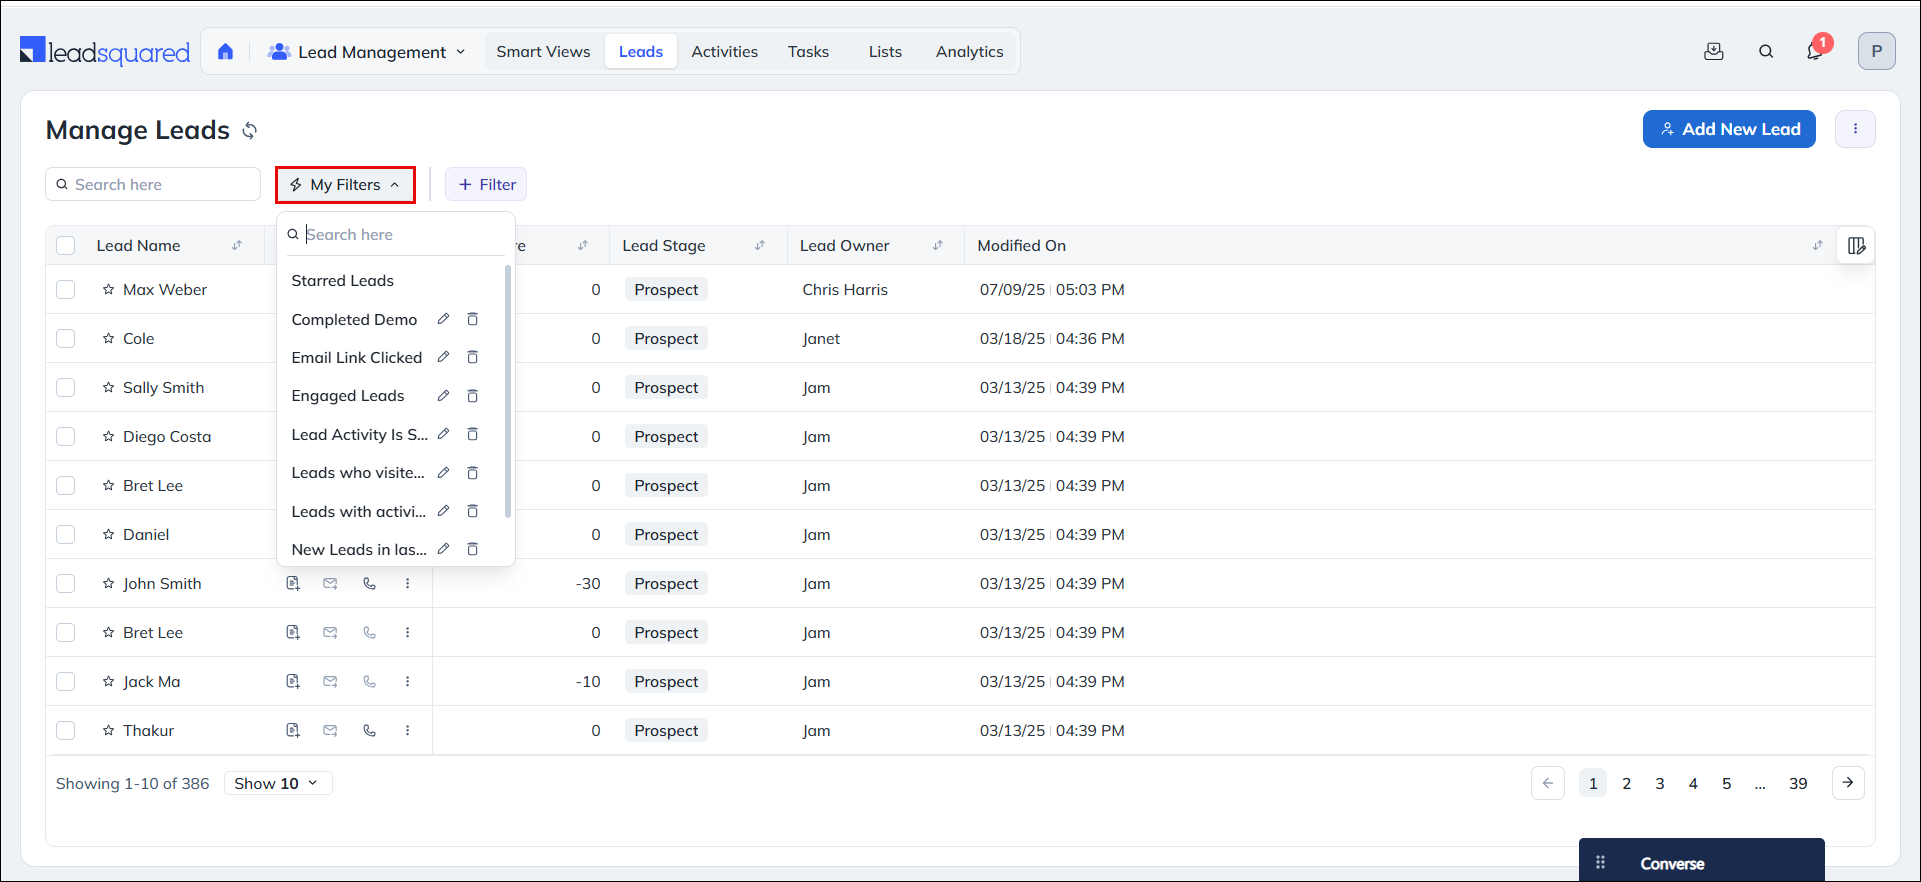
You will get a notification on the successful creation of the Quick Filter. You will also see that the new filter has appeared under My Filters dropdown on the Manage Leads/Opportunities page.
4. Edit or Delete Quick Filters
- Locate the saved quick filters under My Filters on the Manage Leads page.
- You will find the Edit and Delete icons.
- Click on the Edit icon to edit the filter.
- Click on the Delete icon to delete the filter.
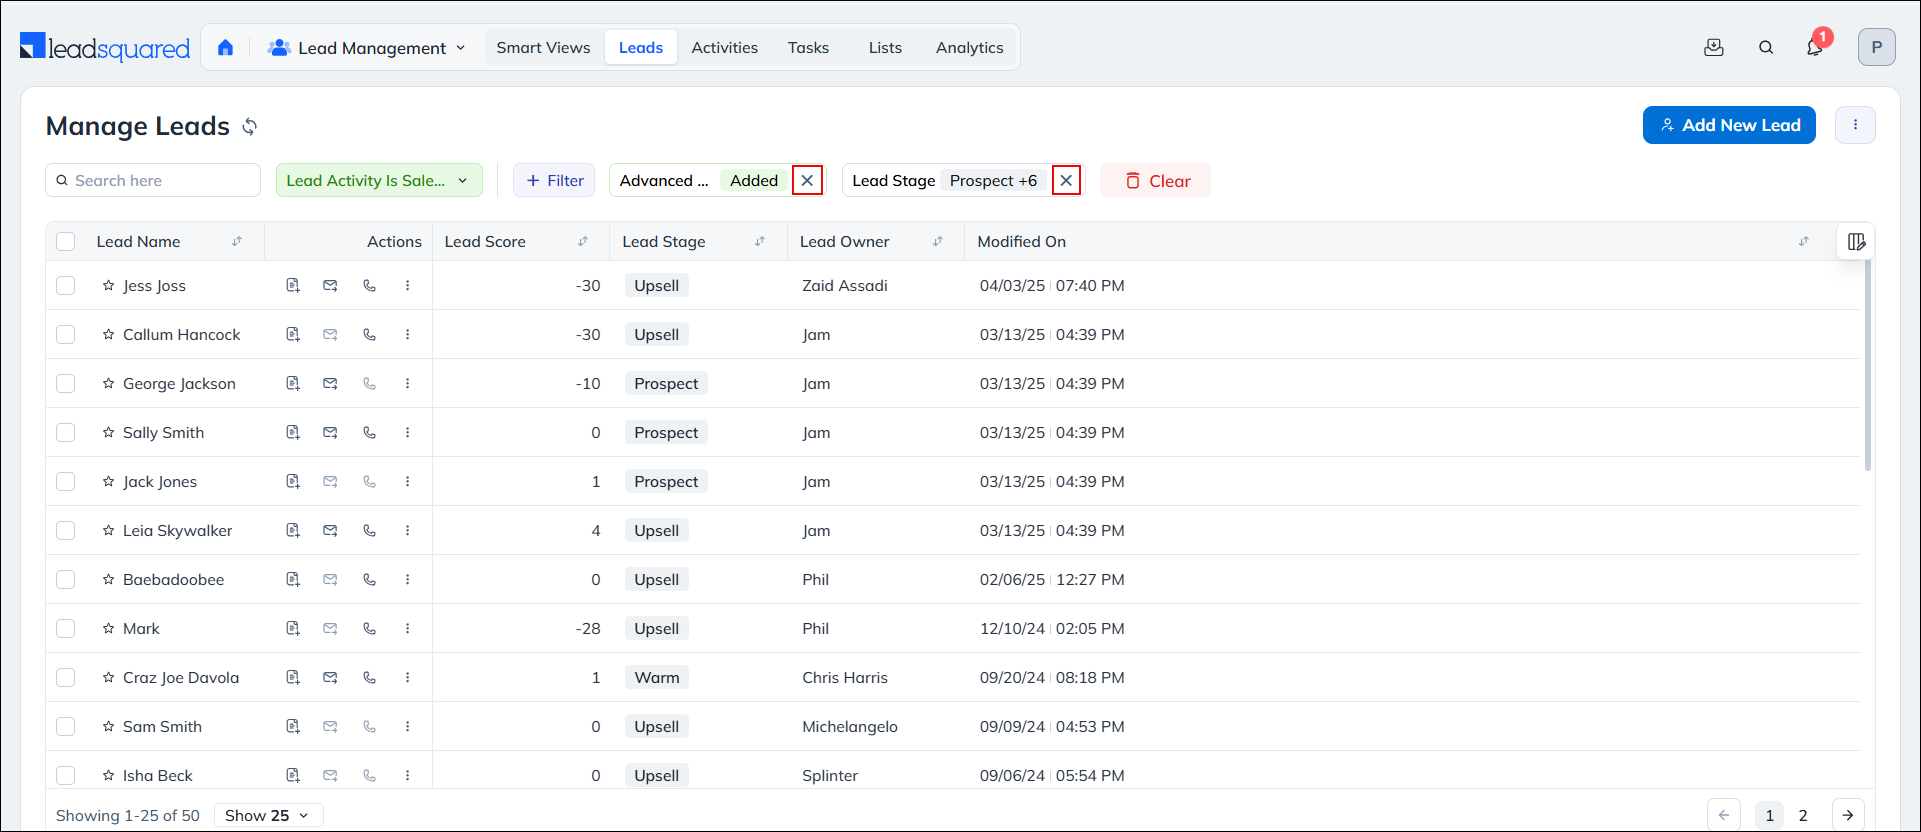
5. Remove Filters
To reset all filters on the page, click the Clear button alongside the filters.
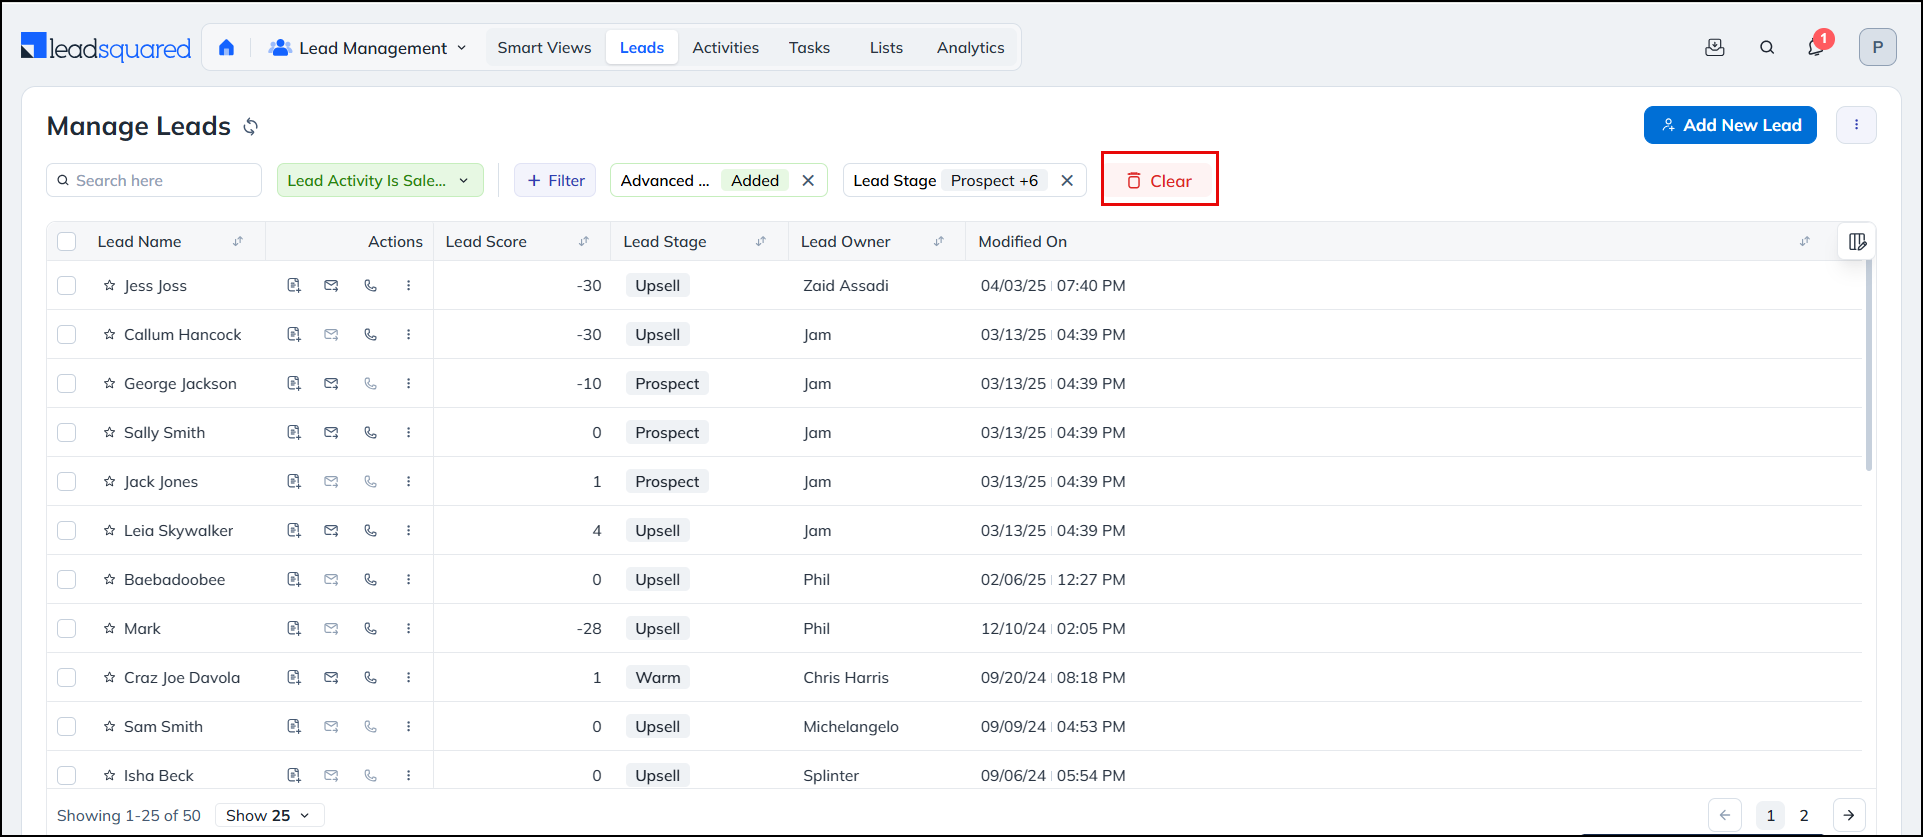
To remove just the one particular filter, click the X icon alongside relevant filter.
Any Questions?
Do you have questions or issues with the content in this article? Let us know in the comments section.
how to add two advance filter at the same on leadsquared – country code is a or b or c and lead score is above x
Hi Apurva. You must first add one advanced filter condition and then, on the Advanced Search popup, click AND and add the next filter. Hope this answers your question.
Hi, I would like to know how can i filter lead according to school they attended. For instance, i need to call student from Sastri college
Hello, Lindokuhle.

1. On the Manage Leads page, click Advanced Search.
2. Under Select Search Criteria, add the criteria as “School is Sastri” and click Add.
3. Click Find Leads. You can select Save as Quick Filter if you wish to save this filter and use it often.
Thank you so much, this was very useful
I want time filter also that 10:00 Am to 12:00 Pm how much lead connected or we call them of leads
Hello, Shivank.
Apologies for the delay in responding. If you’ve added the phone call activities on the leads, you can get this list by performing an Advanced Search.
I am unable to find it on New UI. Please Help
Hello, Ranjan. You can add quick filters while performing Advanced Searches. To know more, refer to How to Use Advanced Search.
can we create a group filter
Hello, Mukarjee.
You can only create quick filters to find specific groups on the Smart Views page.
How to sort leads in ascending and descending order of their date of creation?
Hi, Nikhil. Thank you for your question. On the Manage Leads page, from the Date Range dropdown, select “Created On”, and from the date dropdown, select “All Time”. Then, click on the Created On column header. The leads will get sorted in the ascending and descending order of the created on date.