


Get Started
Sales Suite
Field Ops
Marketing
Service CRM
Integrations & Apps
FloStack
How to Add and Manage Custom Activity Tabs in the Lead Details Page
1. Feature Overview
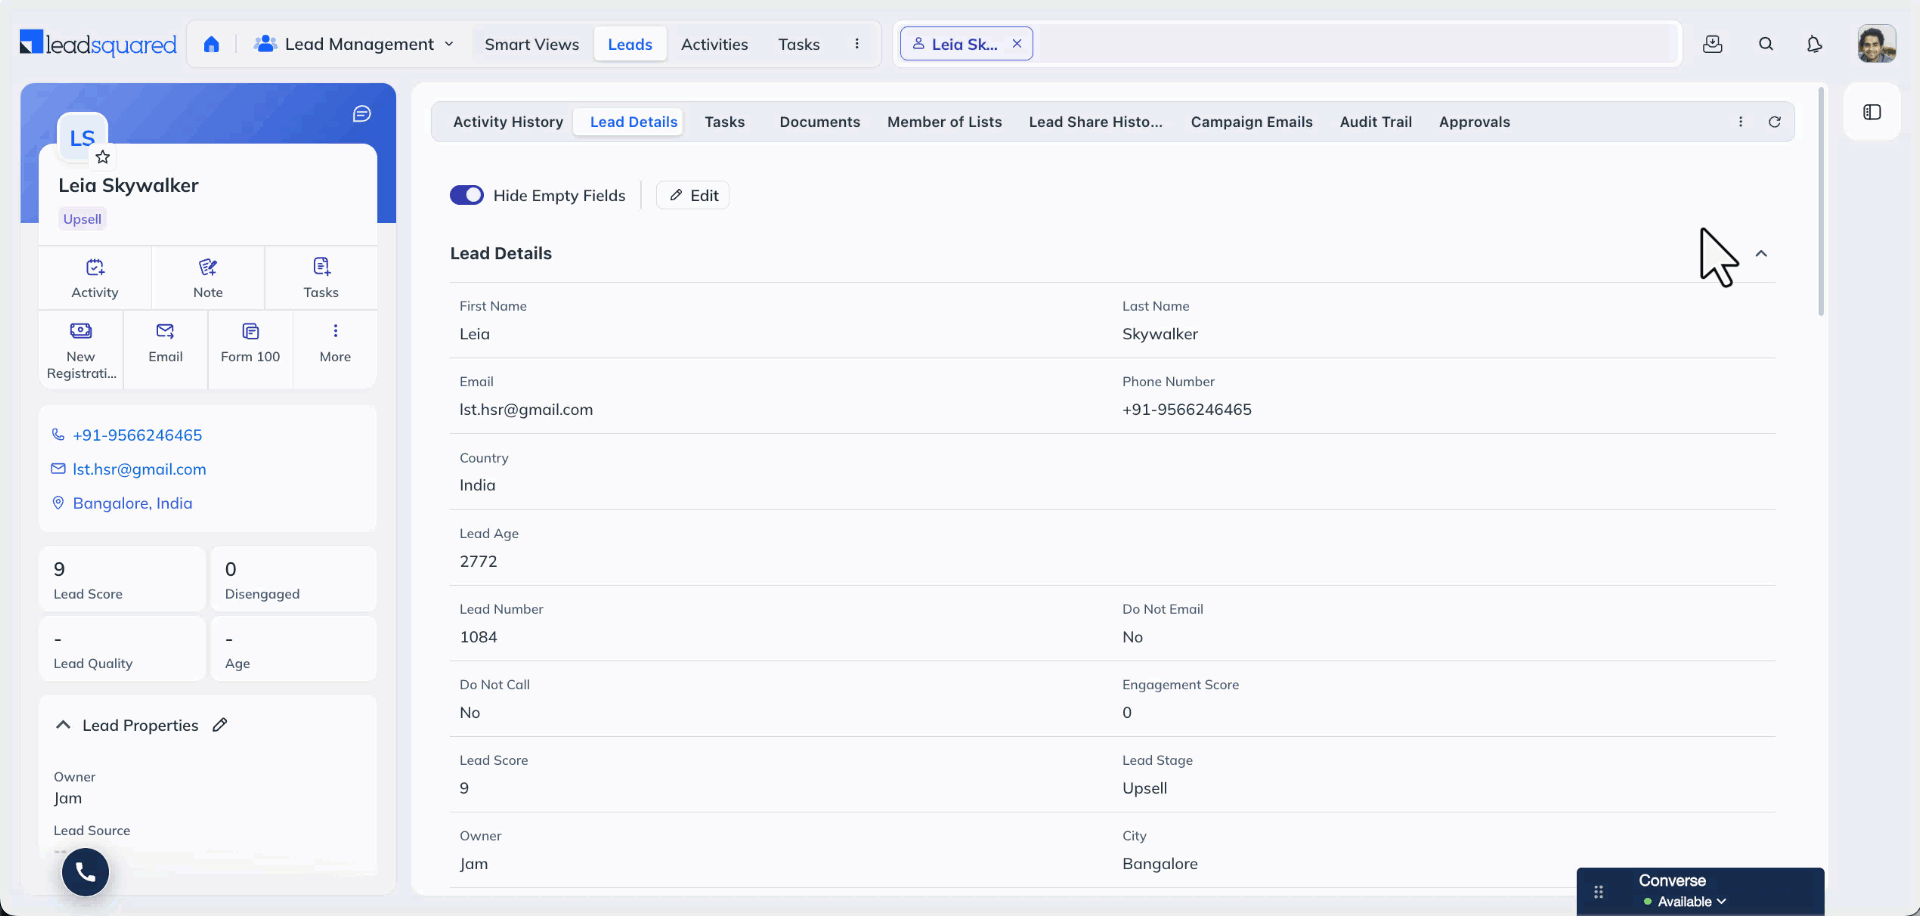
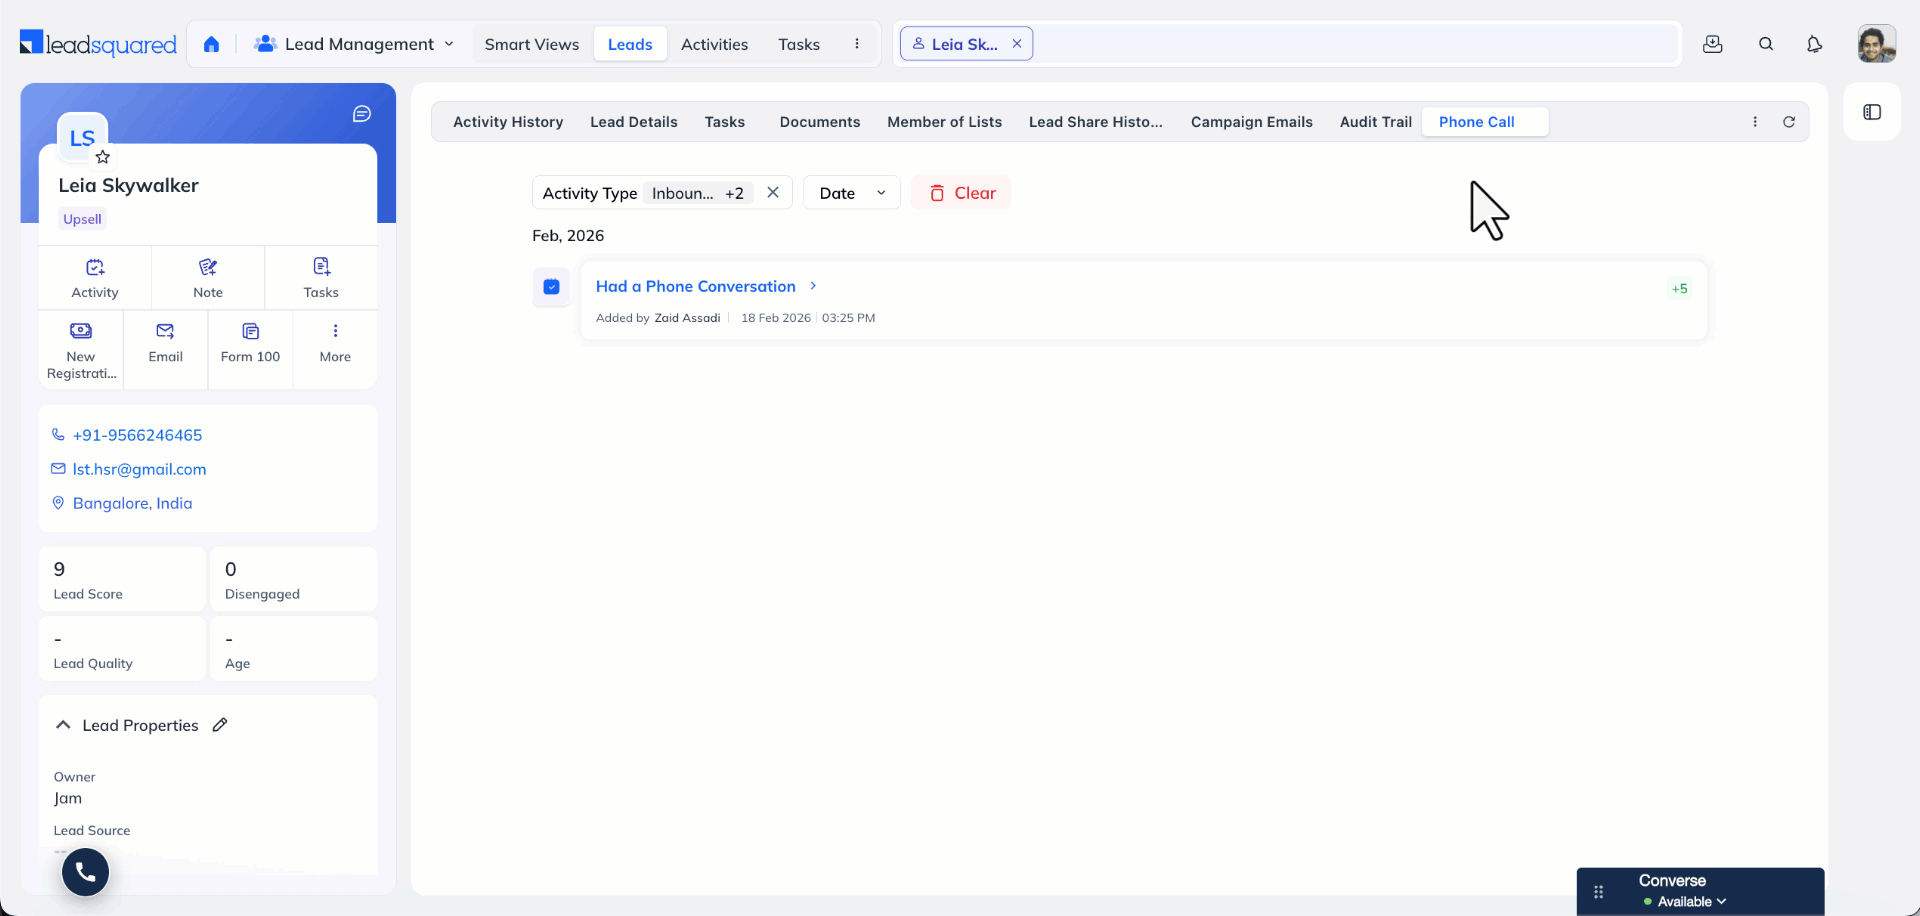
On the Lead Details page, you can create custom activity tabs to display logs for specific activity types. For example, you could create a tab that shows only Meetings, Demos, and Home Visits, making it easier to review relevant activity without scrolling through the full history.
2. Prerequisites
You must be an administrator of your LeadSquared account.
3. How It Works
Custom activity tabs are created and managed directly from the Lead Details page. Each tab is configured with a name and one or more activity types. One tab can be set as the default, which opens automatically whenever a Lead Details page is loaded.
Tab-level changes apply account-wide. Any tab you create, reorder, or set as default will reflect across all leads in your account, not just the lead you are currently viewing.
4. Create a Custom Activity Tab
- Go to Lead Management>Leads and click any lead to open the Lead Details page.
- On the Activity Tab manager, click the 3 dotted menu, and select + Add New Tab.
- In the Add New Tab pop-up, enter a tab name and select the activity types to include.
- To make this the default tab on the Lead Details page, enable Set as Default Tab.
- Click Save.
5. Manage Activity Tabs
- Switch between tabs: Select a tab to move between tabs.
- Reorder tabs: Click and drag tabs to rearrange their positions.
- View all tabs: Click the 3 dotted menu to see all activity tabs, including any created via the Custom Tab Connector.
- Delete a tab: Custom activity tabs can be deleted from the tab list. System tabs cannot be deleted, but their display order and visibility can be modified through Lead Details Customization.
Any Questions?
Did you find this article helpful? Please let us know any feedback you may have in the comments section below. We’d love to hear from you and help you out!