


Get Started
Sales Suite
Field Ops
Marketing
Service CRM
Integrations & Apps
FloStack
Set Up Your Profile and Calendar on FloStack
1. Feature Overview
This article will help you set up your profile and calendar on FloStack. Setting up your profile and calendar lends credibility, makes you presentable, and helps FloStack efficiently assign leads to you while displaying your availability to inbound leads.
2. Prerequisites
You must be a member or admin on FloStack. To learn more about FloStack (www.flostack.io), and enable it on your account, contact flostack@leadsquared.com.
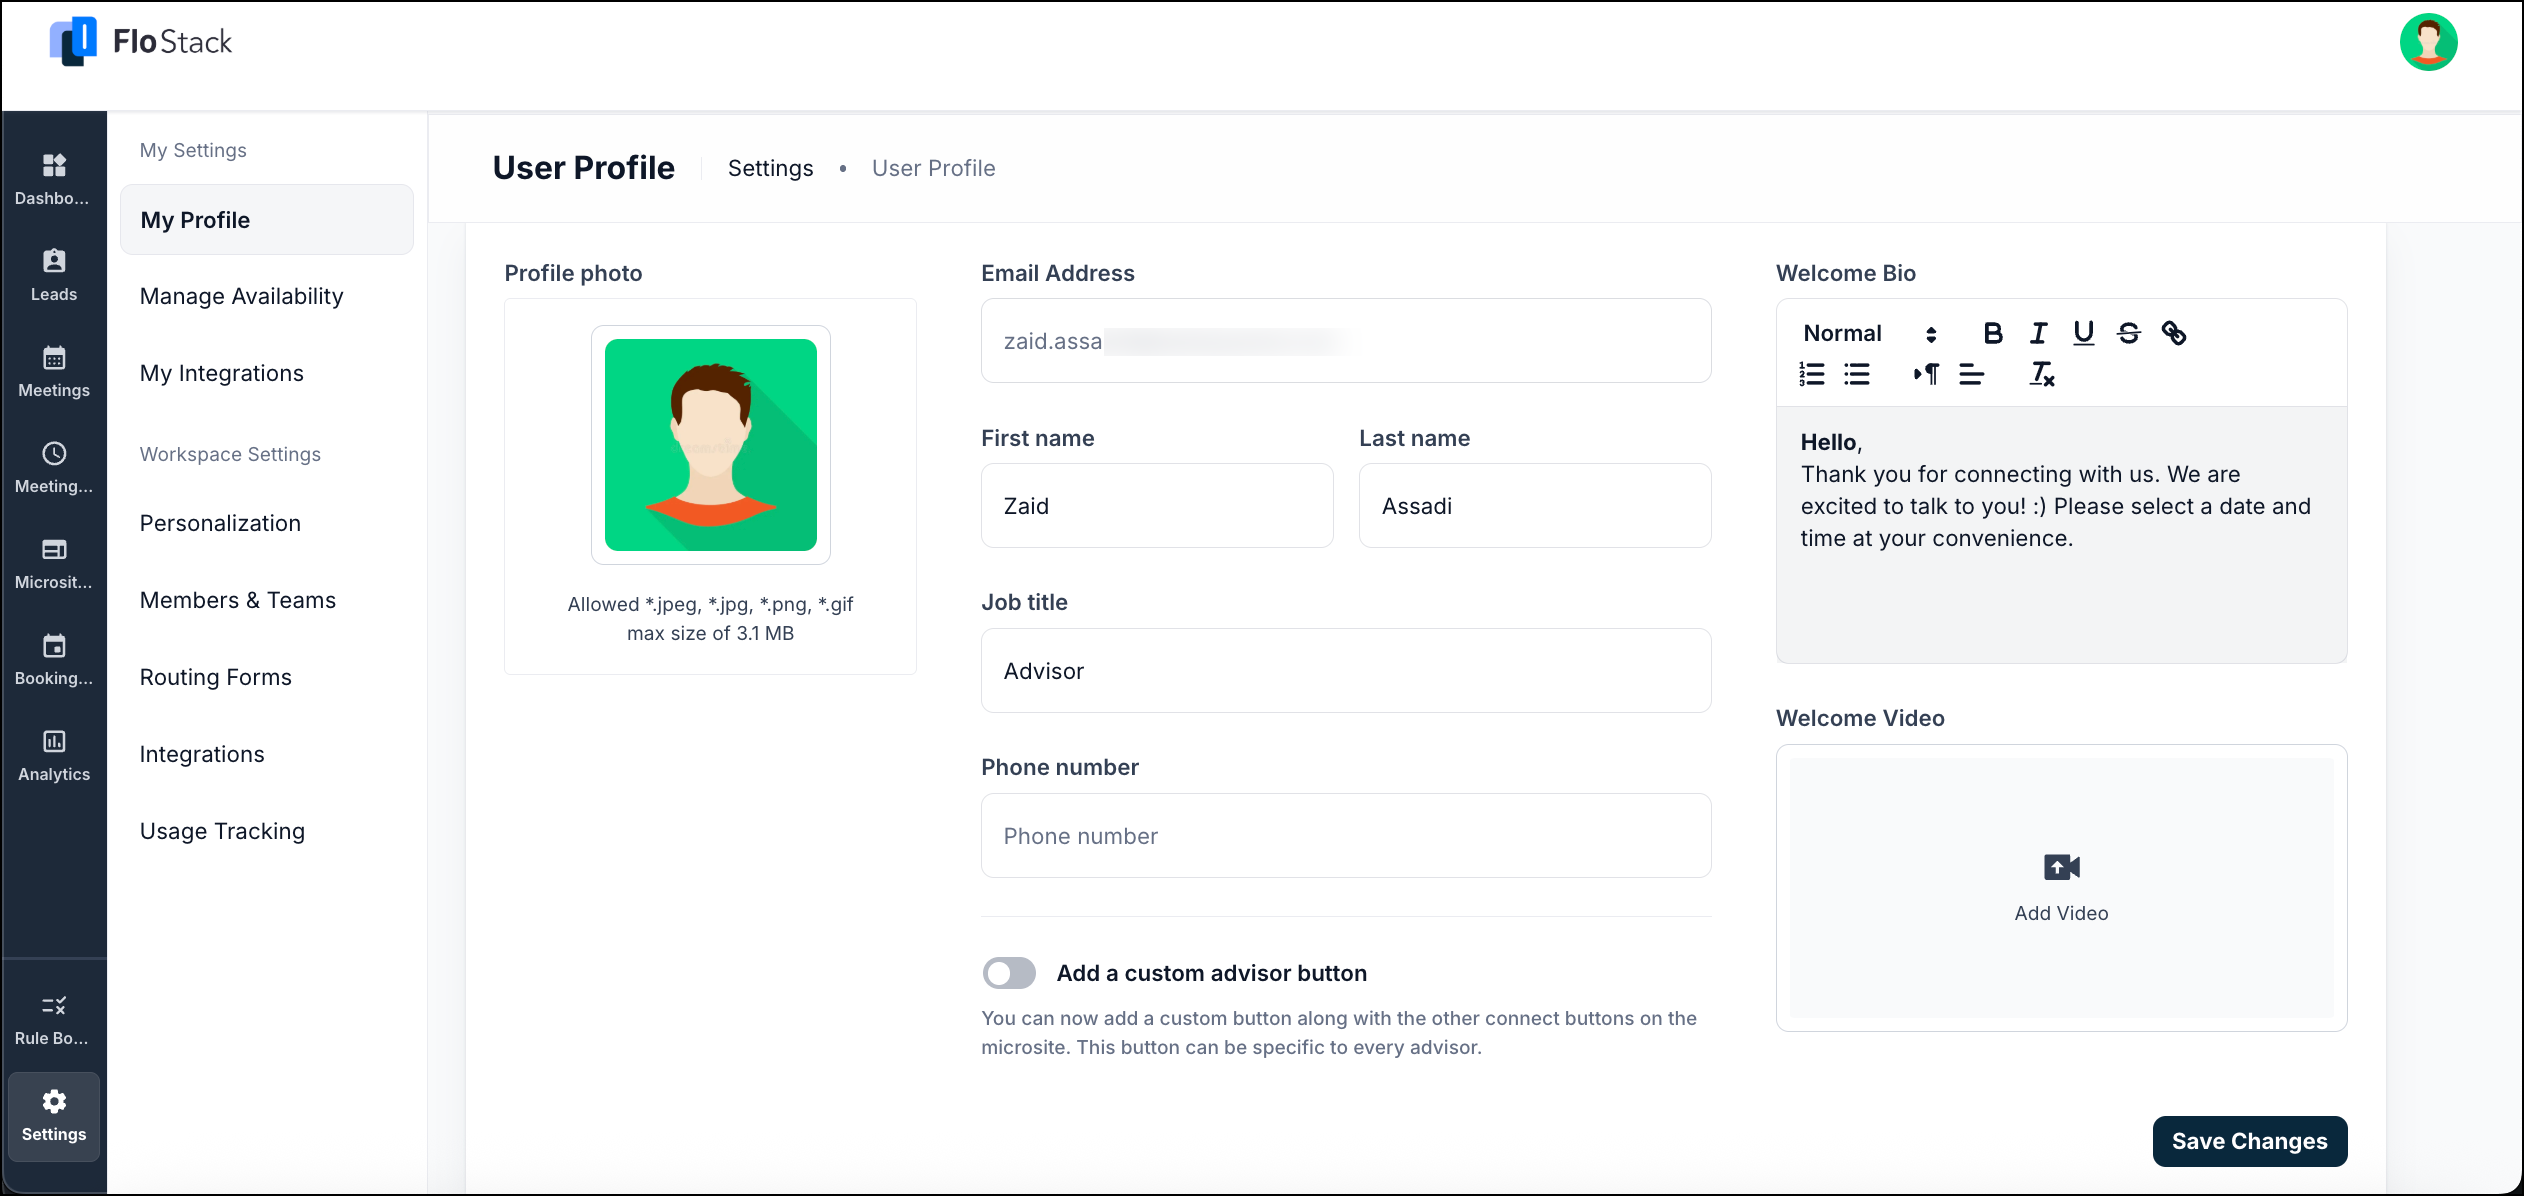
3. My Profile
To set up your profile and calendar, navigate to Settings>My Settings.
In the profile section, you can –
- Update your profile photo and personal details for the scheduler and microsite
- Write a short welcome bio
- Add a welcome video for leads to view that applies to the microsite
- Add a custom advisor button to the microsite, allowing each advisor to have their own personalized connect button alongside the existing options.
4. Configure Calendar
Configuring your calendar allows leads to view your availability and conveniently schedule meetings.
Navigate to My Settings>My Integrations and integrate your preferred calendar with FloStack.
Now, navigate to My Settings>Manage Availability. Here, you can –
- Set your weekly availability by choosing the days and times you’re open for meetings.
- Specify a default time zone, add buffer times between meetings.
- Set a minimum advance notice period before a lead can schedule a meeting on your calendar.
- Configure Mark Me Unavailable to temporarily exclude yourself from active rules and remove unavailable slots. You can define the unavailability period, assign a replacement user, and add multiple unavailability periods as needed.

Any Questions?
Did you find this article helpful? If you have any questions or comments, please let us know in the comments section below. We’d love to hear from you and help you out!