


Get Started
Sales Suite
Field Ops
Marketing
Service CRM
Integrations & Apps
FloStack
Set Up Your Workspace on FloStack
1. Feature Overview
This article will help Administrators set up their workspace settings on FloStack. Workspace settings will let the administrator configure their company profile, add members, create routing forms, and integrate their CRM with FloStack.
2. Prerequisites
- You must be an Admin user on FloStack to configure workspace settings.
- To learn more about FloStack (www.flostack.io), and enable it on your account, contact flostack@leadsquared.com.
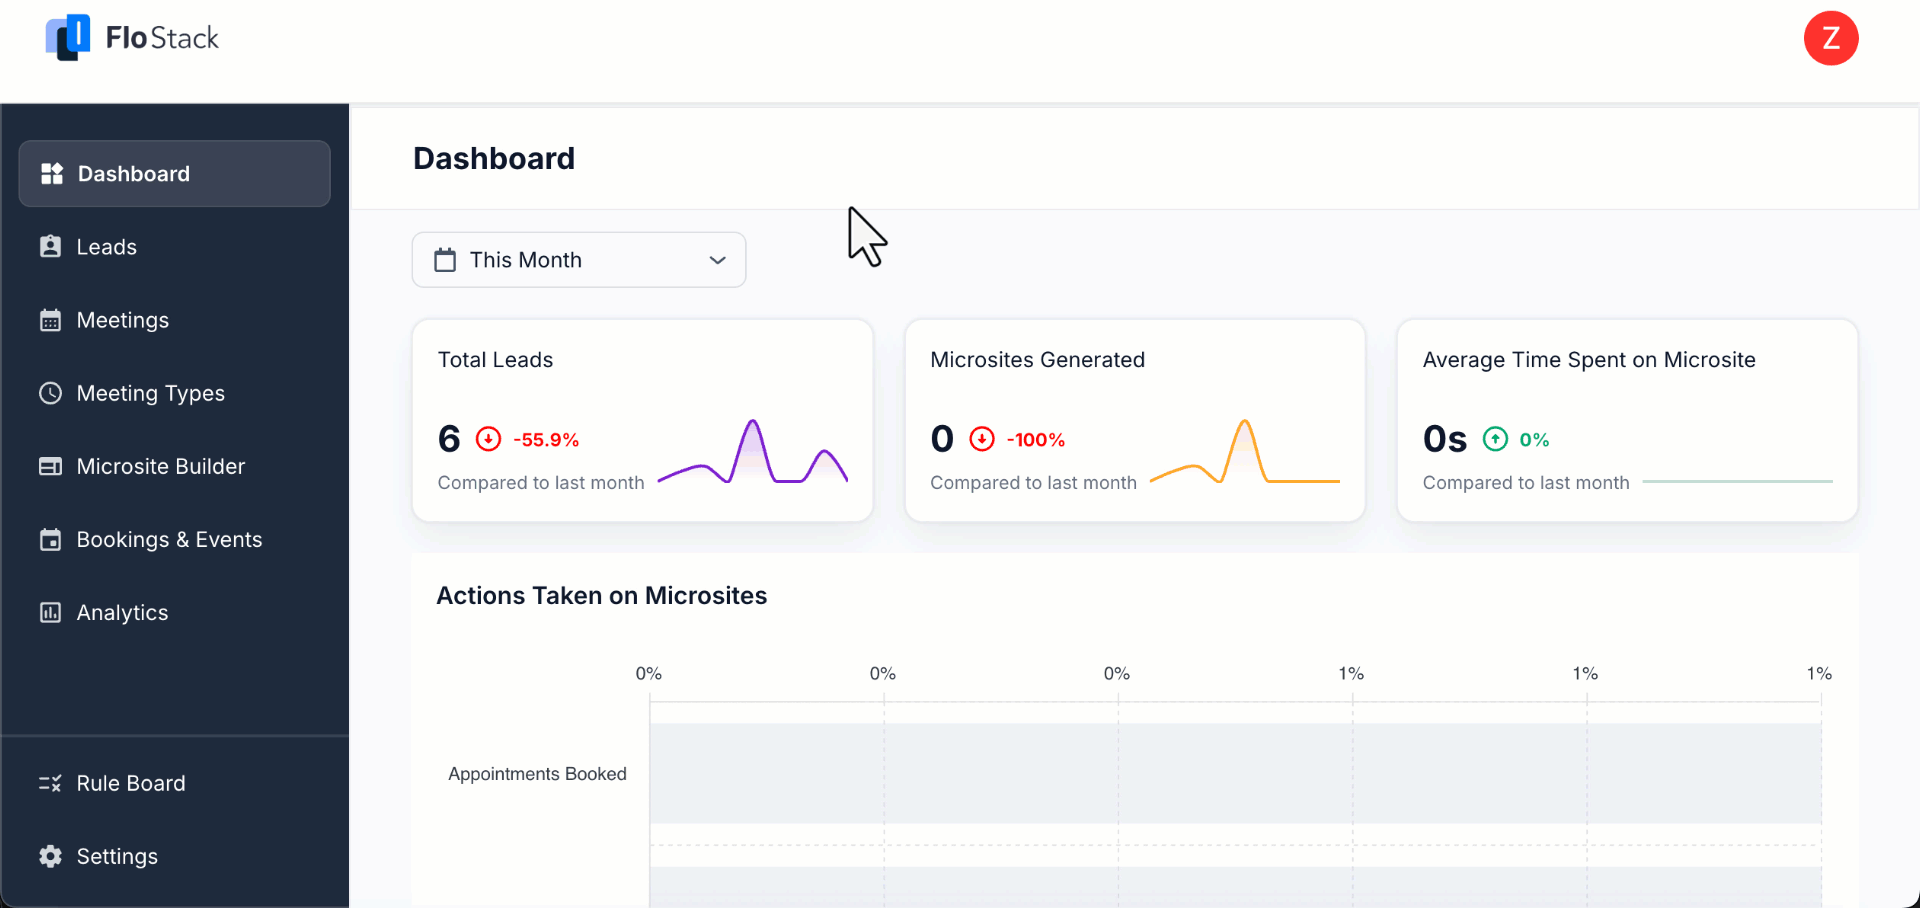
3. Workspace Settings
To find your workspace settings, navigate to Settings>Workspace Settings.
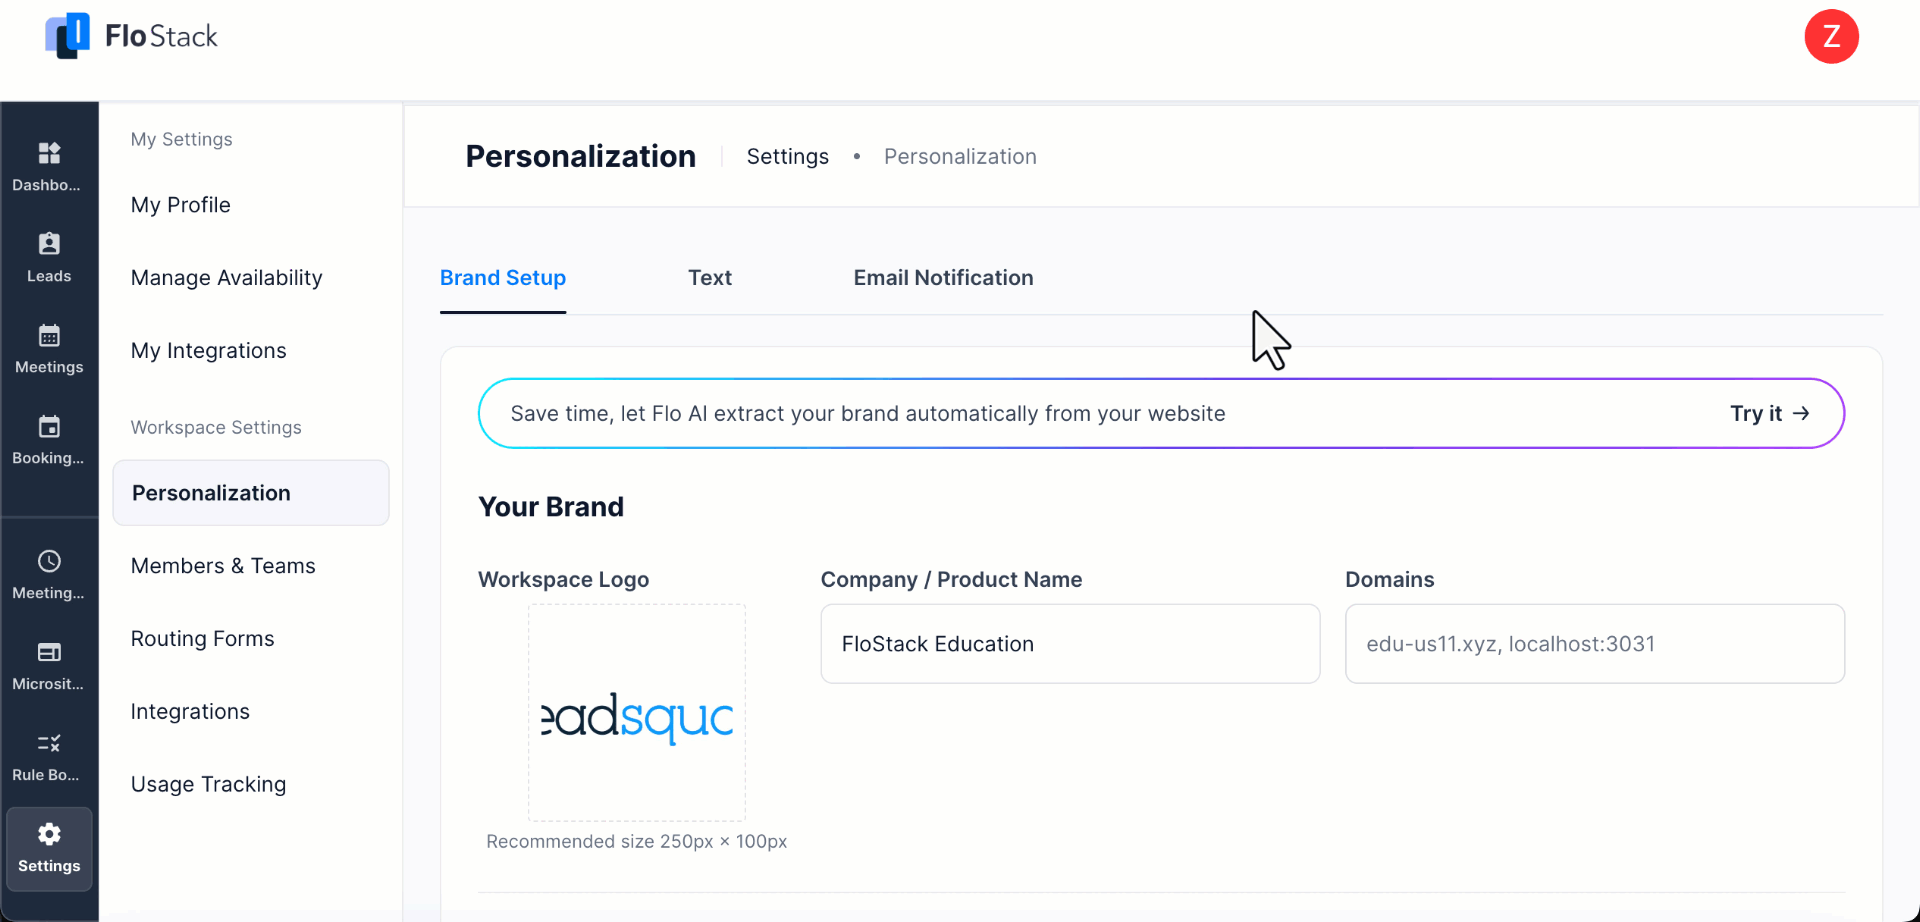
4. Personalization
The Personalization section allows you to customize your company profile
4.1 Brand Setup
Instead of uploading your branding manually, you can set up your brand automatically from your website. In the Personalization section, enter your website URL, and FloStack fetches your logo, brand color, text color, and content from the site, then applies them across your FloStack experience. You can edit or override any of these details after they’re imported.
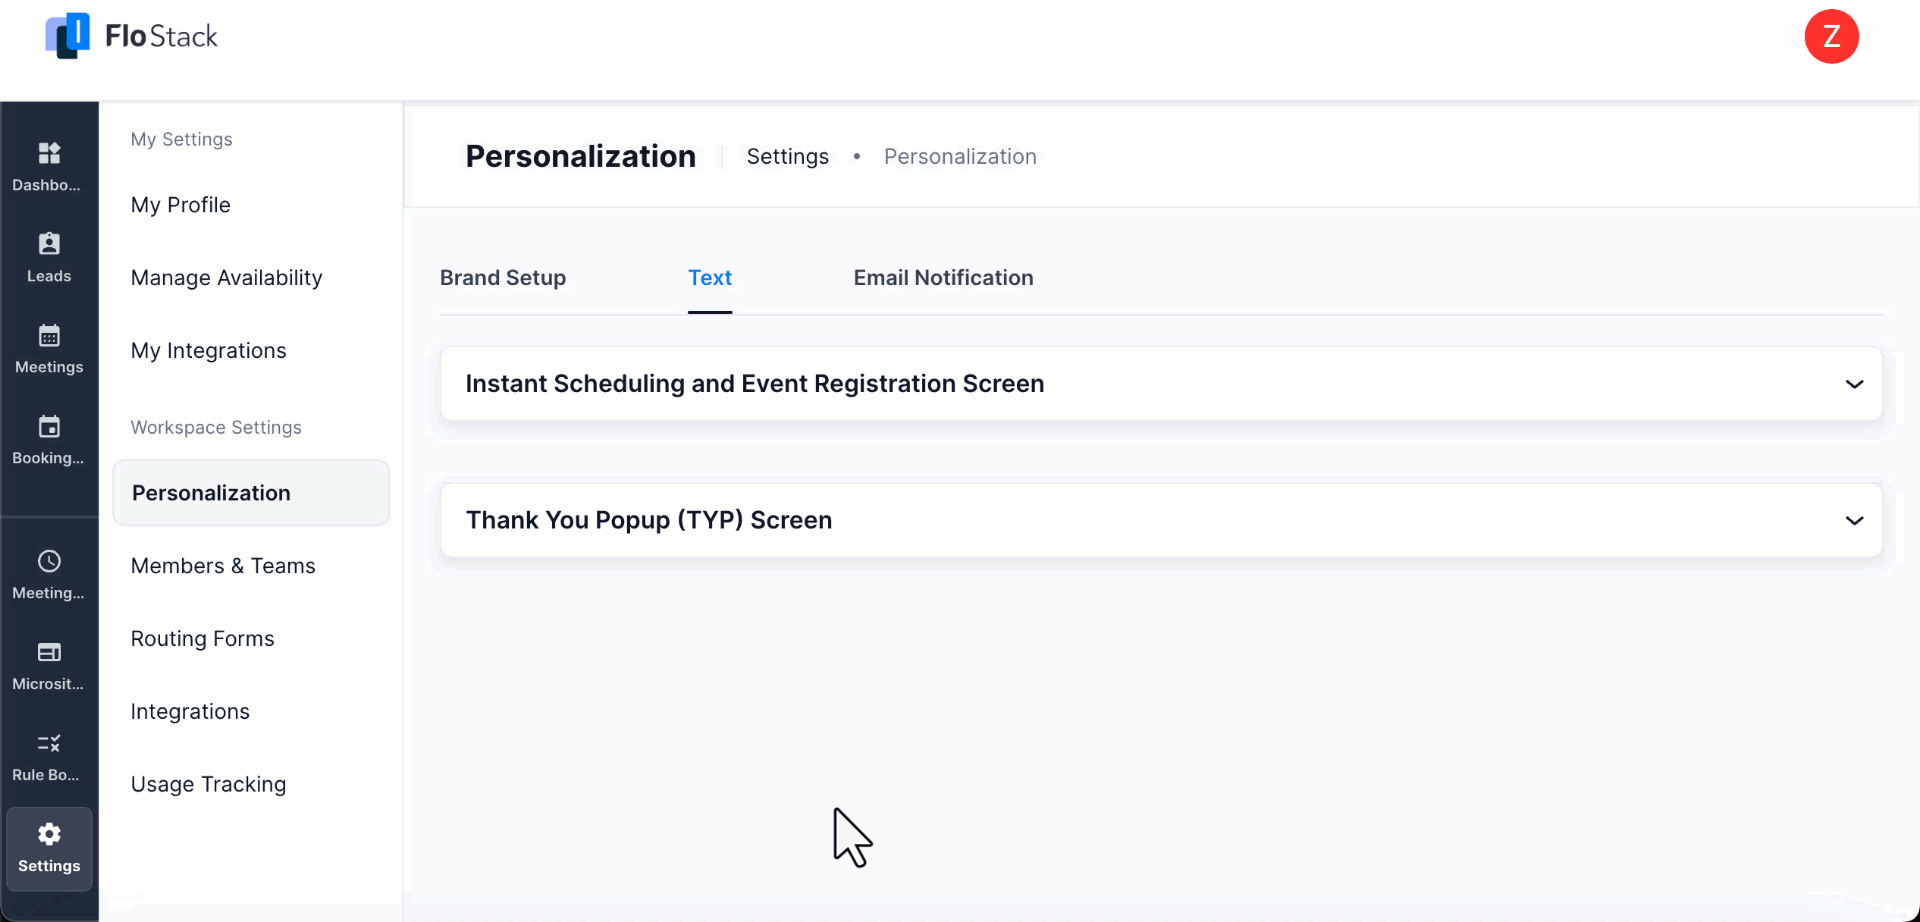
4.2 Text
Configure the messages displayed to leads and customers during call scheduling, event registration, and on the Thank You Popup.
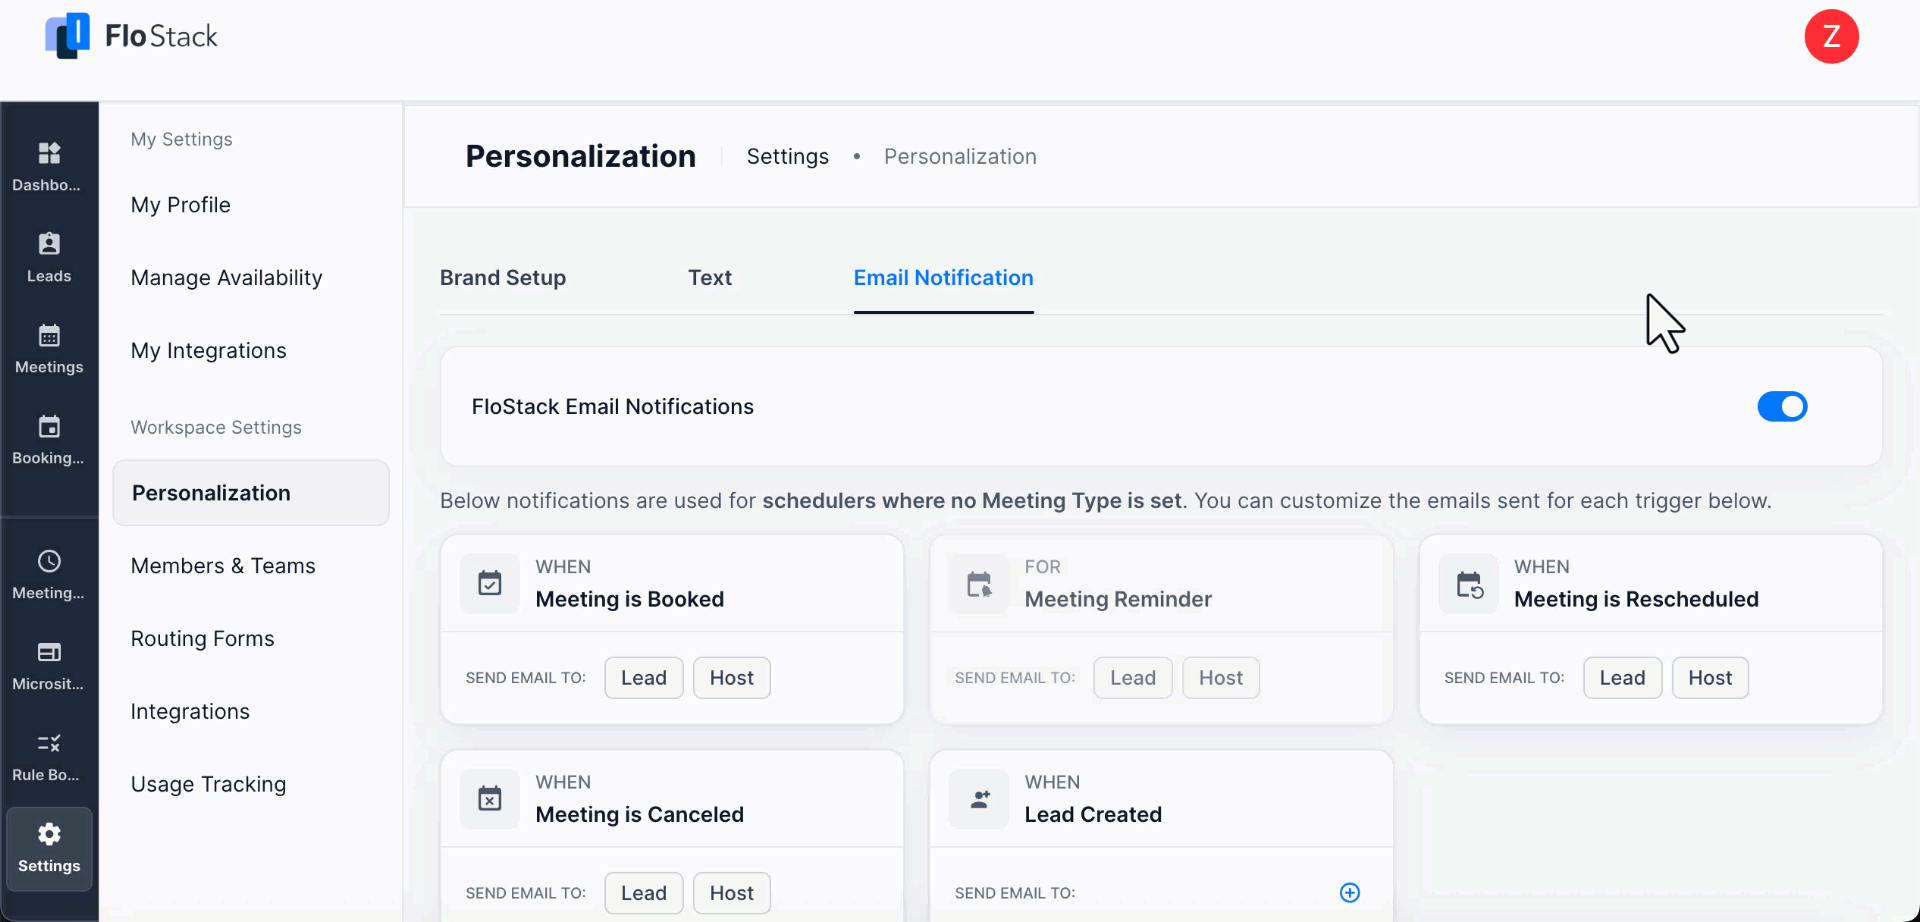
4.3 Email Notification
Email notifications are based on templates that you can set up. To change the content of an email, click the relevant template and edit it. For example, FloStack sends email notifications when a meeting is booked. A meeting reminder is sent to the lead, and the host (the person conducting the meeting) receives an email as well. If the meeting is booked by a different user, that user also receives an email.
5. Members & Teams
Create members for your FloStack account; you can even assign them an administrator role. Once the members are set up, you can create different teams and assign specific members to each team.

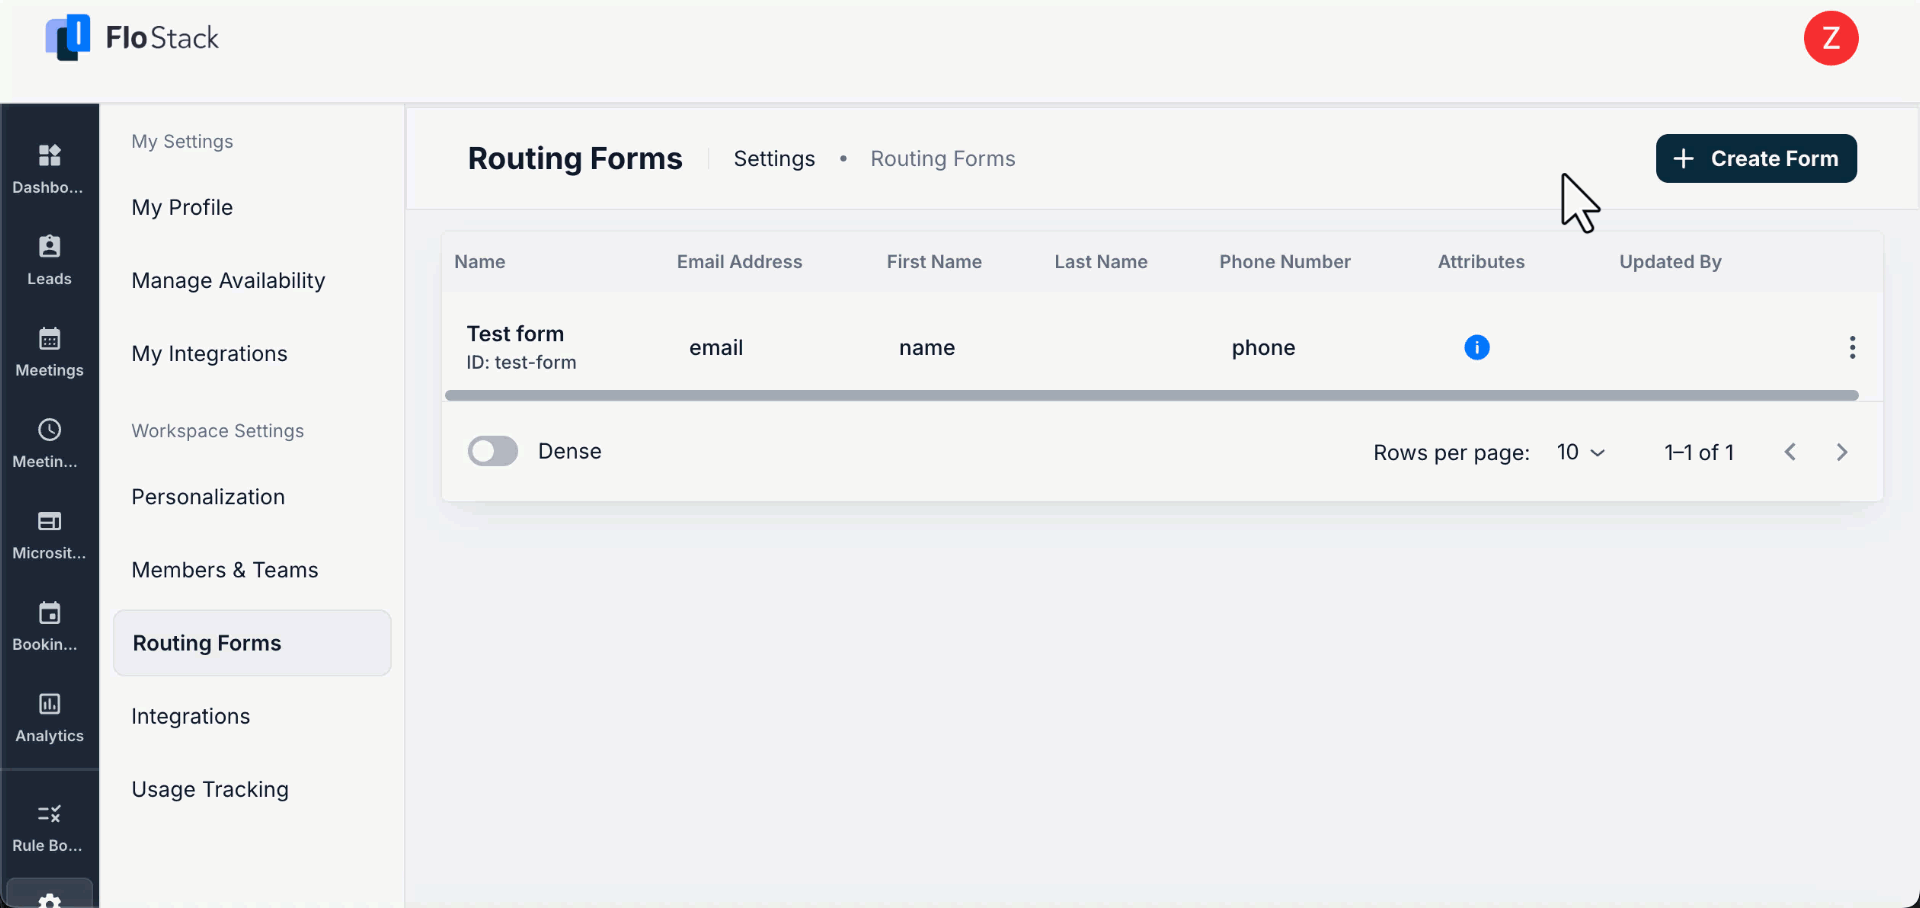
6. Routing Forms
If your website has a lead capture form, you can enhance it by creating a Routing Form in FloStack and adding a script to your web page to route and map the details in FloStack. While setting up the Routing Form, enter the IDs of the lead fields from your existing lead capture form into the Routing Form. Assign a unique ID to the Routing Form as well. Once configured, you can embed the Routing Form script into the webpage containing your lead capture form.
6.1 Add Custom Scripts to LeadSquared Widgets and Your Custom Website
6.1.1 LeadSquared Widgets
Depending on your requirement, you can add either the Scheduler Script or Microsite Script listed below. Follow these steps to insert the script into the widget –
- Edit the Widget where you need to add the script.
- Go to the Settings(Top-Left Hamburger) Menu.
- Navigate to Scripts.
- Scroll down to the End of Body section.
- Paste the required script (given below).
- Click Save.
Note:
- Ensure the form ID in the script matches the form IDs configured in both LeadSquared and Flostack.
- Always ensure you paste the script inside the End of Body section.
- Only one script is required per form setup (choose Scheduler or Microsite).
- Test your form after saving to confirm the redirection works correctly.
1. Scheduler Script
Use this script if you want the form submission to redirect users to a Scheduler page.
< script > window.addEventListener("LSQ_FORM_SUBMITTED", function() {
    const leadID = document.lsqformevaluator.leadId;
    console.log("LeadID:", leadID);
    let formEntity = document.lsqformevaluator.lsqformfield.prepareRequestData("save", undefined, true).FormEntity;
    console.log("Form Data", formEntity);
    const formParams = {};
    formEntity[0].LeadFields.forEach((field) => {
        formParams[field.SchemaName] = field.Value;
    });
    if (leadID) {
        formParams.LeadId = leadID;
    }
    let payload = {
        formId: "lsq-form",
        formParams: formParams
    };
    fetch("https://api-us11.flostack.io/v1/leads/route", {
        method: "POST",
        headers: {
            "Content-Type": "application/json",
        },

        body: JSON.stringify(payload),
    }).then((response) => {
        return response.json();
    }).then((data) => {
        console.log("Data sent successfully", data);
        if (data?.schedulingUrl) {
            window.top.location.href = data?.schedulingUrl;
        }
    }).catch((error) => {
        console.error("Error sending data:", error);
    });
}); < /script>
2. Microsite Script
Use this script if you want the form submission to redirect users to a Microsite page.
< script > window.addEventListener("LSQ_FORM_SUBMITTED", function() {
    const leadID = document.lsqformevaluator.leadId;
    console.log("LeadID:", leadID);
    let formEntity = document.lsqformevaluator.lsqformfield.prepareRequestData("save", undefined, true).FormEntity;
    console.log("Form Data", formEntity);
    const formParams = {};
    formEntity[0].LeadFields.forEach((field) => {
        formParams[field.SchemaName] = field.Value;
    });
    if (leadID) {
        formParams.LeadId = leadID;
    }
    let payload = {
        formId: "lsq-form",
        formParams: formParams
    };
    fetch("https://api-us11.flostack.io/v1/leads/route", {
            method: "POST",
            headers: {
                "Content-Type": "application/json",
            },
            body: JSON.stringify(payload),
        })

        .then((response) => {
            return response.json();
        }).then((data) => {
            console.log("Data sent successfully", data);
            if (data?.micrositeUrl) {
                window.top.location.href = data?.micrositeUrl;
            }
        }).catch((error) => {
            console.error("Error sending data:", error);
        });
}); < /script>
6.2.2 Custom Website or LeadSquared Landing Pages Pro
-
- Add the below script to the tag in your site’s HTML markup:
<script type="text/javascript" src="https://assets-us11.flostack.io/js/flo.min.js"> </script> - Add the below code just before the closing
</body>tag in your site’s HTML markup. Depending on your CMS/Website builder, you can also add this to the footer section :<script type="text/javascript"> FloStack.route('lsq-<your_form_id>'); </script>Note: For a custom website, thelsqtag isn’t required. Instead add this to the footer:<script type="text/javascript"> FloStack.route('<your_form_id>'); </script>
- Add the below script to the tag in your site’s HTML markup:
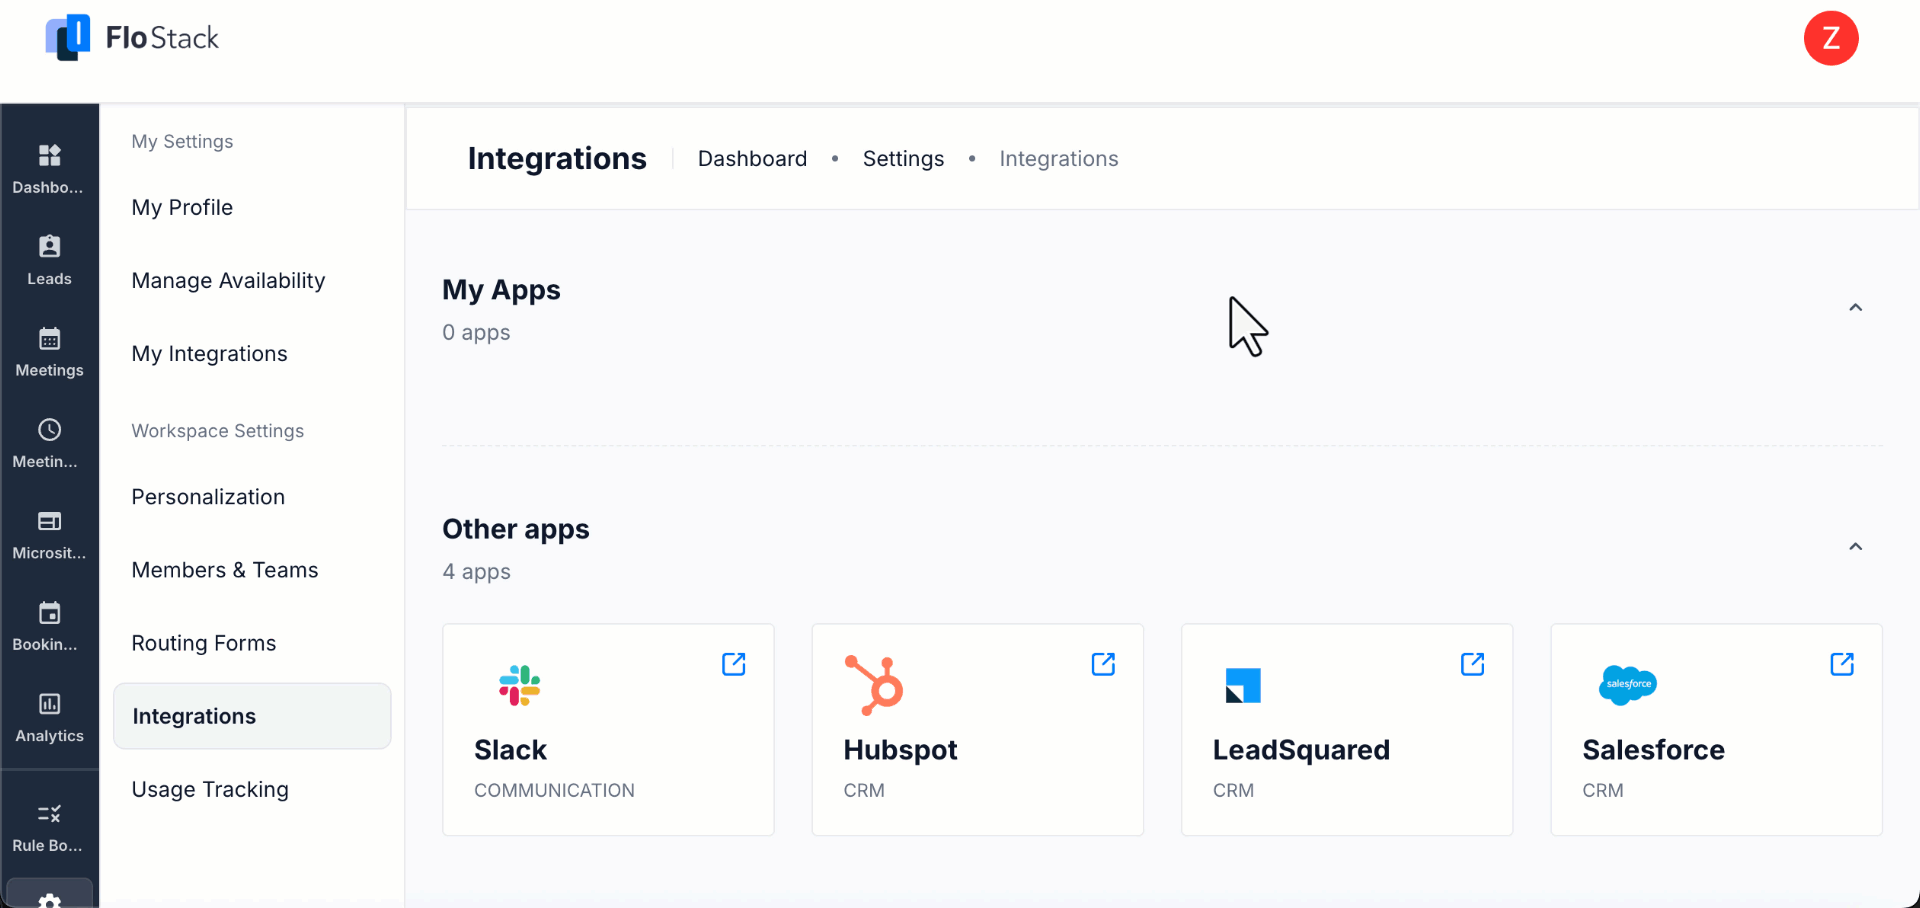
7. Integrations
When you integrate your CRM with FloStack, data from FloStack can then be pushed to your CRM. In addition to updating lead data back in your CRM, automation can also be triggered within the CRM to send relevant information to leads like their unique microsite URL, appointment timings, reminders, etc.
Any Questions?
Did you find this article helpful? Please let us know in the comments section below if you have feedback or questions. We’d love to hear from you and help you out!