1. Feature Overview
Smart Views on LeadSquared provides a centralized workspace where users can access and manage Accounts, Leads, Opportunities, Activities, and Tasks in one place. Users can create customized tabs using filters and conditions to view only the records relevant to their work upfront. Smart Views help sales teams organize records using filters, tab-based views, and sortable grids, making it easier to track tasks, monitor engagement, and prioritize actions.
Some benefits of Smart Views:
- The feature provides a better alternative to quick filters, as you can view your saved filters as tabs and apply filters and sort the leads.
- It automatically refreshes so your tabs are always updated.
- It shows you the count of leads on each tab.
Users can also subscribe to Smart Views reports to receive daily summaries of records that match their configured views. For more details, see Subscribe to Smart Views Reports.
For more details on Smart Views, refer to the following articles –
| Link | Description |
| Smart Views for Administrators | For Admins to create Smart Views and assign them to teams/users |
| To create Mavis Smart View tabs to display data stored in Mavis DB | |
| Marvin Smart Views | Configure Smart Views in Marvin |
2. How It Works
- Create a Smart View Tab for accounts, leads, opportunities, activities, or tasks.
- Use filters and search conditions to specify which records should appear in the tab.
- The tab displays matching records in a grid where you can view, sort and take actions.
- Smart Views automatically refresh to ensure the latest records appear in your tabs.
3. Permissions and Visibility
Non-admin users can create Smart View tabs from the Smart Views page for their own use. These tabs are visible only to the user who created them.
Admins, on the other hand, can create Smart View tabs from the Smart Views Settings page and assign them to specific teams, making them visible to all users within those teams. To learn more, see Smart Views for Administrators.
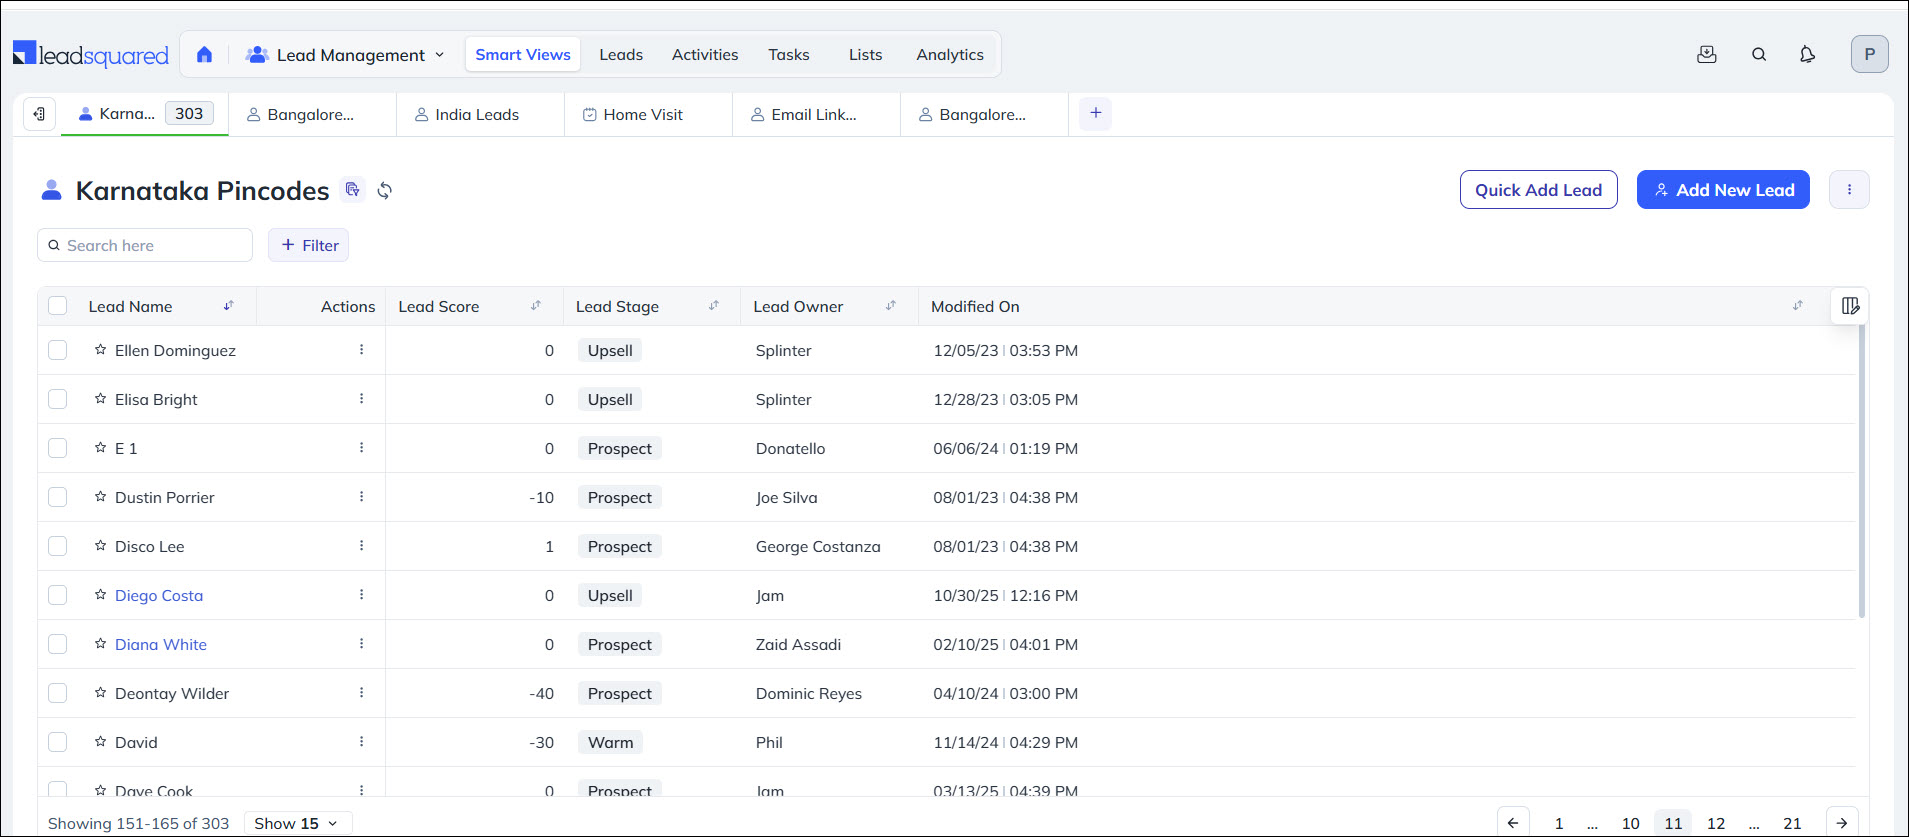
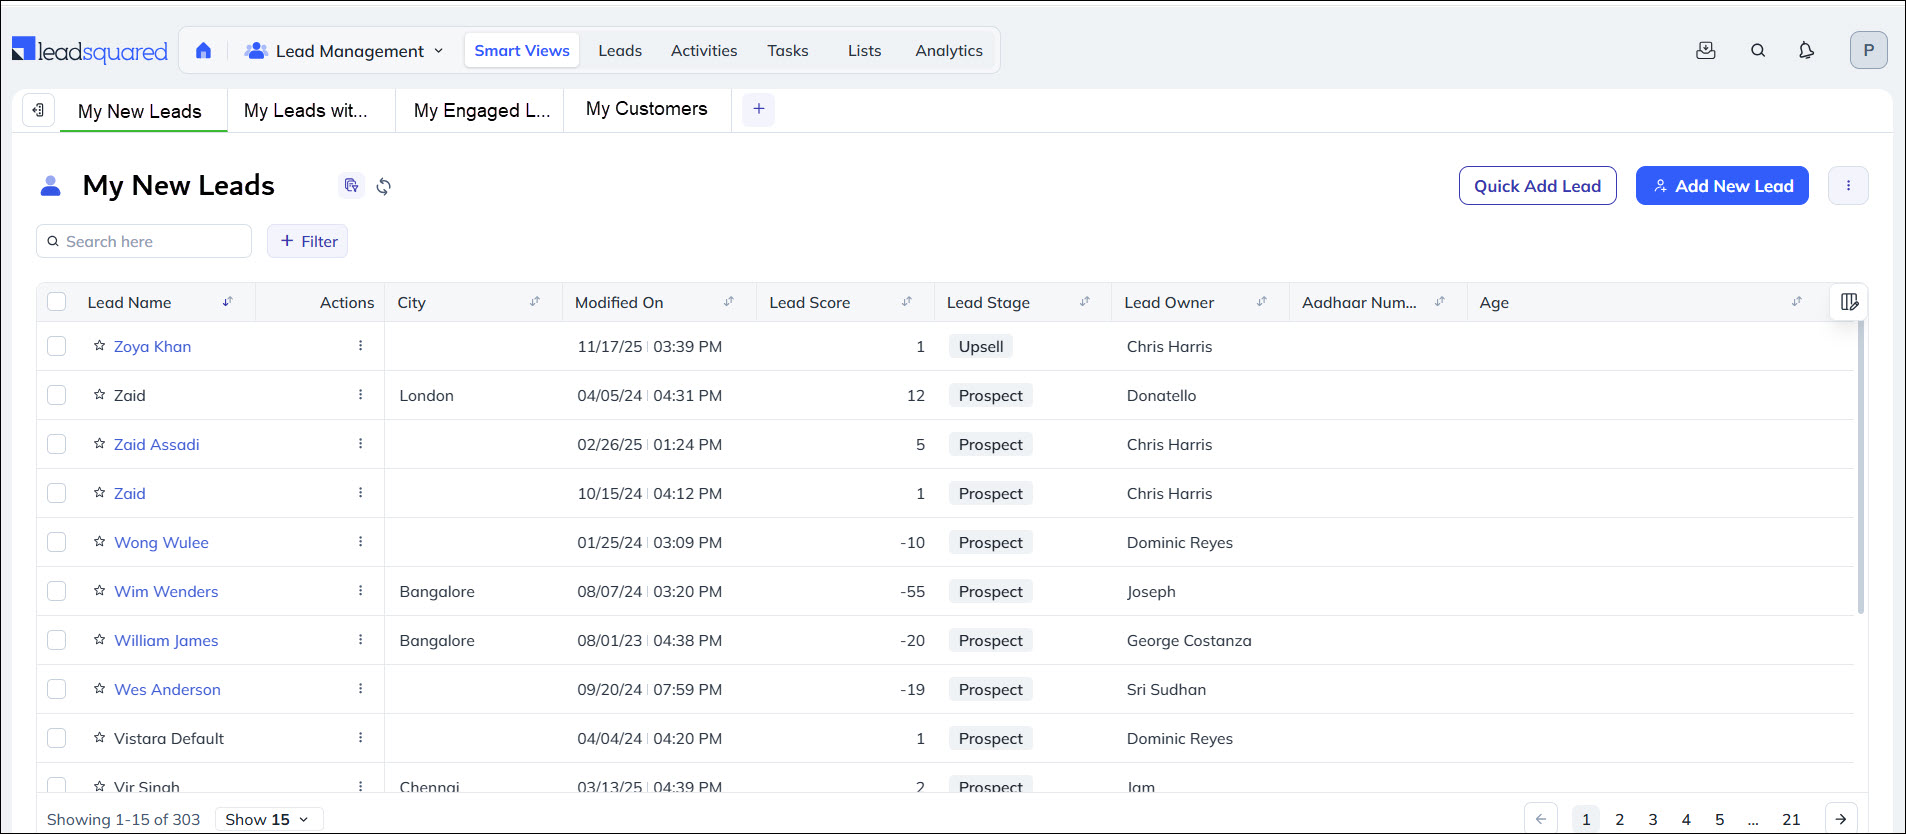
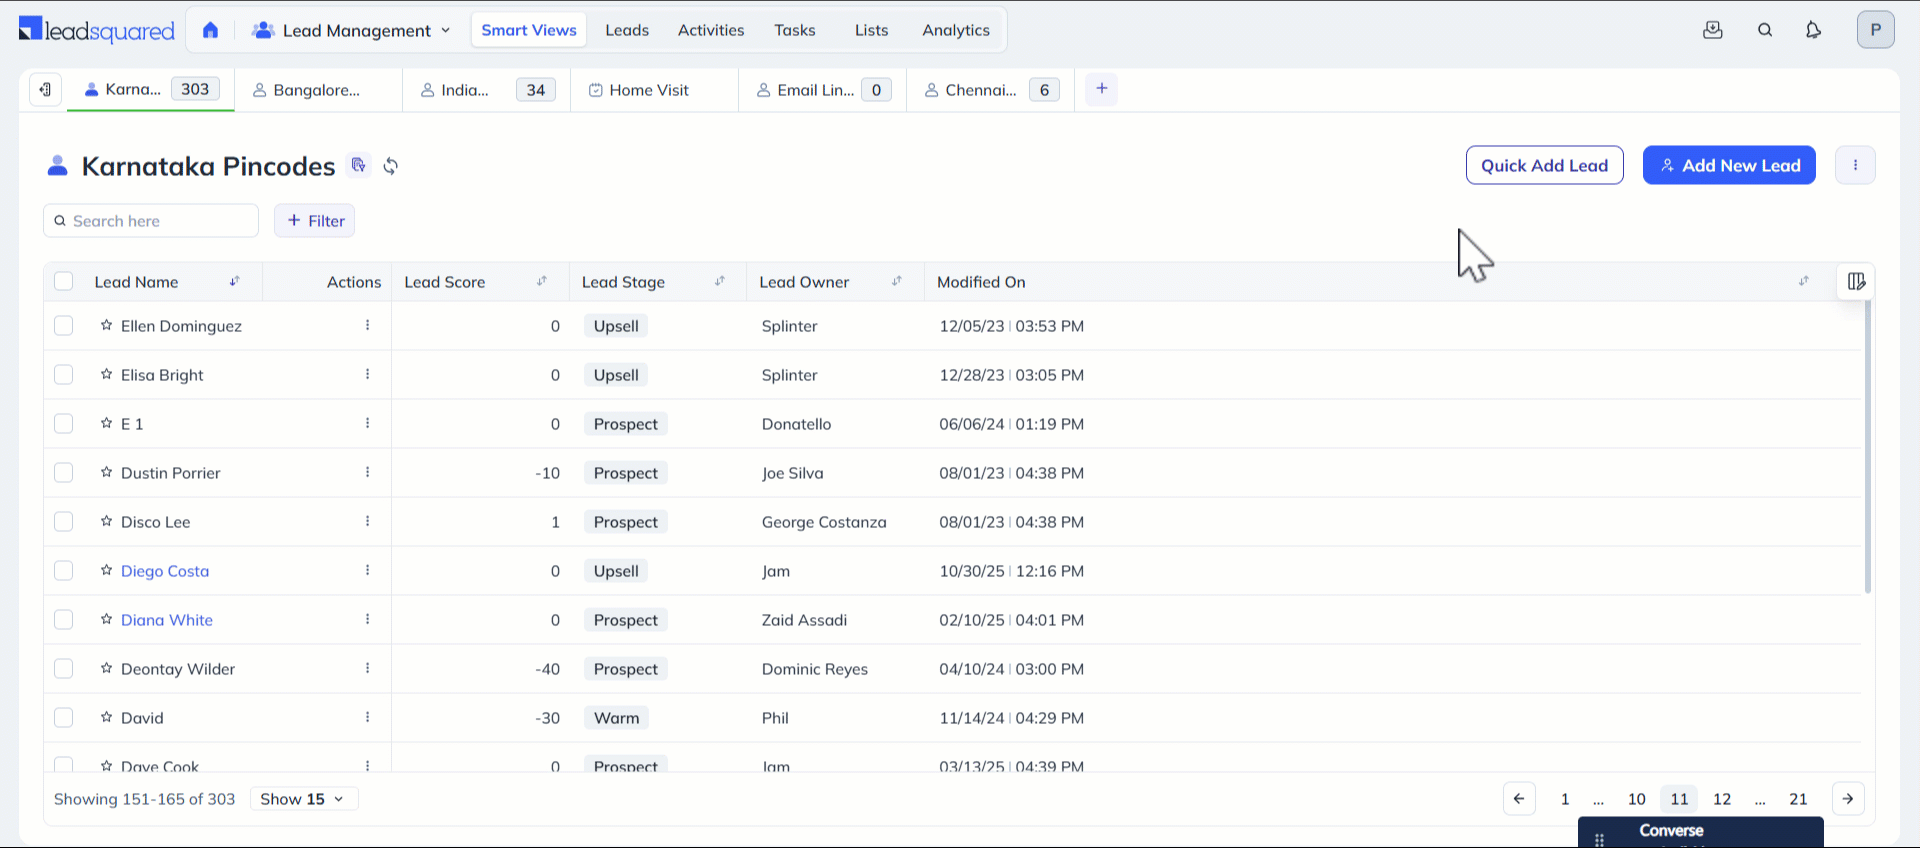
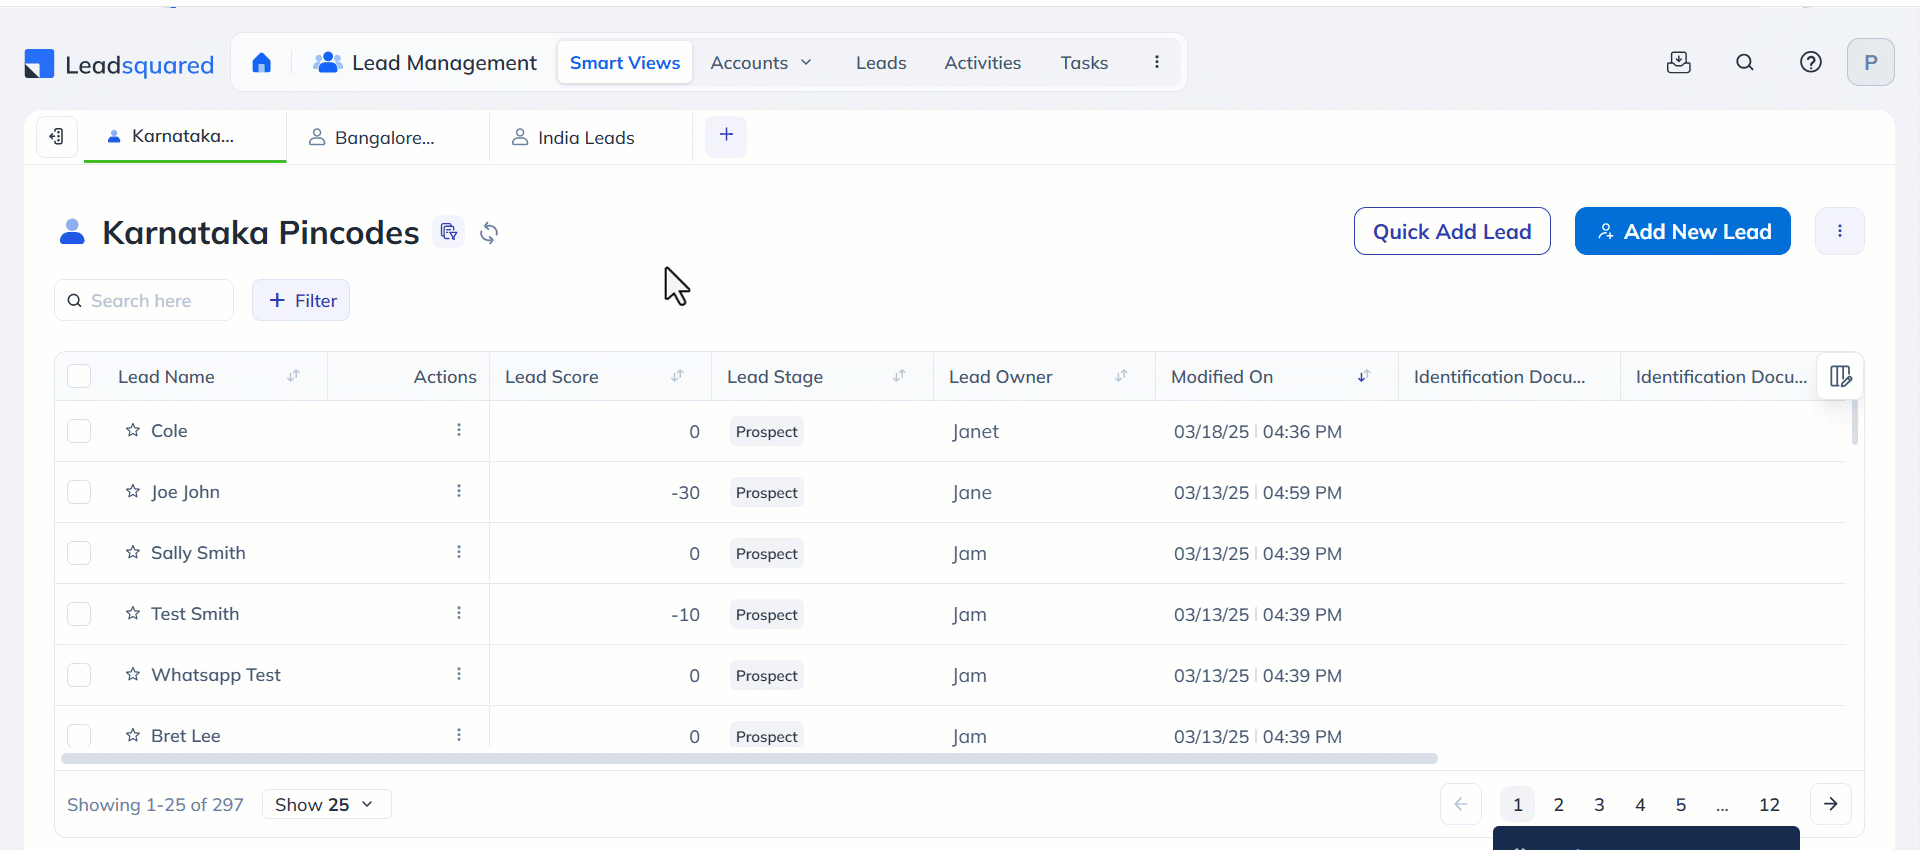
4. Default Tabs
You’ll see the following tabs on the Smart Views page by default – My New Leads, My Leads with Pending Tasks, My Engaged Leads and My Customers. You can search for leads and apply filters within each tab, edit the search conditions and also hide or delete the tabs you don’t want to see.
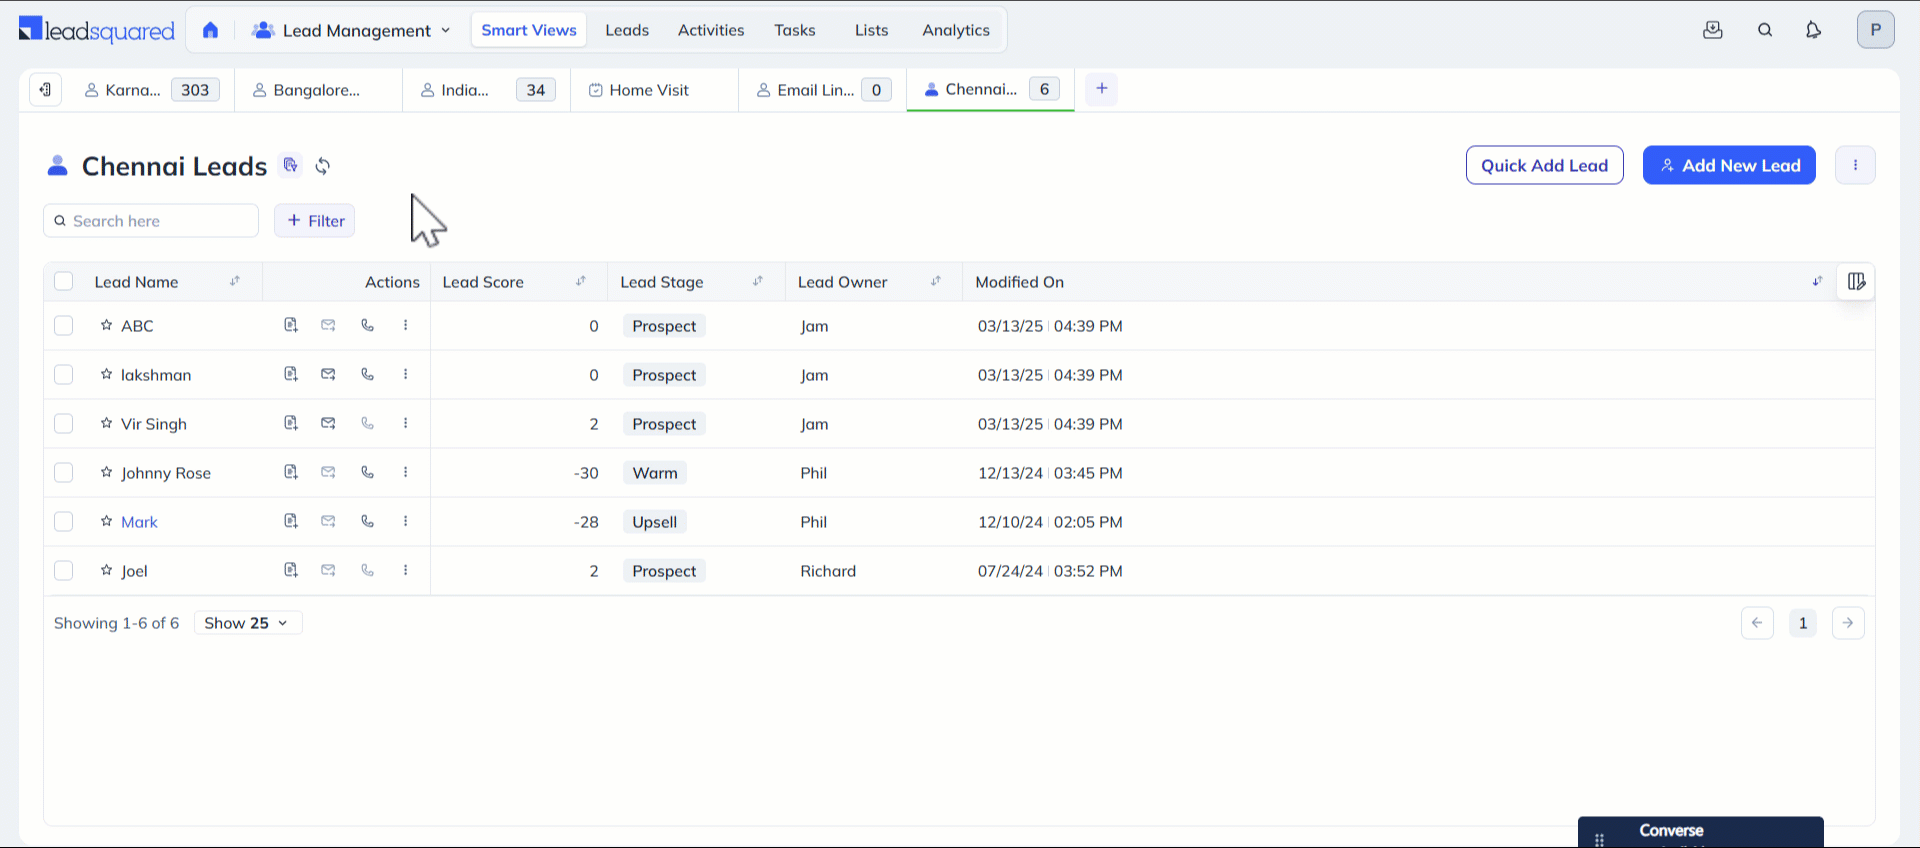
5. Create a New Tab
Create custom Smart View tabs to organize and view records based on specific filters, conditions, and business needs. This allows you to focus on relevant data, segment records effectively, and streamline your daily workflows.
- Navigate to Lead Management>Smart Views.
- Click the plus icon on the top right corner of the Smart Views page, alongside the Smart View tab headers.
- In the Add New Tab popup enter –
- Name – Enter a name for the tab.
- Description – Describe what the tab displays.
- Type – Set the tab up to display accounts, leads, opportunities, activities, or tasks. Select the colour of the tab.
- Condition – Set up conditions according to your use case (E.g., leads who opened a particular email campaign, leads who visited a particular webpage, etc.).
- Click Add. You can set multiple conditions if required.
- Click Create Tab.
This example shows you how to set up a lead tab where the ‘Lead Activity’ is ‘Email Link Clicked’ –
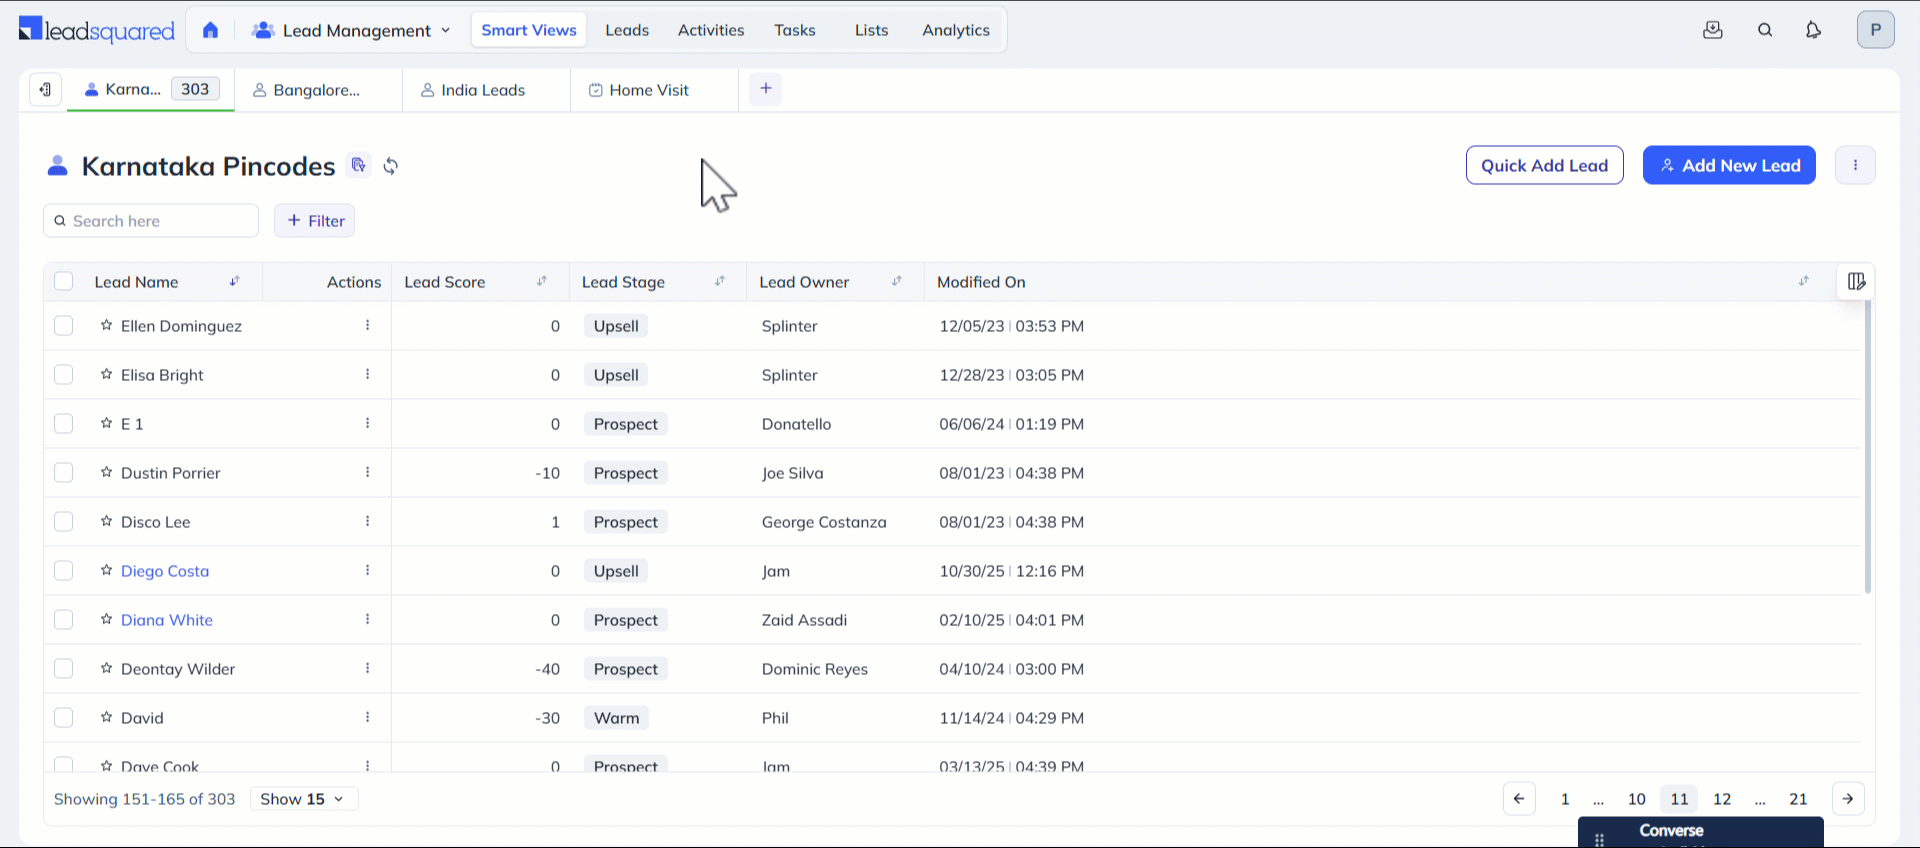
6. Edit or Delete Smart Views Tab
Additionally, to Edit or Delete your Smart Views tab, alongside the relevant tab name heading, click the Tab Info icon.
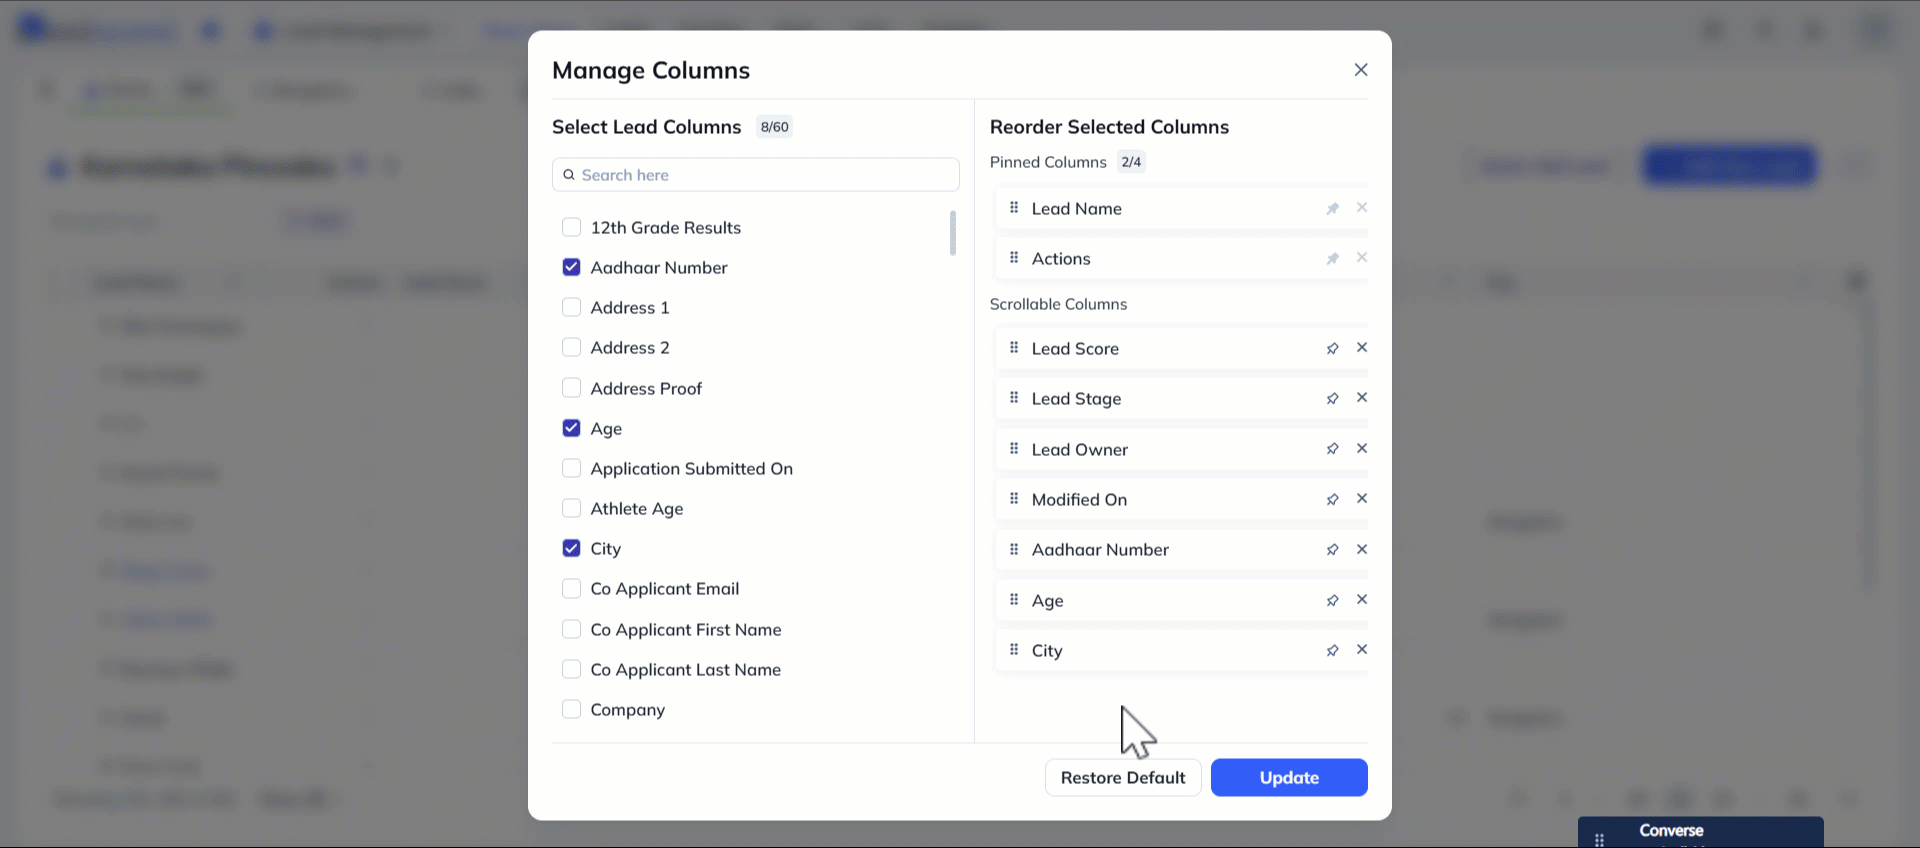
7. Select Columns
You can customize the Smart Views grid to display relevant columns in the lead grid.
- On the Smart Views page, click the Manage Columns icon on the top-right corner of the lead grid.
- On the Select Columns pop-up, click the checkboxes alongside the relevant fields in Available Columns.
- The selected fields will be displayed on the Selected Columns section of the pop-up.
- Click Save.
- The selected field will now show up on the grid.
You can pin columns to move them to the front of the grid and freeze them in place. Pinned columns remain visible and do not move or get hidden when scrolling through the grid. You can pin up to four columns, with two primary columns pinned by default.
- Click the Pin icon alongside the relevant selected column to pin it. The field will move under the Pinned Columns section.
- Click and hold the Move icon to reposition the field within the column as per your preference. This can also be done in the Scrollable Columns section to rearrange the fields in the grid.
- Once you’ve selected and pinned the columns, click Update.
Click Restore Default if you want to bring back the default view.
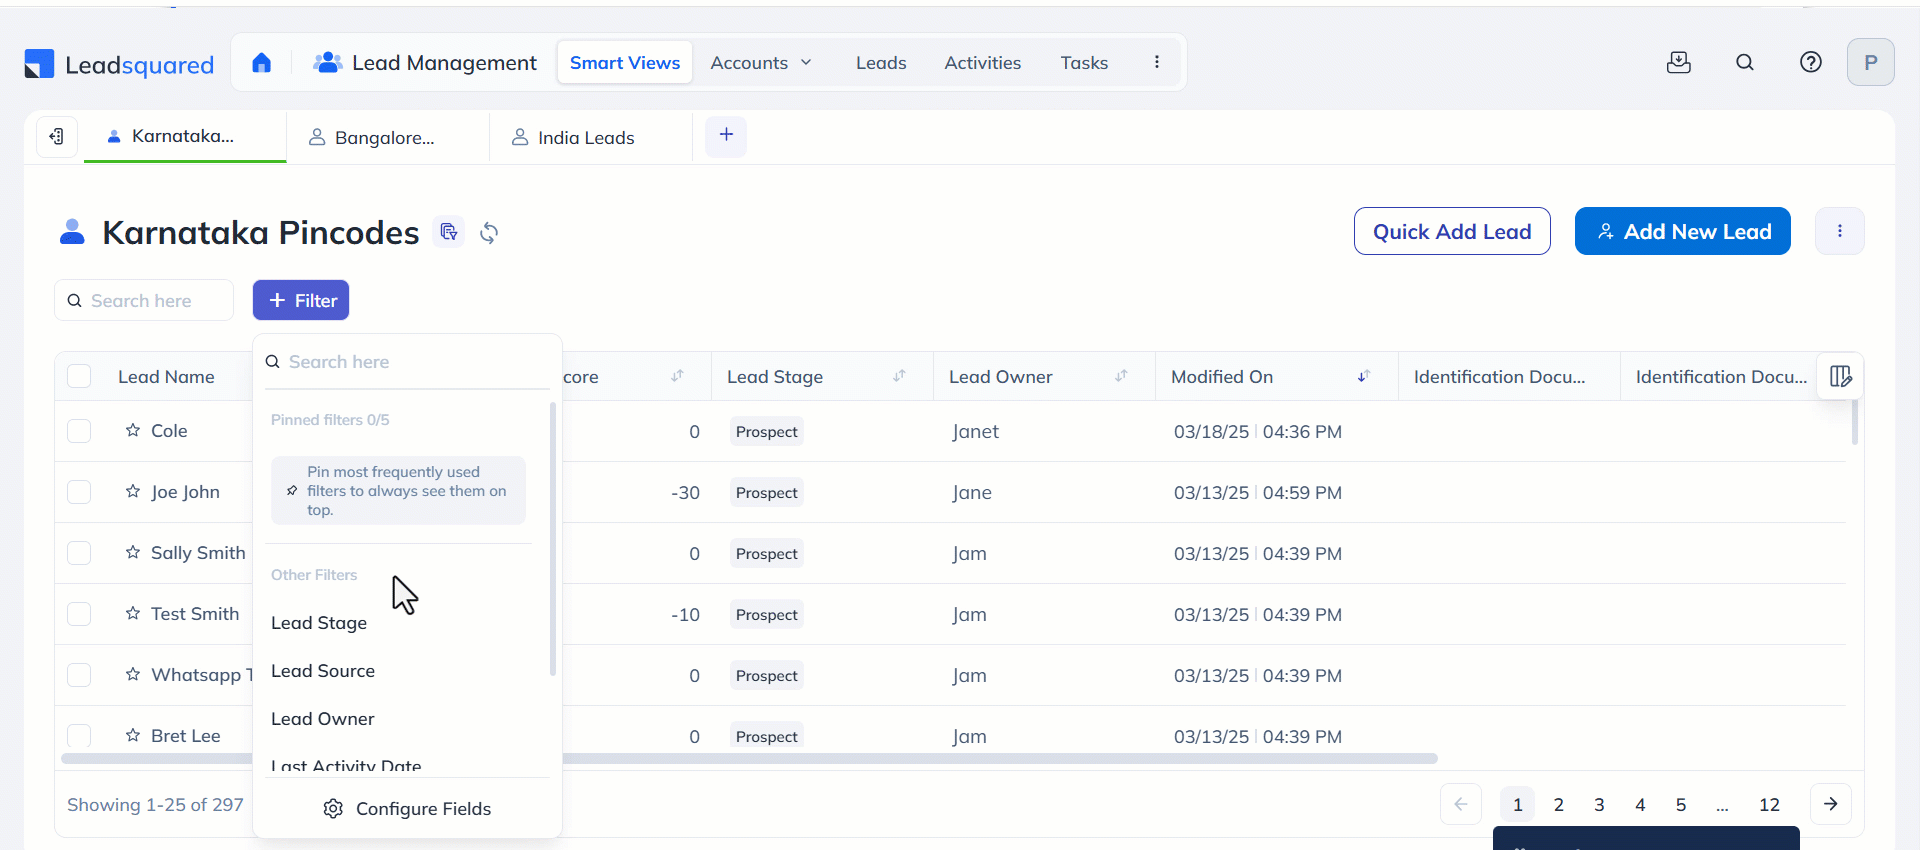
8. Manage Filters
You can also add your own filters to any Smart Views tab. Note that only dropdown type fields can be used as filters. Dependent dropdown fields are also supported.
- On the Smart Views page, click the Filter button above the lead grid.
- Select the relevant default filter or click Configure Fields to add more filters to the list. Click Update to add the fields as filters.
- To search for entities based on the filter, click the Filter icon and select the relevant filter.
- Then select the value from the dropdown. Once the value is selected, click anywhere outside the dropdown to retrieve the results.
You can also pin your frequently used filters. Pinned filters appear next to the Filter icon. You can pin upto five filters by clicking the Pin icon alongside the relevant filter. Search for entities with this filter any time.
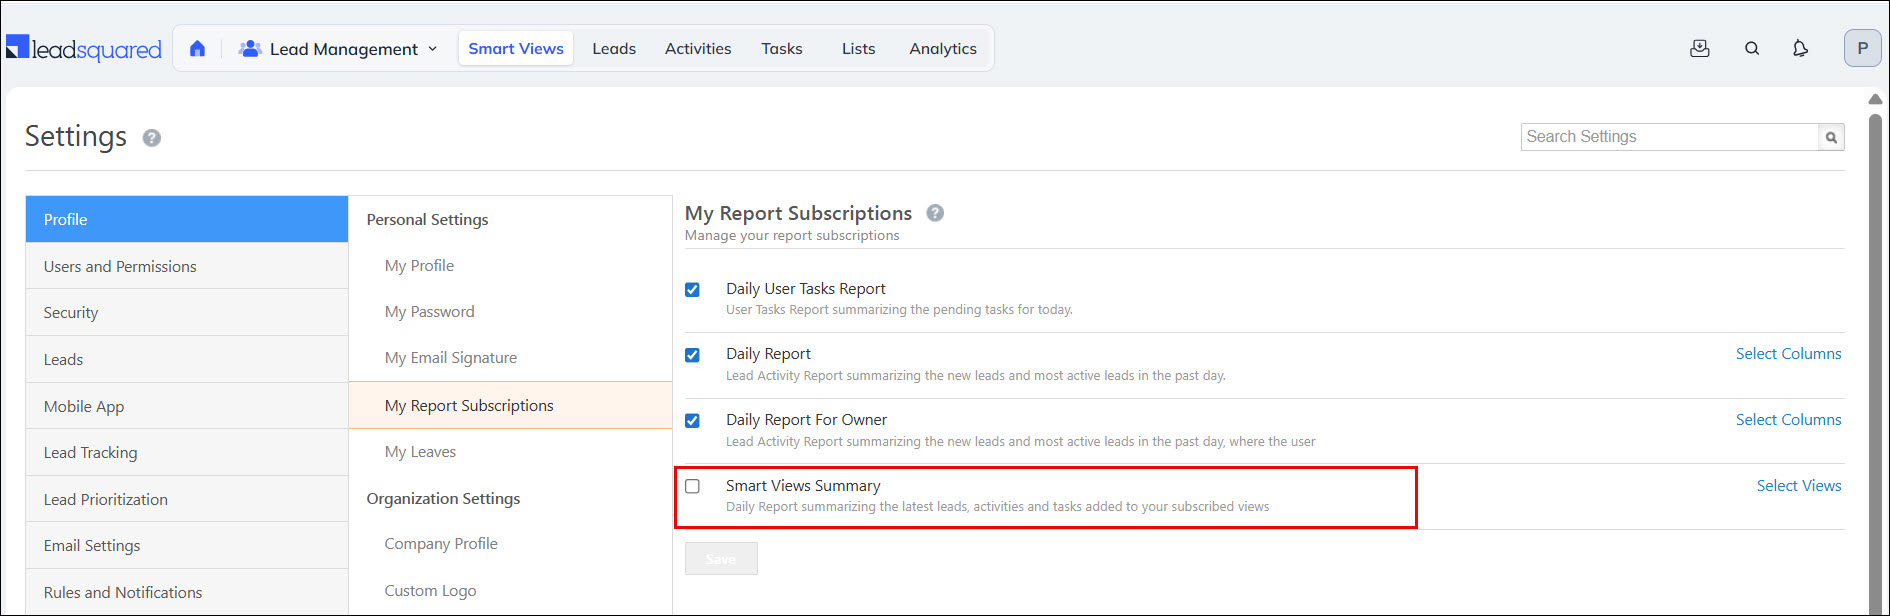
9. Subscribe to Smart Views Reports
You can subscribe to the Smart Views Daily Report that summarizes the latest accounts, leads, activities and tasks added to your smart views filters.
- Navigate to My Profile>Settings>Profile>My Report Subscriptions and click the checkbox alongside Smart Views Summary.
- Click the Select Views link to choose which smart views filters you want to be displayed in your report.
Any Questions?
Did you find this article helpful? Let us know your thoughts in the comments section below.


Hi Team ! Can we perform aggregation on LSQ using smart view ?
eg. I want to have a smart view where a manager can view their top Performing BDA by seeing the count of conversion done by each BDA.
Maybe we can filter this to last week, month , quarter etc.
Or is this possible using the dashboard feature maybe ?
Hi Allan.
You can create a Smart View tab and add relevant fields like count of conversion or Lead Stage as columns. Then, filter the Smart View using options like Lead Owner and other date fields to refine the data. Alternatively, you can use Reports to generate the necessary insights and add them as a dashlet on your dashboard. For further assistance, please reach out to your account owner.
Notes text is not visible in the smart view which is subcategory of any activity
Hi Sashikanth,
We need more context on this issue. Please share more details and screenshots. We’ll get back to you ASAP.
Can I change the time at which I receive the report
Hello, Apoorva.
No, the time when you receive reports cannot be changed.
Not able to find an option of deleting the unwanted tabs under smart view option. Can anyone help.
I have already looked for the option by clicking on Details, the only option available is to hide the tab.
Hello, Mustafa.
You can only delete the Smart Views tabs you’ve created. Tabs assigned to you by another user cannot be deleted.
As an administrator , can i get daily update of multiple smart view reports from various users
Hello, Shiju.
Currently, you can only get daily updates for your own Smart Views.
Is there a way to change the refresh rate on the Smart View?
Hi, Kieron. Yes, you can change the refresh rate on Smart Views through the Configure Smart Views Advanced Configuration setting. Hope this helps.
can we have Adance Search option in the Smart View? like we have in Lead listing page
Hi Swathi,
We do have advanced search functionality within Smart Views. When you add a new Smart Views tab, the ‘Select Condition’ option allows you to set advanced search criteria, exactly the same way as the Manage Leads page.
how to assign smart views to a sales group?
Hi,
Sorry, there’s no way to apply Smart Views to sales groups. You can only assign Smart Views to teams.
If we are making modification/changing smart view altogether to a new one, what will happen to existing leads in the previous smart view tabs?
Hi Nikhil,
This depends on the ‘Replace’ setting you choose when applying the smart view to a team. If ‘Replace’ is enabled, the previous tabs will be removed, if it’s disabled, the previous tabs will remain.
How to remove or edit tabs in smart view?
Hi, Karan. Thanks for pointing this out. We’ve added the section to this article. Hope this helps!
How do we delete a smart tab that we have created?
Hi, Rohit. Thank you for your question. Under the Smart View tab’s name, you’ll see the Details link. Click on this, and then click Delete Tab. This will delete the tab. Hope this helps.
Thanks