


Get Started
Sales Suite
Field Ops
Marketing
Service CRM
Integrations & Apps
FloStack
Smart Views for Administrators
1. Feature Overview
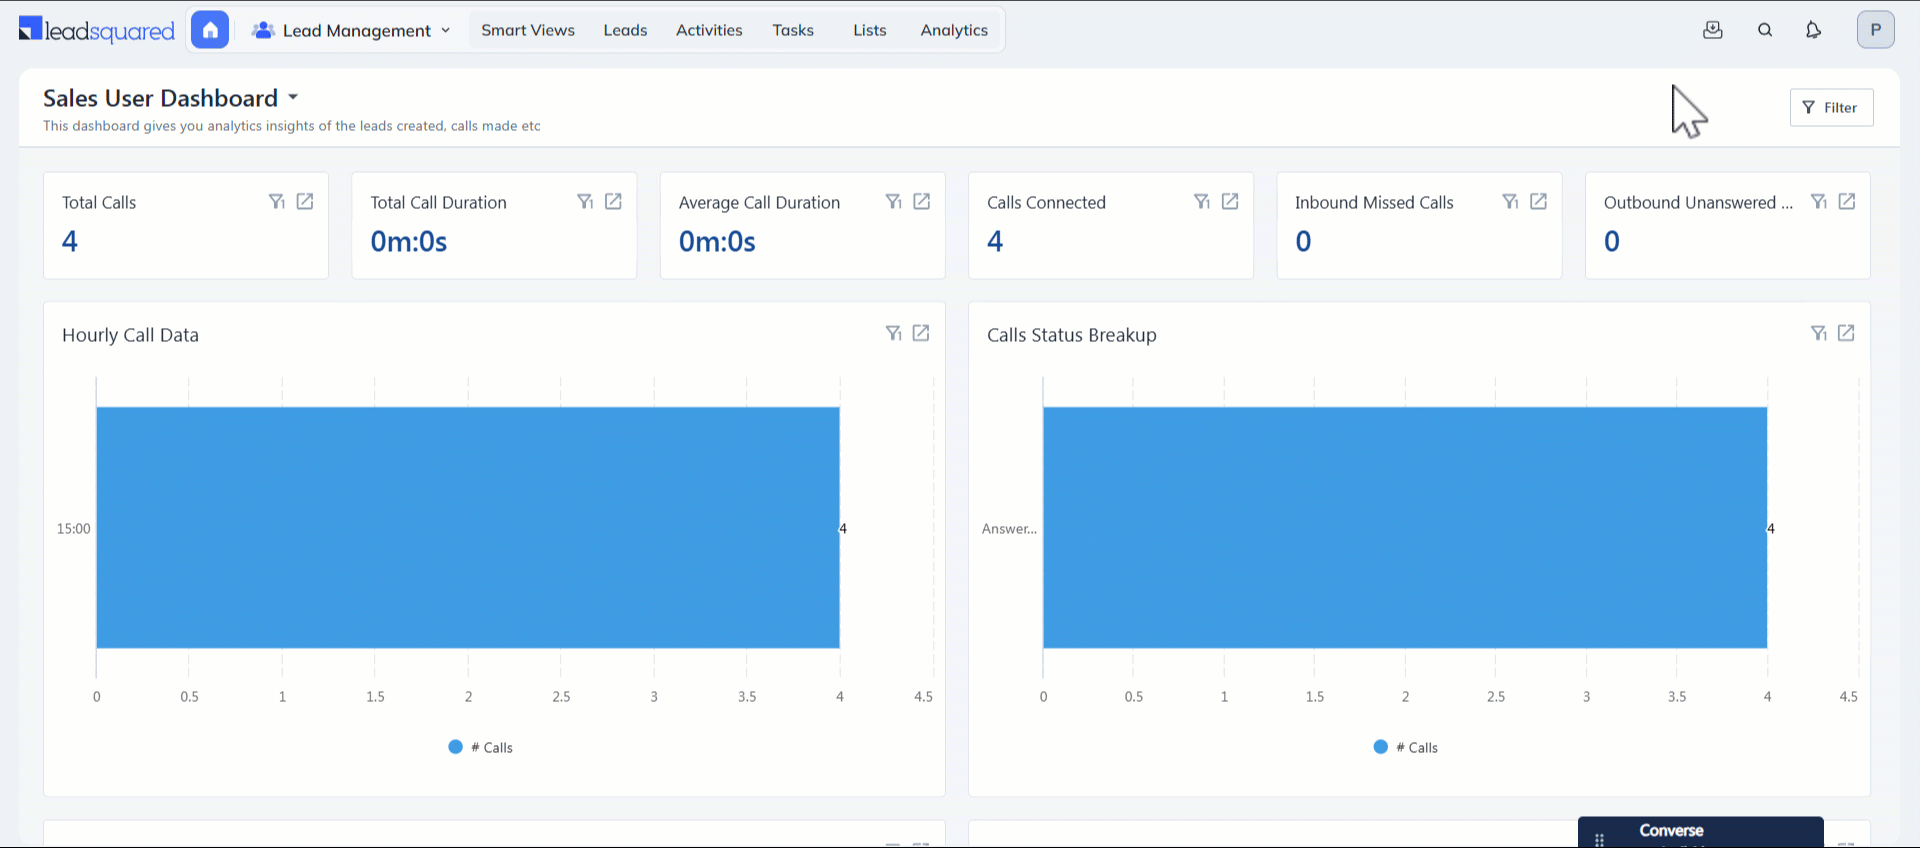
Administrators can create Smart Views and assign them to teams to display relevant records users see in their workspace. By configuring Smart View tabs for entities such as Accounts, Leads, Opportunities, Activities, and Tasks, admins can ensure that each team accesses only the data relevant to their work. Smart Views assigned to teams are available on both web and mobile, making them especially useful for teams that primarily work from the mobile app.
Note: If you’re unfamiliar with the Smart Views feature, see Smart Views – Feature Guide. To learn more about teams, see Teams.
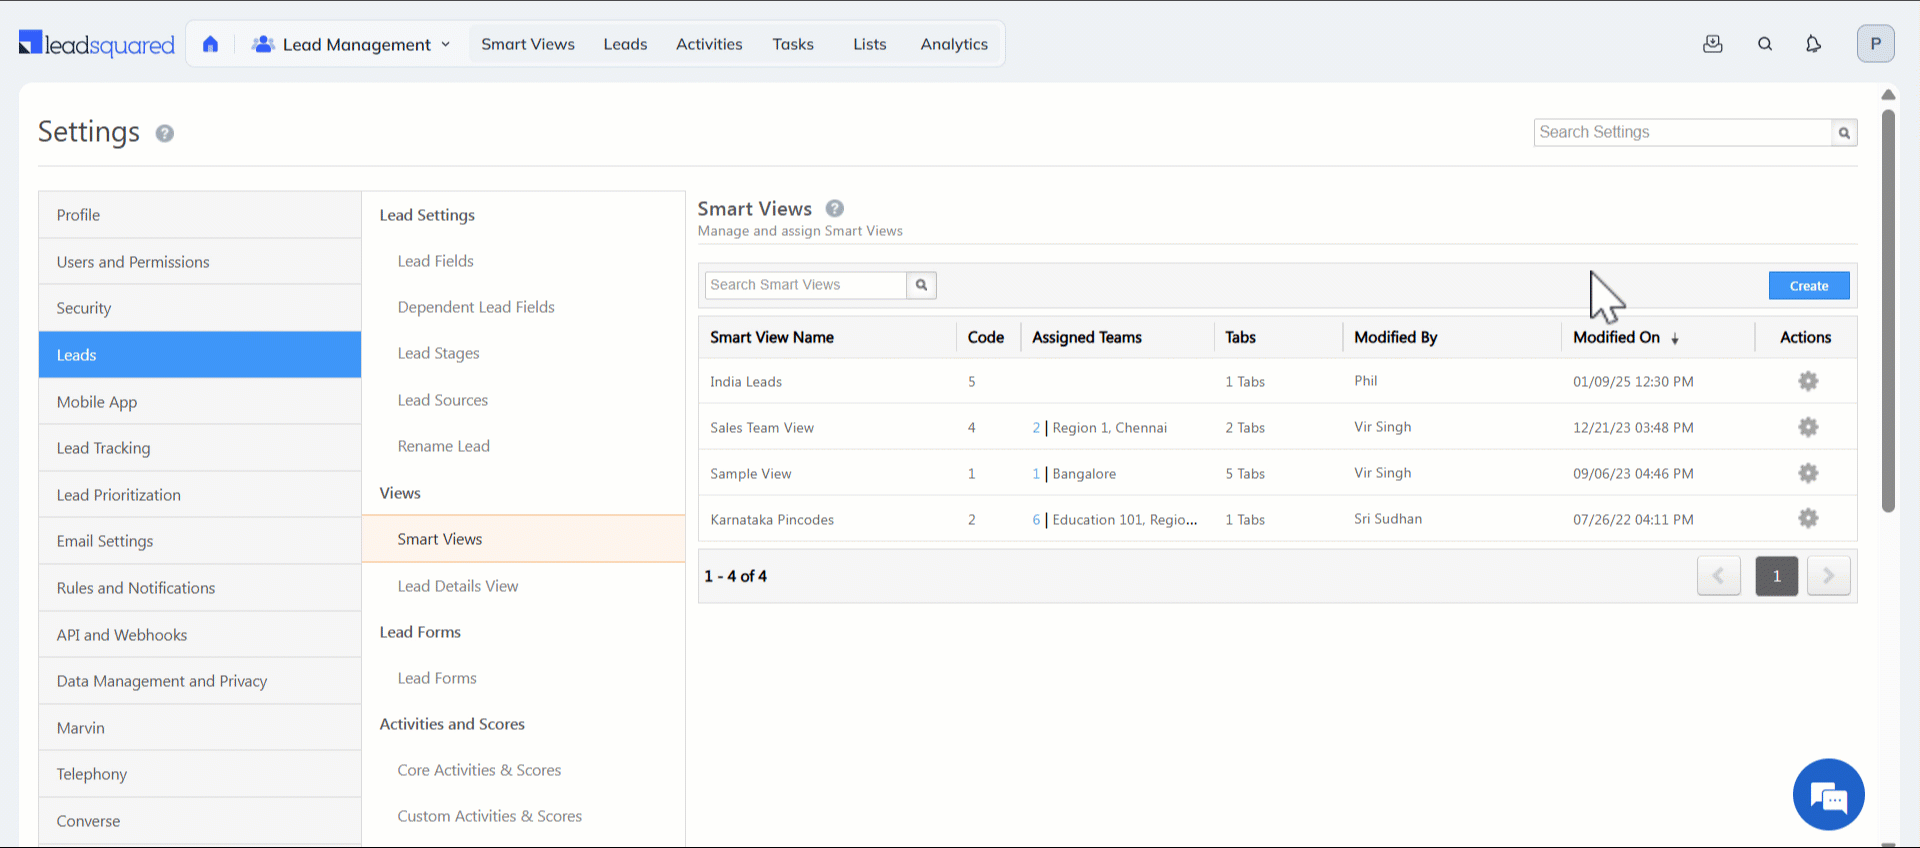
As an admin, you can manage smart views by navigating to My Profile>Settings>Leads>Views>Smart Views.
2. Prerequisites
- You must be the Admin of your LeadSquared account.
- You must create Teams in your account.
3. How It Works
Smart Views allow administrators to control which records users see by assigning relevant Smart View tabs to teams.
- Create Smart View Tabs – Admins create Smart View tabs for leads, opportunities, activities, or tasks, and configure filters, columns, and actions.
- Assign to Teams – The Smart View tab is assigned to the required team.
- User Access – Users in that team can access the assigned Smart View on both web and mobile, allowing them to view only the records relevant to their work.
This helps teams focus on the most relevant data and work more efficiently.
4. Create a New Smart View
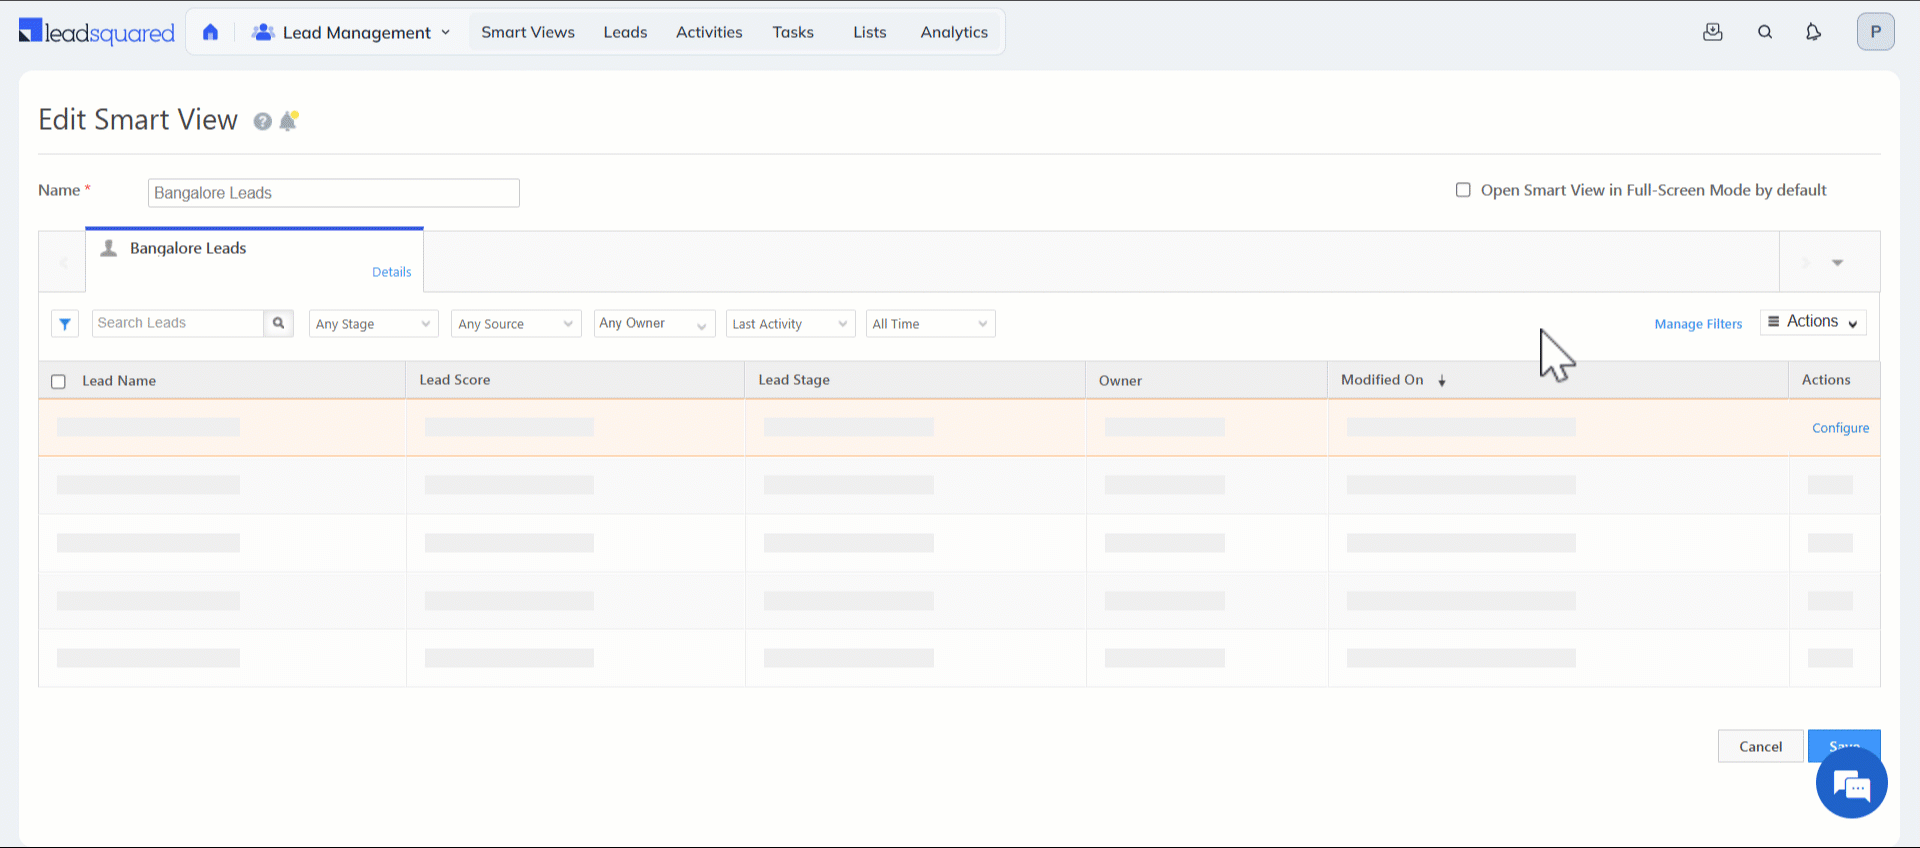
To create the first Smart View tab –
- Navigate to My Profile>Settings>Leads>Views>Smart Views and click Create.
- Enter a name for the new smart view tab, then click Create Tabs. You can add Lead, Opportunity, Activity and Task type tabs.
- Create the smart view tab and click Save.
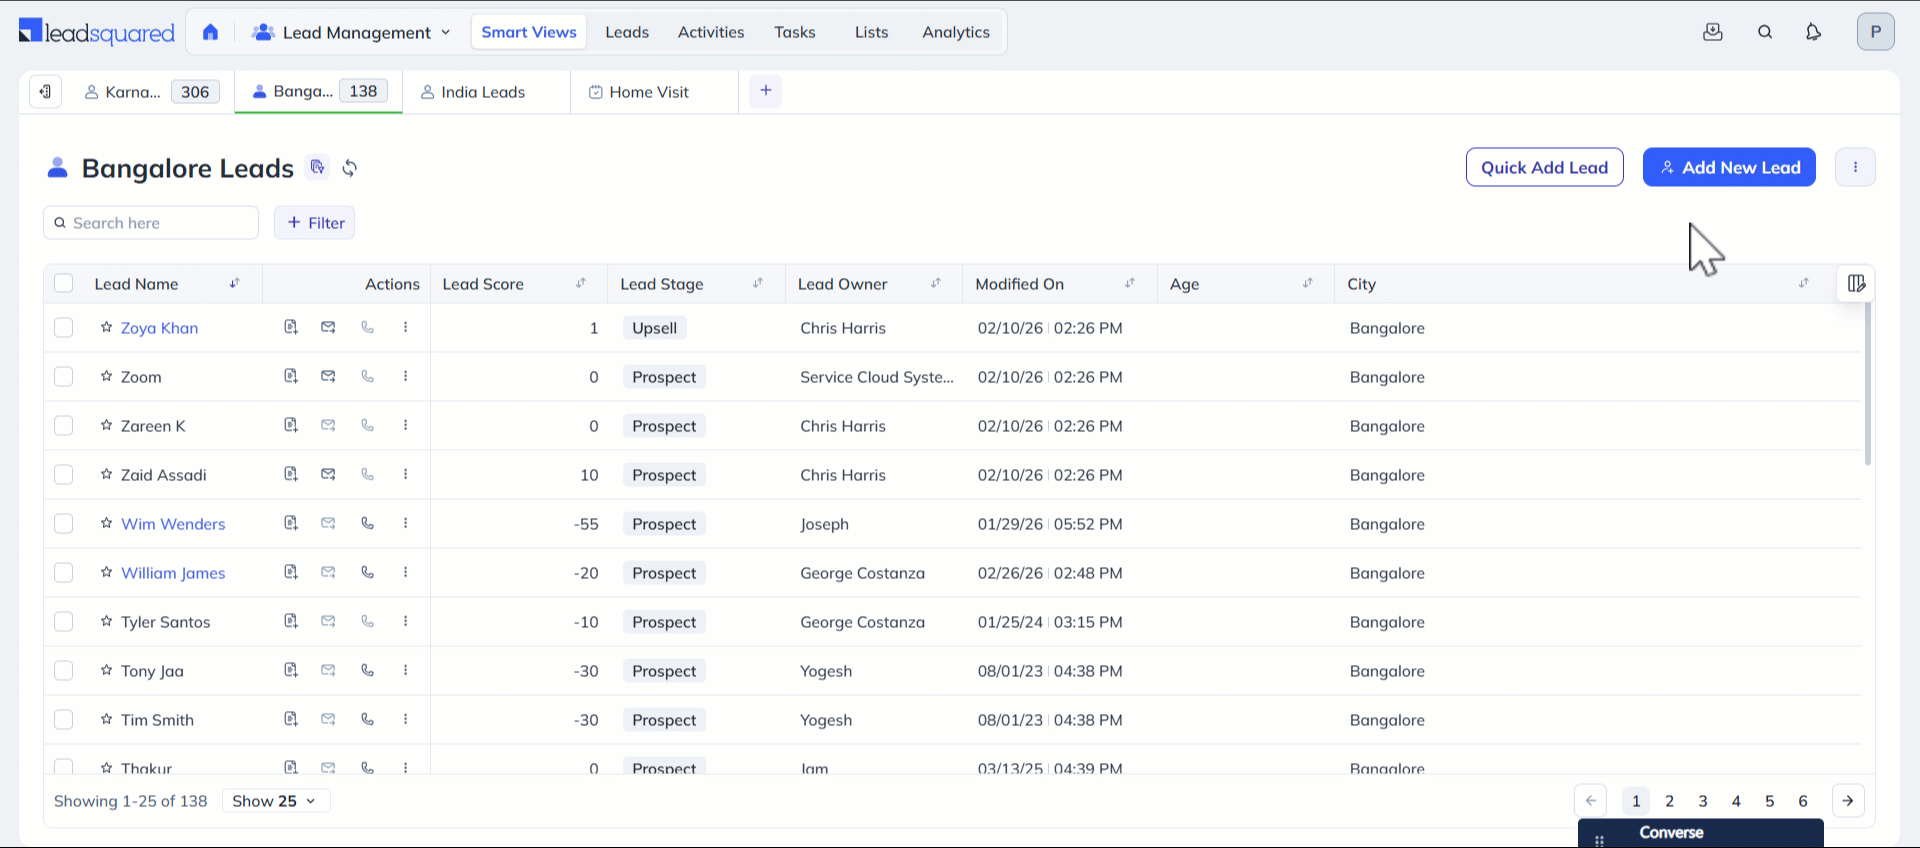
The following example shows a new Smart Views tab for ‘Bangalore Leads’ –
Apart from this, a non-admin user can create new Smart View tabs relevant to them from the Smart Views page.
- Navigate to Lead Management>Smart Views from your LeadSquared Dashboard.
- On the top-right corner of the Smart Views list tab, click the Add New Tab icon.
- Enter the relevant details and click Create Tab.
To learn more, see Smart Views – Feature Guide.
Note:
- To create Smart Views for opportunities, ensure the opportunity feature is enabled on your account. Reach out to us at support@leadsquared.com.
- To create Smart Views for Mavis DB, see Integrate Mavis DB with Smart Views.

4.1 Configure Quick Actions and Menu Actions
When you create or edit a Smart View tab, you can configure the actions you want a user to take on the particular entity.
- On the Smart Views settings page, under the Actions column, click the Configure button.
- Now, from the pop-up, select/deselect the Quick Actions and Menu Actions you want to display, then click Save.
- The actions will now appear on the Smart Views page.
4.2 Arrange Columns
You can reorder columns for any tab by clicking the Manage Columns icon on the top-right corner of the grid. Click the checkbox alongside the relevant fields under Select Lead Columns. Then simply drag and rearrange the fields under Reorder Selected Columns in the appropriate place.
Additionally, you can also pin columns. Pinning a column moves it to the front of the grid and freezes it in place. Pinned columns remain visible and do not move or get hidden when scrolling through the grid. You can pin upto four columns, with two primary columns pinned by default. Click the Pin icon alongside the Selected Column, and drag and rearrange the fields as required.
4.3 Manage Filters
- Navigate to Settings>Leads>Smart Views.
- Under Actions, alongside the relevant Smart View, click Edit.
- Navigate to the tab and click Manage Filters.
- Select the required filters and alongside the Enable filter options for mobile users setting, click the checkbox.
- Click Save.
Note:
- A maximum of 5 fields can be selected as filters.
- The following datatype fields are displayed for lead field and activity field filters –
- Dropdown
- Date
- Date-time
5. Assign a Smart View Tab to a Team
Once you’ve created a smart view tab, you can assign it to a team.
- Navigate to My Profile>Settings>Users and Permissions>Teams.
- Alongside the team you want to assign the Smart View tab to, click the Actions icon.
- Click Apply Smart View.
- In the dropdown, alongside the Smart View section, select the smart view you want to assign the team.
- Click the checkbox alongside Replace Smart View if you wish to replace the previous Smart View that was assigned to the team. This will also replace the Smart View for any children teams that were inheriting the previous Smart View.
- Once done, click Save.
6. Set Smart Views as Home Page
In LeadSquared, Dashboards are the default homepage for all users and teams. Administrators can change this by setting Smart Views as the homepage. This allows users to immediately access the records relevant to their work such as Accounts, Leads, Opportunities, Activities, or Tasks when they log in.
Note: A Smart View must first be created and assigned to a team before it can be set as a homepage. For more information, see Assign a Smart View Tab to a Team.
6.1 Set Smart Views as Homepage for Teams
You can assign Smart Views as the homepage for an entire team so that all users in that team see the Smart Views page when they log in.
- Navigate to My Profile>Settings>Users and Permissions>Teams.
- Hover over the Actions icon next to the relevant team and click Configure Home Page.
- In the Configure Home Page pop-up, select Smart Views from the Select Page dropdown and click Save.

6.2 Set Smart Views as Homepage for Individual Users
Administrators can also assign Smart Views as the homepage for specific users.
- Navigate to Settings>Users and Permissions>Users.
- Select the users by clicking the checkbox next to their names.
- Click Bulk Actions above the user grid.
- Select Configure Home Page.
- In the Configure Home Page pop-up, select Smart Views from the Select Page dropdown and click Save.
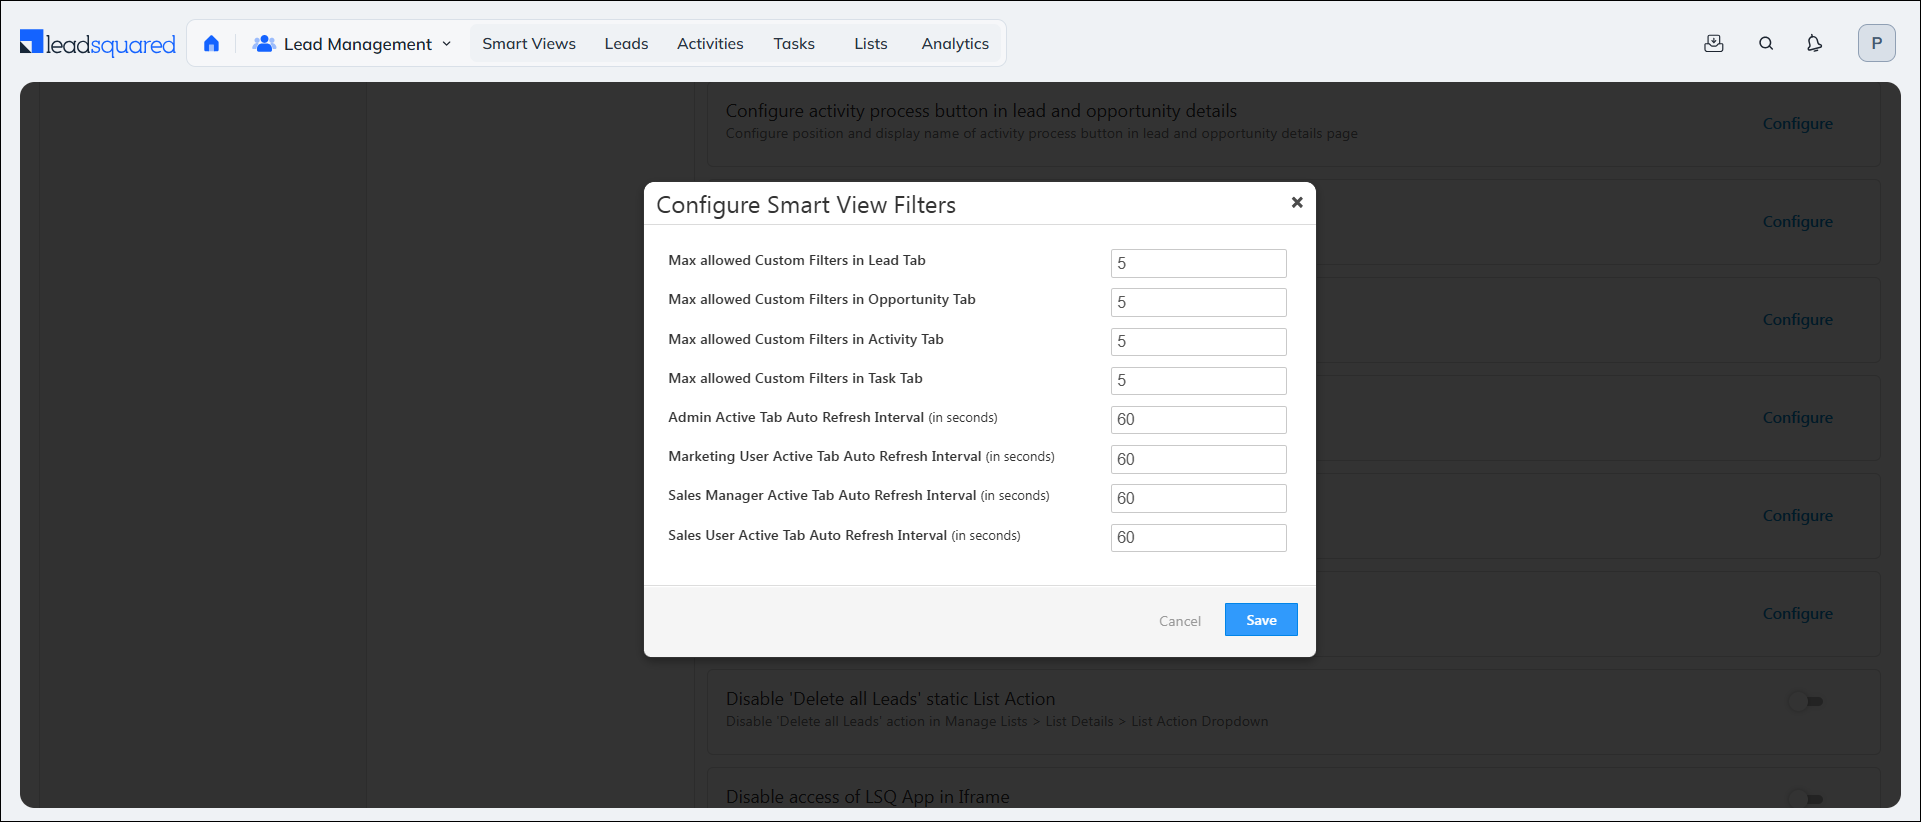
7. Set Auto-Refresh Intervals for Smart Views
Keep Smart Views up to date automatically with configurable auto-refresh intervals. The active Smart View refreshes at the set interval, so users always see the latest data. Admins can define different refresh intervals for user roles to support different workflows.
- Navigate to Settings>Profile>Advanced Configuration.
- Click Configure alongside Configure Smart Views setting.
- On the Configure Smart View Filters popup, you will see –
- Admin Active Tab Auto Refresh Interval (in seconds)
- Marketing User Active Tab Auto Refresh Interval (in seconds)
- Sales Manager Active Tab Auto Refresh Interval (in seconds)
- Sales User Active Tab Auto Refresh Interval (in seconds)
- Alongside the relevant row select the refresh intervals in seconds and click Save.
8. FAQs
1. Why does the tab I created from admin settings reference a different activity after assignment?
This issue may arise when View permissions are applied to that particular entity for the user to whom the tab is assigned. Verify the permission template for View permissions. This is applicable to tasks, opportunities, and accounts as well.
2. Why aren’t the filters configured in Manage Filters applied to LeadSquared’s platform Smart Views while creating an activity tab from settings?
Manage Filters for activity tabs is exclusively applicable to NextGen UI and Marvin. To customize filters for activity tabs, ensure that the NextGen UI is enabled for the tenant.
Any Questions?
We’d love to answer your questions or hear your own unique use cases. Feel free to share your experiences in the comments section below.
How can I hide “add new tab button” in marvin UI for smart views?
Hi Niharika,
Currently, this isn’t possible. However, you can raise a feature request by writing to support@leadsquared.com.
Hello can we keep a template for smart views and use the same for multiple users, so that we can save the time to create each user views separately
Hello, Shiju.
You can create an Admin Smart Views tab and apply it to a team. This will allow all the users in that team to view and use the same Smart Views.
How can we default a view to show 50 instead of 25?
Hi, Zak. Thanks for reaching out. The default value is set to 25. While this cannot be changed at the organization level, you can increase the value for an individual Smart View tab pagesize to 50 (or to 100/200) through the Show dropdown available at the bottom of your screen. Hope this helps.
How to duplicate a smartview and edit it
Hi, Jithindas. The ability to clone a Smart View is currently not supported. We’ve taken this down as a feature request. We’ll let you know once the feature is available. Thanks.
how many tab can be created?
Hi Adarsh,
By default, you can create 10 tabs. However, we can enable more tabs for your account should you need them. Contact your account manager or write to support@leadsquared.com.
How to create a new tab in smart view
Hi Rahul,
Thanks for pointing this out. We’ve updated the article with a new section under ‘Create a New Smart View’ that shows you how to create subsequent tabs after the first smart view tab has been created. Hope this helps!
how can we add processes in smart views
Hi, Rohit. When you’re creating a new Process, on the Choose Starting Point pop-up, from the left panel, click Smart Views, and select the Smart View tab under which you want the Process to show up. To know more, refer to https://help.leadsquared.com/how-to-create-an-process/
Do remember that Processes can only be created on Published Forms, so make sure you’ve published a Form in your account.