


Get Started
Sales Suite
Field Ops
Marketing
Service CRM
Integrations & Apps
FloStack
Forms and Processes on Mobile
1. Feature Overview
Forms and Processes are now available on LeadSquared mobile.
You can set up customized forms and processes on web (loan applications, education applications, KYC collection), and then push them to your mobile users. This makes it extremely easy for your on-field teams to capture the exact information required from your leads.
2. Prerequisites
- You have to be an administrator user to create forms and processes.
- You must be running the LeadSquared Android app v8.0 or higher, or the LeadSquared iOS app v7.1 or higher.
3. How It Works
Firstly, you need to create one or more forms. The procedure is exactly the same as it is for web.
The only difference lies in the process designer, when you choose where you want the process to be triggered.
- See How to Create a Form to learn how to create a form and configure rules.
- See How to Create a Process to get a general idea of how the process designer works.
4. Procedure
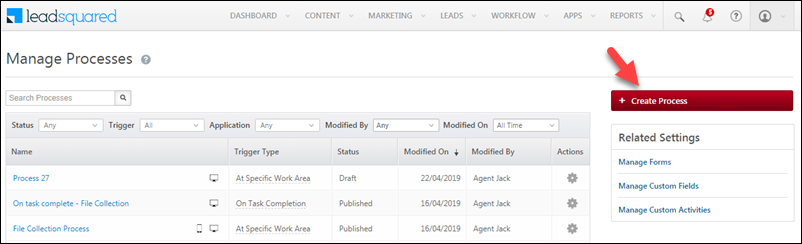
Once you’ve created your forms, navigate to the Process Designer (Workflow>Process Designer) and click Create Process.
You can trigger your process –
- At a Specific Work Area
Or - On Task Complete
4.1 On Task Complete
The ‘On Task Complete’ trigger allows you to choose the task types on which you want the process to be triggered.
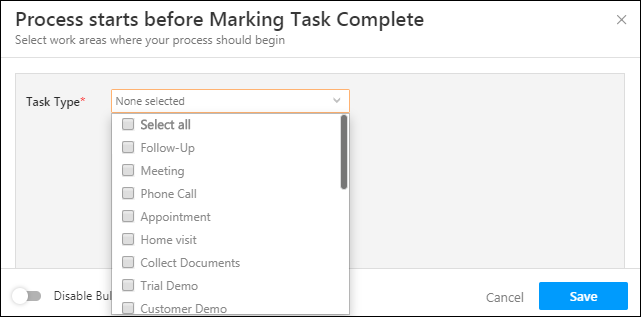
Every time a task of a selected task type is completed from the mobile app, the process will be triggered.
In the example below, the process is triggered to run when Follow-up, Meeting, and Phone Call tasks are marked complete. The form configured to be displayed is the ‘New Client’ form.
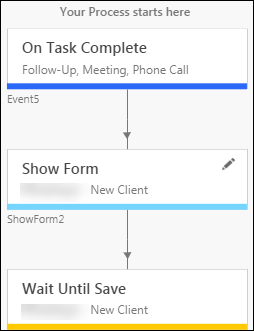
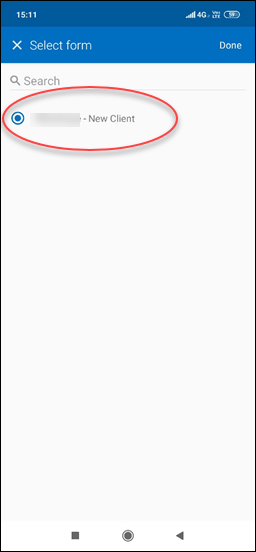
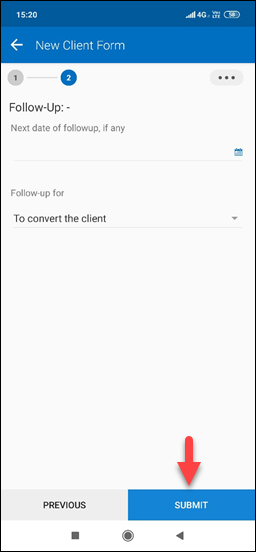
So when users complete a task (of the configured type) from the mobile app, they’ll be prompted to complete the form(s) configured in the process.
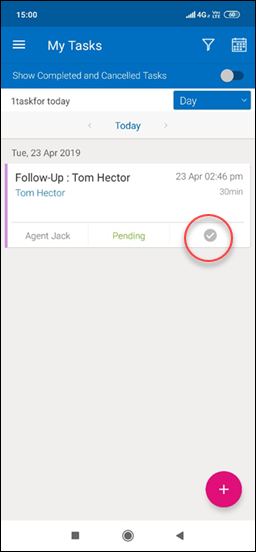
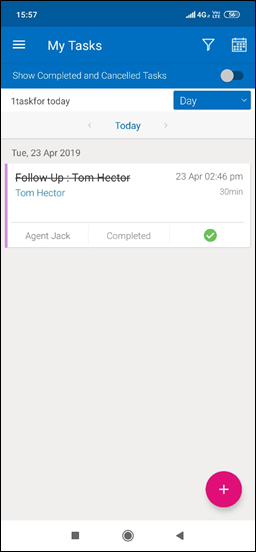
The task will then be marked complete –
4.2 At a Specific Work Area
When you choose the ‘At a Specific Work Area’ trigger, you’re prompted to select the work areas where you want the process to begin.
Each work area has an icon representing its availability on web and mobile.
- Available on Web

- Available on Mobile

- Not available on mobile

Use the checkboxes alongside the icons to choose the work areas on web and/or mobile, then click Save.
Note: When you hover your cursor over the icons, you’ll see an image of the screen/page where you’re process will be triggered from.
According to your configurations in the process designer, your form(s) will be available in the chosen work areas on mobile –

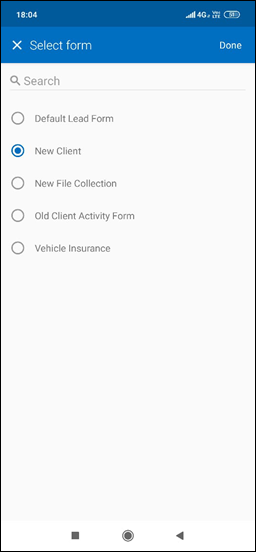
Note: The Default Lead Form in the screenshot above is the default ‘Add New Lead’ form. It can be accessed offline. Forms added through the process designer will not be available offline.
5. Other Features
There are other features you can use in conjunction with forms and processes for a better experience.
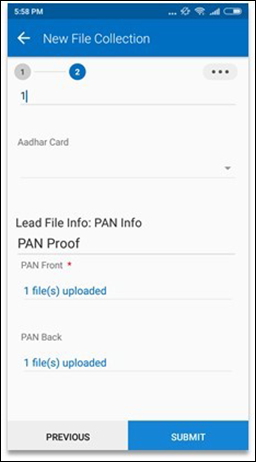
Custom Field Sets
You can use custom field sets to upload documents to a form. To do this you need to create a custom field set and then add it to an activity. You must then include the activity in your form. For more information, see Custom Field Sets.
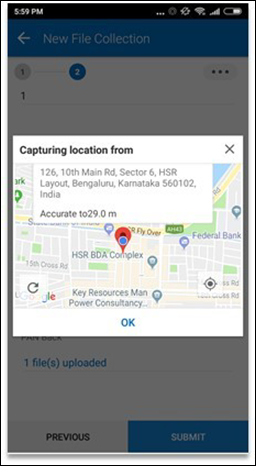
Activity Location
For activities that are location-enabled, the lead’s location will be automatically captured on form submission. For more information, see How to Add a Custom Activity.
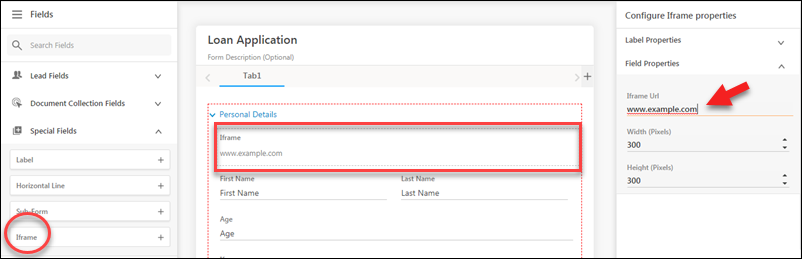
Iframes
You can use Iframes to display custom content on your forms. These are available as special fields in your form designer. For more information, see How to Create a Form.
6. Current Limitations
- Activity attachments are currently not supported. However, you may use custom field sets to upload documents.
- Help texts will be visible only for fields and not for form and section descriptions.
- Only the ‘Default form’ will work offline.
- If you’ve set up a process on the ‘Task Complete’ trigger, it will overwrite the ‘Task-Activity Completion’ flow. For more details, read the ‘Task-Activity Completion’ section of Mobile App Permissions.
- Be sure to keep the Tab/Section/Field hidden by default from the web (while creating a form), if you don’t want them to appear for users on the first launch on mobile –
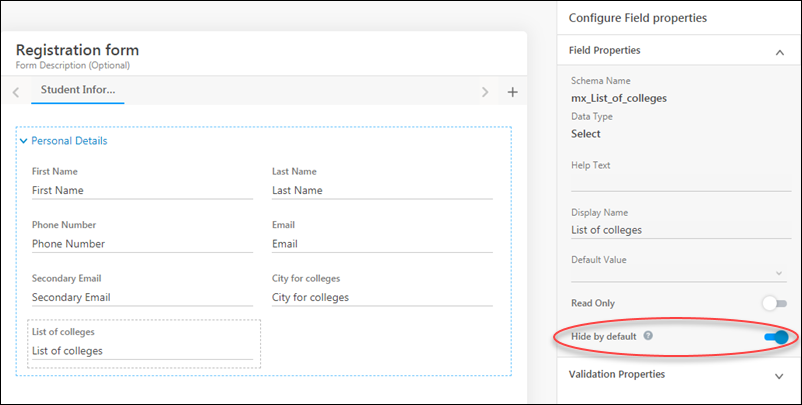
For more information on hiding fields, tabs, and sections, see How to Create a Form.
Any Questions?
Did you find this article helpful? Leave a comment below if you have any unanswered questions.