1. Feature Overview
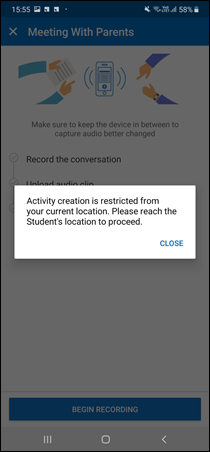
Geofencing ensures your field sales users can post custom activities only when they’re physically present in the lead’s vicinity. Geofencing can be enabled for critical custom activities like posting Activity Audio Recordings, Collecting Documents, KYC Verification, etc.
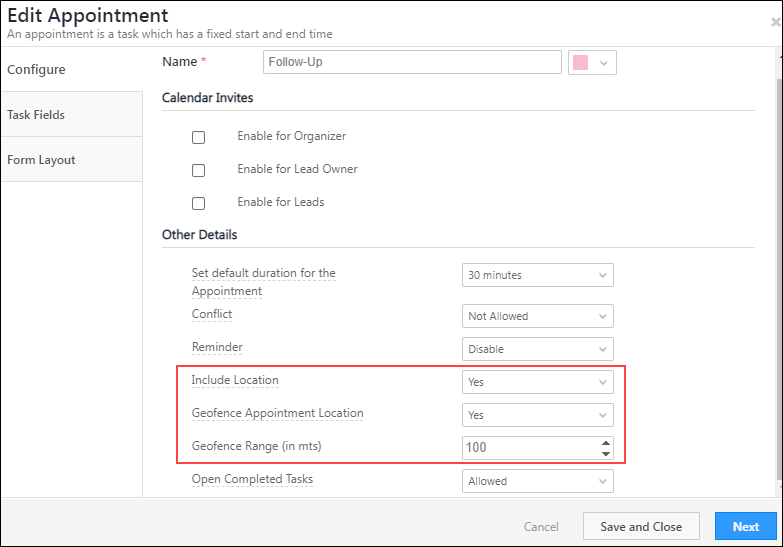
Additionally, you can also Geofence Appointment and To-do task types, and define the radius within which your users can post the task.

2. Prerequisites
- You must be the Administrator User to configure this feature.
- Ensure location tracking is enabled on your user’s mobile device. To know more, refer to Location Tracking on LeadSquared Mobile.
- In order to access this feature, you must run the following versions of the mobile app –
- Android v14.3 or higher
- iOS v12.4 or higher
3. Enable Geofencing for Activities
From the LeadSquared web app –
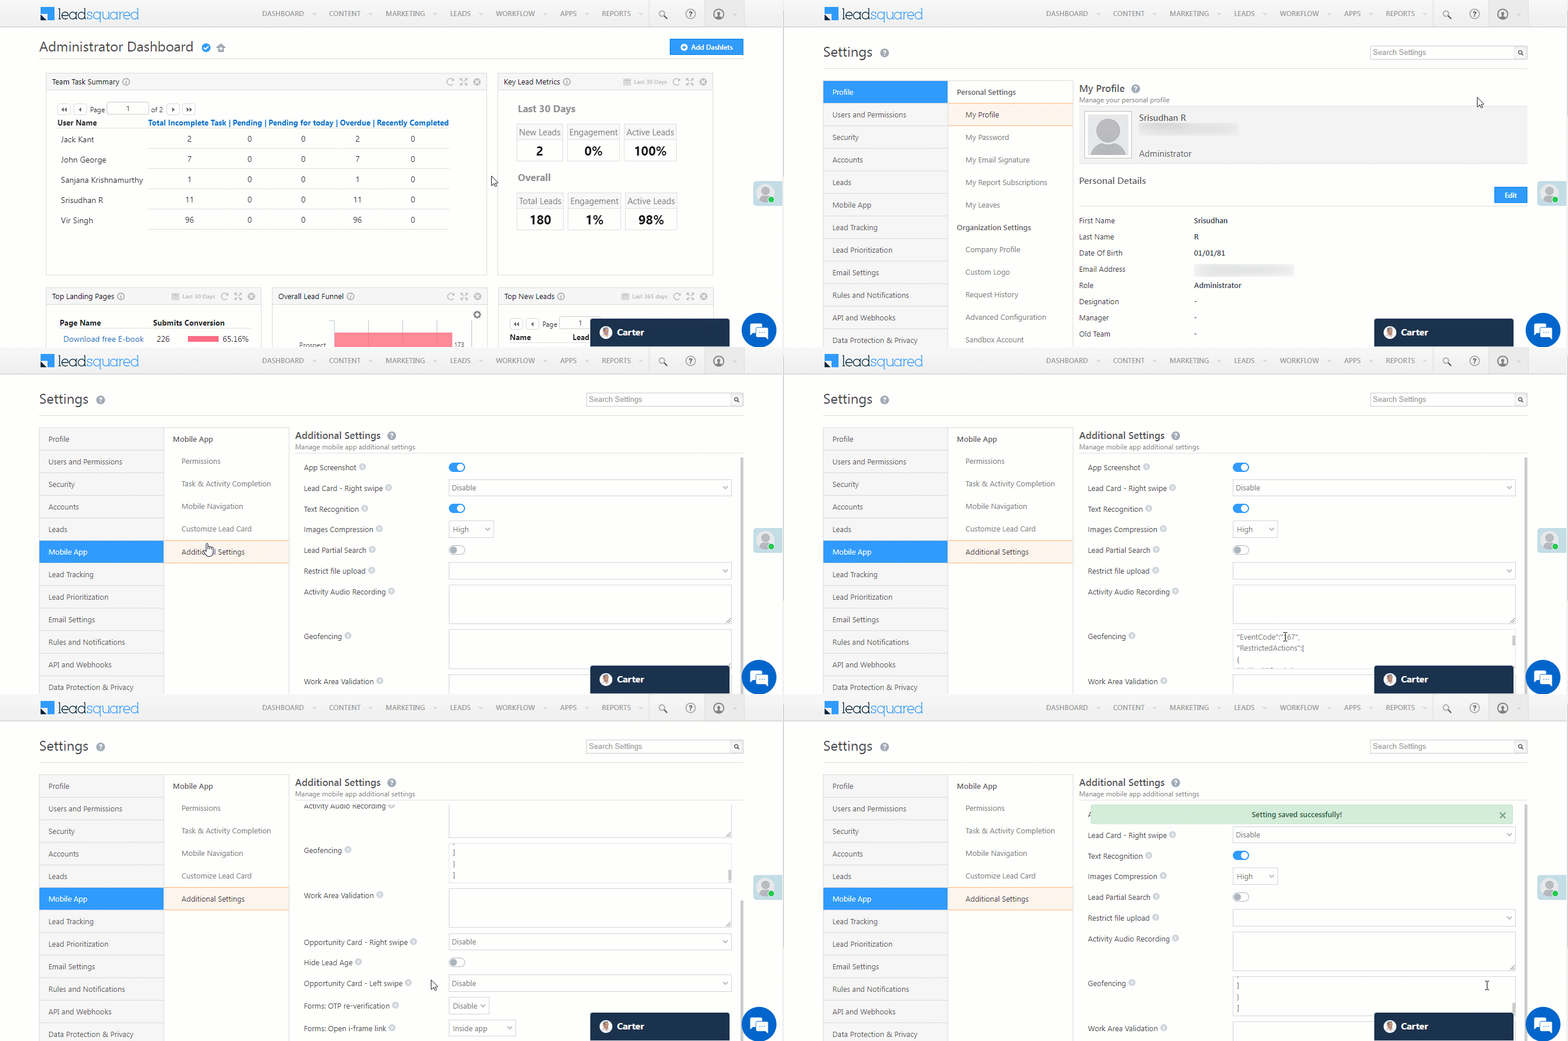
- Navigate to My Profile>Settings>Mobile App>Additional Settings.
- Alongside Geofencing, pass the following JSON to geofence posting a custom activity –
[
{
"EntityType":"Activity",
"RestrictedEvents":[
{
"EventCode":"Activity code1",
"RestrictedActions":[
{
"Action":"Create",
"Geofence":"radius in metres"
}
]
},
{
"EventCode":"Activity code2",
"RestrictedActions":[
{
"Action":"Create",
"Geofence":200
}
]
}
]
}
]| Parameter | Description | |||
| Entity Type | The LeadSquared entity type (“Activity” in this case) for which you want to enable Geofencing. | |||
| Restricted Events | The custom activity types for which you want to enable Geofencing. | |||
| Event Code | The activity event code of the activity types for which you want to enable Geofencing. To obtain the code, navigate to My Profile>Settings>Leads>Custom Activities & Scores, and alongside the corresponding activity type, you’ll find the Code. | |||
| RestrictedActions | The action you want to restrict your users from performing. | |||
| Action | The action type (“Create” in this case) you want to restrict your users from performing. | |||
| Geofence | Pass the Geofencing radius in meters. Your users will be able to post the activity only if they’re within this radius from the lead’s location. | |||
3. Once you’re done, click Save. Your users can now post these custom activity types only when they’re in the lead’s vicinity.

4. Enable Geofencing for Tasks
You can enable Geofencing for Appointment task types (My Profile>Settings>Leads>Appointments) when creating the task. To know how to do this, refer to Managing Task Types.

Any Questions?
Did you find this article helpful? Please let us know any feedback you may have in the comments section below. We’d love to hear from you and help you out!


