
Any Questions?
Did you find this article helpful? Please let us know any feedback you may have in the comments section below. We’d love to hear from you and help you out.


LeadSquared provides five built-in lead forms to help sales and marketing users capture and manage lead data without navigating across multiple pages. Each form is designed for a specific context, from detailed desktop entry to quick mobile capture and agent call pop-ups.
When a user triggers a lead-related action, such as adding a new lead or receiving a call, LeadSquared presents the appropriate form based on the context. Each form pulls from the same pool of lead fields defined in your account, but displays only the fields you have configured to show for that form type.
Administrators configure each form independently through Settings>Leads>Lead Forms. Fields can be shown, hidden, or reordered by dragging them between sections. Fields moved to the Hidden Fields panel are not deleted; they are simply excluded from display in that form. This means the same field can appear in one form type and be hidden in another.
Sections within a form can be created, renamed, reordered, and deleted, giving administrators control over how lead data is grouped and presented to users.
| Form | Description |
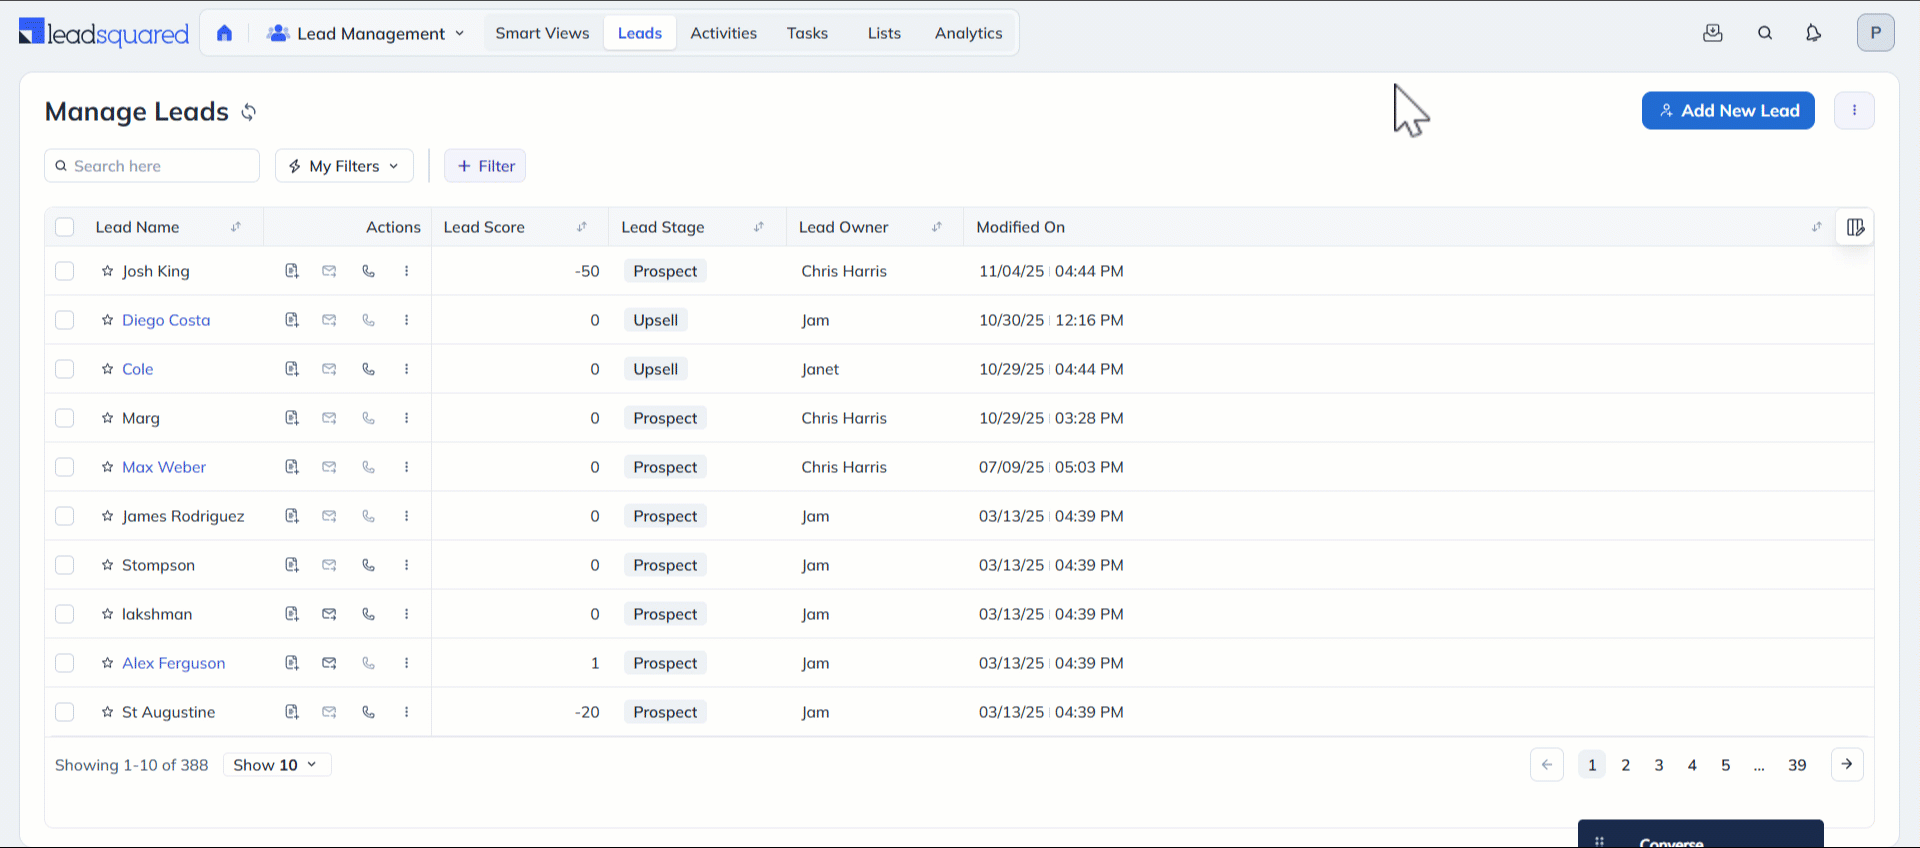
| Lead Form | A detailed form for entering comprehensive lead information. |
| Quick Add Form | A short form for capturing only key lead details for faster data entry. |
| Lead Form on Mobile | A form in the LeadSquared mobile app for adding leads on the go. |
| Lead VCard | A card on the Lead Details page displaying minimal but important lead information. |
| Agent Pop-up Form | A pop-up form that appears during inbound or outbound calls, allowing agents to log or view lead details. |
The steps below apply to all five form types. Where a form type requires additional context, it is noted in the relevant section.
The Quick Add Form is designed for fast lead entry using only essential fields.
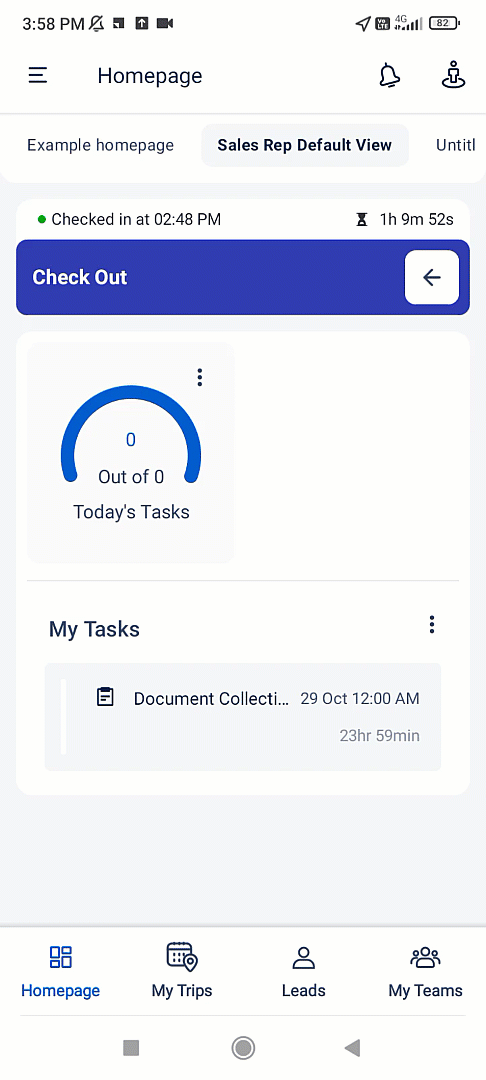
The mobile lead form allows field users to capture lead data from the LeadSquared mobile app.
The Lead VCard displays key lead details, quality metrics, and lead properties on the Lead Details page. Users can edit the VCard directly from that page.

The Agent Pop-up Form appears automatically when a sales user handles an inbound or outbound call. The user can enter details for a new lead or view an existing lead’s information directly from the pop-up.
For information on setting up telephony integrations, see Universal Telephony Connector.

Did you find this article helpful? Please let us know any feedback you may have in the comments section below. We’d love to hear from you and help you out.
How to change colour of Quick Add Tab
Hi, Susmita. You can’t change this colour.
Can the lead data inputs be formatted to proper name? Forcing capitalization of first letter in first and last name fields?
Hi Scott,
Yes, you can use Regular Expressions (Regex) to control the format of the input. However, this feature isn’t available for the default forms described in this article.
It’s available when you create dynamic forms (which is our newer, more advanced lead capture form builder). While creating a dynamic form, simply drag the field into the appropriate from section, and on the properties panel on the right, you’ll see an option for Regex.
Let me know if you need more help.