


Get Started
Sales Suite
Field Ops
Marketing
Service CRM
Integrations & Apps
FloStack
View a Lead’s Documents/Images in a Slideshow
1. Feature Overview
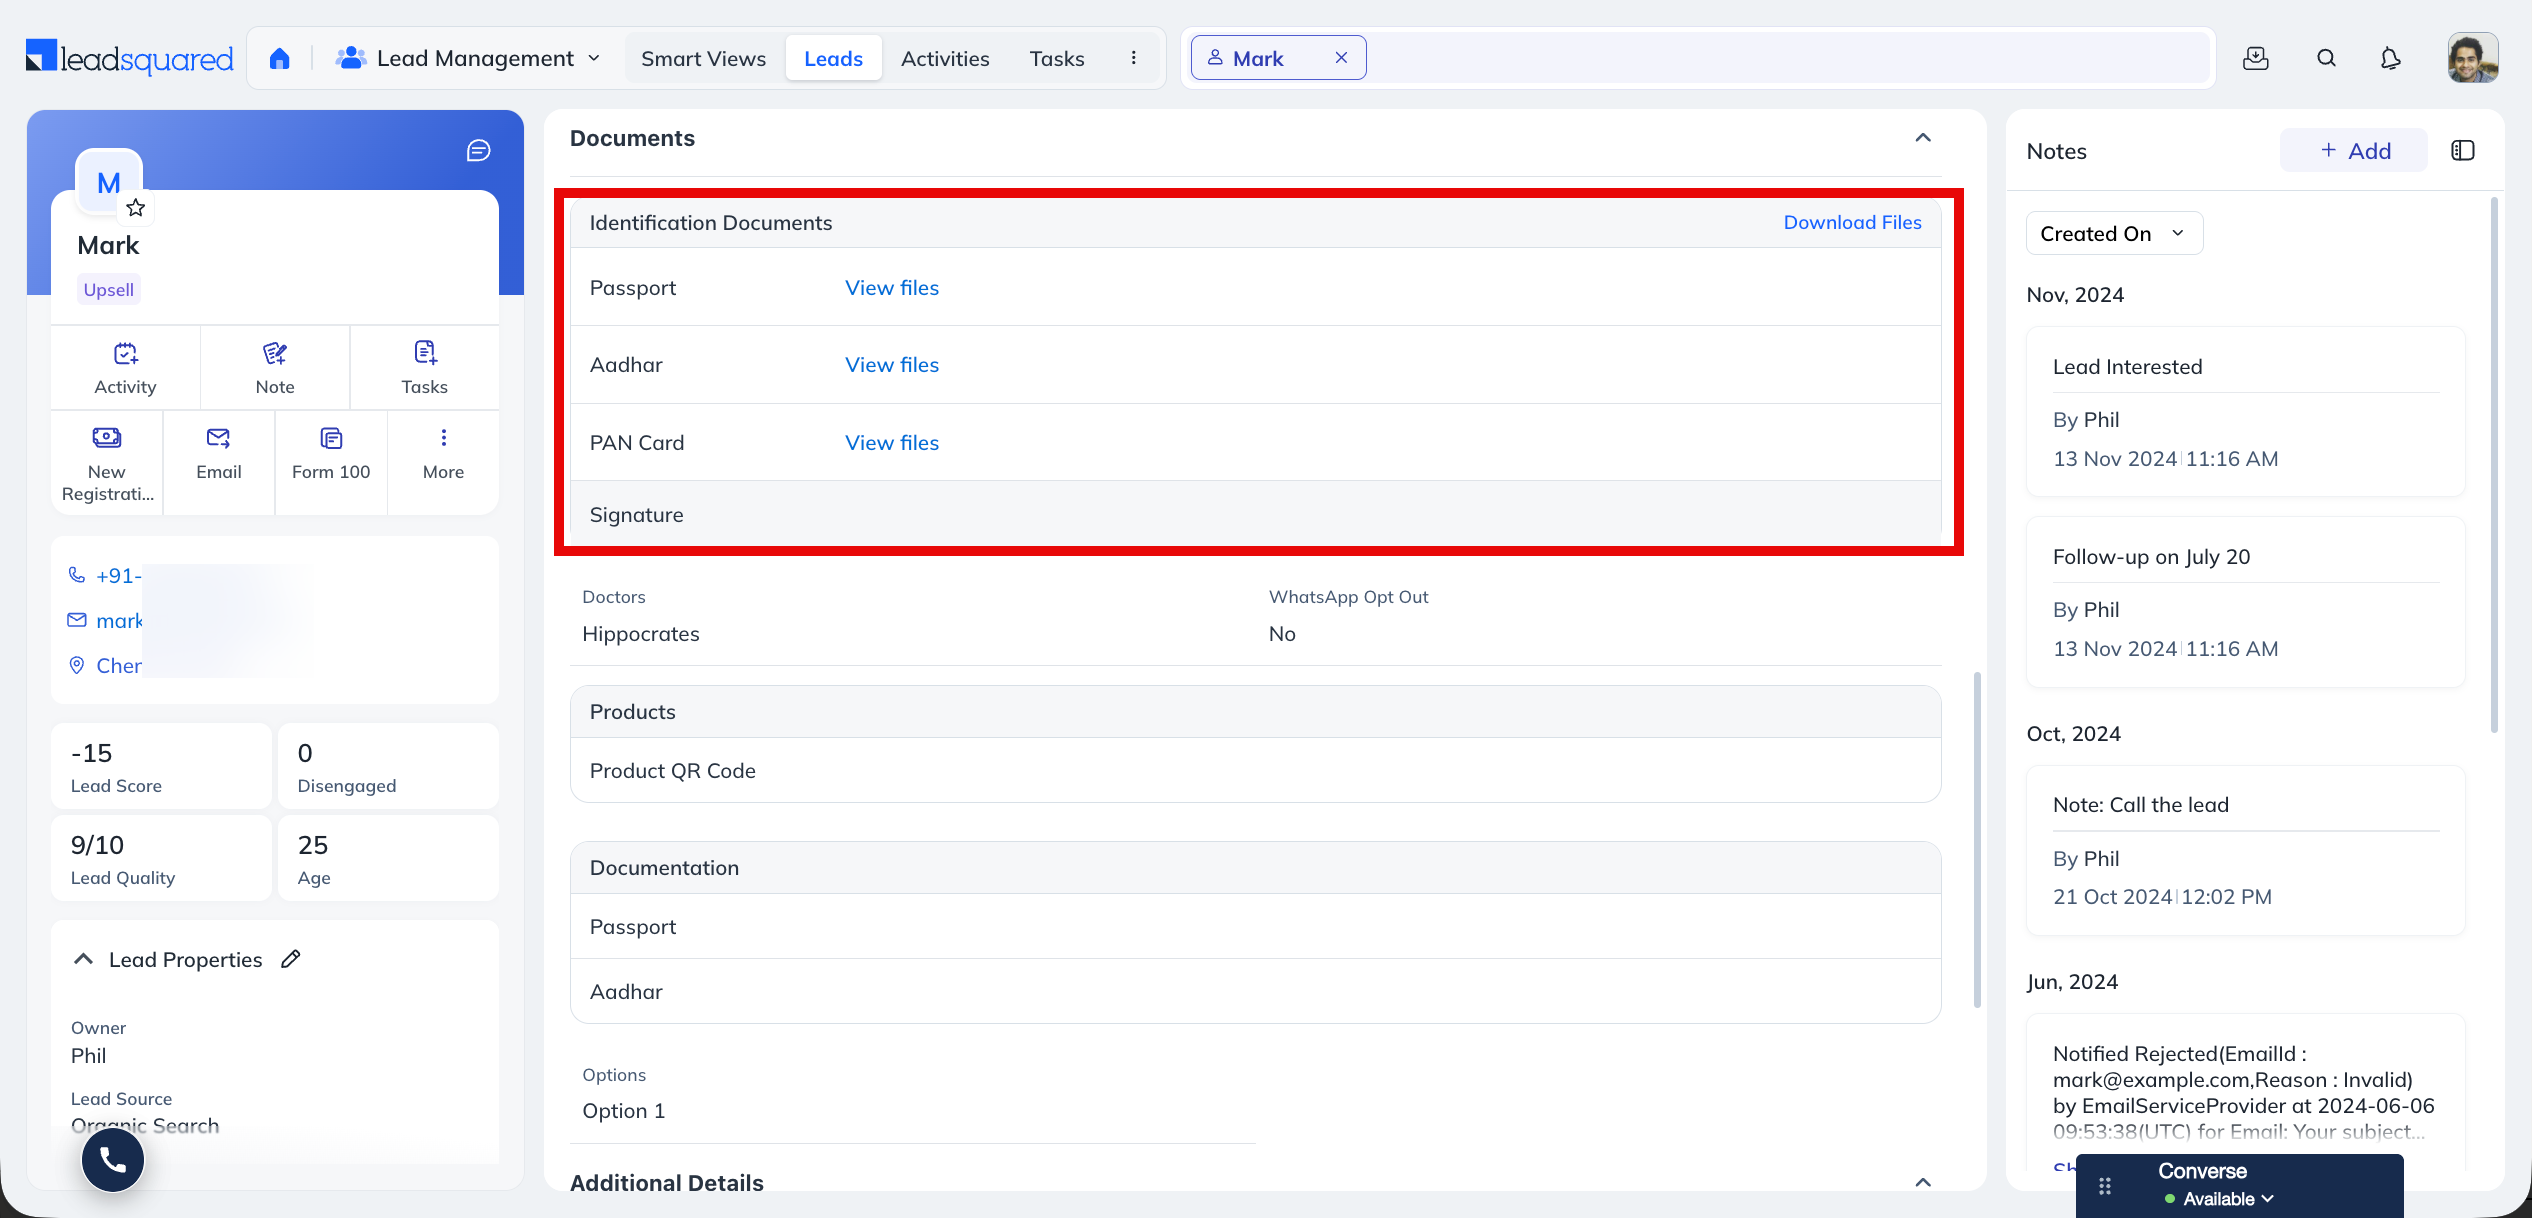
Using LeadSquared’s Custom Lead and List Actions connector, you can view all the images uploaded to a lead’s Custom Field Sets (CFS) as a slideshow. This is useful when your teams collect multiple documents from leads (e.g., KYC documents like PAN cards, passports, etc.) and want to review them quickly in one place, without opening each file individually.
Once configured, users can launch the slideshow directly from the Manage Leads page through a lead action.
2. Prerequisites
- You must be an Administrator user on your LeadSquared account.
- You must create a Custom Field Set with file-type fields, and associate it with a custom lead field. To know more, see Custom Field Sets and Adding Custom Field Sets to Leads.
- The Custom Lead and List Actions connector must be installed on your account.
- The slideshow displays image files uploaded to the lead’s CFS.
3. How It Works
Setting up the slideshow involves the following steps –
- Create a CFS with file-type fields for the documents you want to collect (e.g., “KYC Documents”).
- Associate the CFS with a new custom lead field.
- Add the CFS lead field to the Create Lead Form This displays the field on the Add New Lead and Edit Lead forms, and under the Lead Details tab on the Lead Details page.
- Upload the relevant images to the CFS fields on your leads.
- Using the Custom Lead and List Actions connector, create a lead action that calls LeadSquared’s slideshow widget URL.
Once the setup is complete, users can open the slideshow from the lead actions menu on the Manage Leads page. The slideshow displays all the images uploaded to the lead’s CFS, and users can move between images using the navigation arrows.
4. Set Up the Custom Field Set
Before you configure the connector, set up the CFS and upload images to your leads. Each step is covered in detail in the linked articles –
- Navigate to My Profile>Settings>Leads>Manage Custom Field Set, and create a CFS with file-type fields for the documents you want to collect (e.g., “KYC Documents”). To know more, refer to Custom Field Sets.
- Navigate to My Profile>Settings>Leads>Lead Fields, and create a lead field with the Data Input Type set to Custom Field Set. Then, from the Custom Field Set Type dropdown, select the CFS you created. To know more, refer to Adding Custom Field Sets to Leads.
- Navigate to My Profile>Settings>Leads>Lead Forms, and add the CFS lead field to the Create Lead Form This displays the field under the Lead Details tab on the Lead Details page, and on the Add New Lead and Edit Lead forms. To know more, refer to Lead Form Customization.
- Upload images to the CFS fields on your leads. To do this, open a lead from Lead Management>Leads, and under the Lead Details tab, click the edit icon, upload the relevant images, and click Save.
5. Configure the Custom Lead and List Actions Connector
Create a lead action that opens the image slideshow as a pop-up.
- Navigate to Apps>Apps Marketplace, search for the Custom Lead and List Actions connector, hover your cursor over the connector, and click Configure.
- Under the Lead Grid Row Action column, click +Add Actions.
- Under Action Label, enter a name for the action (e.g., “View Documents”).
- From the Action Type dropdown, select Show as Popup.
- In the Callback URL box, paste the following URL –
https://{hostname}/Widget/Slides?slideCode=1&entityId=@{Lead:ProspectID,}- Refer to the following article to find your
{hostname}: Identify Your Region from the Host URL.
- Refer to the following article to find your
- From the HTTP Method dropdown, select GET.
- Once you’re done, click Save.
{hostname} with the host of the region in which your account was created. For example, for an account created in the India (Mumbai) region, the callback URL would be – https://in21.leadsquared.com/Widget/Slides?slideCode=1&entityId=@{Lead:ProspectID,}To verify the action was created, close the Configure Custom Actions pop-up, then hover your cursor over the connector and click Configure again. The action you created is listed under the Lead Grid Row Action column.
6. View the Slideshow
- Navigate to Lead Management>Leads.
- Alongside the lead you want, under the Actions column, hover your cursor over the
 icon.
icon. - From the list of actions, select Custom Actions, and click the action you created (e.g., View Documents). The images uploaded to the lead’s CFS are displayed as a slideshow.
Any Questions?
Did you find this article helpful? Please let us know any feedback you may have in the comments section below. We’d love to hear from you and help you out!