Get Started
Sales Suite
Field Ops
Marketing
Service CRM
Integrations & Apps
FloStack
Automation Best Practices
1. Feature Overview
This article will help you understand the best practices to follow when configuring and running your Workflow Automations on LeadSquared.
2. Prerequisites
- You must be the Administrator of your LeadSquared account to create and configure an Automation.
- Automation is a paid feature. To enable it, reach out to your account manager, or write to support@leadsquared.com.
3. Best Practices to Avoid Automation Failure
Most automation failures are due to configuration errors that might have occurred when setting up the automation. Here are a few points to keep in mind during the configuration process –
1. Send Email Action
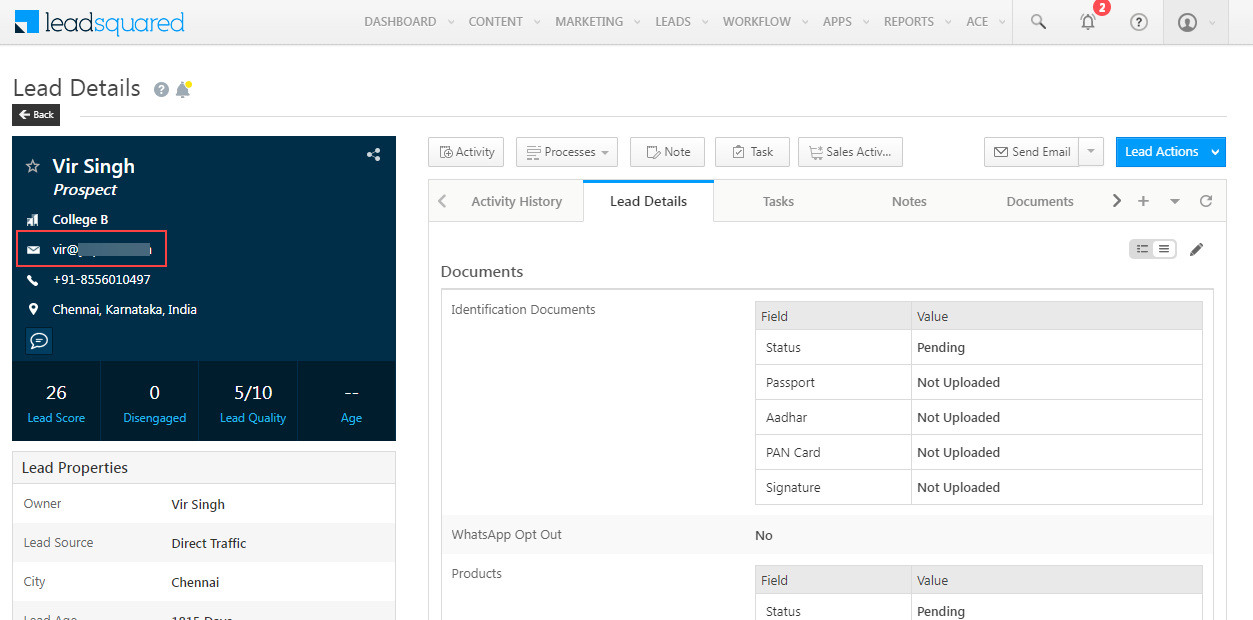
When using a Send Email action, make sure the email address of the lead field has a valid email address. Navigate to Manage Leads>Lead Details to edit or verify the lead’s email address.
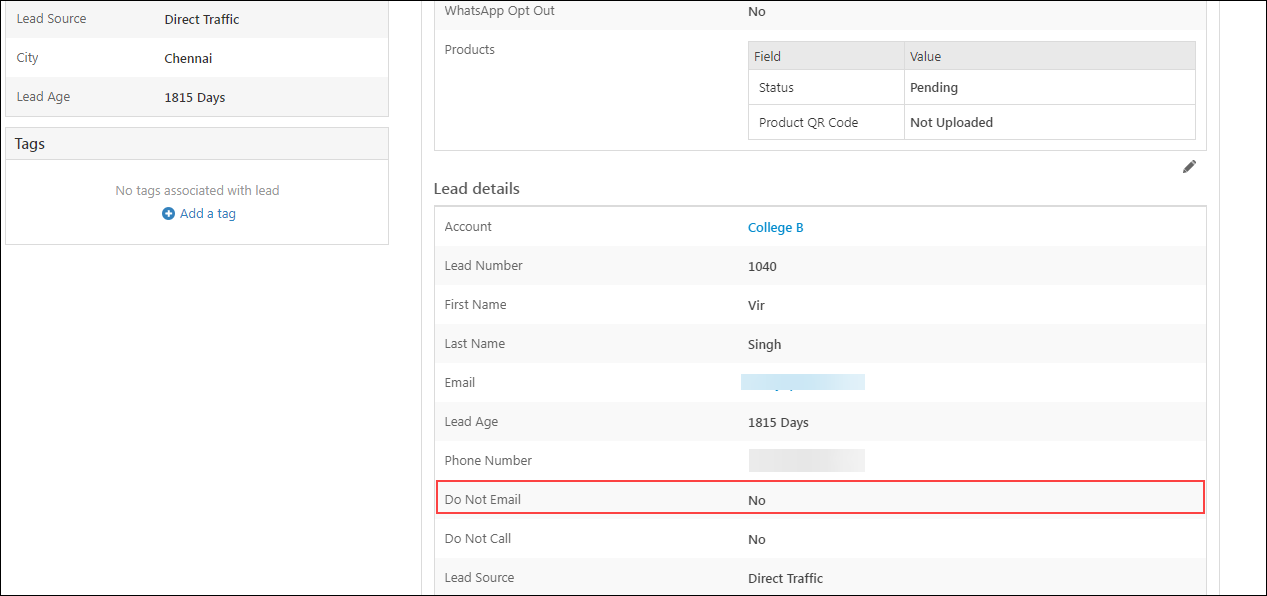
Also, make sure the Do Not Email flag is disabled (“No“) for the lead. To find this option, navigate to Manage Leads>Lead Details Page>Lead Details Tab.
2. Mail Merging an Empty Field to a Mandatory Field
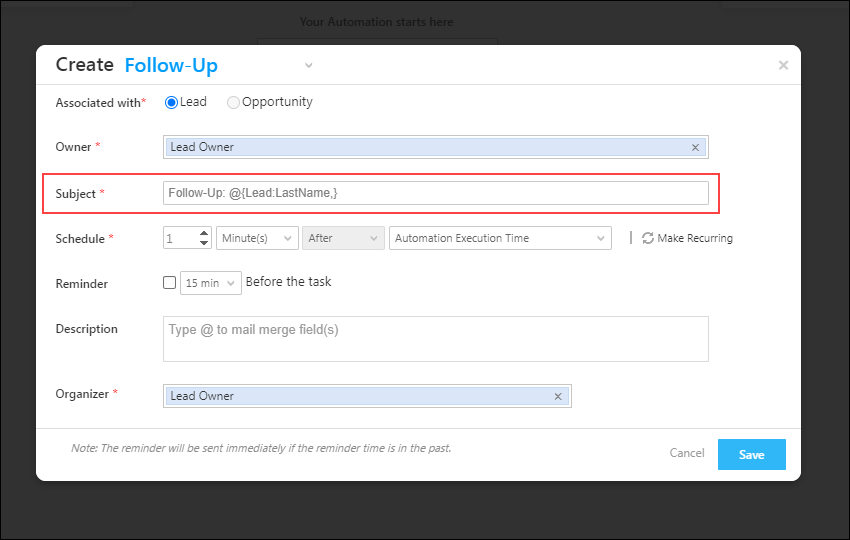
When mail merging a field to a mandatory field, make sure it is not an empty field. For example, if you mail merge the Last Name lead field, the Last Name lead field must contain a value (e.g., Smith, etc.). Fields marked with “*“ are mandatory.
3. Mail Merging an Empty Date Field in Schedule Field for Create Task Action
On the Create Task Action, when you are mail merging a date field in the Schedule field, the date field must contain a value. For example, if you mail merge Application Submitted On as the date field, this field will need to have a value on the Lead Details page.

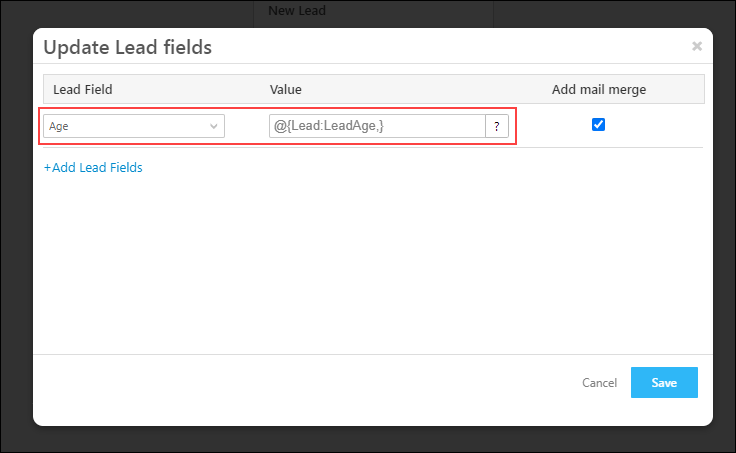
4. Mail Merging a Field with Invalid Data Type
When mail merging a field in automation, make sure it is a valid data type. For example, when you are mail merging the Age lead field, make sure the Data Input Type is a Number (and not Text, Boolean, etc.).
5. Deleting a Field Configured in a Published Automation’s Advanced Search Condition
If you have configured a field through the advanced search condition and published the automation, make sure to edit the field in the automation when deleting the particular field.
For example, if you have configured ID Proof as a Custom Activity Field through the advanced search condition, and if you are going to delete the Custom Activity Field in the future, make sure to edit this field in the published (live) automation.
2. Common Reasons for Call Lapp and Webhook Failure
Here are some reasons why your Call Lapp or Webhook might be failing –
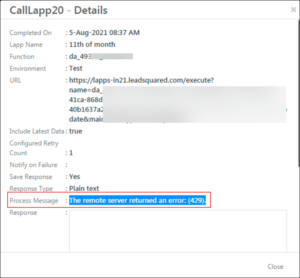
1. API Rate Limit Exceeded
The API Rate Limit is a configurable limit and varies for different accounts. Ensure you’re not exceeding the rate limits configured on your account.
For example, if your API Rate Limit is five per second, but you have exceeded this number, then you will receive a 429 error. You can view your API Limits by navigating to Settings>Profile>Billing and Usage.
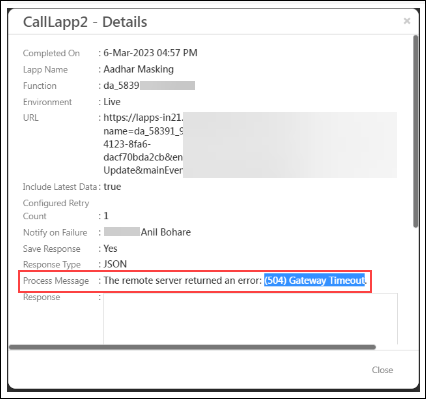
2. Gateway Timeout
When the automation calls a Lapp or a Webhook, it’ll wait for a response for 30 seconds. If there is no response from the Lapp or Webhook within this time frame, it will throw a 504 Gateway Timeout error.
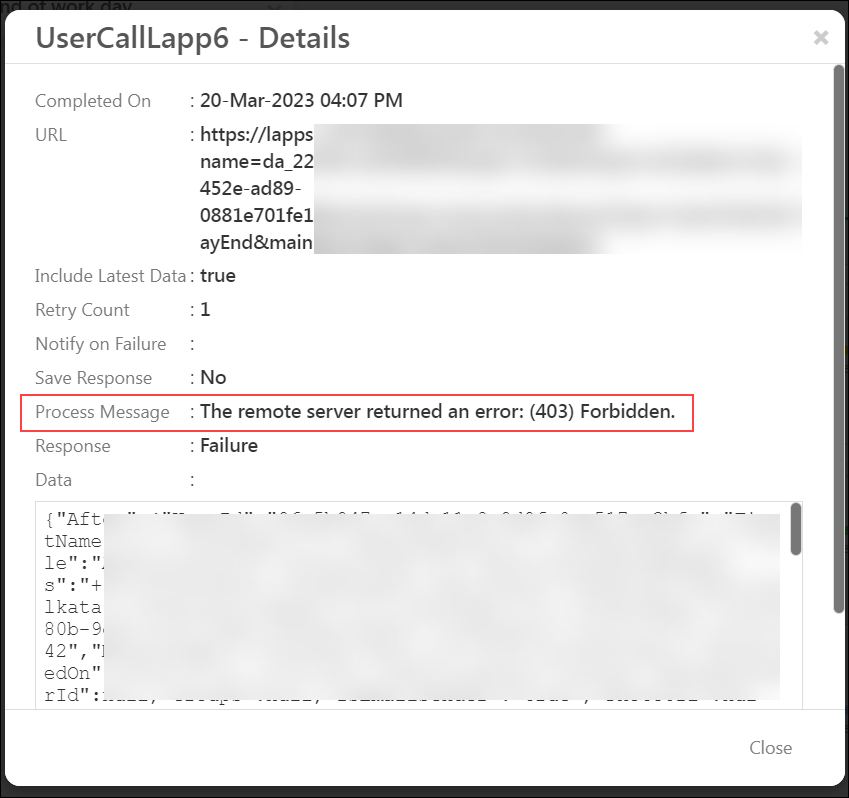
3. Incorrect API URL
If the API URL you’ve configured is not valid, the automation will throw a 403 error. For example, the API could have been valid at the time the automation was published, but if there are any changes made to the API after the automation was published, then your endpoint might not be valid anymore.
3. Best Practices for Increasing Automation Efficiency
There are certain pointers to keep in mind if you want to increase the efficiency (execution count) of your automation workflow –
1. Add Additional Conditions in Advanced Search on Each Trigger
Instead of adding an If/Else condition on a trigger, you can add the condition in the trigger itself.
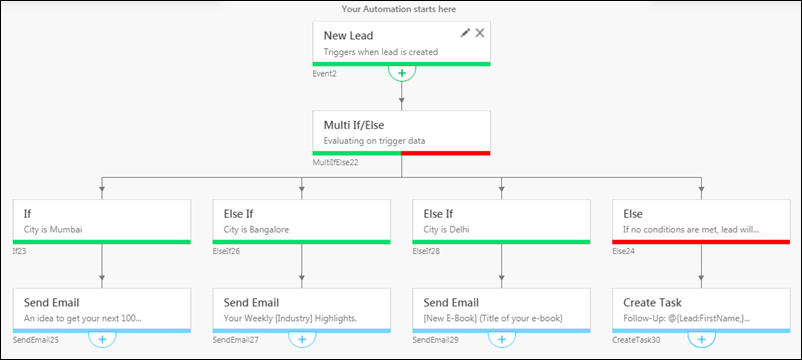
For example, you might want the automation to trigger on lead creation, and run for leads whose City is Mumbai. Instead of adding an If/Else card on the trigger for the City, you can include the City on the trigger itself.
2. Use “Multi If/Else” Over Multiple “If/Else” Conditions
If you have to configure multiple conditions, it’s more efficient to use a Multi If/Else, instead of adding different If/Else conditions.
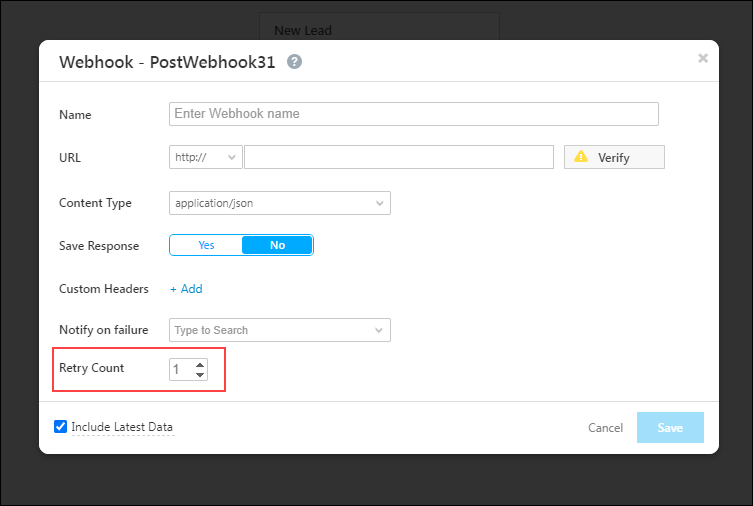
3. Reduce the Retry Numbers on Call Lapp and Webhook
When you configure a Call Lapp or a Webhook, you can also specify the number of retries the automation can attempt if it fails while being called. The maximum number of retries you can configure is 3 and the minimum can be left at 0. The automation will wait five minutes before each retry.
To increase the efficiency of the automation, it’s best to set the Retry Count to either 0 or 1.
4. Select Criteria to Exit Automation
Use the exit criteria advanced search to stop automation execution in hard-stop cases. For example, If Lead Stage is Not Interested or Invalid, you do not need the automation to run for that lead anymore.
Any Questions?
Did you find this article helpful? Please let us know any feedback you may have in the comments section below. We’d love to hear from you and help you out!