


Get Started
Sales Suite
Field Ops
Marketing
Service CRM
Integrations & Apps
FloStack
Document Designer
1. Feature Overview
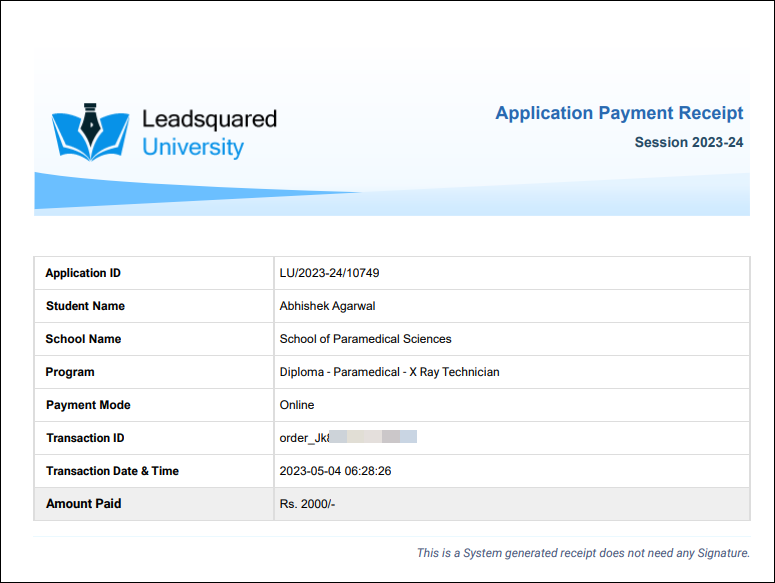
LeadSquared’s Document Designer is a DIY feature that lets you create document templates (such as Application Forms, Fee Receipts, etc.). When a lead fills out a form on your Portal, their data is automatically populated into the document template. This template can then be previewed and downloaded by your leads from the portal.
Through this feature, you can create documents from scratch, or build documents using pre-existing templates available by default in your account. This gives you complete control over the look and feel of the documents hosted on your website, and helps streamline the entire document generation process. What’s more, you can make real-time updates and changes to live document templates on your own, without having to depend on the LeadSquared support team. This will help increase efficiency, and reduce turn-around time (TAT).
2. Prerequisites
- This is a paid feature. To enable it, contact your account manager, or write to support@leadsquared.com.
- You must be an Admin user to install this feature and create document templates.
3. How it Works
Choose to integrate either Activities, Opportunities or Leads with the Documents you generate. The fields of the selected entity type will be available for mail merging in the generated document.
If you choose to Mail Merge Activity fields –
Before you install the Document Designer app, Create a Custom Activity that’ll be posted when a lead performs an action on your website/Portal (e.g., Application Submission, etc.). To generate payment receipts, you can choose to integrate a system-generated Payment Activity.
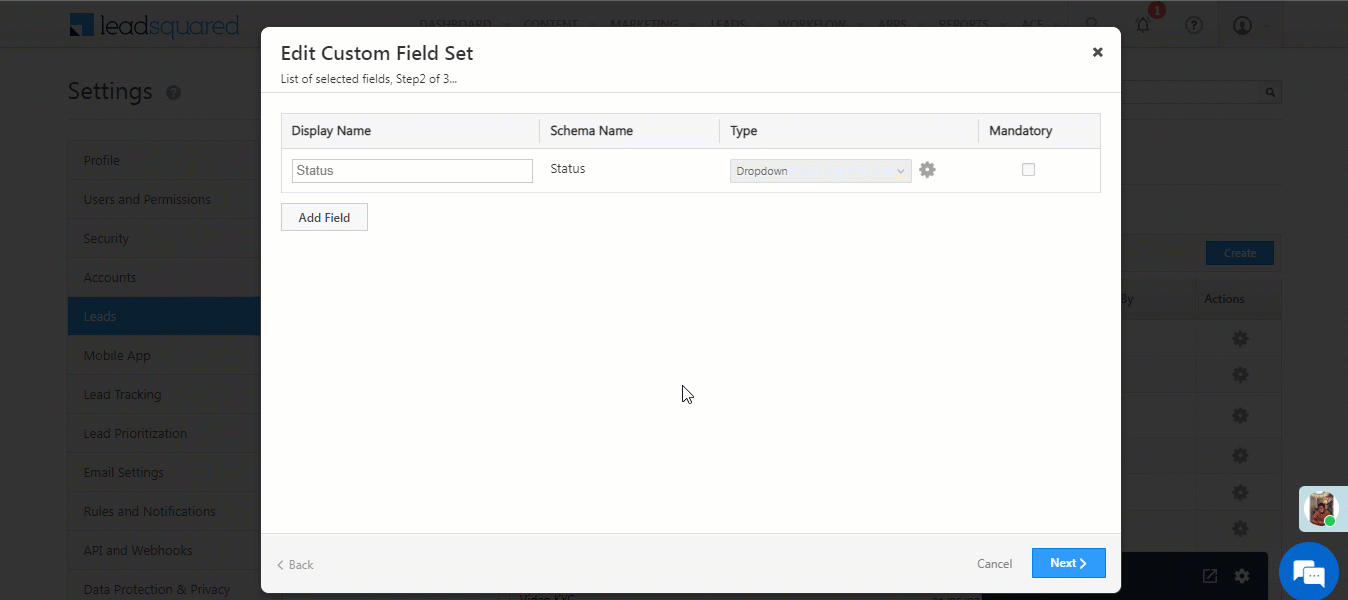
When creating the custom activity, it’s recommended you include the below two fields in the activity. Alternatively, you can also choose to create these as lead fields in your account –
- A String type field to store the document generation status.
- A Custom Field Set (CFS) field with the Type set to File and the File Type set to PDF to store the URL of the generated document.
- Once the custom activity is created, install the connector, and select Activity as the entity type. When configuring the form design, you can choose to create a template from scratch or edit a pre-existing template.
- After preparing the document design, Publish it. During the publishing process, choose the CFS PDF file type custom activity field you created to store the document URL. Additionally, select the String type activity field you created to store and display the document generation status.
- After publishing the document, a webhook URL is generated. Use this URL to configure an Automation using the custom activity you created as the trigger. Add a webhook card to this automation, and pass the webhook URL. This ensures that whenever the custom activity is posted, the webhook is triggered, leading to the generation of the document.
- Add the CFS field (from the custom activity) to the portal/website (either directly to the portal code or by adding a block using the Portal Designer), where your leads can preview and download the document.
If you choose to Mail Merge Opportunity fields –
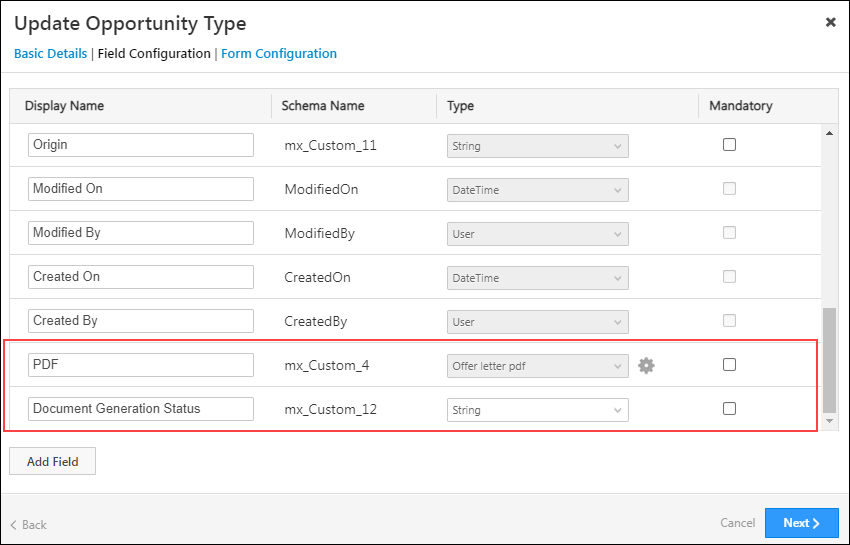
Before you install the Document Designer app, it’s recommended you have an Opportunity type that contains the following fields. Alternatively, you can also choose to create these as lead fields in your account –
- A String type field to store the document generation status.
- A Custom Field Set (CFS) field with the Type set to File and the File Type set to PDF to store the URL of the generated document.
- Once the opportunity is created/updated with the fields mentioned above, install the connector, and select Opportunity as the entity type. When configuring the form design, you can choose to create a template from scratch or edit a pre-existing template.
- After preparing the document design, Publish it. During the publishing process, choose the CFS PDF file type opportunity field you created to store the document URL. Additionally, select the String type opportunity field you created to store and display the document generation status.
- After publishing the document, a webhook URL is generated. Use this URL to configure an Automation using any trigger on the opportunity you created/updated. Add a webhook card to this automation, and pass the webhook URL. This ensures that whenever the automation is triggered, the webhook is triggered, leading to the generation of the document.
- Add the CFS field (from the opportunity) to the portal/website (either directly to the portal code or by adding a block using the Portal Designer), where your leads can preview and download the document.
4. Install the Connector
Before you create document templates, you must install the Document Designer connector in your account –
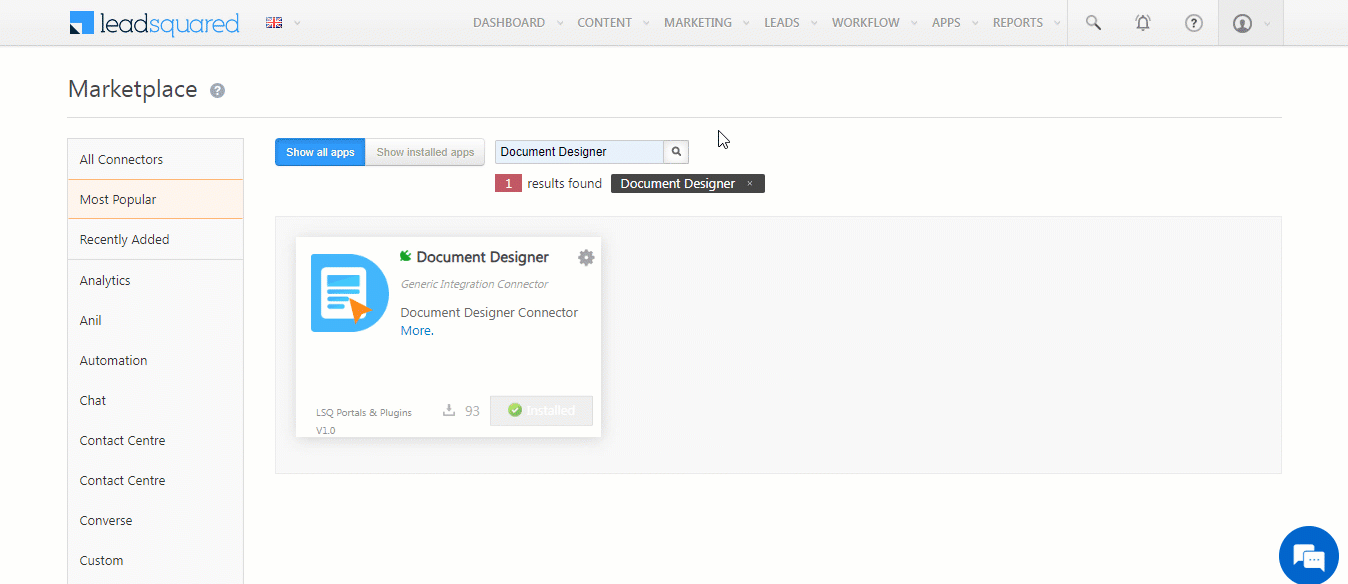
- Navigate to Apps>Apps Marketplace.
- Search for Document Designer, and click Install.
- Alternatively, you can find the connector on the left panel, under Generic Integration.
- Once installed, hover your cursor over
 , and click Configure. On the Configure Document Designer pop-up, click Open Document Designer.
5. Create Document Templates
Once the connector is installed, to design the document generation process –
- Navigate to Apps>Document Designer.
- On the Document Designer page, click the New Template button.
- On the Create Document Template pop-up, enter the following details –
- Template Name – An internal display name for the template.
- Select Entity – Select the LeadSquared entity whose fields you want to use for mail-merging with the document. You can choose between Activity and Opportunity.
- Activity – Select the custom activity you created to store the generated document and its status.
- Opportunity – Select the opportunity you created/updated, where you’ll store the generated document and its status.
- Once you’re done, click Continue.
- You can either choose to build a document from scratch, or you can edit and modify a pre-existing template. We’ll be editing a pre-existing template and selecting the Application Form template.
- Then, Select Page Size. You can choose between the A4 format or US Letter Size format.
Note:
- If you choose to integrate leads with the template, select either Activity or Opportunity from the Select Entity dropdown. However, ensure you integrate lead fields only with the template in the subsequent steps listed below.
- The components required to create a template from scratch are similar to the components present when editing a template. You can refer to the steps listed below if you’re looking to create a template from scratch.
6. Add Components
Configure the components you want to add to your document.
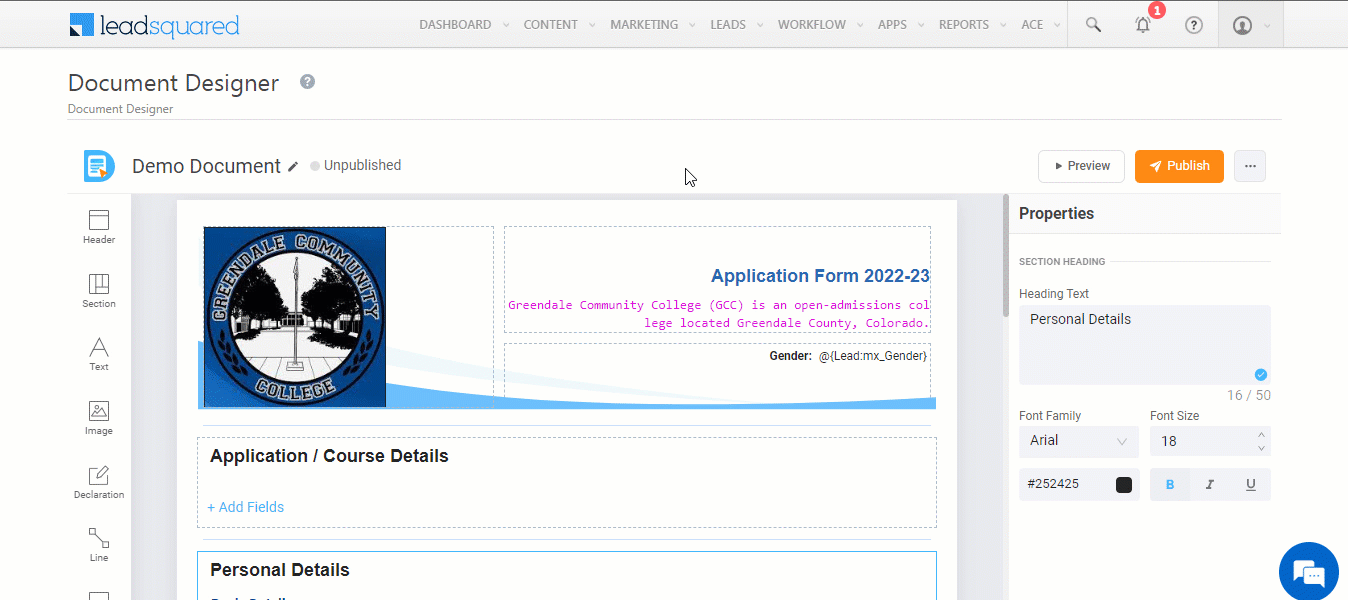
6.1 Header
The header is the top-bar section in the document. Edit and configure the header to reflect your organization’s details.
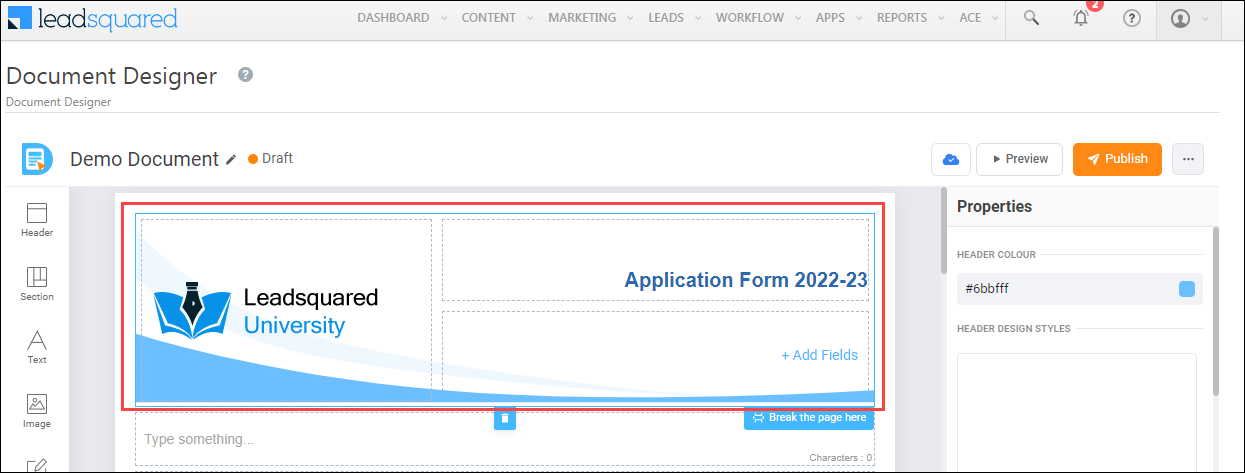
Header Design
From the options listed under Header Design Styles, select the background design style and the background colour of the Header. From the colour picker, select the background colour. Alternatively, you can enter the hex code of the colour of your choice.
Logo
The logo that’s displayed in the document header. To change the header logo, click ![]() , and enter the Image URL of the new logo.
, and enter the Image URL of the new logo.
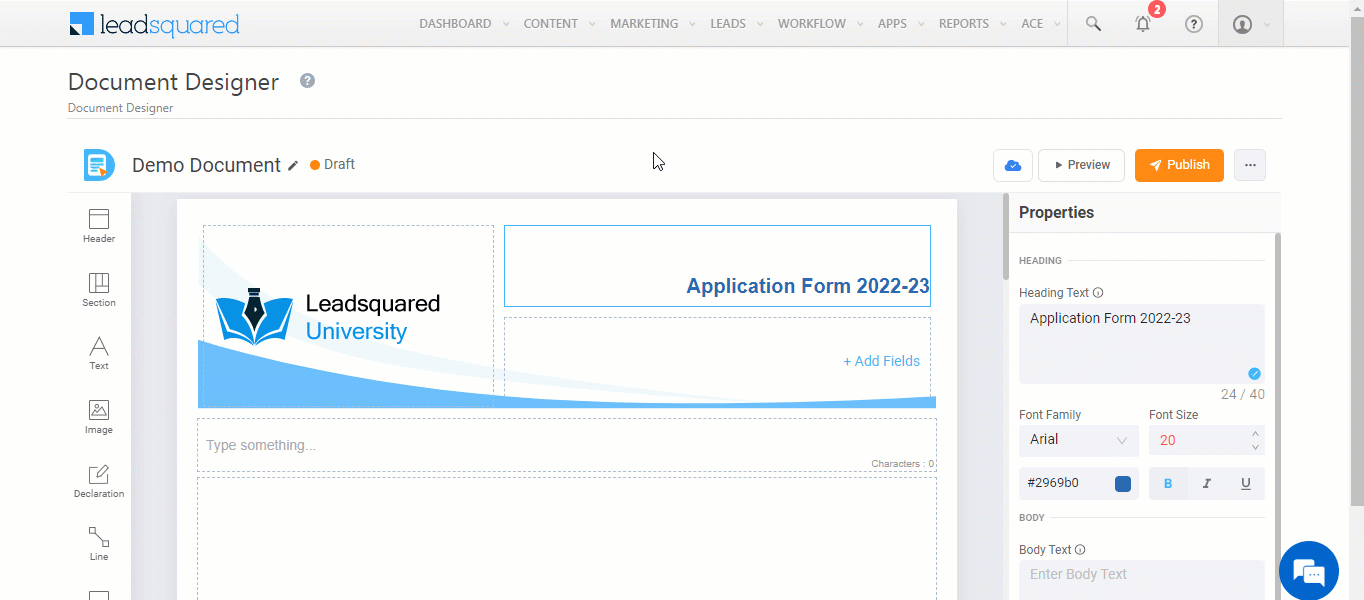
Header Text
Configure the Heading and Body display text present on the form header.
- Heading Text – The header display text. Only alpha-numeric characters are supported. You can add up to 40 characters in the Header (including spaces), and 100 characters in the Body (including spaces).
- Font Family – From the dropdown, select the header text font.
- Font Size – Configure the header text font size.
- Colour – From the colour picker, select the font colour. Alternatively, you can enter the hex code of the colour of your choice.
- Style – You can also change the text style to Bold, Italics and Underline.
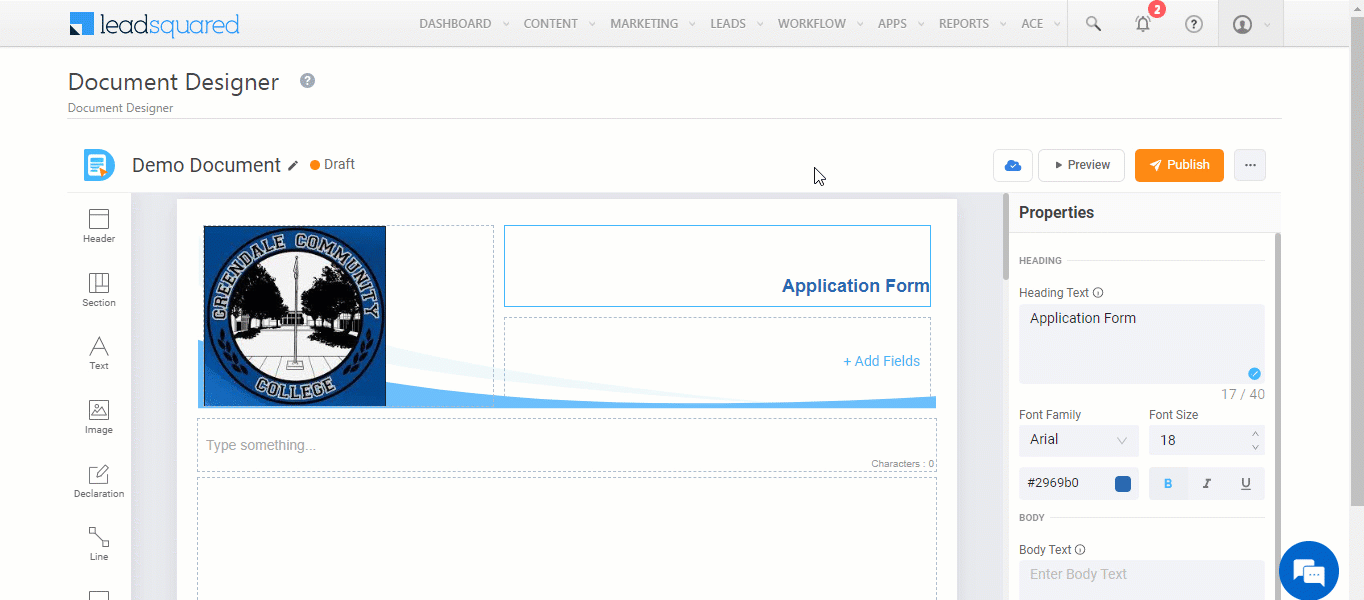
Add Fields
You can display data present in lead/activity fields directly on the document. For e.g., you can select the Gender lead field to dynamically display the lead’s gender. You can select custom and system lead fields, but only custom activity fields.

Special Fields
Here, you can choose to display the date on which the document was generated.
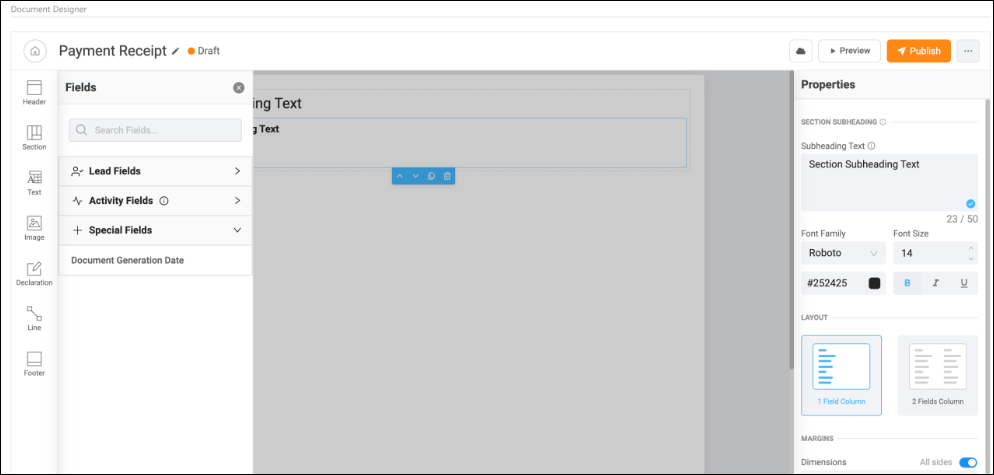
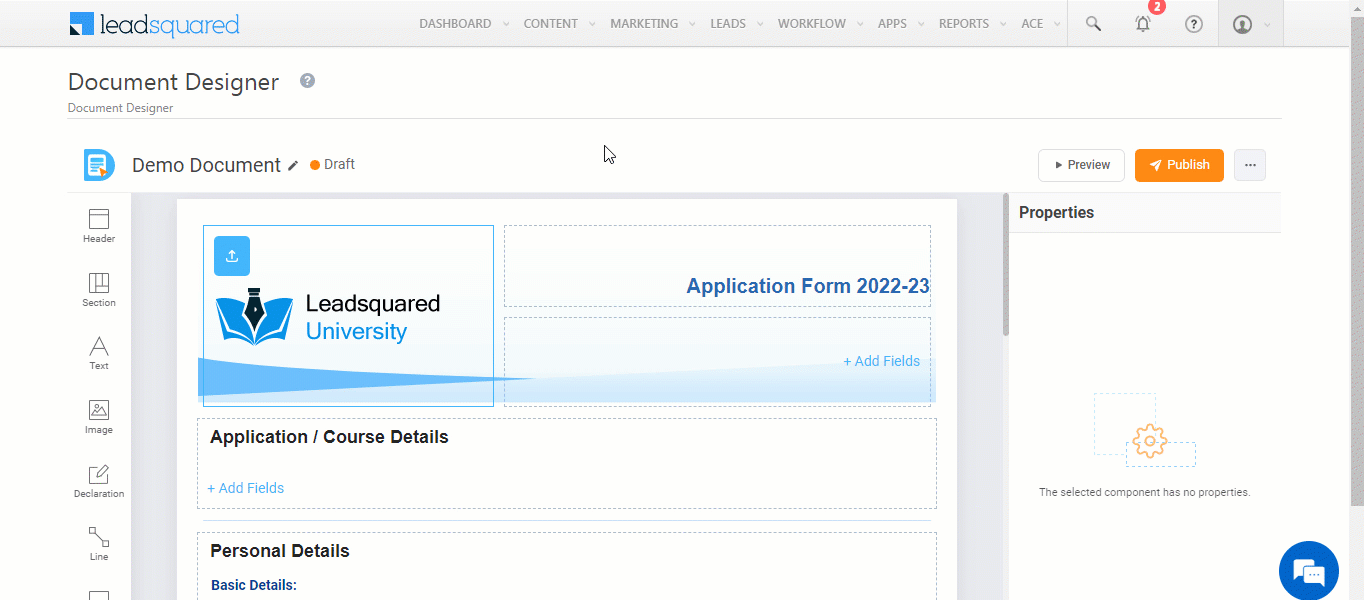
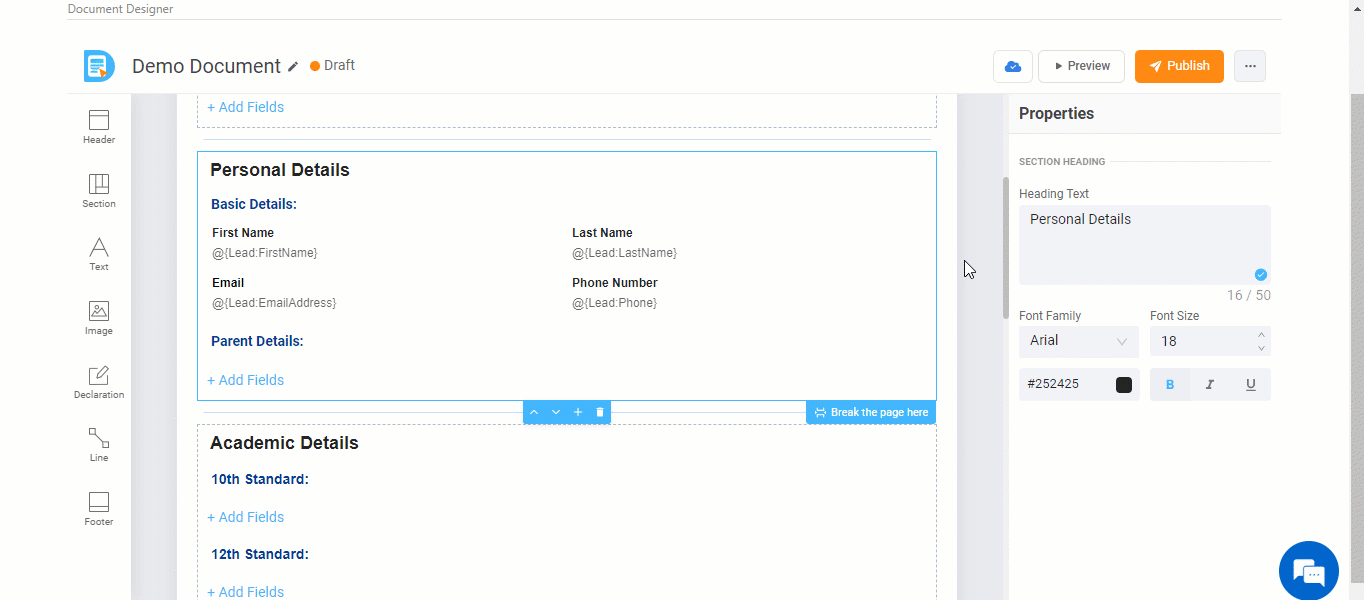
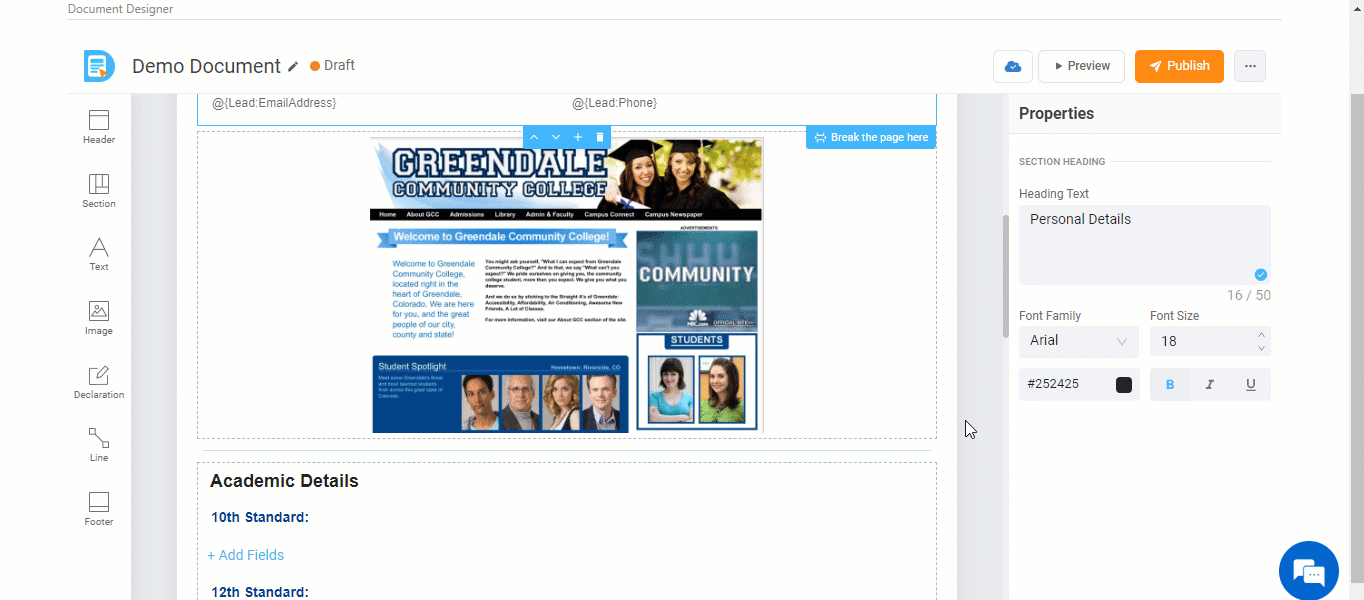
6.2 Section
A section is used to display text content, along with lead/activity field details. Each section contains a Heading and Subheading text box, and under each subheading, you can add lead/activity fields. You can add and configure multiple sections. You can also mail merge lead/activity fields to dynamically display data stored in these fields.
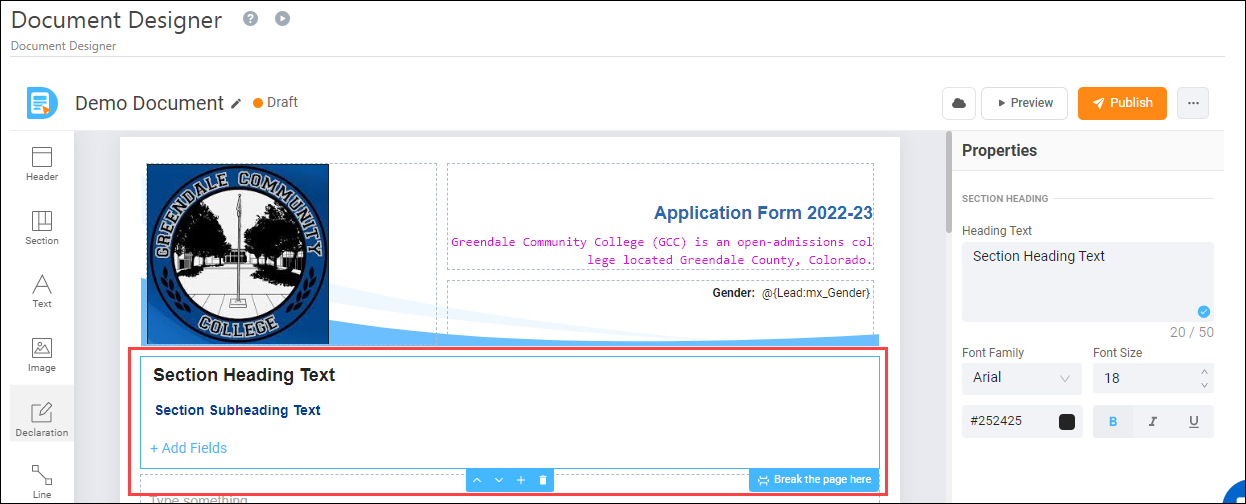
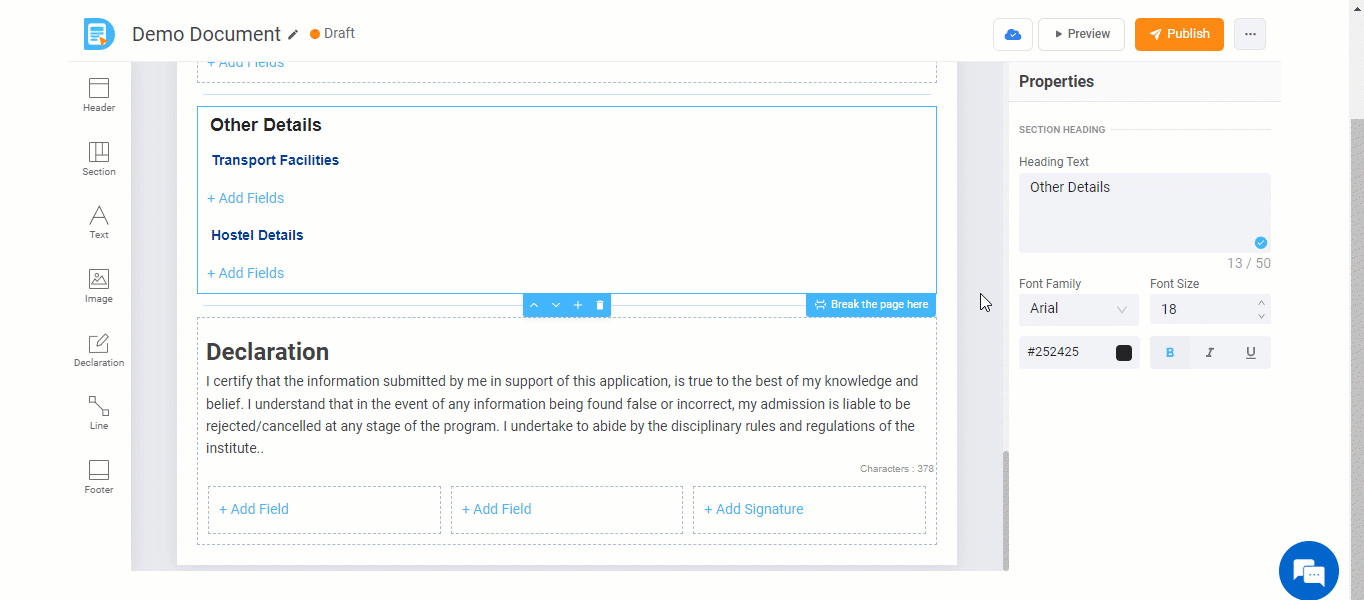
Section Heading
Enter and configure the header text for a section.
- Heading Text – The header display text. Only alpha-numeric characters are supported. You can add up to 40 characters in the Header (including spaces).
- Font Family – From the dropdown, select the header text font.
- Font Size – Configure the header text font size.
- Colour – From the colour picker, select the font colour. Alternatively, you can enter the hex code of the colour of your choice.
Section Subheading Text
Select the lead/activity fields you want to display as a part of the section (e.g., First Name, Phone Number, etc.). The subheading text is similar to the header text, where you can change the subheading of a section.

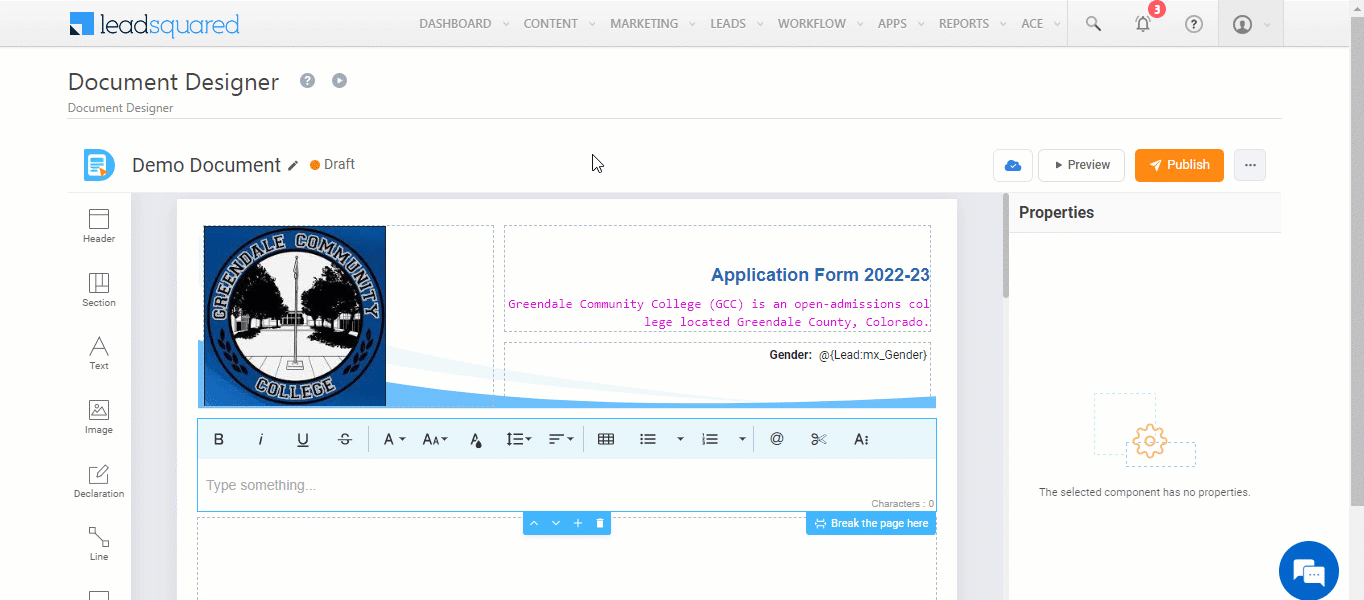
6.3 Text
The Text component allows you to display simple text data on the document. The rich text editor allows you to modify the text as per your preference. You can also add a Table to the document through the Text component.
6.4 Image
This component allows you to display an image in the document. You can mail merge an image type field that’s a part of the lead or custom activity or add the Image URL that’s uploaded to the Images and Documents library.
Once you’ve added the image, you can align it as per your preference.
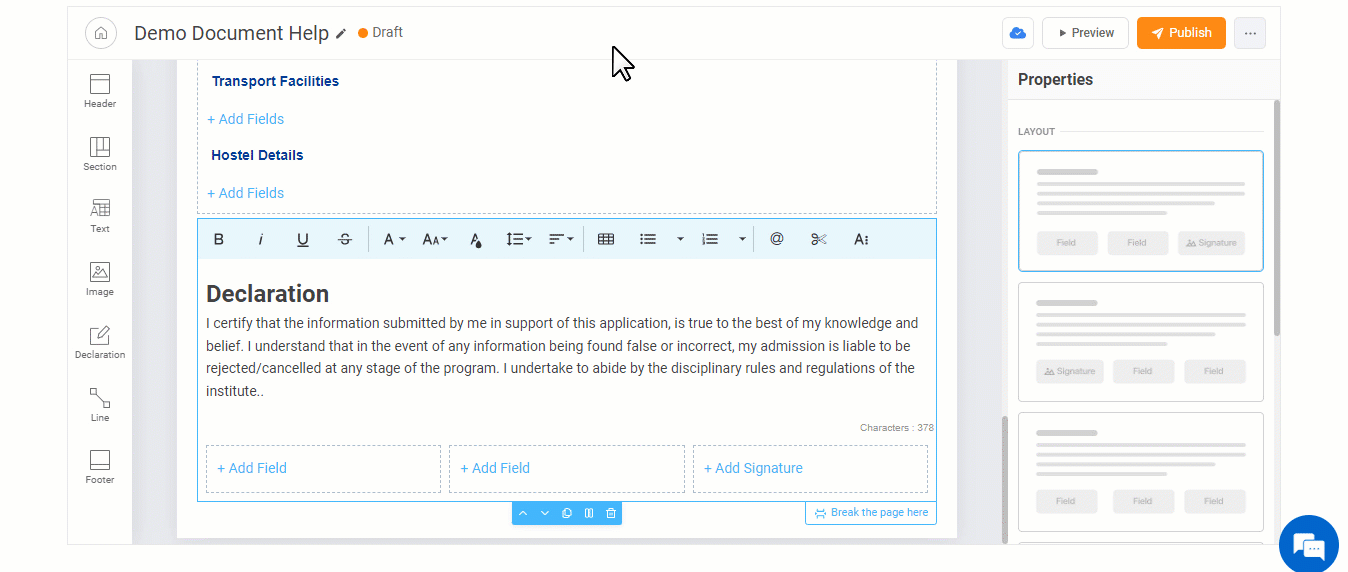
6.5 Declaration
This component displays your lead’s declaration. We’ve provided a templatized version of a declaration. You can make modifications to the declaration, add lead/activity fields, and change the declaration layout.
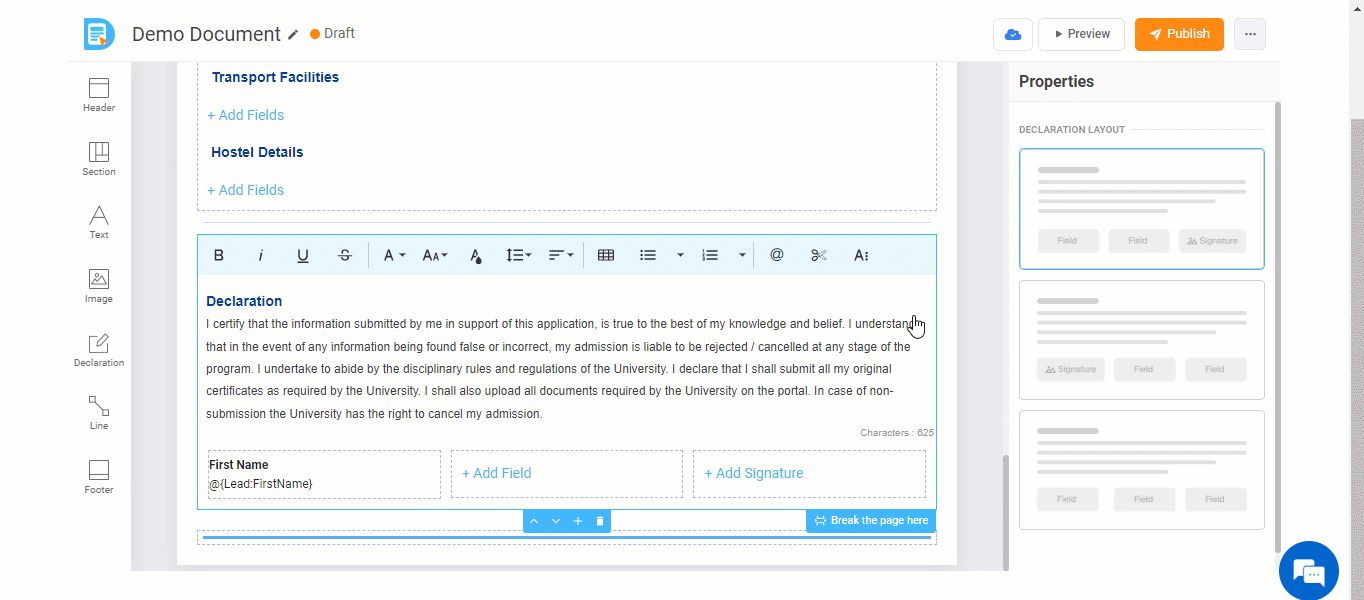
Custom Layout
In addition to the templates provided, you can create a Custom Layout for the Declaration by adding Lead and Activity/Opportunity Fields, along with Signature fields. Arrange these fields either side-by-side or one below the other. You can include up to three fields in one row and resize them as needed.
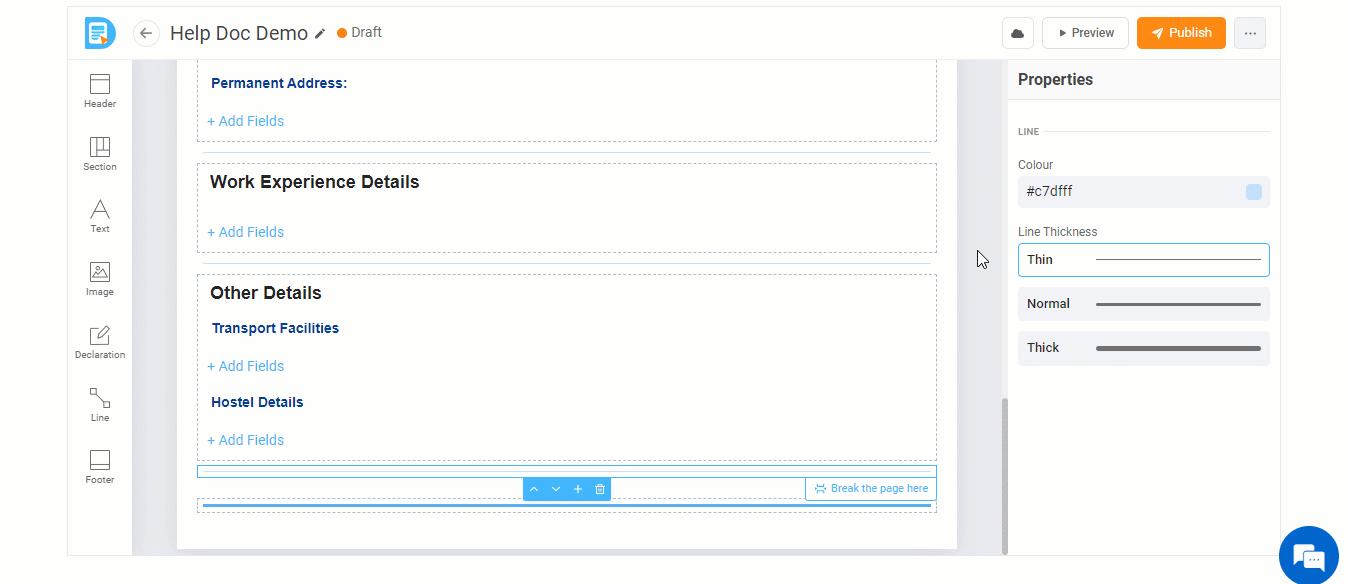
6.6 Line
Lets you add a line break line between different components. You can change the line colour, by picking a colour from the colour picker. Alternatively, you can enter the hex code of the colour of your choice. You can also change the line thickness.
6.7 Footer
Here you can add plain text content (e.g., college address, contact details, etc.) to the document’s footer. The footer also comes with a default line, which you can edit and modify. You can also add page numbers and logos to the footer.
Footer Text
Enter and configure the footer text.
- Footer Text – The footer display text. Only alpha-numeric characters are supported. You can add up to 50 characters in the footer.
- Font Family – From the dropdown, select the footer text font.
- Font Size – Configure the header text font size.
- Colour – From the colour picker, select the font colour. Alternatively, you can enter the hex code of the colour of your choice.
- Style – You can also change the text style to Bold, Italics and Underline.
Line
Configure the line present above the footer text. You can change the line colour, by picking a colour from the colour picker. Alternatively, you can enter the hex code of the colour of your choice. You can also change the line thickness.
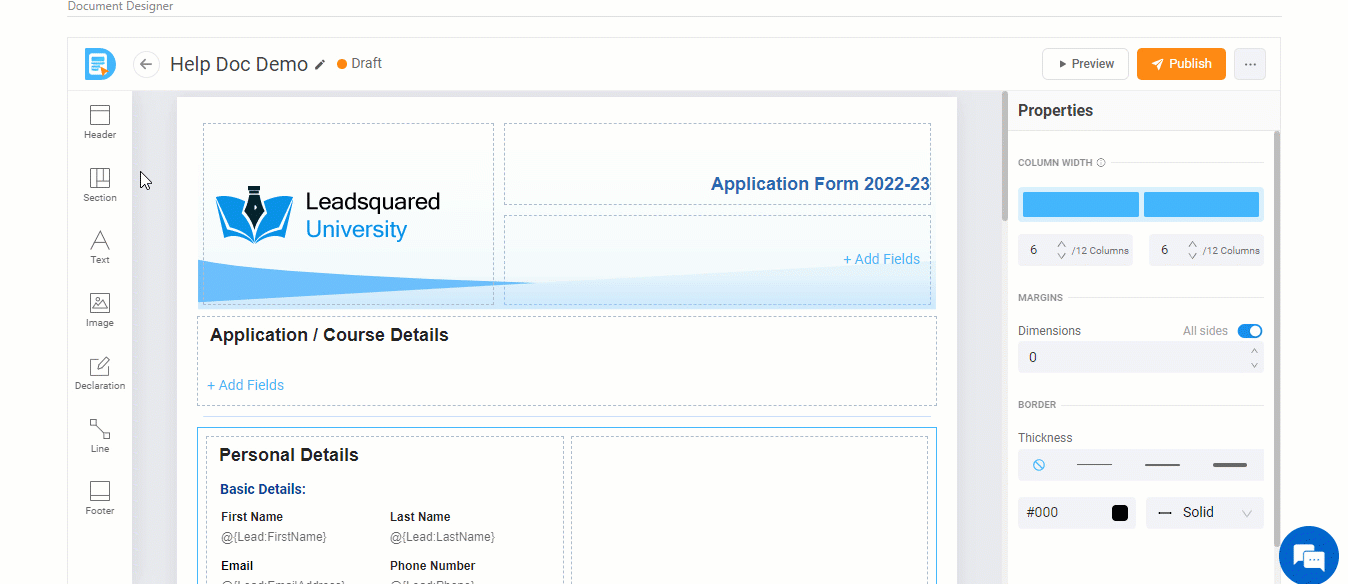
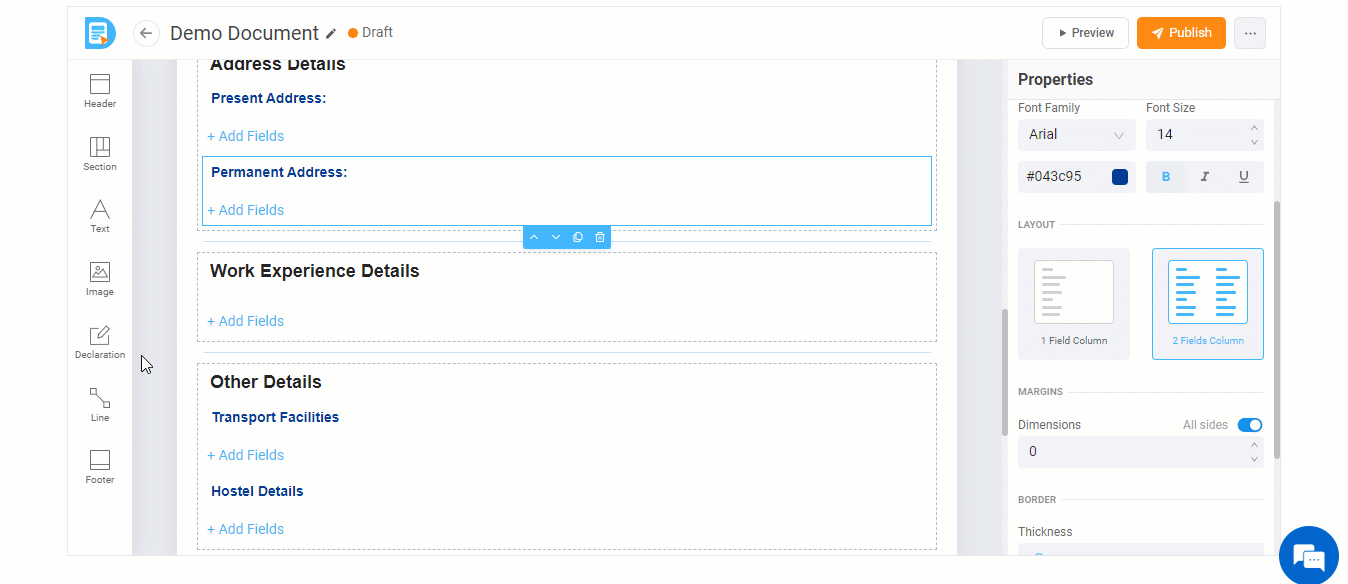
6.8 Margins & Border
You can add margins and borders to the following components –
- Section
- Text
- Image
- Declaration
- Margin – Configure the margin width and dimensions for the selected component. If you want the margin to be applicable on all sides of the layout, against All Sides, toggle the
 slider.
 - Border – Set the thickness, style (Solid or Dashed), and colour for the border around the selected component. Choose a colour from the colour-picker or enter a hex code of your choice.
6.9 Other Actions
You can perform the following actions on a component –
- Move the component up/down.
- Add a similar component.
- Delete the component.
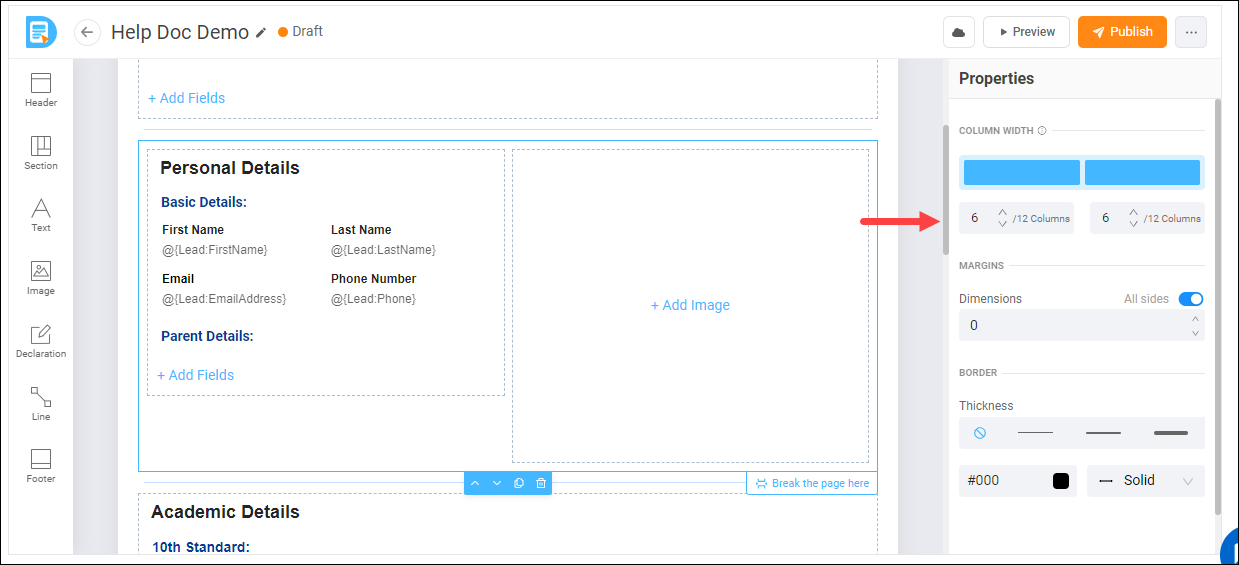
- Add an additional component* on the right. You can add the following components side-by-side –
- Section
- Text
- Image
- Declaration
- The document designer auto-saves your progress every 20 seconds.
- You can also break the page using the Break the Page action.

You can also resize the component when you’ve added two components side-by-side.
6.10 Preview Document
You can preview the document anytime during the document creation process. Click Preview, and select a lead whose details are visible on the document.
7. Publish the Template
Once the document is ready, publish it to your account.
Note: Before you publish the document, ensure the following activity fields are added to the Custom Activity on which you’re setting up the document –
- A String type field.
- A Custom Field Set (CFS) field, with the Type set to File, and the File Type set to PDF.
- On the top-right corner, click Publish.
- On the Publish Template pop-up, select the following –
- Store the document – From the dropdown, select the CFS PDF type field you’ve integrated with the custom activity. Once generated, the document is stored in this CFS field, from where the lead can view and download the document.
- Document generation status – From the dropdown, select the String type activity field that’s part of the custom activity. The document generation status is stored in this field.
- Once you’re done, click Publish.
Once the document is published, a webhook URL and token value are generated. Use these URLs to set up the automation in the next step.
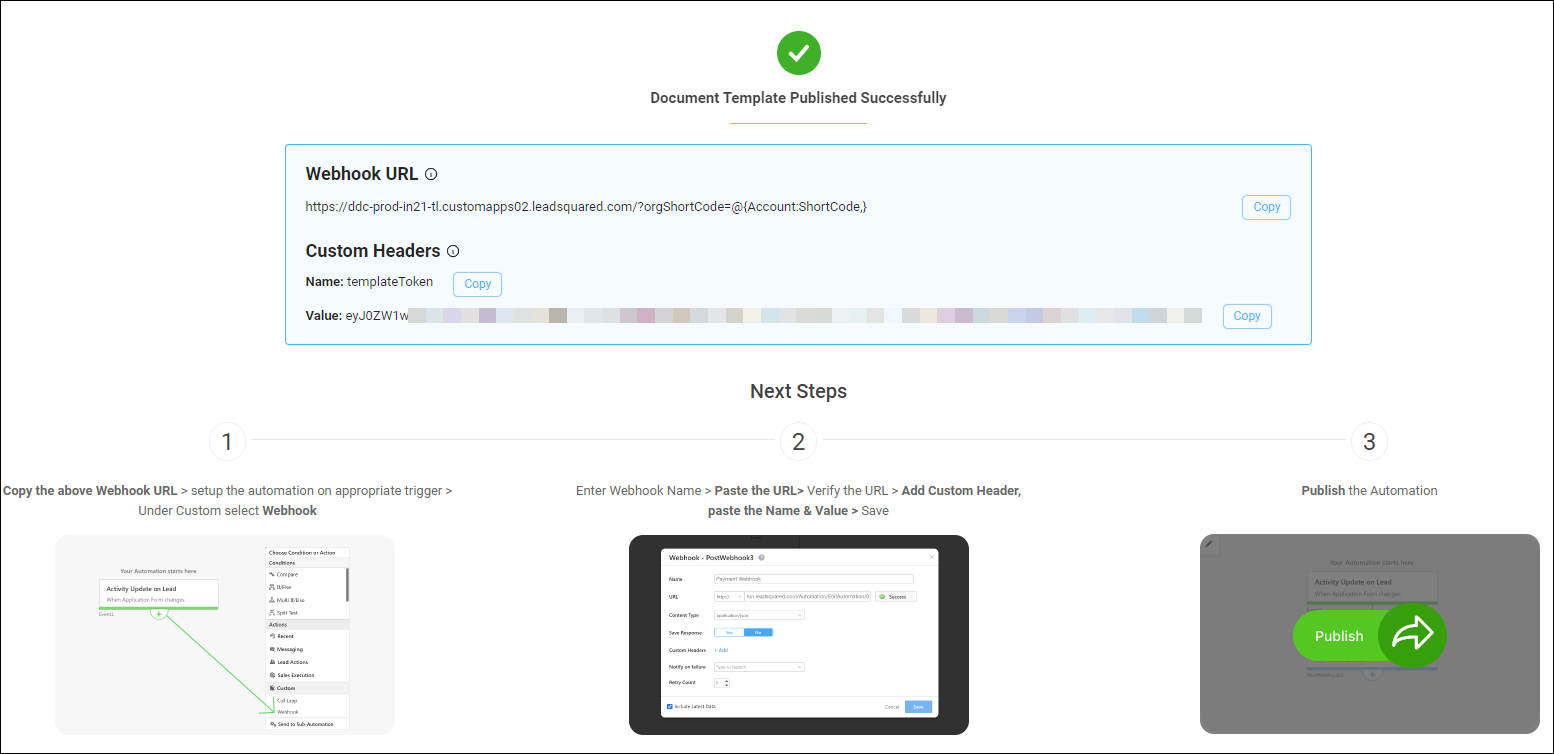
8. Set up the Automation
This automation is set up using the custom activity as the trigger. Every time the activity is posted, the webhook URL (which was generated after the document was published) generates a document for the lead.
Note:
- In this section, we’ve chosen an Activity trigger, but you can set up the automation using a lead, activity, or opportunity trigger. The steps listed below will remain similar for all three entities.
- If you choose an activity trigger, you can integrate only an activity-based document template with the automation. Likewise, if you select a lead or opportunity trigger, you can integrate only a lead-based or opportunity-based document template with the automation.
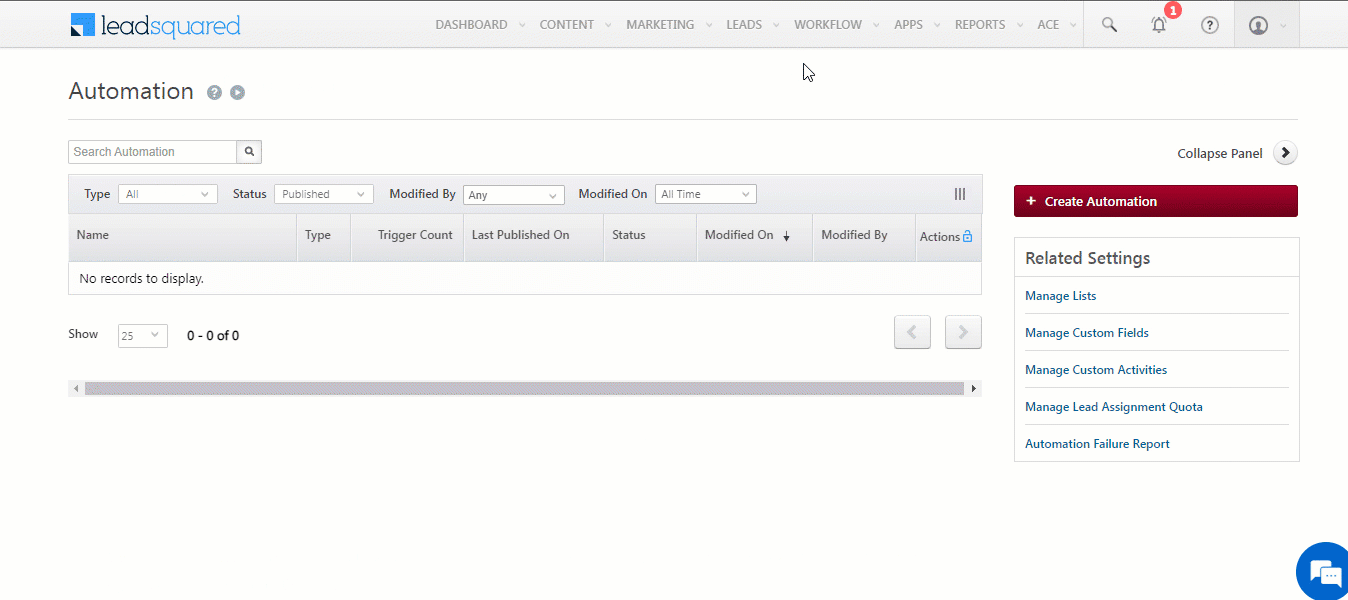
- Navigate to Workflow>Automation, click Create Automation, and select New Activity on Lead as the trigger.
- From the Select an activity dropdown, choose the custom activity you created, and click Save.
- Disable the “Run Only Once Per Lead” setting.*
- Click
 , and under Custom, click Webhook.
 - On the Webhook pop-up, enter the following details –
- Name – Enter a relevant name for the webhook. We’re calling it “Document Generation”.
- URL – Select the method as https://, and paste the connector’s webhook URL that was generated. Before you paste the URL, ensure you remove “https://” from the URL.
- Content Type – Select application/json.
- Save Response – You can select either Yes or No.
- Custom Headers – Click Add, and enter the following details that were generated in the previous step –
- Name – Enter the name (“templateToken”) present under Custom Headers.
- Value – Enter the value present under Custom Headers.
- Notify on Failure – Select which user you want to notify if the webhook fails.
- Retry Count – The number of times you want to retry when the webhook fails.
- Once you’re done, click Save, and then click Publish.
Each time the automation is triggered, the webhook generates a document, and this file is stored in the CFS PDF-type field within the custom activity/opportunity.
Note:
- *It is recommended you disable the “Run Only Once Per Lead” setting when selecting the automation trigger. This is to ensure the automation triggers even when the lead is looking to generate a document multiple times.
- To know more about the Webhook action, refer to User Automation Actions – Webhook.
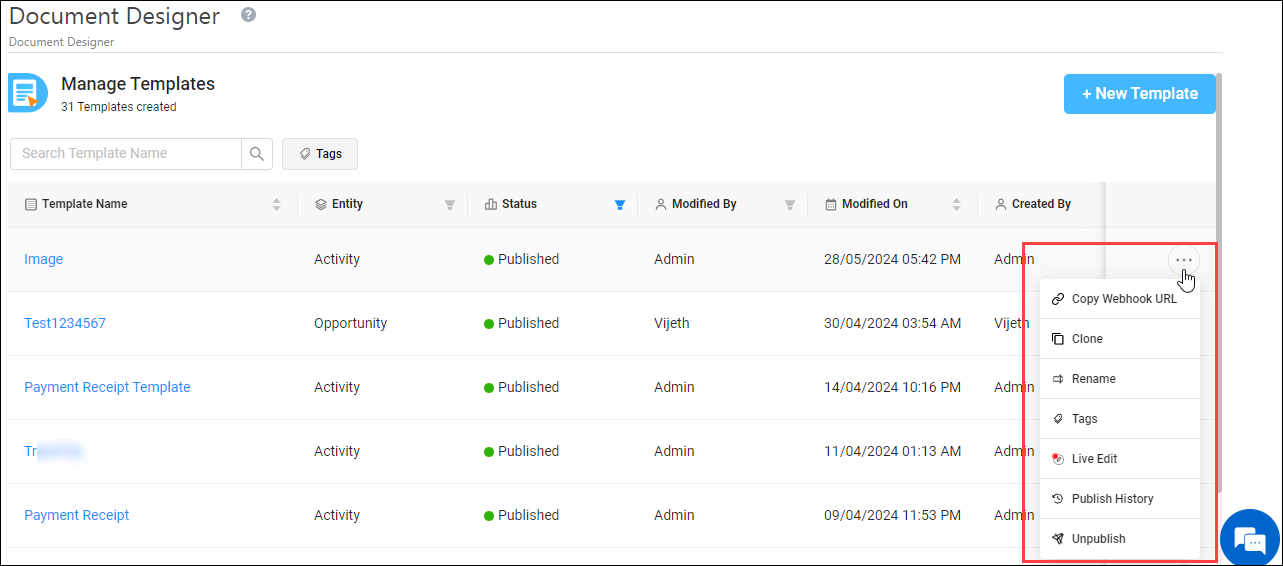
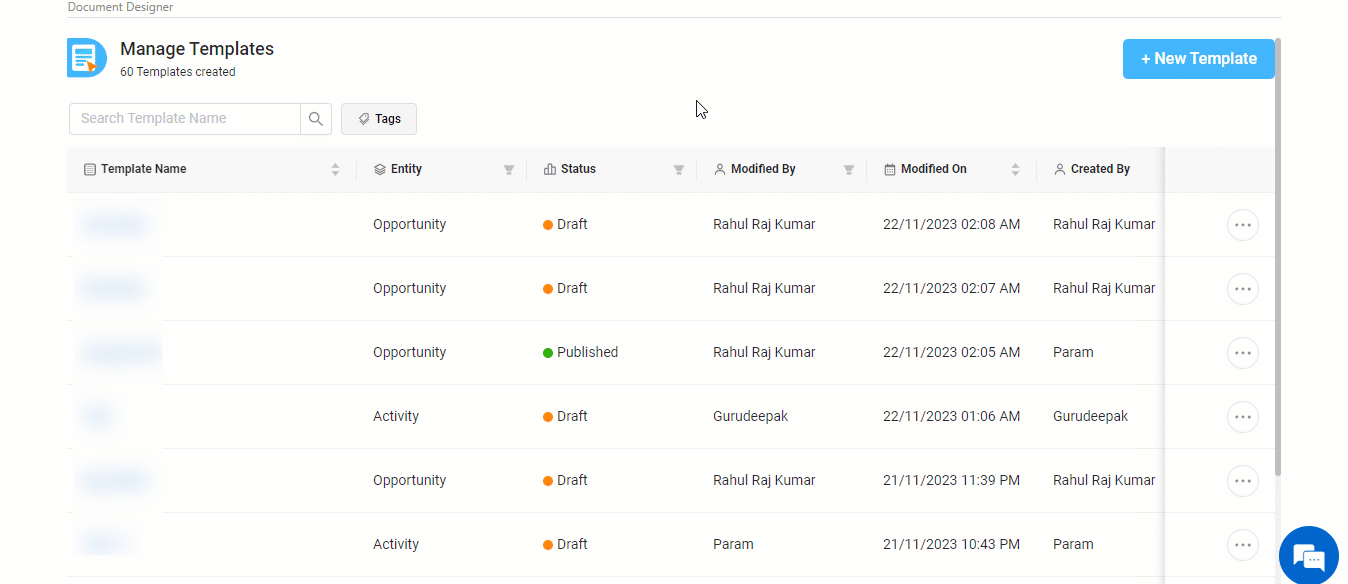
9. Manage Templates
Once the document template is published, you can perform the following actions from the Manage Templates screen –
- Copy Webhook URL – This lets you copy the webhook URL directly from the dashboard screen.
- Clone – This lets you clone the entire template.
- Rename – This lets you change the internal display name.
- Live Edit – This lets you make changes to a live document template, without having to unpublish the template.
- Tags – This lets you add tags to the templates created in your account.
- Unpublish – This lets you unpublish the template.
- Delete – This lets you delete the template.
- Version History– Automatically displays the version number of the template, and displays the name of the user that made the changes to the template.
10. Tags
Ease internal document identification for your users by adding tags to each of the document templates you’ve created. Users can also filter and search by the tags assigned to a template.
For example, if there’s a university with multiple campuses, create a tag with the Category set to Campus 1. Then, create a list of tag Values corresponding to the courses offered in that campus, such as Science, Commerce, and Arts. Assign the appropriate tag to the relevant document template.
10.1 Create Tags
- On the Manage Templates screen, click the Tags button
 .
. - On the Filter By Tags pop-up, click Manage all Tags.
- On the Manage Tags screen, click New Tag Category.
- On the Create Tags pop-up, enter a relevant Category (Campus 1 in our example) and add relevant Values (Science, Commerce and Arts in our example).
- Once you’re done, click Save.t
Note:
- You can add up to 20 tag categories.
- Under a category, you can add up to 50 values.

10.2 Assign tags
- On the Manage Templates screen, hover your cursor over
 , and click Tags.
 - On the Tags pop-up, from the list of options available, Select Tag Category and Select Tag Values.
- Once you’re done, click Add, and then click Save. The selected tags will be added to the template.
11. Next Steps
When the automation fires, the document is generated and stored in the CFS PDF-type activity field. To display the document to your leads, you must include the CFS PDF in the Portal –
- If you’re using a Portal built with HTML, add the CFS PDF type field to the code.
- If you’re using a Portal built using the Portal Designer, create a block to add the CFS PDF type field.
Any Questions?
Did you find this article helpful? Please let us know any feedback you may have in the comments section below. We’d love to hear from you and help you out!
Hi, we are facing issues in generating the PDF with the webhook. Ticket #1632079
Hi, I hope this issue is resolved. Please let me know if it’s not, and I’ll follow up internally.