Tag Archive for: Custom Fields

Mail Merge

1. Feature Overview

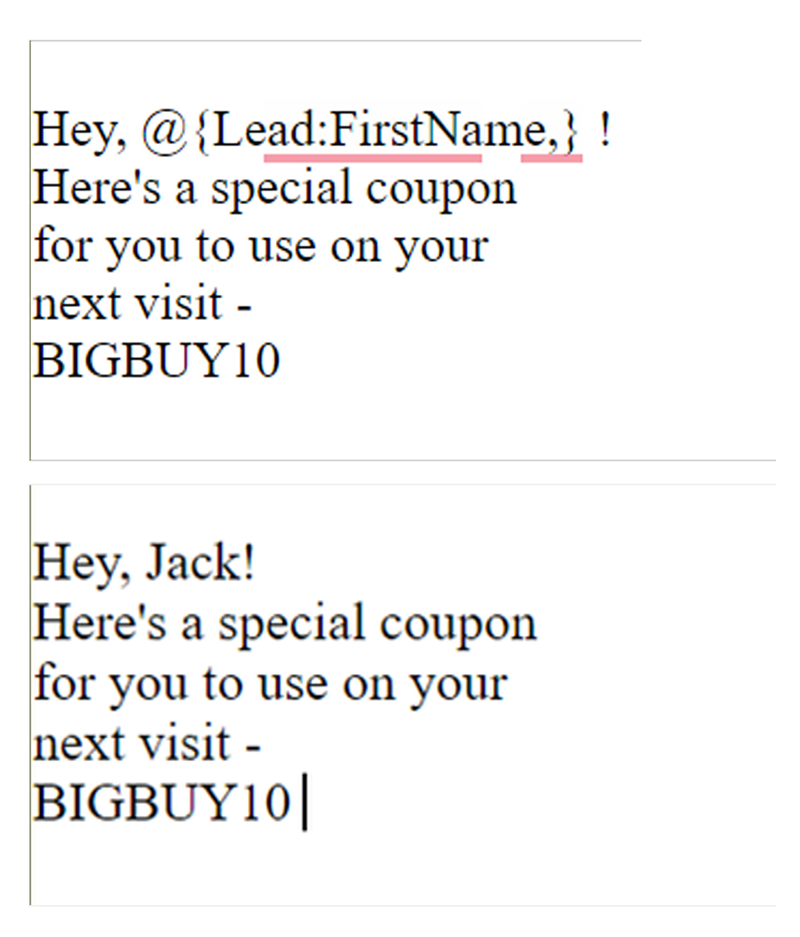
Personalise emails, SMS and WhatsApp communication with lead, account, and sender details using Mail Merge fields. For example, to include the lead’s name in your email’s body (e.g., Hi Richard), add the First Name tag. When the email is sent to a list of leads, it gets personalized based on the name of each lead. Mail merge tags can be added in the body and footer of the email.

In addition to using mail merge for email and message personalization, you can also use mail merge in –

  • Automations
    • To copy the value of one field into another across entities like lead, activity, task, opportunity, etc.
    • To dynamically pick the value contained in a field at run time. For example, assign a lead to a user in the same city by matching the user’s and lead’s City field.
  • Forms and Processes – In form rules, to perform various actions.
  • Connectors and integrations – To push data to external systems.

You can mail merge fields for all LeadSquared entities (lead, opportunity, account, activity, task and user) in relevant features.

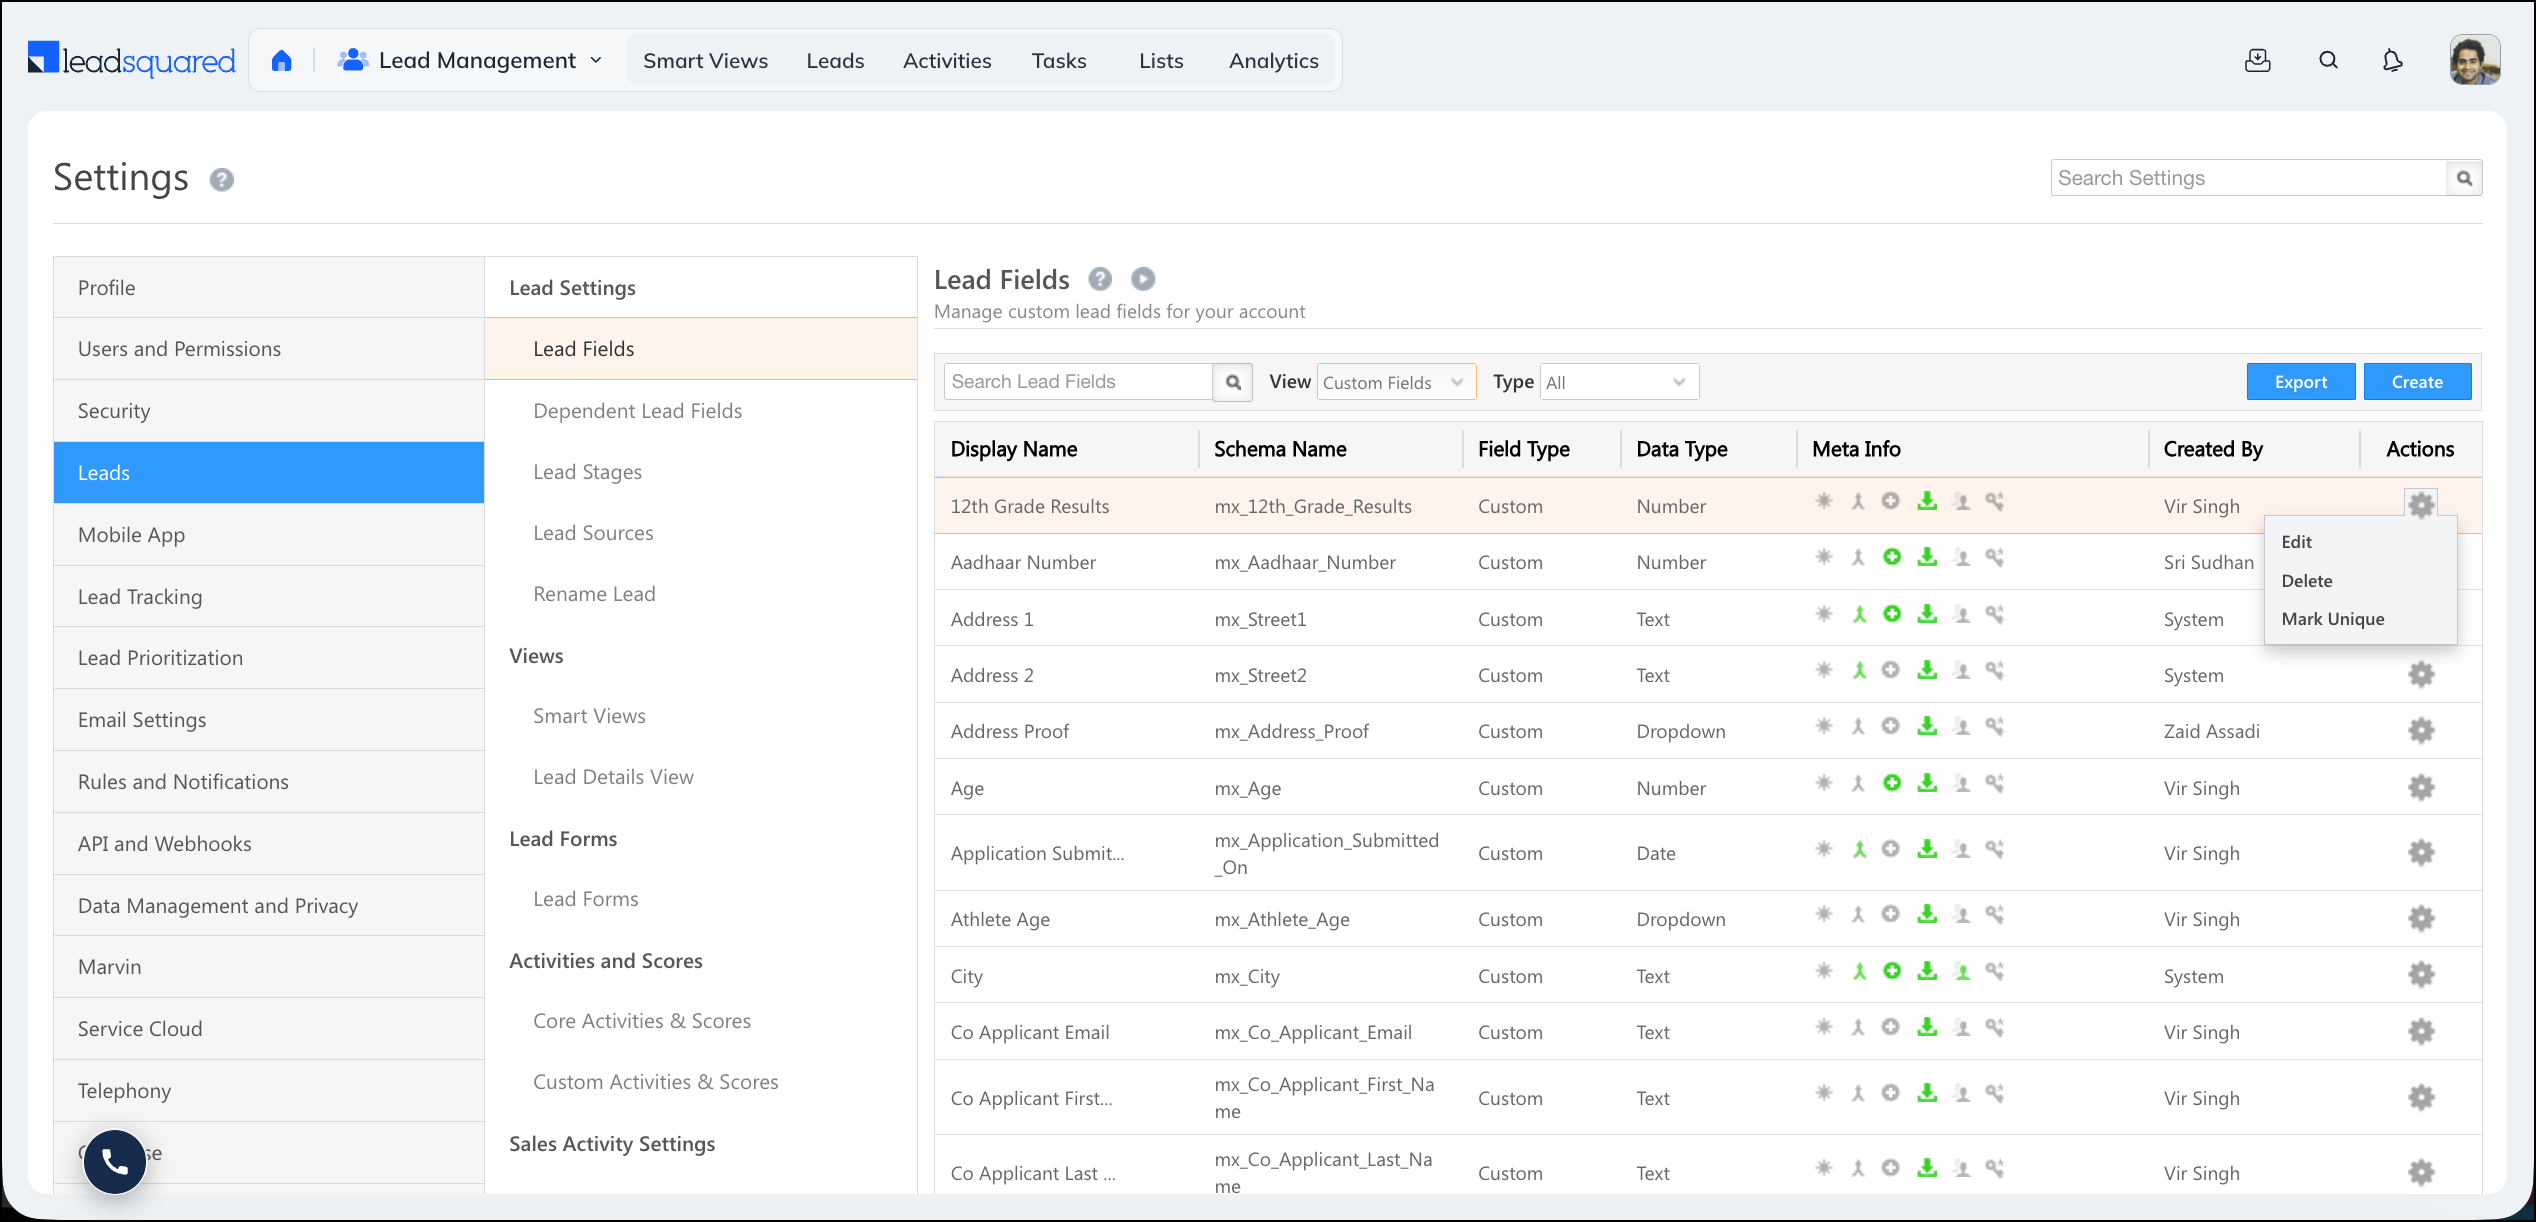
Even custom fields in your account can be used as Mail Merge Tags. If you need a tag that doesn’t exist in your account, create a custom field and include it in Mail Merge. To know more, see How To Create Custom Fields.

Note:

LeadSquared - Mail Merge example


2. Prerequisite

You must be the Administrator or the Marketing User of your account.


3. Use Mail Merge in Emails

3.1 Insert Mail Merge Tags in Visual Designer

To insert mail merge tags in the body of your email –

  1. Click the text box where you need to insert a mail merge tag. Alternatively, type ‘@’ and select the required tag.
  2. On the toolbox, click Merge tags.
  3. Select the required mail merge tag.
Note: Add mail merge tags in your subject line by copying and pasting the tags from the body.
LeadSquared - Mail Merge Tags in Visual Designer


3.2 Insert Mail Merge Tags in Rich Text, Plain Text, and HTML Editor

To insert mail merge tags in your email’s subject line and body –

  1. Navigate to the right-hand side of your editor.
  2. Under Email Personalization, select the required category of mail merge tags (For example – Lead Fields, Account Fields, etc.).
  3. Place your cursor on the required position (on the subject line or the body of the email) and click the mail merge field.
LeadSquared - Mail Merge Tags in Email Editor


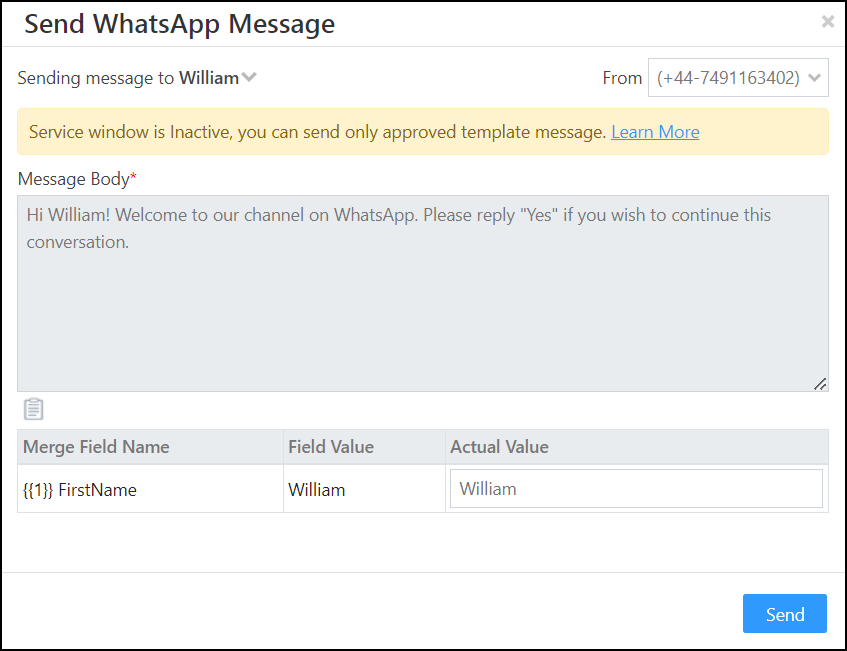
4. Use Mail Merge in WhatsApp and SMS

You can use Mail Merge fields when sending WhatsApp and SMS (one-to-one or templatized messages) to personalize communication with leads.

Note: To know more about creating SMS and WhatsApp templates, refer to Creating SMS Templates and WhatsApp Business Messaging Connector.

LeadSquared - Mail Merge in whatsapp


5. Use Mail Merge in Automations

You can use Mail Merge while creating automations to dynamically pick data from your account and perform automated actions. The GIF below is an example of using mail merge to distribute a lead to a user in the same city.

LeadSquared - Mail Merge in Automations


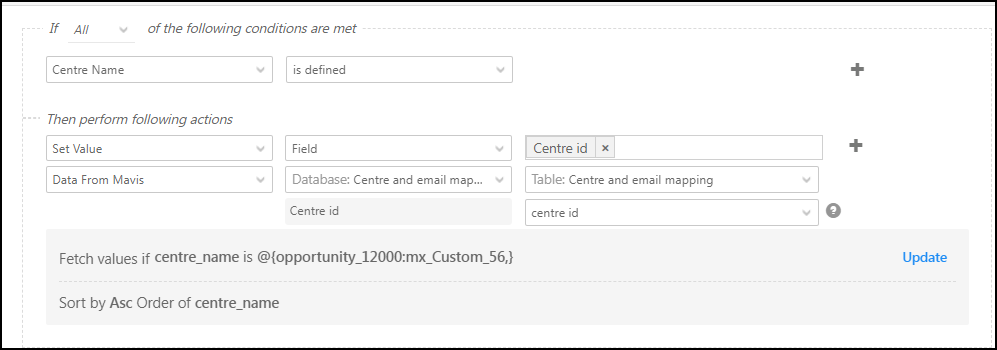
6. Use Mail Merge in Forms

You can use Mail Merge while creating forms to define values of certain fields based on the data stored in your account. For example, populate the value of a field in the form with data from a Mavis Database table. In the example below, we’re populating the centre name and centre ID fields from data stored in Mavis for an education company.

LeadSquared - Mail Merge in forms


7. FAQs

How to Mail Merge Date-Time Values in Automations?

In LeadSquared automations, you can mail merge Date-Time values using the following options depending on your requirements:

  1. Account Time Zone Mail Merge: Use @{DateTime:Account_Current_DateTime,}
    • This provides the Date-Time in the user’s account time zone.
  2. UTC Time Zone Mail Merge: Use @{DateTime:UTC_Current_DateTime,}
    • This provides the Date-Time in UTC format.


Any Questions?

We’d love to answer your questions or hear your unique use cases. Feel free to share your experiences in the comments section below.

How to Create a Dropdown Type Lead Field

1. Feature Overview

For lead fields that require a predefined set of options (such as course, product type, or salary range), LeadSquared lets you create dropdown type lead fields. LeadSquared supports three dropdown variants:

Type Description
Dropdown Displays all available options in a standard list.
Searchable Dropdown Filters options as the user types, useful for large option sets.
Dropdown with Others Includes a built-in “Others” option alongside your defined values.

Note: Here are some related articles –


2. Prerequisites

You must be an administrator of your LeadSquared account.


3. How It Works

Dropdown fields are a type of custom lead field. When you create one, you select the dropdown variant, then define the options users can choose from. The options can be entered manually or imported via CSV for larger sets.

Once saved, the field becomes available to add to your lead forms. The variant you choose determines how options are presented to users and how many options the field supports:

  • Dropdown and Dropdown with Others support up to 1,000 options entered manually.
  • Searchable Dropdown supports up to 1,000 options entered manually, or up to 100,000 options via CSV import.
  • Dependent dropdowns support up to 1,000 parent options and 5,000 child options across all parent fields.


4. Create a Dropdown Field

The steps below apply to all three dropdown variants. The only difference is the option you select in the Show As dropdown in step 3.

  1. Go to Settings>Leads>Lead Fields and click Create.
  2. From the Data Input Type dropdown, select Dropdown.
  3. From the Show As dropdown, select the variant you want to create: Dropdown, Searchable Dropdown, or Dropdown with Others.
  4. Enter your options under Select Options.
    • For Searchable Dropdown, enter options in comma-separated format or click Click here to import a CSV file of options.
    • To set a default option, click the default icon alongside it.
    • To reorder options, use the up and down arrows.
    • To remove an option, click the remove icon.
  5. To add more options, click Add.
  6. Click Save.
Note: For Searchable Dropdown fields with more than 100,000 options, see Large Options Set.

create a dropdown type lead field


Any Questions?

Did you find this article helpful? Please let us know any feedback you may have in the comments section below. We’d love to hear from you and help you out!

Create Custom Lead Fields

1. Feature overview

LeadSquared provides a set of default lead fields out of the box, but every business captures unique information about its leads. Custom lead fields let you extend the standard lead profile with fields specific to your industry or workflow, such as a credit score for financial services, a property budget for real estate, or a patient ID for healthcare.

Examples by industry:

Industry Example Custom Fields
Banking & Financial Services Aadhaar Number, Social Security Number, or Credit Score
Education & Ed-Tech 12th Grade Results, or Course Interest
Real Estate Location Interest, Budget, or Property Type
Healthcare Patient ID, Age, or Previous Diagnosis
General Spouse’s Name, Permanent Address, Marital Status, or Gender

Note:


2. Prerequisites

You must have Administrator access to create or modify lead fields.


3. System lead fields vs custom lead fields

LeadSquared accounts contain two types of lead fields.

  • System lead fields are the default fields available in every account, such as First Name, Last Name, Email Address, Phone Number, Lead Source, and Lead Stage. They capture standard information common to most businesses. You cannot delete a system lead field, but you can rename its Display Name to suit your terminology.
  • Custom lead fields are fields you create to capture information specific to your business that the system fields do not cover.

On the Lead Fields page, use the View filter to switch between All, System, and Custom to see each type.

Note: Before creating a new field, check your existing fields. If an unused field already has the data input type you need, rename its Display Name instead of creating a new one.


4. How it works

Creating a custom lead field follows a set sequence:

  1. First, you choose the section the field belongs to. This controls where the field appears when a user adds or views a lead.
  2. Next, you select the data input type, such as text, number, or date. This controls how the field is rendered and what values it accepts.
  3. Then, you configure the field’s behavior, such as whether it is mandatory, searchable, or included in mail merge.
  4. Finally, once you save the field, it becomes available across your lead forms, imports, and views.
Note: Review the data input type carefully before you save, it cannot be changed after creation.


5. Create a custom lead field

To create a custom lead field:

  1. Go to My Profile>Settings>Leads>Lead Fields.
  2. Click the Create button.
  3. Fill in the field properties (described below).
  4. Click Save.

When you create a field, you configure the following properties.

5.1 Basic properties

  • Display Name – The label shown to users on the lead form (for example, Alternate Mobile Number).
  • Include Field in Section – The section of the lead profile where the field appears: Lead Details, Additional Details, or Hidden Fields.
  • Mail Merge Default Value – A fallback value used in mail merge when a lead has no data in this field.
  • Data Input Type – The field’s data type. It determines how the field is rendered and what values it accepts. See the data input types below.

5.2 Data input types

Note: If you need a large number of dropdown options, see Large Options Set for Lead Fields.
Data Type Rendered as Example
Text (string) Text box Designation
Number Text box (select Decimal or Integer) Fax Number
Email Email input Alternate Email Address
Phone Text box or Phone Controller Secondary Phone Number
Website URL input Company Blog
Date Date picker Follow-up Date
Time Time picker Follow-up Time
Boolean Radio button or checkbox Valid Passport
Dropdown Single-select dropdown Country
Multi-Select Dropdown Multi-select dropdown Courses Opted For
Custom Field Set (CFS) Configurable, supports file or image uploads PAN Card

5.3 Behavioral settings

  • Include in Mail Merge – Lets this field’s value merge dynamically into email campaigns, automations, and integrations. File-type CFS fields cannot be included in mail merge.
  • Is Mandatory – Stops users from saving a lead record until this field is filled in.
  • Include in Quick Search – Makes this field searchable from the Quick Search bar on the Manage Leads page.
  • Show in Quick Add – Displays this field when a user creates a lead through Quick Add.
  • Lock After Create – Stops non-admin users from editing the field value after the lead is created. It does not restrict API-level updates.
  • Use in Lead Clone – Auto-populates this field when a user clones an existing lead.
  • Show in Import – Makes this field available for column mapping when importing leads.

navigate to create custom lead fields


6. Edit a custom lead field

After a field is created, its data input type cannot be changed. Everything else can be modified.

To edit a custom lead field:

  1. Go to My Profile>Settings>Leads>Lead Fields.
  2. Set the View filter to Custom.
  3. Against the field you want to edit, hover your cursor over the Leadsquared - Settings icon, then click Edit.
  4. Update the available properties, then click Save.

how to edit a custom lead field


7. Other actions on a custom lead field

From the Lead Fields page, you can perform the following actions on a custom field. Hover your cursor over the settings icon on a field to view the available icons.

  • Mark a field unique – Make a custom field’s values unique across leads, with optional validation formats. See How to Make a Custom Field Unique.
  • Delete a custom lead field – Remove a custom field you no longer need. System lead fields cannot be deleted. Before deleting a field, remove any Lead Lists or Quick Filters that use it.

other actions on custom lead fields


Any Questions?

Did you find this article helpful? Please let us know any feedback you may have in the comments section below. We’d love to hear from you and help you out!