


Get Started
Sales Suite
Field Ops
Marketing
Service CRM
Integrations & Apps
FloStack
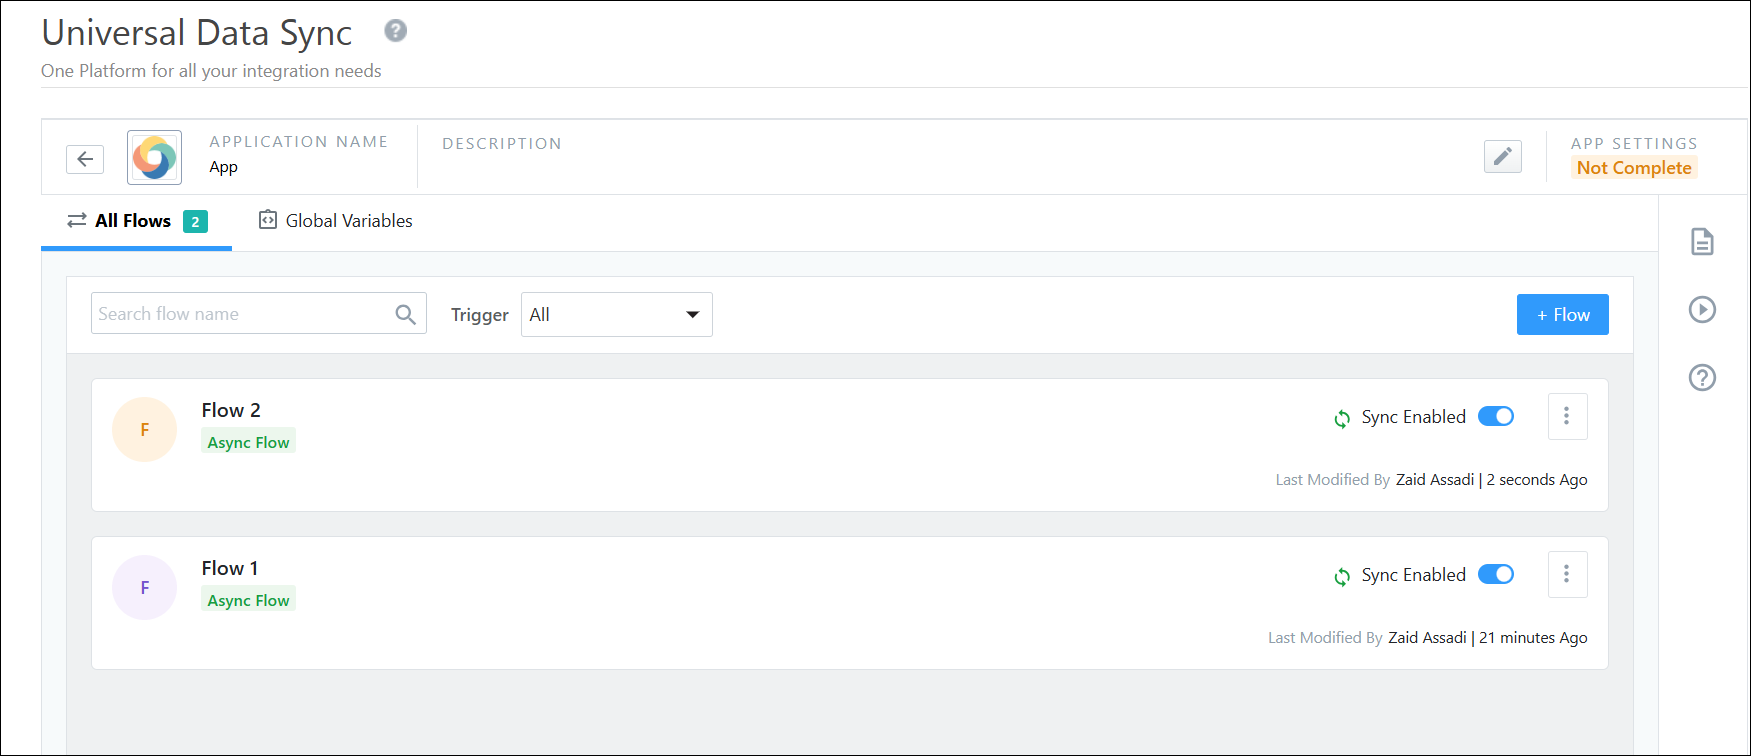
Universal Data Sync (UDS) – Create a Data Flow
1. Feature Overview
With UDS (Universal Data Sync), you can create an application and set up multiple data flows within it—allowing you to consolidate and manage all data flows related to a single provider or use case in one unified workspace.
This article will guide you through creating and managing data flows within a UDS App.
2. Prerequisites
- You must be an Administrator user, or access must be shared to you by an Admin user
- The Universal Data Sync Connector is a paid feature. To enable it on your account, contact your account manager, or write to support@leadsquared.com.
- Create data flows only once you’ve configured global variables for your app.
3. Creating a Data Flow
To create a data flow –
Click on + Flow. A pop-up will appear asking if the flow involves any of the following:
- Trigger flow with data formats other than JSON
- File operations
- Schedule data sync
If you select Yes, and then proceed you’ll be directed to the older Universal Data Sync connector (formerly called Universal Lead Capture or ULC). For more information on creating the data flow, see Integrate Your Custom Data Source with LeadSquared.
If you select No, the flow will proceed within the current UDS interface.
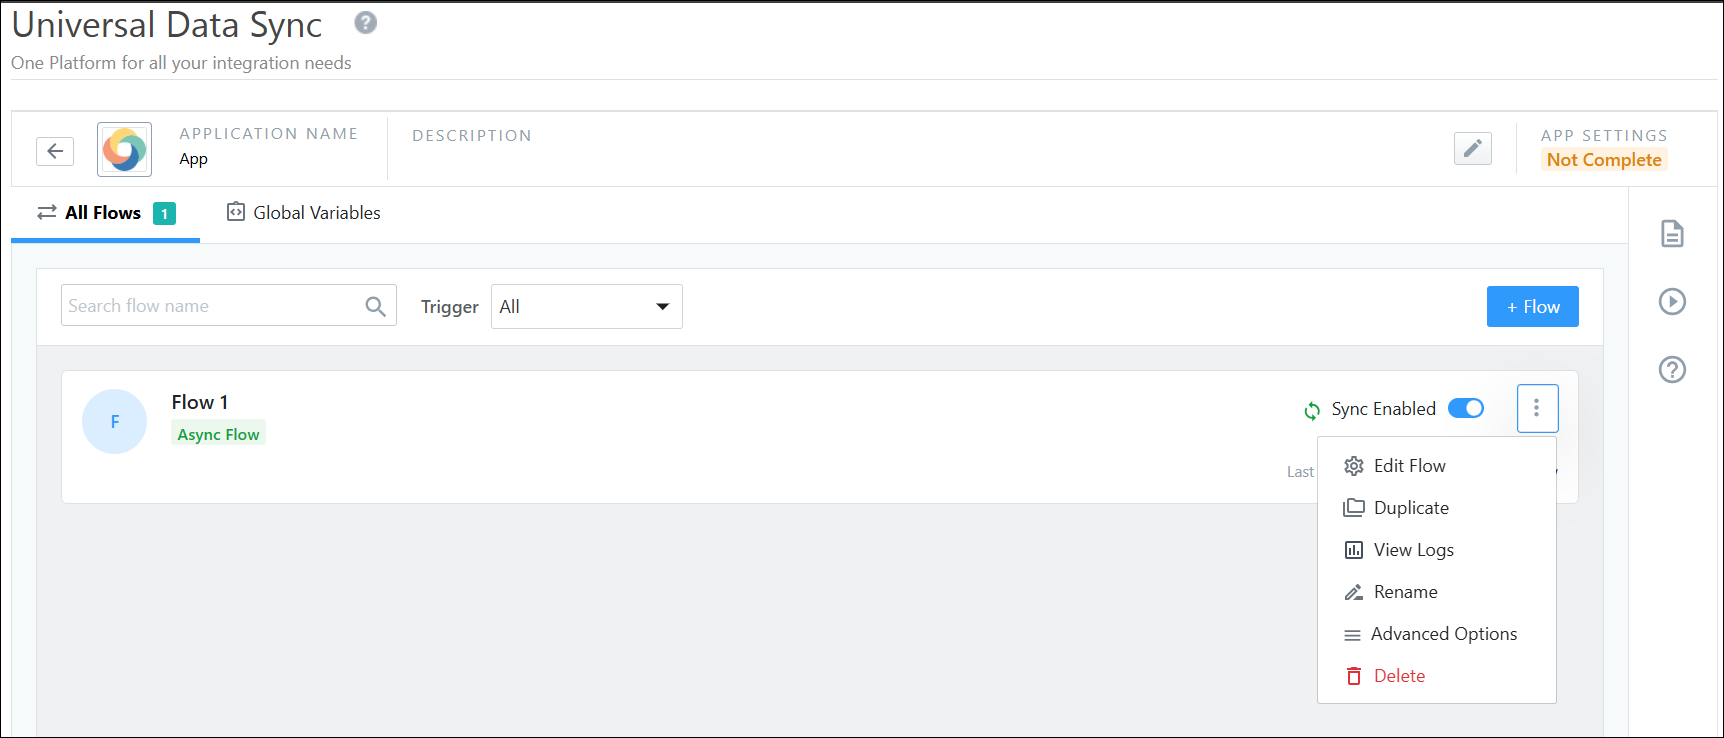
4. Flow Related Actions
- Edit Flow – Editing a flow lets you update its configuration, including the trigger, actions, and other related settings.
- Duplicate – Allows you to create a duplicate copy of the flow.
- View Logs –Track the execution history of your data flows. View detailed logs of flows, including timestamps, statuses, and any errors encountered during the integration process. This helps you monitor and troubleshoot data sync activities efficiently.
- Rename – Rename the flow and description.
- Advanced Settings– let you control your flow’s trigger and behavior. You can configure processing limits, apply IP restrictions, and choose to encrypt webhook requests and responses in logs for added security. Refer to section 5 for more details.
- Delete Flow – Delete the data flow, including all actions configured under it.
- Copy Webhook – Copy the webhook generated for the data flow and use it to create a LeadSquared webhook or automation, or to call the webhook from a custom source (e.g., Postman).
5. Advanced Options
To configure advance options on the flow, click the ![]() icon against the flow and select Advanced Options (this setting can also be access from the flow details page). The following advanced options are available for flows:
icon against the flow and select Advanced Options (this setting can also be access from the flow details page). The following advanced options are available for flows:
- Processing Limit – Flow processing limit controls how many requests can be processed per minute. You can set and customize these limits to fit your needs. For example, with a limit of 1000 requests per minute, a maximum of 1.4 million requests can be processed daily.
- Data Encryption – By default, data encryption is disabled. You can enable this option to secure sensitive data in both requests and responses.
- IP Restrictions – Manage access to your flows by whitelisting or blacklisting IP addresses. You can add individual IPs or a range. Blacklisted IPs take precedence over whitelisted ones – if an IP address appears on both lists, it will be denied access.
- Logger Parameters – Logger Parameters let you capture key values (like IDs or sources) from incoming requests and include them in your flow logs. This helps identify and track specific executions more easily. For more information, refer to Logger Parameters in UDS.
6. Create More Data Flows
UDS allows you to create and manage multiple inbound and outbound data flows under a single application, consolidating all provider integrations in one place.
7. Next Steps
After creating and naming the data flow, next Select a Trigger.
Any Questions?
Did you find this article helpful? Please let us know any feedback you may have in the comments section below. We’d love to hear from you and help you out!