


Get Started
Sales Suite
Field Ops
Marketing
Service CRM
Integrations & Apps
FloStack
Quick Replies for Agents
1. Feature Overview
Quick Replies are message templates configured by your account Admin to help you reply to customers and internal agents directly from a ticket. From the multiple Quick Reply templates published on your account, select and use the most relevant template when sending a reply. When you select a template, its contents automatically populate the text reply box. This saves time and effort when addressing multiple customer queries, and helps you achieve and maintain your SLAs.

2. Prerequisite
Your Admin should configure Quick Reply templates on your account.
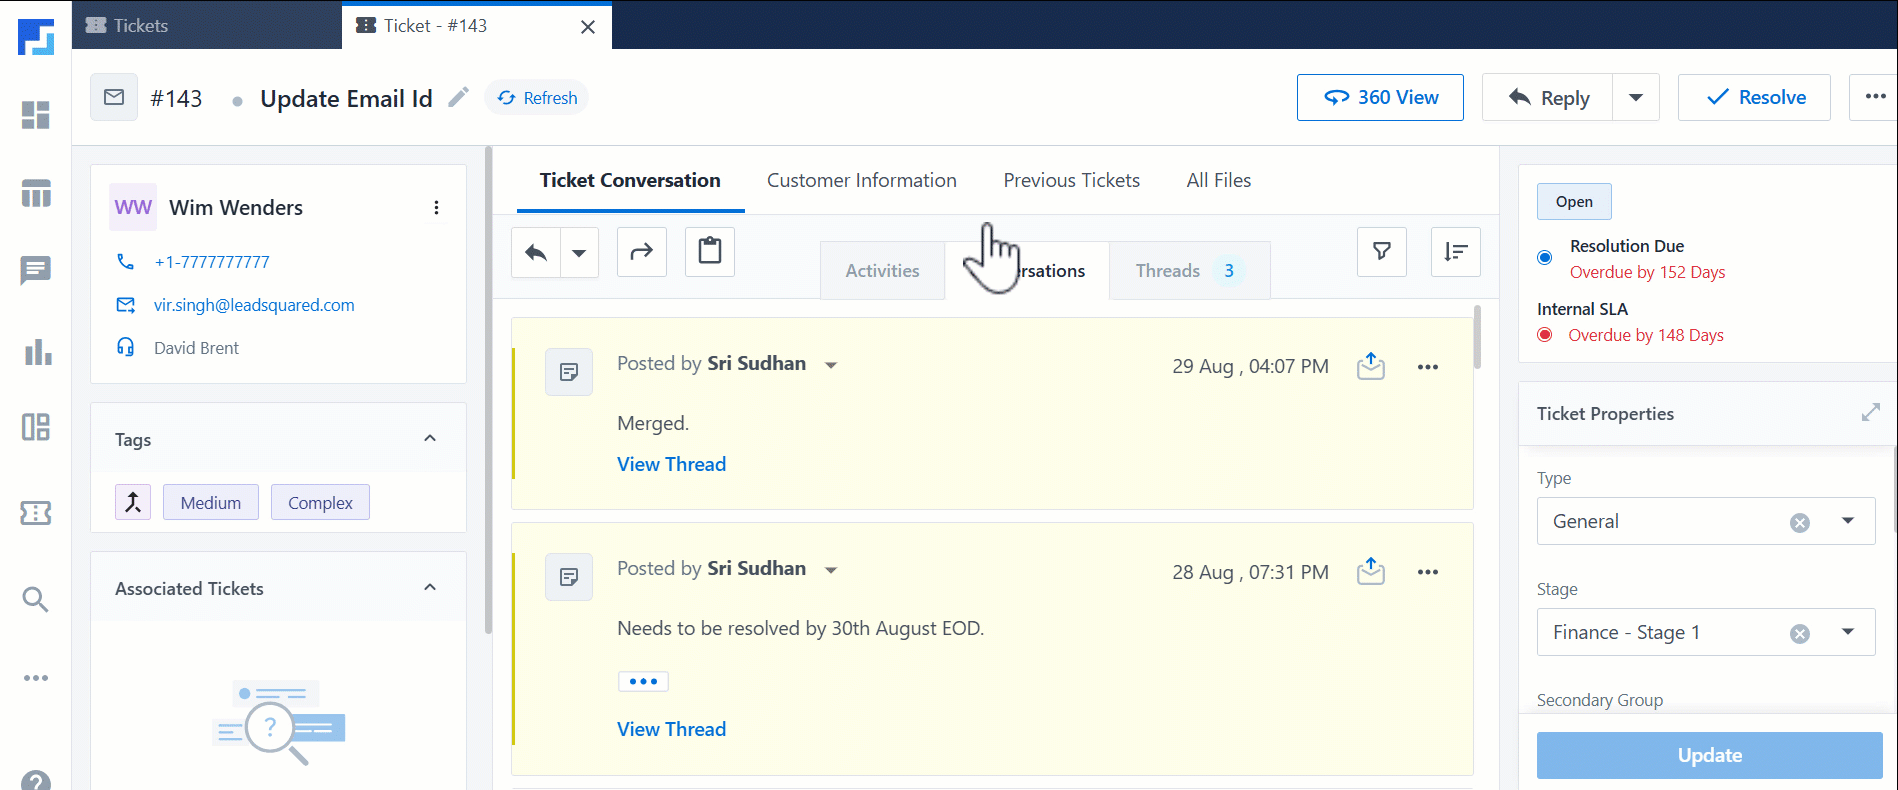
3. Send Quick Replies from the Ticket Details Page
Use your LeadSquared credentials to log in to the Service CRM agent platform through – https://marvin-in21.leadsquared.com/service-cloud
- After logging in to the Service CRM agent platform, on the left-panel, click Tickets
 to navigate to the All Tickets page.
 - On the All Tickets page, click on any ticket you can access. This opens the Ticket Details page.
- Then, under the Ticket Conversation tab, click
 to reply to a ticket.
 - From the reply tray, click the Quick Reply icon
 , and from the first dropdown, select the template category.
 - Then, from the list of reply templates under the selected category, select a relevant template.
- Once you select a template, you can edit and update it if needed.
- After you’re done, click Send, and your customer will receive the reply.
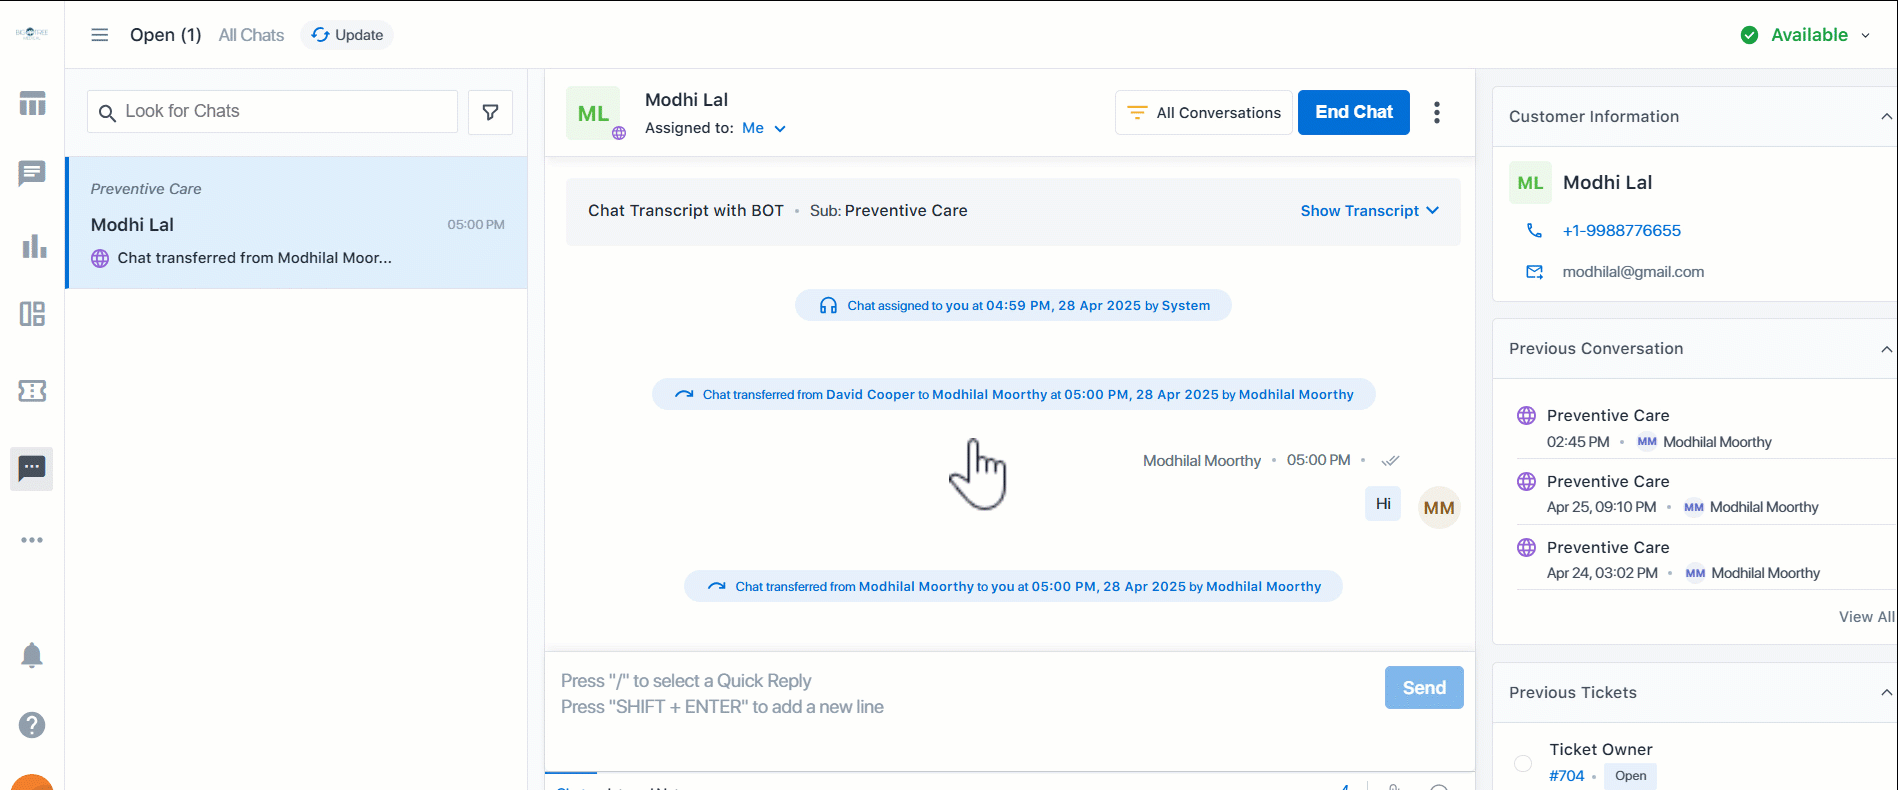
4. Send Quick Replies from the Chat Screen
- After logging in to the Service CRM agent platform, on the left-panel, click
 Chat.
Chat. - On the chat window, when replying to a customer, click / on your keyboard. This will display the list of Quick Reply templates available in your account.
- After you’ve selected a template, edit it if required, and click Send.
5. Create Custom Templates
In addition to the templates created by your admin, agents can create and save your Quick Reply template directly from the Ticket Details page.
- On the Conversations tab, click to reply to a ticket.
- From the reply tray, click the Quick Reply icon , and click Create New Template.
- On the Create New Template pop-up, enter the following details –
- Name – A display name for the template.
- Category – From the list of template categories, select one.
- Content – In the textbox, enter the content of the reply template. Use the editor to stylize the template, such as changing the font style and color, or aligning the text.
- To add a file (such as an image, PDF, CSV file, etc.) to the template, click
 , and then on the Upload Files pop-up, add the file.
 - To mail merge ticket fields, click
 , and from the Merge Tags option list, select the ticket field you want to merge with the template content. Mail merging a field will automatically populate the content stored in that field in the email.
- To add a file (such as an image, PDF, CSV file, etc.) to the template, click
- Once you’re done, click Create Template. You can now use this template when replying to customers.
Any Questions?
Did you find this article helpful? Please let us know any feedback you may have in the comments section below. We’d love to hear from you and help you out!