


Get Started
Sales Suite
Field Ops
Marketing
Service CRM
Integrations & Apps
FloStack
Ticket Details Page – Agent View
1. Feature Overview
When a customer raises a service-related query through any channel (email, call, social media, etc.), a ticket is created in your LeadSquared account with a unique ticket ID. The Ticket Views page displays all the tickets assigned to you with a basic overview, while the Ticket Details page provides comprehensive information about each individual ticket. On this page, you’ll find the customer’s details (like name, email address, phone number, etc.), customer conversations, Associated Tickets, attachments shared by the customer, and more. This article outlines the information and actions available on the Ticket Details page.
2. Prerequisites
- Service CRM is a paid feature. To enable it, contact your account manager, or write to scsupport@leadsquared.com.
- You must have access to the Service CRM platform, either as a Service User or a Hybrid User.
3. Access
Use your LeadSquared credentials to log in to the Service CRM agent platform through – https://marvin-in21.leadsquared.com/service-cloud
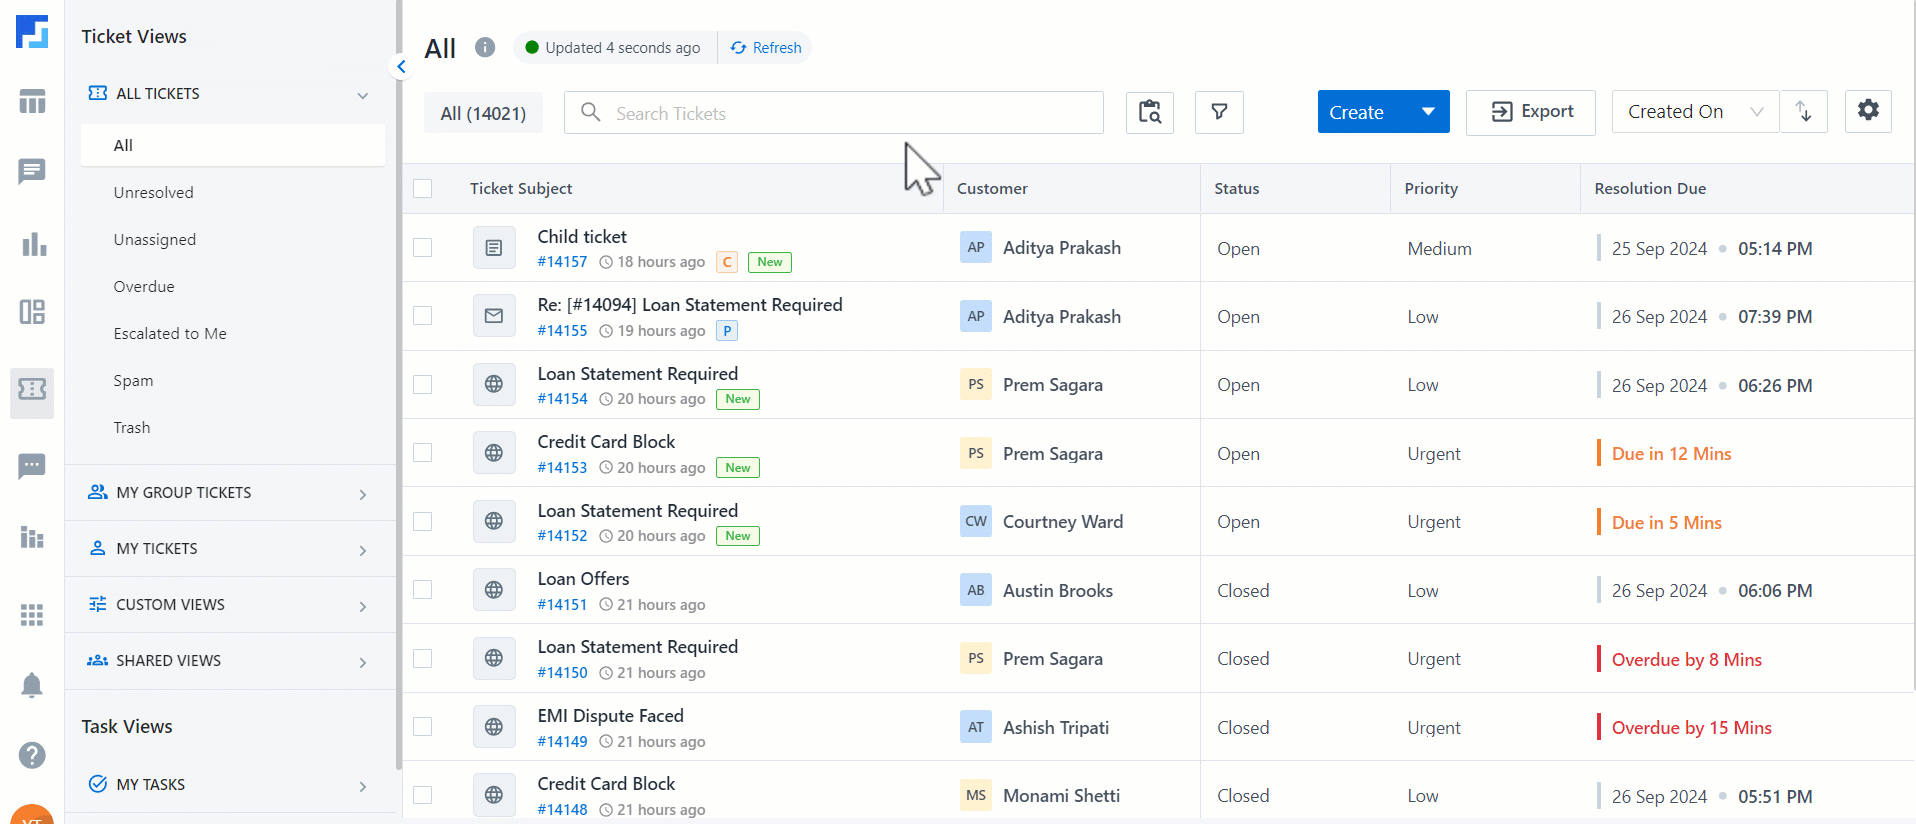
- After logging in to the Service CRM agent platform, on the left-panel, click Tickets
 to navigate to the All Tickets page.
 - On the All Tickets page, click on any ticket that you have access to. This opens the Ticket Details page.
4. Left Panel Components
The following components are listed on the Ticket Details page’s left panel –
4.1 vCard
The vCard shows important customer information. It was configured by your account Admin, and during configuration, they selected which fields to display. The following fields are displayed by default –
- Customer Name
- Customer Phone
- Customer Email
- Ticket Owner
On the vCard, perform the following actions –
- Hover your cursor over a ticket/lead field to copy the value contained in the field.
- Click the three-dots menu
 to –
to –
- Edit Customer Information – Allows you to update the customer details listed on the vCard. These changes are reflected across your LeadSquared account.
- Merge Customer – If there are multiple customers (leads) with similar attributes (such as the same email address but different phone numbers, or the same name but different email addresses), this feature lets you merge them into a single lead. These changes are reflected across your LeadSquared account.
- After you click Merge Customer, on the Select Records for Merging pop-up, search for the customers you want to merge.
- Then, under the customer records, click Add, and click Next.
- On the Merge Leads pop-up, select the lead you want to use as the Master Lead.
- On the Confirm Merge pop-up, click Merge Lead. To know more, refer to Merge Leads.

4.2 Tags
The system ticket tags (such as Escalated, Parent, Child, etc.) for the ticket you’re viewing are displayed here by default.
To add custom tags configured in your account to this ticket –
- Expand and click on the Tags tab.
- From the search bar, find and add relevant tags.
- You can add multiple tags to a ticket.
- Once you’re done, click anywhere within the Tags tab, and the selected tags will be added to the ticket automatically.
- To remove a tag, alongside the tag name, click ‘x’.

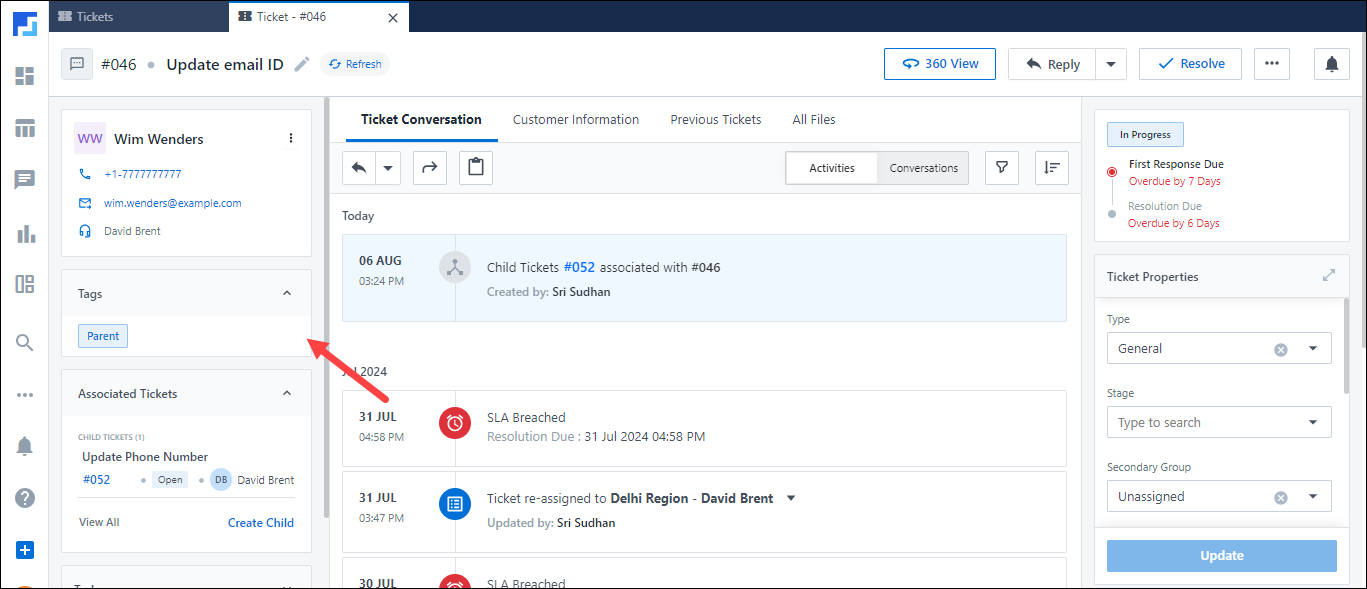
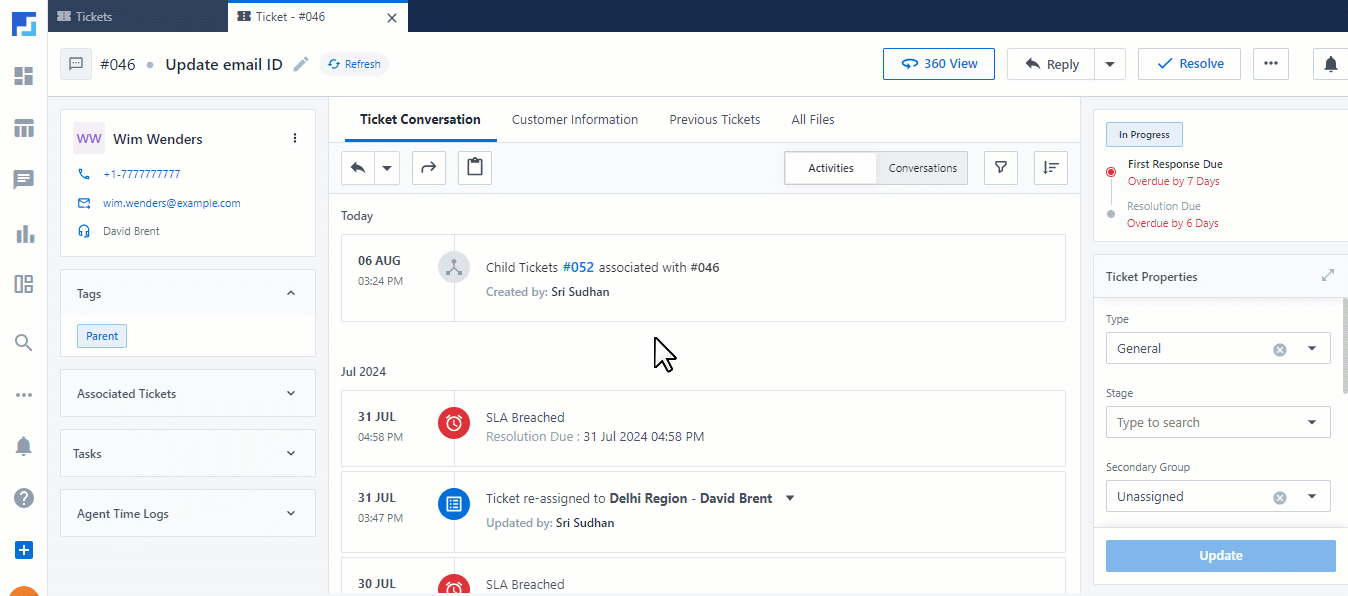
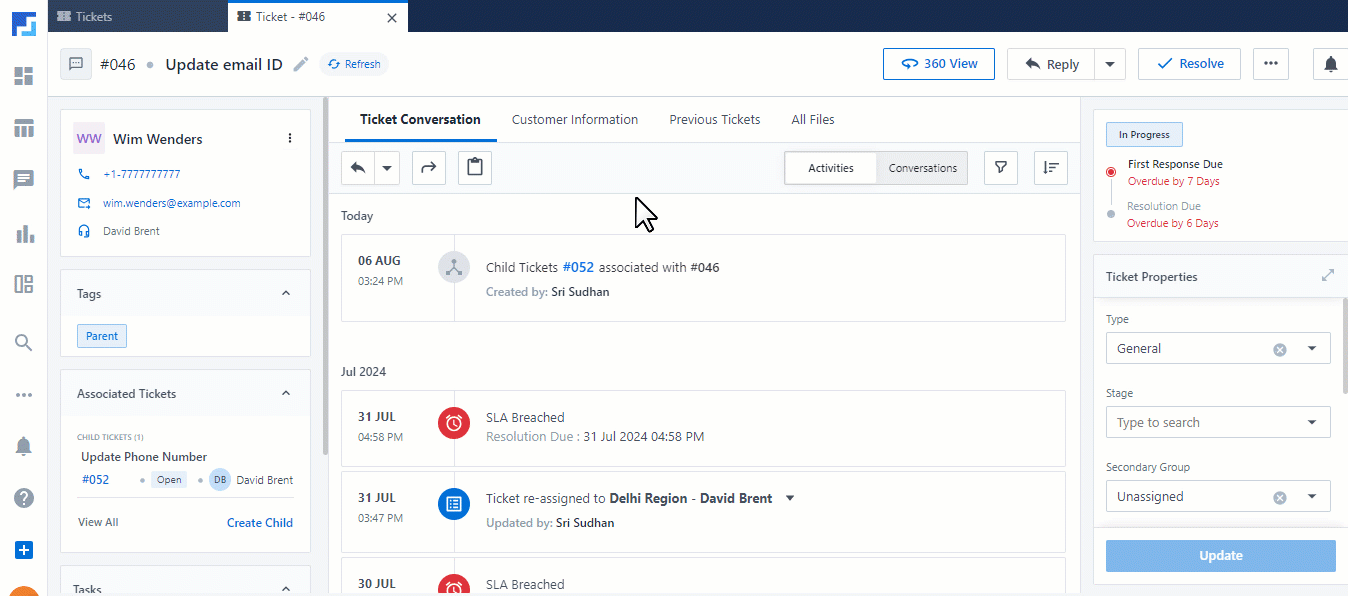
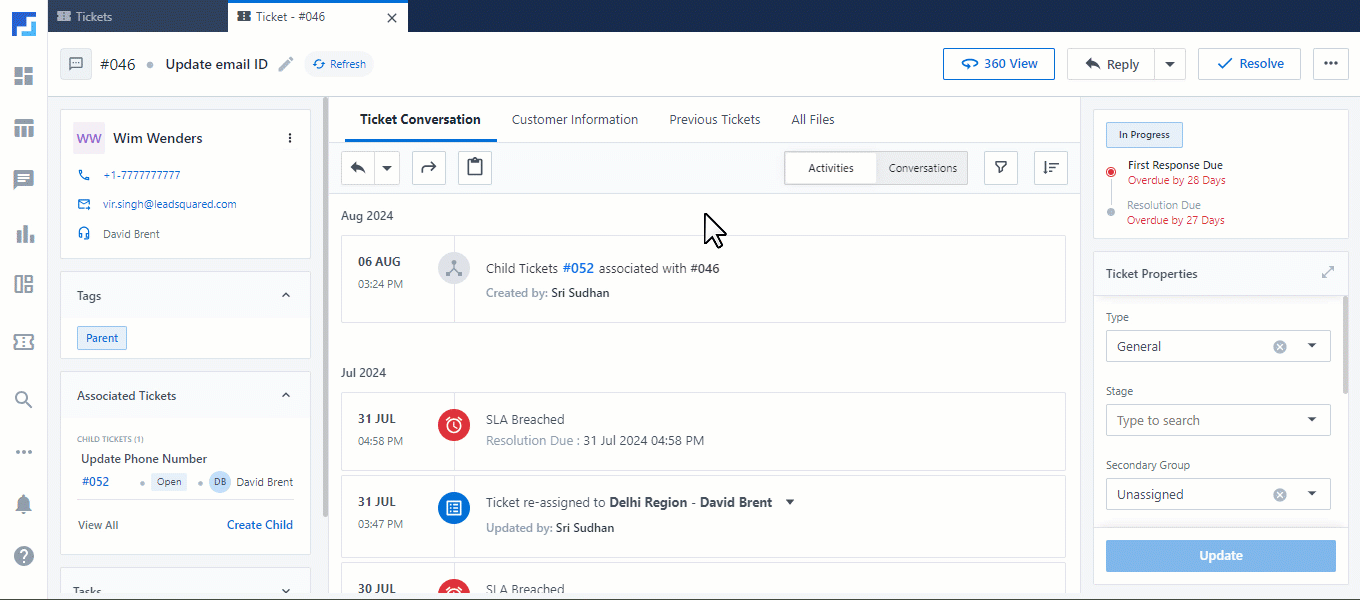
4.3 Associated Tickets
Associated Tickets are the parent or child tickets linked to the ticket you’re viewing. To view an associated ticket, click its ticket ID, which redirects you to its Ticket Details page. If you’re on the Parent ticket’s Ticket Details page, you can associate a child ticket with it –
- On the Associated Tickets tab, click Add Child.
- On the Add Child Tickets tab, either –
- Create Child Ticket – Select this to create a child ticket from scratch, and enter the following details –
- To capture existing details from the parent ticket, enable the checkbox alongside Capture properties from Parent Ticket.
- Subject – Enter a relevant subject line for the ticket.
- Description – Enter a relevant description for the ticket.
- Priority – Select the ticket priority.
- Ticket Owner – Choose the agent to whom you want to assign the ticket.
- Associate Exiting Tickets – Select this to associate an existing ticket as the child ticket.
- Select the existing tickets you want to associate, and click Associate. This completes the process.
- Create Child Ticket – Select this to create a child ticket from scratch, and enter the following details –
- Once you’re done, click Save.
- Alternatively, to create additional child tickets, click Save and Create More.
Note:
- When you close a child ticket but not the parent ticket, the parent ticket remains open.
- If you try to close a parent ticket while any associated child ticket remains open, you cannot close the parent ticket. You can close the parent ticket only after you close ALL associated child tickets.
4.4 Tasks
View the list of tasks associated with this ticket. Click on an existing task under this tab to open a detailed task view. To create a new task associated with this ticket, follow the provided steps –
- On the Tasks tab, click Create Task.
- On the Create Task tab, enter the following details –
- Subject – Enter a task title.
- Description – Enter a detailed explanation of the task, including any relevant information or instructions. This is optional.
- Priority – Set the priority level of the task (e.g., High, Medium, Low) based on its urgency.
- Task Owner – Select the agent to whom you want to assign the task.
- Due Date and Time – Set the deadline within which the task must be completed.
- Remind – When enabled, an email reminder is sent to the task owner. This is optional.
- Reminder Time before Due Time – Choose the amount of time before the due date and time when you want the reminder to be sent.
- Once you’re done, click Create Task.
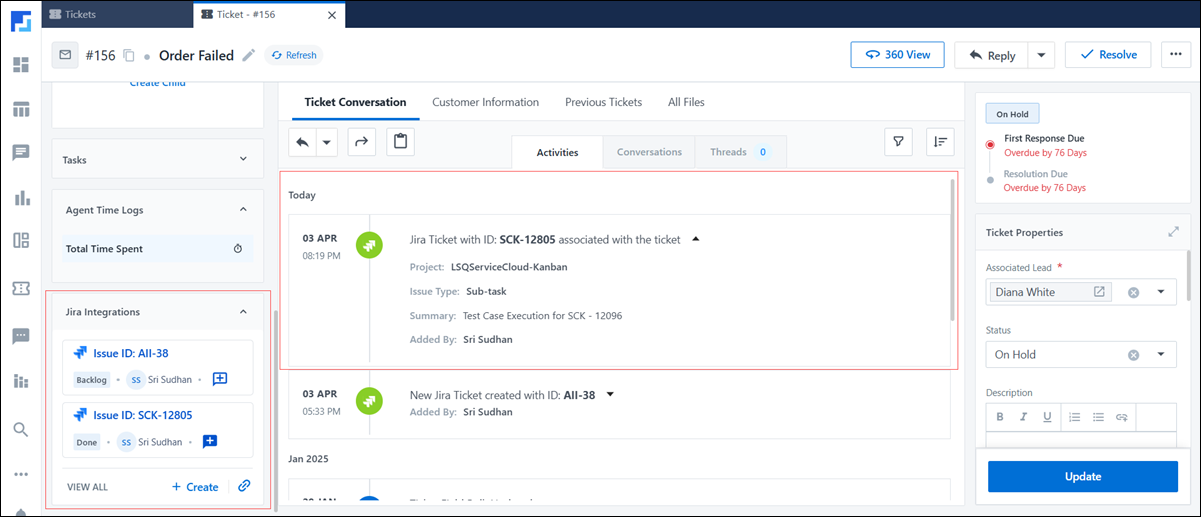
4.5 Jira
From this Jira widget, view existing Jira projects, issues, and details from the Ticket Details page. These issues are also listed as activities under Ticket Conversations. Additionally, create new Jira issues directly from this widget. To know more, refer to Service CRM Integration with Jira.
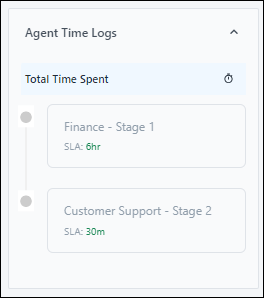
4.6 Agent Time Logs
This displays the time spent on individual tickets by each agent under each ticket department/ticket stage.
5. Centre Panel Components
The following components are listed on the Ticket Details page’s centre panel –
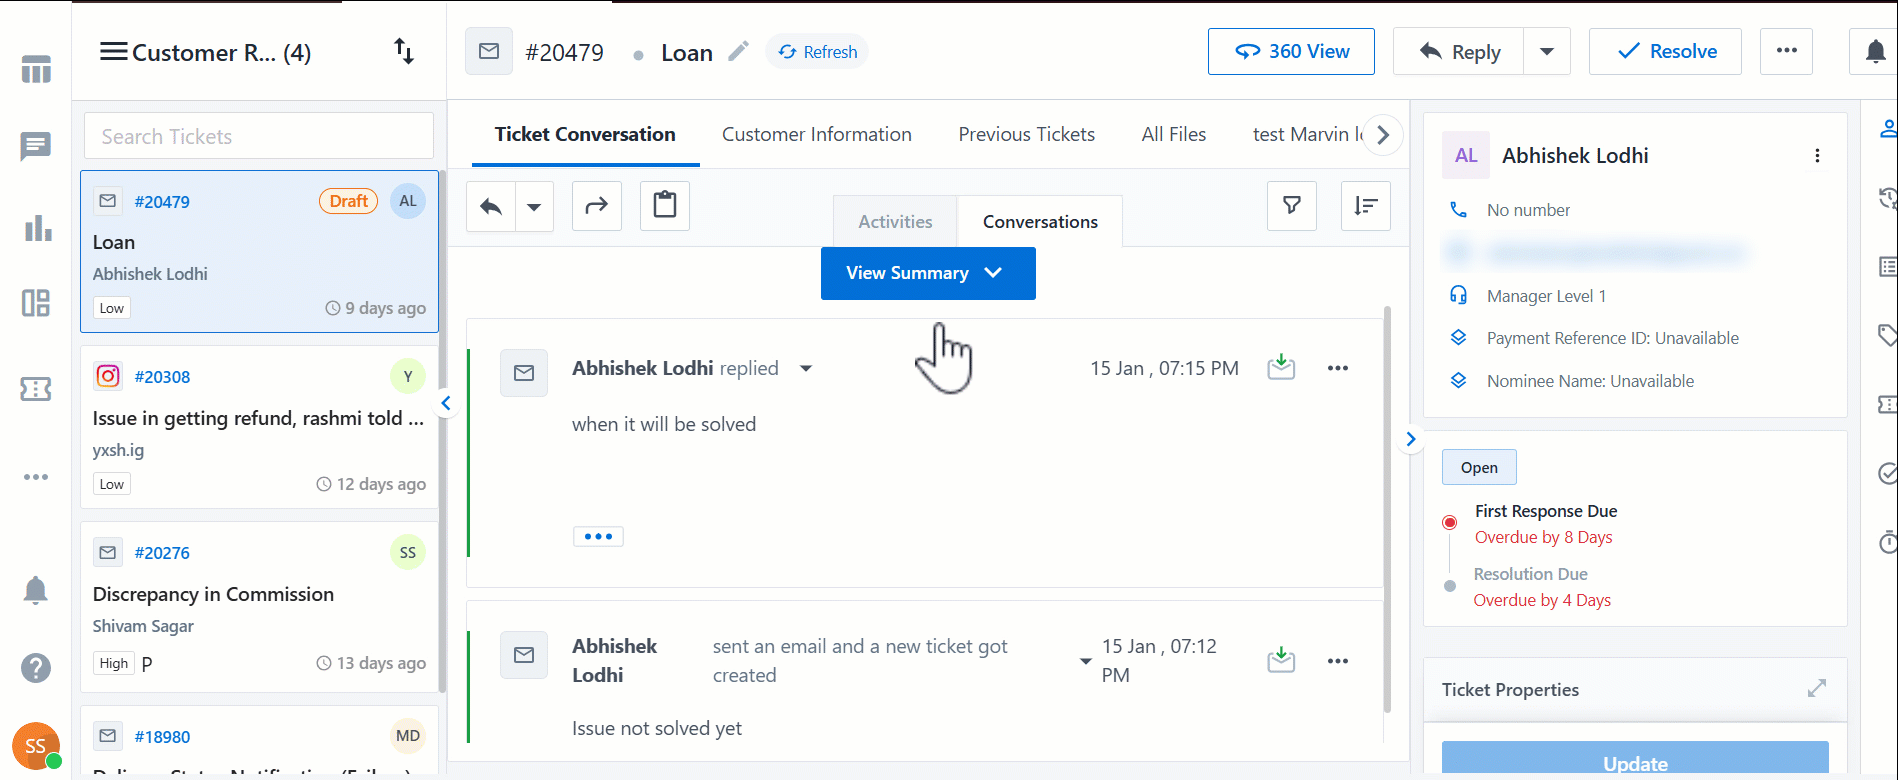
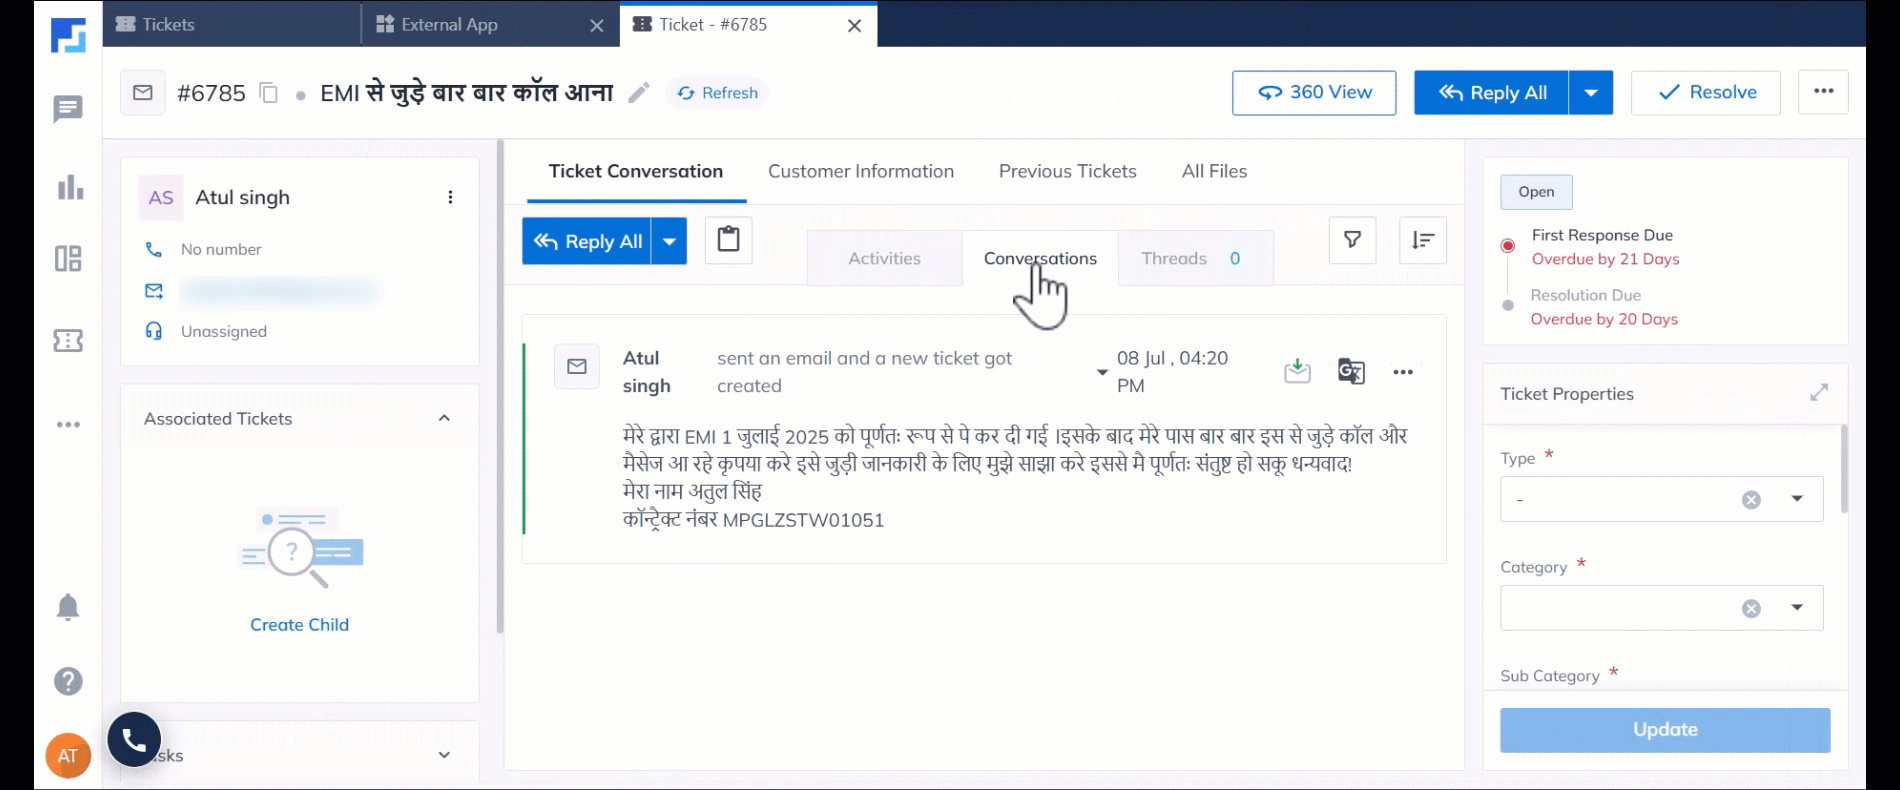
5.1 Ticket Conversations
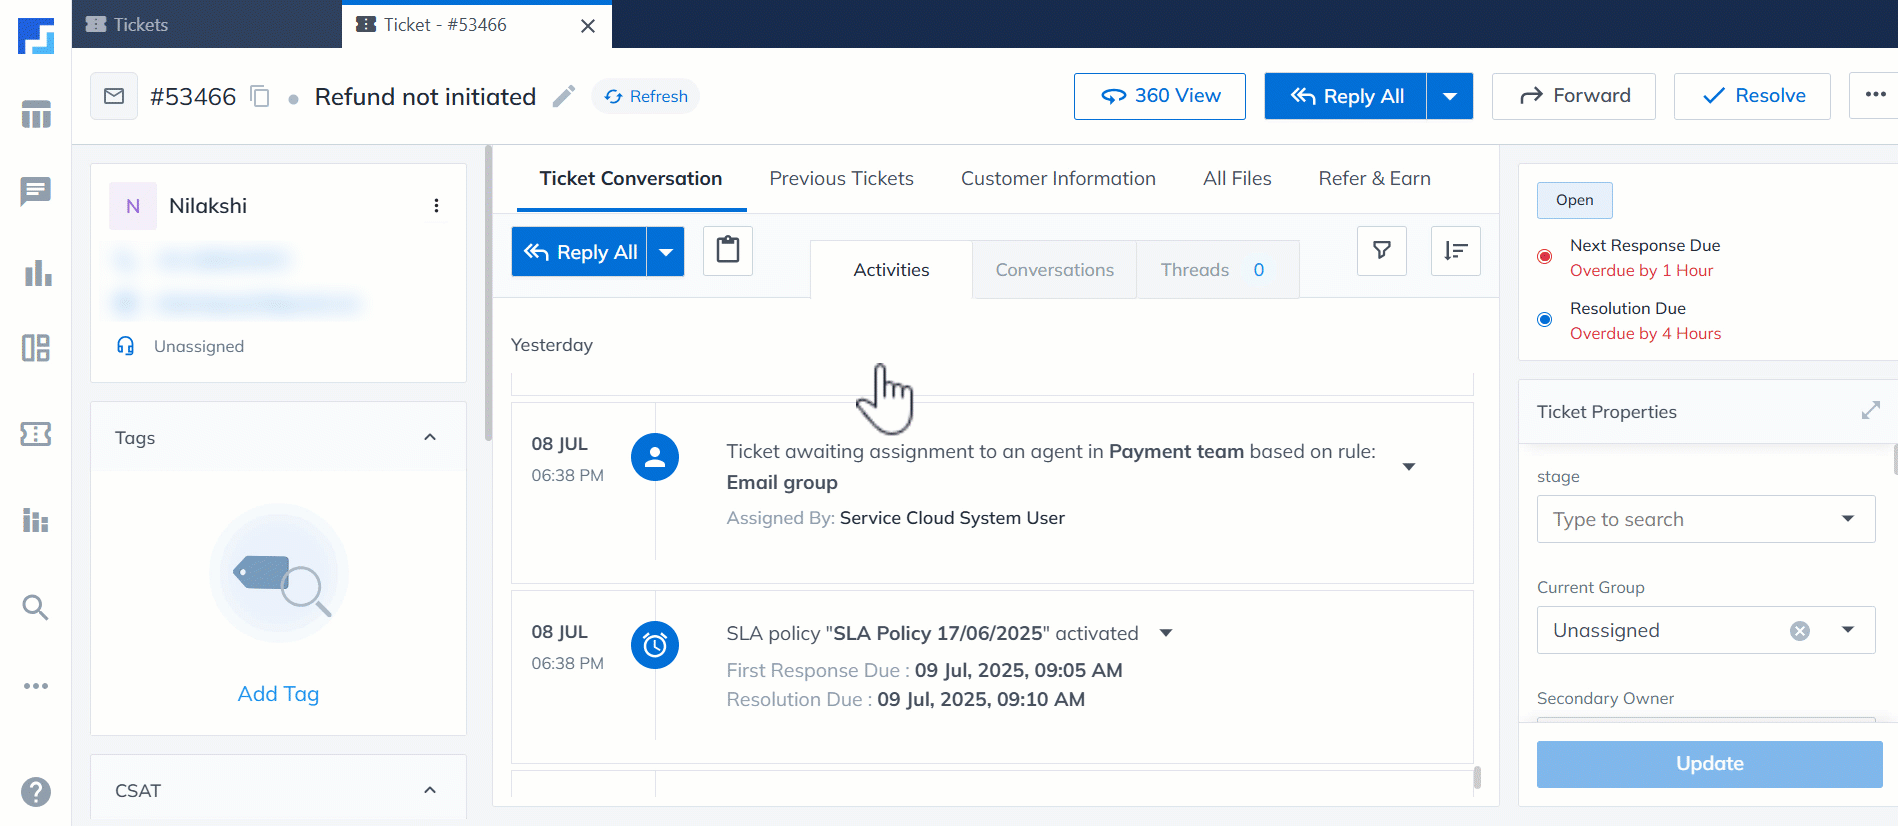
Displays all internal and external conversations related to the ticket, including communication between the customer, agents, and any other stakeholders. It also includes a detailed list of activities logged on the ticket, such as SLA breaches, updates, and other ticket-related events, giving a comprehensive view of the ticket’s history.

View all activities logged on the ticket under this tab, including events like SLA Breached, Child Ticket Associated, ticket creation, SLA activation, and more.
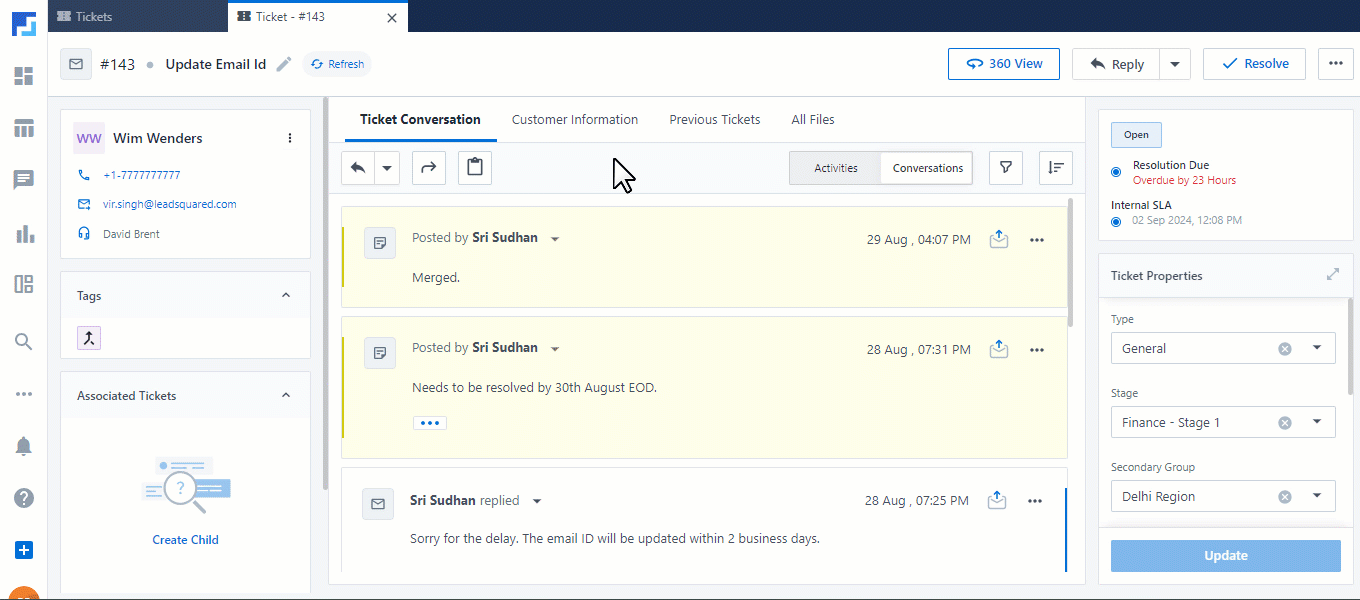
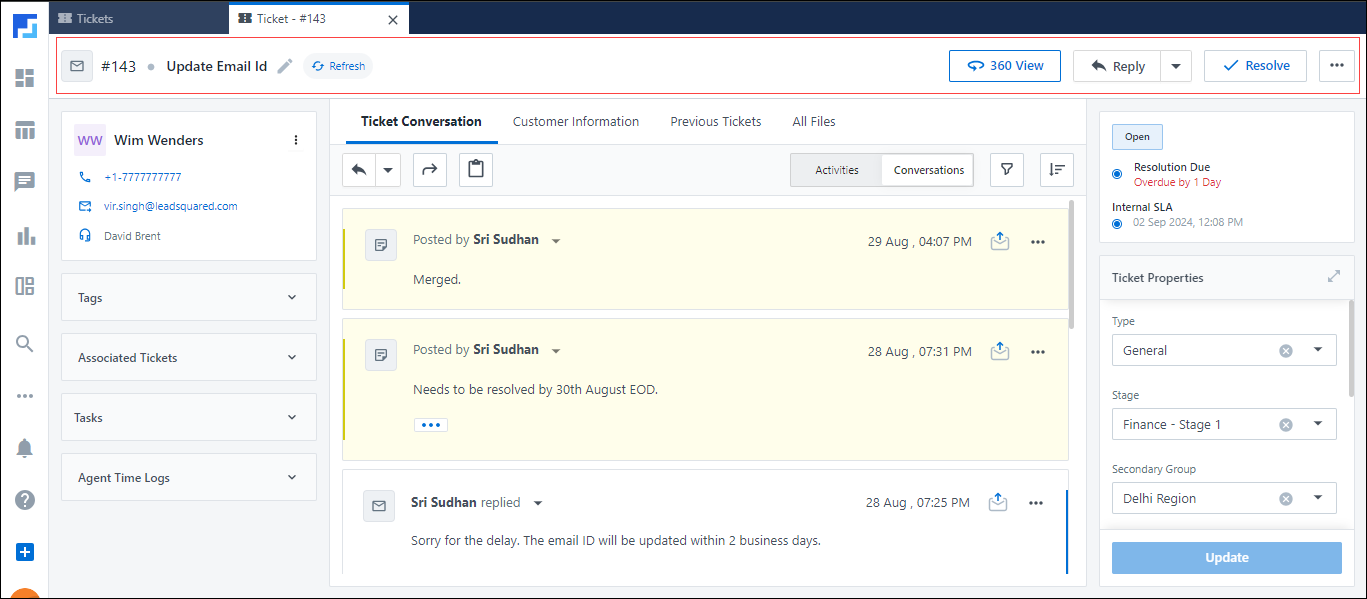
5.1.2 Conversations
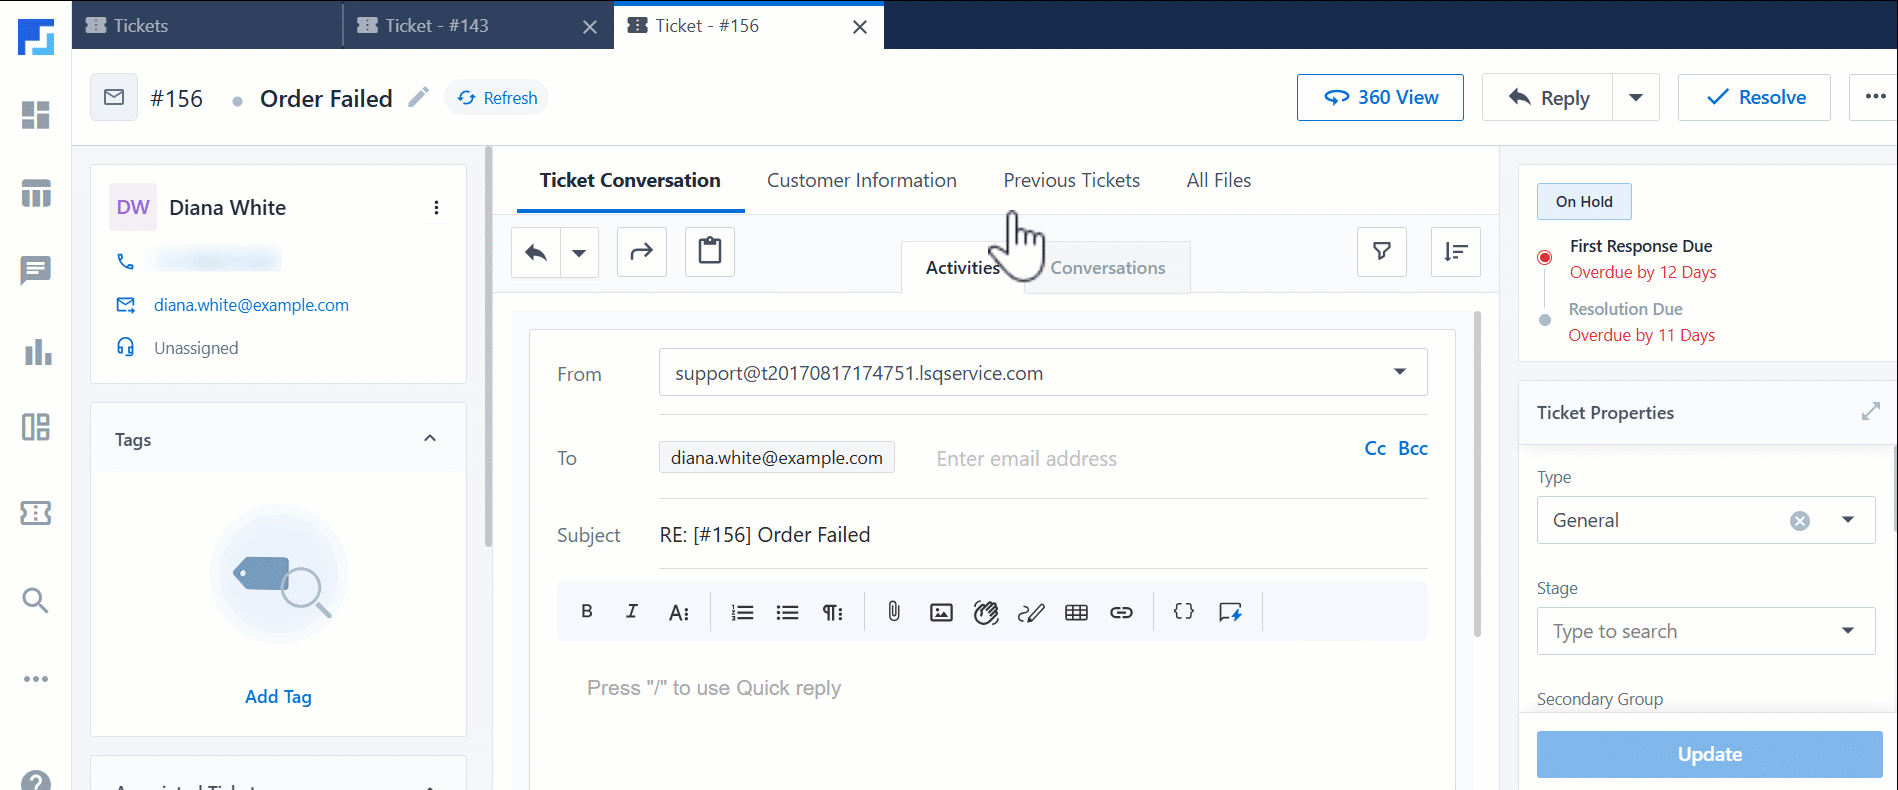
View the complete email conversation between customers and agents on this ticket. This includes email and chat communication. Under this tab, view email conversations (related to this ticket) between your customer and agents, and view internal notes posted on this ticket. Additionally, perform the following actions –
- Reply – Click
 to reply to the email directly from LeadSquared. When replying, choose to –
- Send the reply only to the customer.
- Send the reply to all the recipients marked on the mail.
- Reply and Resolve the ticket.
- Reply and Close the ticket.
- Forward – Click
 to forward the mail. It can be forwarded to internal and external email IDs.
 - Internal Note – Click
 to add an internal note. This can only be viewed on your LeadSquared account, and your customers will not be able to see it. If needed, you can tag the note to an agent in your account, and they’ll be notified. A note is marked using a yellow background.
 - Other Actions – Use the text tray to format the content of the email or note –
- Click
 to attach a file. The following file formats are supported –
- csv
- xls
- xlsx
- doc
- docx
- ppt
- pptx
- txt
- ics
- mp3
- wav
- mp4
- mov
- avi
- jpeg
- jpg
- png
- gif
- zip
- gz
- 7z
- Click
 to insert an image.
 - Click
 to automatically add a salutation (“Hi {{ticket_customer_first_name}}”) to your message. This dynamically inserts the salutation template configured in your account.
 - Click
 to insert a table.
 - Click
 to insert the signature template configured in your account.
- Click
- Filters – Click
 to filter the conversations by –
- All Conversations
- Forwards
- Reply to Forwards
- Internal Notes
- Reply to Internal Notes
- Sort – Click
 to sort the conversations in Ascending or Descending order.
Note: When replying to a customer, you have the following options –
- Send & Close – The reply is sent to your customer, and the ticket is automatically closed.
- Send & Resolve – The reply is sent to your customer, and the ticket is automatically resolved.
AI Features
In addition to the features listed above, Conversations leverages AI to assist you in communicating with your customers. Click the AI Assist button ![]() to draft a reply to your customers automatically.
to draft a reply to your customers automatically.
- Smart Reply – Based on the customer’s previous response and the entire conversation thread, the AI engine reviews the Auto Responses configured in your account to draft a relevant reply. You can edit the response as needed and send it to your customers once you’re satisfied.
- Paraphrase – This rewords the response to align with the content, tone, and style of the Auto Responses configured in your account.
5.1.3 Threads
Threads categorize different conversations on the ticket between various stakeholders into separate threads. For example, you might have one primary conversation with a customer, another with the internal team, and a third with your manager, all related to the ticket. These conversations are organized into three distinct threads to provide a clear, uncluttered view of the various discussions associated with the issue you’re resolving.

5.1.4 Customer Surveys
If the option for agents to send customer (CSAT) surveys is enabled in your account, you can include these surveys when replying to customer emails. To add a survey –
- When replying to a customer, from the reply tray, click the Merge Tags
 icon.
icon. - From the list of options, select CSAT Survey.
- Based on the survey’s configuration, whether it’s sent as a button or a URL, the corresponding option will appear in the email.

When a customer sends an email not in English, you can instantly translate it using the built-in Google Translate feature. You can translate both the incoming email and the reply you’ve drafted to the customer. The languages currently supported are –
- Kannada
- English
- Hindi
- Marathi
- Tamil
- Malayalam
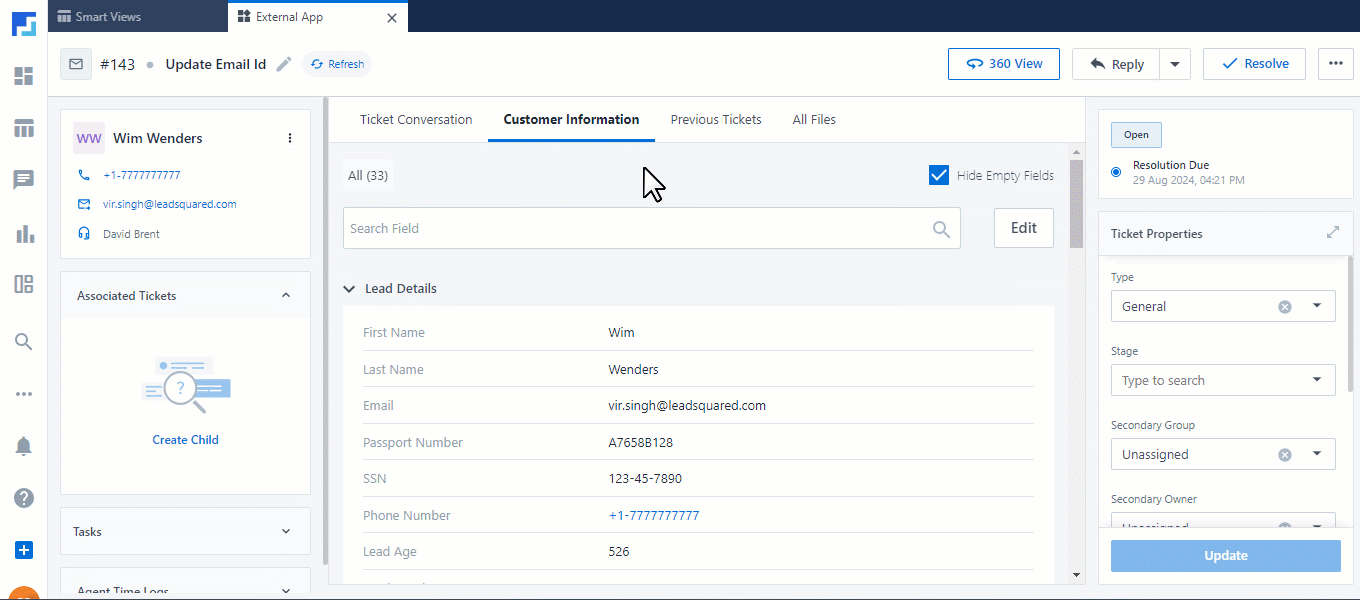
5.2 Customer Information
This tab displays customer information and includes both Lead and Ticket field details.
- Use the search bar to highlight details when you scroll down the page.
- Click Edit to update customer information without leaving the Ticket Details page.
- To view only ticket/lead fields that contain data, enable the checkbox next to Hide Empty Fields.
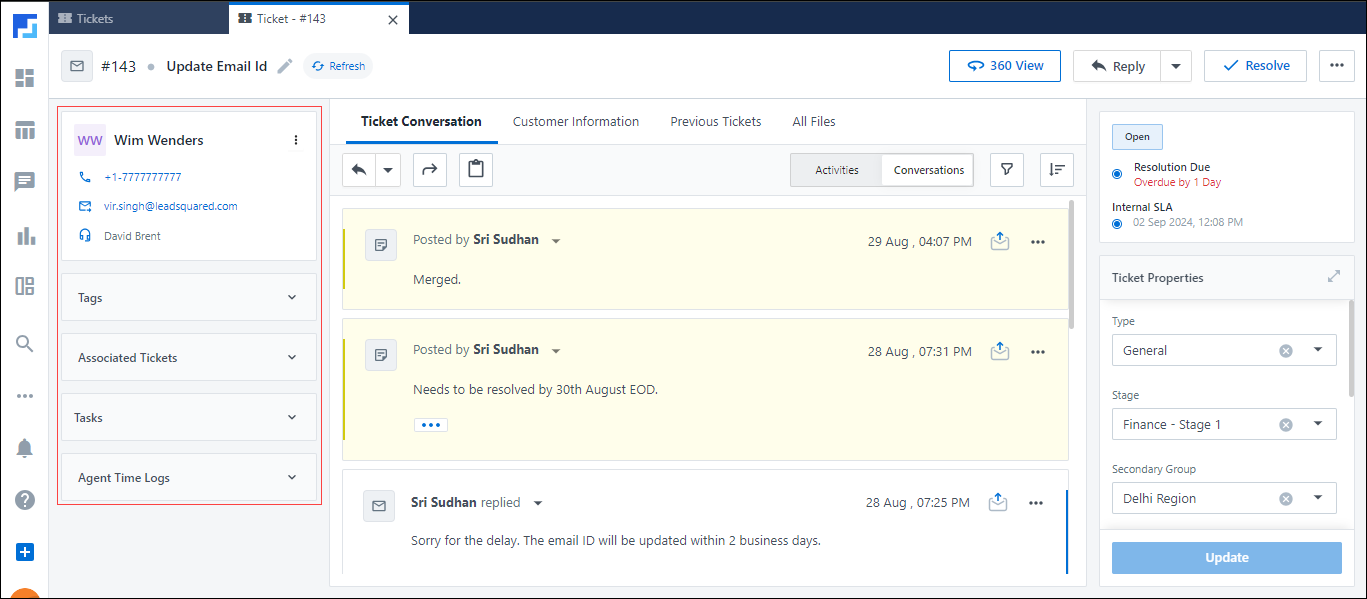
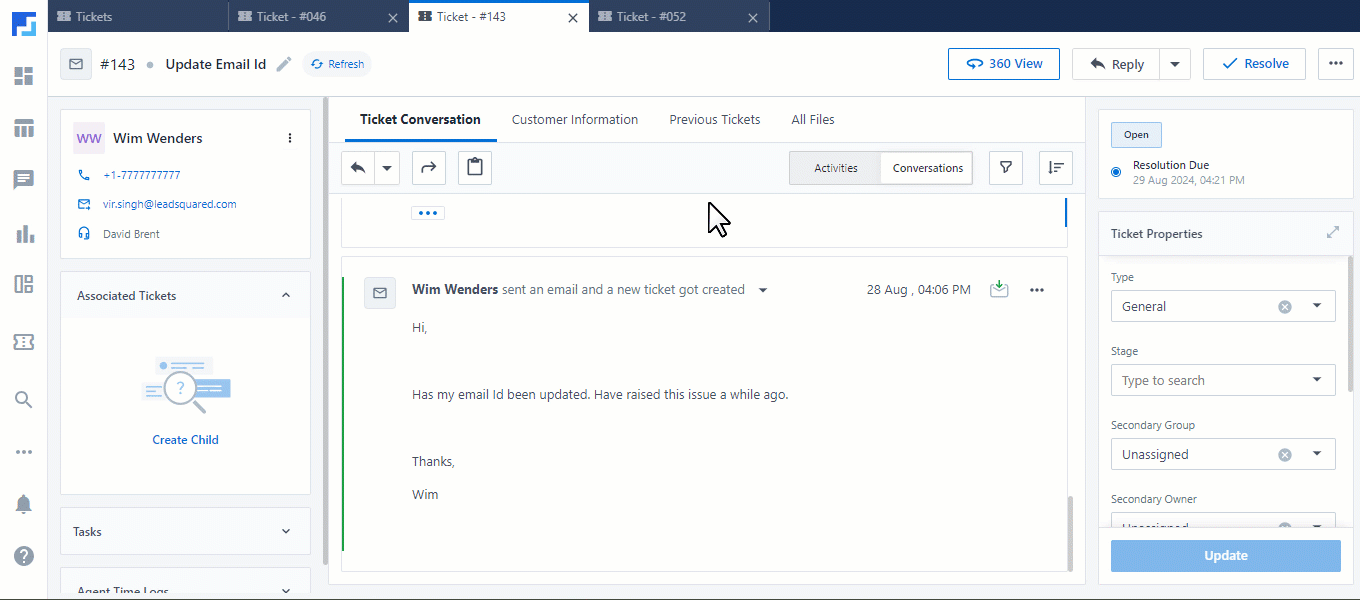
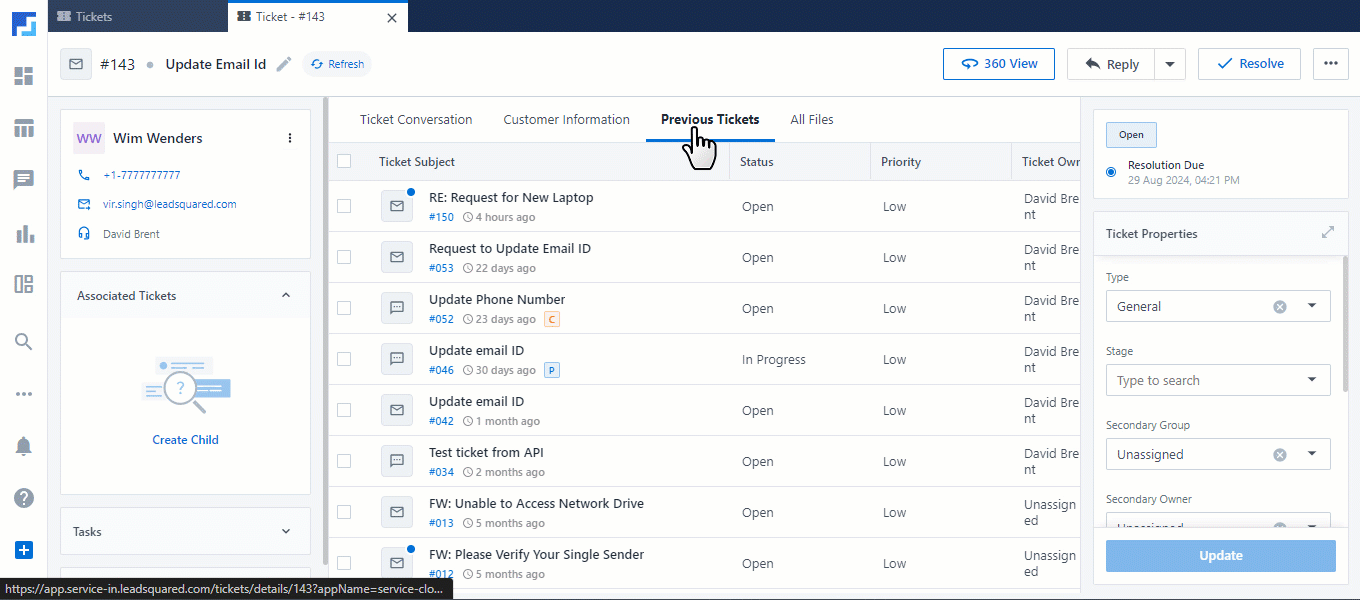
5.3 Previous Tickets
This tab lists all the previous tickets created by this customer. Here, merge two or more existing tickets, along with the ticket you’re currently on, into a single ticket. To do this –
- Select the tickets you want to merge by clicking the checkbox next to the ticket subject, and click Merge.
- The ticket you’re currently viewing (ticket number 143 in the GIF) is automatically selected and cannot be unselected.
- To merge all the previous tickets at once, select the
 checkbox next to Ticket Subject.
- On the Merge Tickets tab, select the primary ticket. The primary ticket will be retained, while the other two tickets will no longer be visible on the Ticket Views page*.
- On the Final Ticket Preview tab, verify if all the ticket details are accurate.
- You have the option to Add Internal Note to the merged ticket.
- Once you’re done, click Merge.
Note:
- *The Merge Tickets action is irreversible. Make sure to verify the tickets you’ve selected before proceeding to merge them.
- The merge action cannot be performed on Parent and Child tickets.
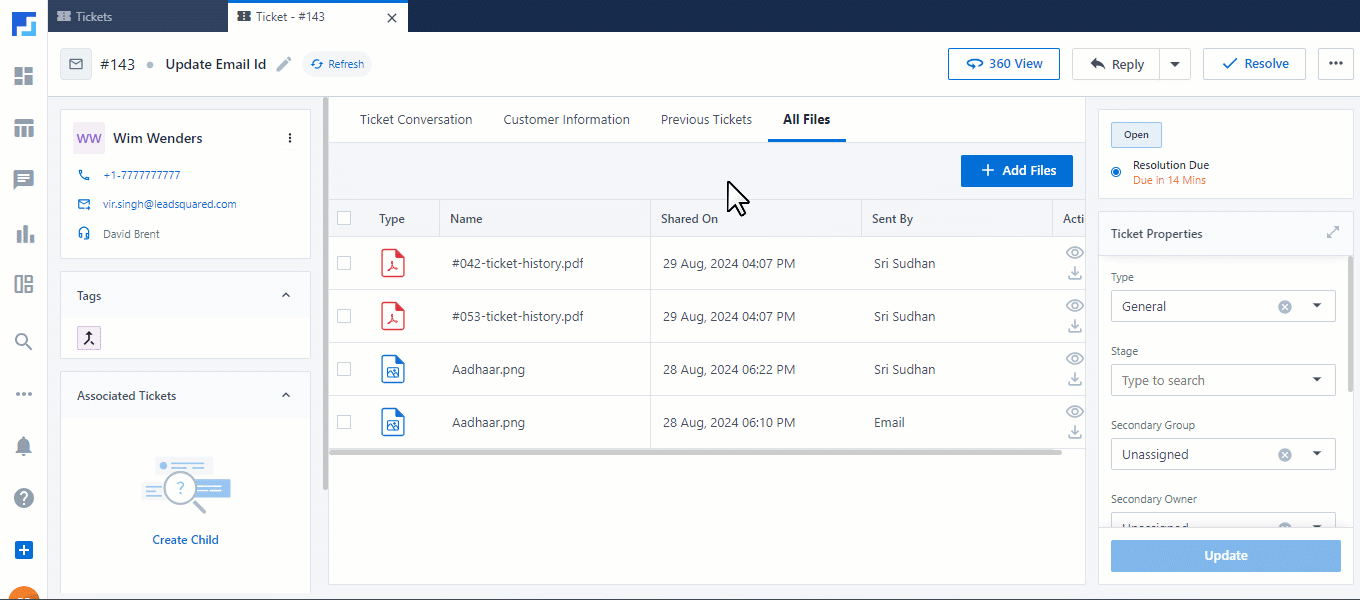
5.4 All Files
This tab lists all the files shared by the customer (such as screenshots, PDF files, etc.) or shared with the customer (such as invoice copies, job completion certificates, etc.). It also includes a downloadable PDF copy of previous tickets that were merged with the current ticket.
- To preview a file, click
 .
. - To download a file, click
 .
. - To download multiple files, select the checkbox next to each file name and click Download.
- To download all the files at once, select the checkbox next to Type, and click Download.
- To download all the files at once, select the checkbox
You can also Add Files to the ticket –
- Click the Add Files button.
- On the Upload Files pop-up, drag and drop the files you want to add.
- Alternatively, click the Browse option to upload files from your local system.
- Once you’re done, click Attach.
5.5 Social Media Tickets
For tickets captured through Social Media Channels, you can perform the following actions –
5.5.1 Google Reviews
For tickets captured from reviews posted on your business’s Google page, you can directly reply from your LeadSquared account –
- On the Ticket Views page, click on a ticket with the
 icon. These tickets are created from Google reviews.
 - On the Ticket Details page, under the Conversations tab, click
 , and then click Reply.
 - You can either use an existing Quick Reply template
 or type a custom reply.
 - Once you’re done, click Send. Your reply will now appear on your business’s Google page.
5.5.2 Facebook Comments
For tickets captured from comments posted on your business’s Facebook page, you can directly reply from your LeadSquared account –
- On the Ticket Views page, click on a ticket with the
 icon. These tickets are created from Facebook comments.
 - On the Ticket Details page, under the Conversations tab, click , and then click Public Reply or Private Reply.
- A Public Reply is something the public can see.
- A Private Reply is something only the customer can see.
- You can either use an existing Quick Reply template or type a custom reply.
- Once you’re done, click Send. Your reply will now appear on your business’s Facebook page.

5.6 SLA Trigger Details
When a ticket matches multiple SLA policies, only one policy is applied. Here, view the specific SLA policy assigned to the ticket. This tab also displays the –
- Priority – Displays the SLA number applied to the ticket. For example, if your account has 200 SLA policies and this ticket matches the conditions of the 158th policy in that list, the number 158 appears here.
- Policy Name – The SLA policy that’s applied to the ticket.
- Description – Displays the description of the applied SLA policy.
- Event – Displays if the SLA policy was applied when the ticket was created or updated.
- Conditions – Displays the SLA policy conditions that triggered the policy.
In addition to the above details, the First Response Due and Resolution Due timelines (as per the SLA policy) are also displayed.

5.7 Assignment Rule Details
When a ticket matches multiple Assignment Rules, only one rule is applied. Here, view the specific rule assigned to the ticket. This tab also displays the –
- Priority – Displays the Assignment Rule number applied to the ticket. For example, if your account has 20 Assignment Rules, and this ticket matches the conditions of the 1st policy in that list, the number 1 appears here.
- Policy Name – The Assignment Rule that’s applied to the ticket.
- Description – Displays the description of the applied rule.
- Event – Displays if the rule was applied when the ticket was created or updated.
- Conditions – Displays the conditions that triggered the rule.
- Parameter – Displays the parameter that triggered the rule.
In addition to the above details, “Assigned By” is also displayed.
6. Right Panel Components
Your account admin configured the right panel to display up to 20 important ticket fields. These fields are listed under Ticket Properties, and you can edit and update them directly from the Ticket Details page. The panel also displays the SLA status.

To update these properties –
- Under Ticket Properties, the fields configured by your admin are visible in the right panel. Use the dropdown to update these ticket values.
- Once you’re done, click Update.

- To edit ticket fields not listed under Ticket Properties, click
 .
. - Once you’re done, click Save & Close.
7. Top-bar Components
7.1 Actions
Perform the following actions from the top bar on the Ticket Details page –
- To update the ticket subject, click
 .
. - To view the Customer 360 page, click 360 View.
- To reply to the customer’s email, click Reply.
- To resolve the ticket, click Resolve.
7.2 Associate another Lead or Opportunity
To associate a different lead or to associate an opportunity with a ticket –
- On the topbar, click
 , and click Change Associated Customer.
 - On the Change Associated Customer pop-up –
- From the Associated Customer dropdown, update the lead to whom the ticket is associated.
- From the Associated Opportunity dropdown, select the opportunity you want to associate with this ticket.
- Once you’re done, click Update. The ticket is now associated with the selected lead or opportunity.

8. Shortcuts
- On the Ticket Conversation tab, when replying to a customer’s email, press / on your keyboard to display the list of Quick Reply templates available in your account. Click a template to use it.
Any Questions?
Did you find this article helpful? Please let us know any feedback you may have in the comments section below. We’d love to hear from you and help you out!