


Get Started
Sales Suite
Field Ops
Marketing
Service CRM
Integrations & Apps
FloStack
Lead/Opportunity Level Check-in and Check-out on Mobile App
1. Feature Overview
The Lead and Opportunity Level Check-in/Check-out feature tracks the time a user spends on a lead or opportunity. This is different from the app-level check-in, which is meant for marking attendance. This feature provides more accurate data on the time spent on leads and opportunities, and enhances productivity analysis and reporting for managers. When Location Tracking is enabled, you can also track the location of your field user when they have checked-in at the Lead or Opportunity Level.
2. Prerequisite
You must have the LeadSquared mobile app installed in your device.
3. How It Works
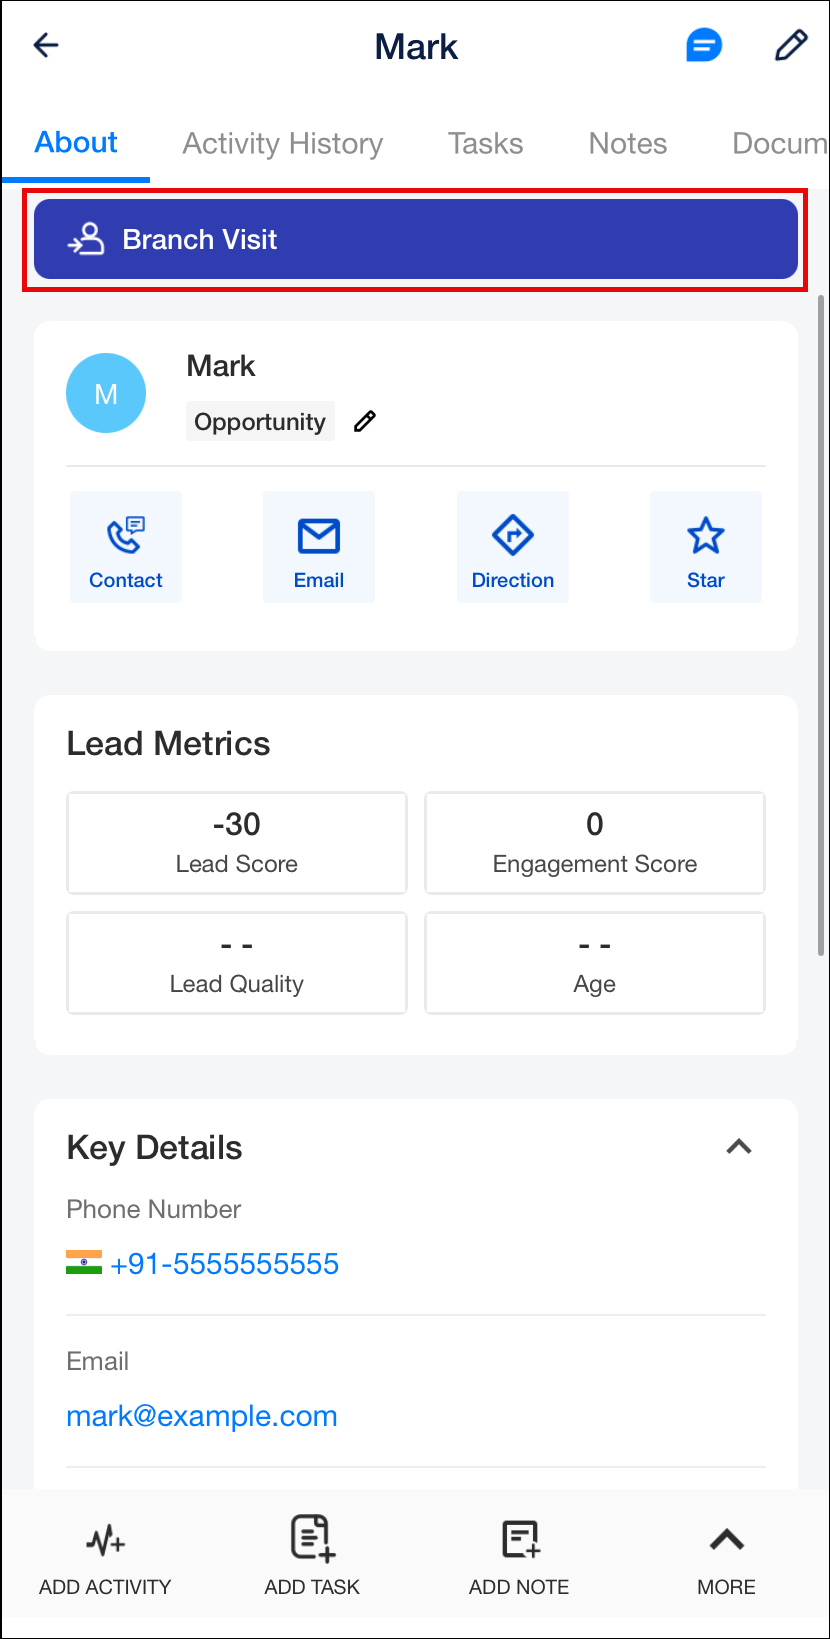
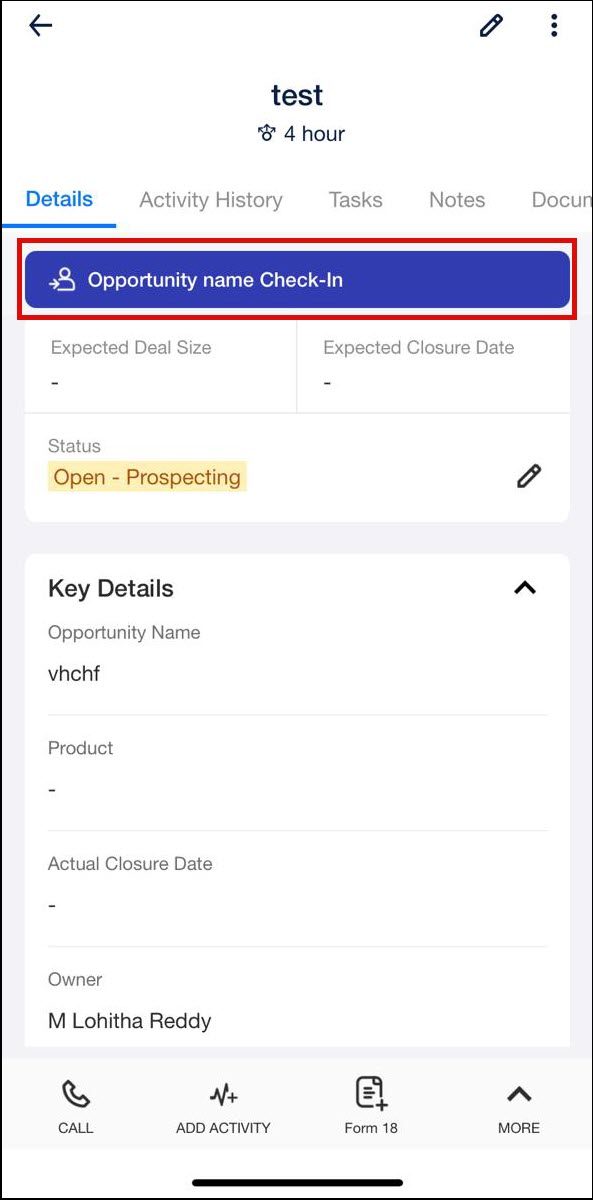
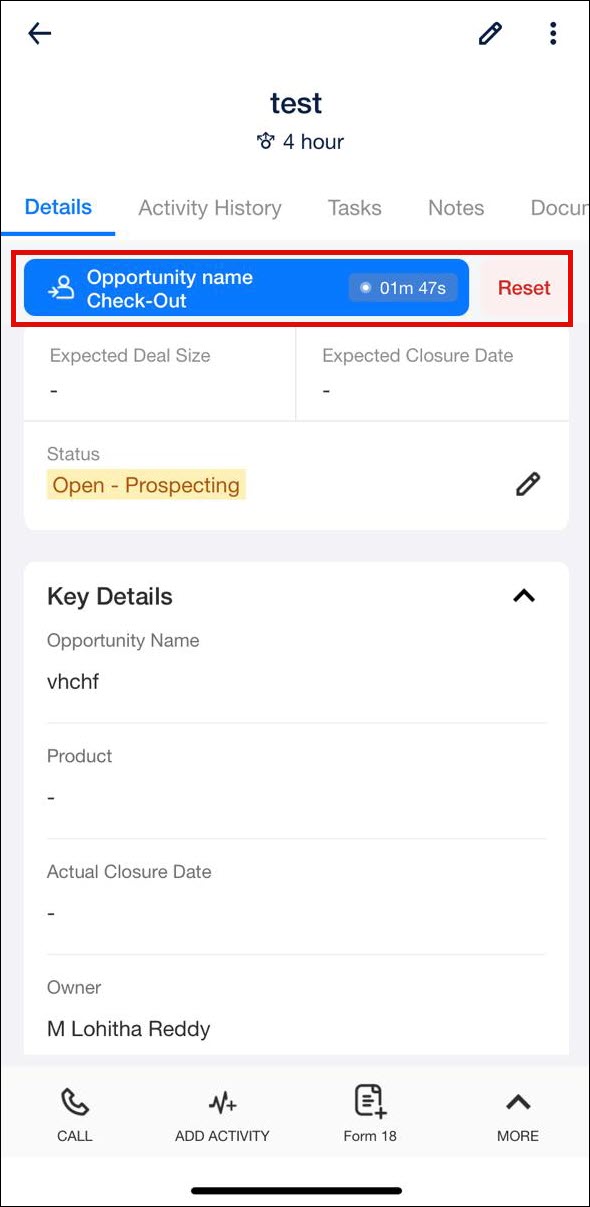
First, Admins must configure the JSON on Mobile App Additional Settings in a specific format to enable check-in and check-out at lead or opportunity level. Once this setting is configured, an Lead/Opportunity Check-In button will be displayed on the opportunity and lead details pages respectively. Users can tap this to start their meeting. A timer will appear in hours, minutes, and seconds.
The check-in/out actions can be linked to either a dynamic form or a default activity form, which can be manually submitted by the user or posted in the background. The corresponding activities will be posted upon checking in and out. The duration between these two activities will serve as the time spent by the sales user on the lead or opportunity. If geofencing is enabled, the user’s current location is fetched and verified to ensure they are within the defined radius from the location of the opportunity.
Lead Level Check-In and Check-out

Opportunity Level Check-In and Check-out
4. Enable Lead Level Check-in/Check-out
- Navigate to Settings>Mobile App>Additional Settings.
- Alongside Check In and Out Entity Level, configure the JSON using the sample code given below.
- Once you’re done, click Save.
5. Enable Opportunity Level Check-in/Check-out
- Navigate to Settings>Mobile App>Additional Settings.
- Alongside Check In and Out Entity Level, configure the JSON using the sample code given below.
- Once you’re done, click Save.
Sample JSON
| activityCode | The code associated with a specific Activity Type |
| backgroundPost | Pass ‘true’ to post the activity automatically on the lead, pass ‘false’ for the user to post the activity manually on the lead |
| formId | Id of the form displayed to the user on check-out |
| checkInTimeField | Schema name of field where the check-in time will be stored |
| checkOutTimeField | Schema name of the field where the check-out time will be stored |
| durationField | Schema name of the field where the duration of the activity will be stored |
6. Enable Location Tracking
When Location Tracking is enabled, you can view a user’s location data while they are checked in at the Lead or Opportunity level. In addition to tracking the time spent on a lead or opportunity, the user’s exact travel path during on-site meetings can also be monitored. This is especially valuable in industries like automotive sales, on-site product demos, and field service, where physical movement is a key part of the engagement.
To configure this –
- Navigate to Settings>Mobile App>Additional Settings.
- Alongside Check In and Out Entity Level, configure the JSON using the sample code given below.
- Once you’re done, click Save.
Sample JSON
{
   "lead": [
       {
           "entityId": "lead",
           "checkIn": {
               "activityCode": "209",
               "title": "Start Meeting",
               "backgroundPost": true
           },
           "checkOut": {
               "title": "End Meeting",
               "activityCode": "211",
               "checkInTimeField": "mx_Custom_3",
               "checkOutTimeField": "mx_Custom_4",
               "durationField": "mx_Custom_5",
               "backgroundPost": true
           },
           "reset": {
               "FormId": "c6f081d7-4b48-11ef-8630-0af59550b647",
               "backgroundPost": "false"
           },
           "validations": [
               {
                   "method": "userField",
                   "data": {
                       "expectedValue": "sales",
                       "userFieldSchema": "mx_Custom_8"
                   }
               }
           ],
           "enableLocationTracking": true
       }
   ]
}
Once enabled, when a user logs into the app, they must –
- Perform the app-level check-in from the homepage or navigation menu.
- Navigate to the relevant lead or opportunity details page and check-in. The location during the checked-in duration will be tracked.
- Once the meeting is over, check-out.
The location history of the user can be accessed from the Field Force Insights Report. This helps you gain full visibility into your field team’s movement during customer visits.
Any Questions?
Did you find this article helpful? Please let us know any feedback you may have in the comments section below. We’d love to hear from you and help you out!