


Get Started
Sales Suite
Field Ops
Marketing
Service CRM
Integrations & Apps
FloStack
Manage Plans on the Mobile App
1. Feature Overview
Journeys enables all sales users to create a Plan (Beat Plan, PJP etc.) in just two simple steps by defining the plan duration (i.e. Start Date & End Date) and adding the relevant leads. Users can also send plans for approval to their respective managers if required. Once a plan is published or approved, the configured To-Dos will be created against the added leads. The plan execution can then be tracked through My Trips, Tasks, Task Smart Views, etc., on the LeadSquared mobile app.
This article explains how you can create, edit and approve plans through the LeadSquared mobile app.
2. Prerequisites
- Journeys must be configured on the web app. To know more, refer to Setting up Journeys on the Web App.
- Journeys must be added to the side navigation menu on the mobile app.
3. How It Works
Admins must first enable and configure Journeys on the Web application. Once configured, sales users can create plans on the mobile app and submit them for approval to their managers, if required. Users can access all published plans on the My Plans page.
Once managers approve the plans, it will be reflected on the following pages on the mobile app –
- Tasks
- Task Smart View
- Task Counter (CASA)
- My Trips (only if the planned leads have a location tagged to them)
Users can then follow their plans while performing their assigned tasks.
4. Create Plans
- From the dashboard, tap
 . On the side menu, under Journeys, tap My Plans.
 - To create a new plan, tap
 .
. - Under Select Date Range, tap
 to select your start and end dates on the calendar.
- Start Date – The start date of the planned period, starting from the current date and extending up to 90 days.
- End Date – The end date of the planned period, extending up to 31 days from the selected start date.
- If admins have enabled Default Plan Duration, users will be designated a range of days in a plan. When a user selects a start date, the app auto-fills the end date based on the admin-set duration. The user can adjust the end date unless Force Duration is enabled, making it non-editable.
- Under Working Days, select your official working days. By default, the working days are set based on the user’s Workday Template. If Force Workday Template is enabled on the Journeys Settings, you cannot modify the workdays in a plan duration.
- Under Create Plan With, you can choose to create this plan by searching for leads manually or using a pre-existing lead template. Once you select the relevant option, tap Next.
- On the relevant date, a number denoting the leads already assigned to the user on that particular day is displayed. The number mentioned above each date represents the number of tasks assigned (task load). Tapping the number will open a popup with a list view of the existing tasks.
4.1 Create Plans with Leads
- Alongside each date, tap
 . Any holiday falling within the plan duration will automatically be blocked. However, you can click alongside the date to add leads.
 - To add leads, alongside the relevant lead, tap
 .
.
- Only the leads accessible to the logged-in user will be available for planning. Leads will be displayed based on the configured lead access hierarchy.
- To request your manager for a joint meet with a lead you’ve added, enable the toggle beside Joint Meet.
- Search for leads on the search box. To filter your leads, tap
 .
. - If Define Quota is enabled, admins can set a defined minimum number of leads that a user can cover each day. If Force Minimum Quota is enabled, all users must comply to a standard minimum number of leads. If users haven’t met the minimum lead quota, the system blocks plan submission and notifies them.
- Tap Next. You will now receive a summary of your plan with the total number of tasks and unique leads you’ve added. Once you’ve reviewed it, tap Submit For Approval or Publish.
Note:
- You can add more leads to your plan till you meet the daily quota configured by your Admin. If no quota has been assigned, you can add up to 40 leads to your plan in one day.
- To preview the plans you’ve created, on the side menu, under Journeys, tap My Plans. Then, tap the plan you wish to view.
- If Approvals are disabled in your account, the plans will get published immediately.
- If Approvals are enabled in your account, the plans will get published once your Manager approves them.
4.2 Create Plans with Lead-Based Smart Views
Create plans focusing on the most relevant leads by choosing from Lead-Based Smart Views or Lead Types.
- Alongside each date, tap . Any holiday falling within the plan duration will automatically be blocked. However, you can click alongside the date to add leads.
- Click All Leads dropdown to view Lead-Based Smart Views or Lead Types.
- Select the relevant Smart Views.
- To add leads from the specific Smart Views, alongside the relevant lead, tap .
- Click Next to view a summary of your Plan. Once you’re done, click Submit for Approval or Publish.

4.3 Create Plans with Lead Templates
- Alongside each date, tap . Any holiday falling within the plan duration will automatically be blocked. However, you can click alongside the date to add leads.
- Tap on the relevant lead template to select it. Once selected, you can tap on the template to view the leads added.
- On this card, to remove a lead from the plan, alongside the lead, uncheck the box.
- To create a joint meeting for a particular lead, alongside the lead, enable the Joint Meet toggle. Once you’re done, click Save.
- Click Next to view a summary of your Plan. Once you’re done, click Submit for Approval or Publish.

5. Block Days on the Plan
Block specific days or even half days (first half or second half) on your plans for planned leave or official activities. Blocked days will be displayed to your manager, allowing them to view and approve the plan with this information. To block a day on the plan –
- From the dashboard, tap . On the side menu, under Journeys, tap My Plans.
- To create a new plan, tap .
- Under Select Date Range, tap to select your start and end dates on the calendar. Under Working Days, select your official working days.
- Under Create Plan With, you can choose to create this plan by searching for leads manually or using a pre-existing lead template. Once you select the relevant option, click Next. Tap Next.
- Alongside the date you wish to block, tap . On the top right corner of the page, tap Block Day.
- Select your reason for blocking the day (Leave, Meeting, Training, Holiday, etc.). Then select if you want to block the Full Day, First Half or Second Half.
- Proceed adding leads on the other days of the plan and save it. If you’ve blocked half-day, you can still add leads to the rest of the day. You can view your blocked days on the plan preview.
6.Manage Lead Templates on Mobile App
6.1 Create and View Templates
-
- From the dashboard, tap . On the side menu, under Journeys, tap My Templates.
- Tap the
 Add Template icon.
 - Fill in the relevant details in the popup and select the leads to be added in the template.
- From the dashboard, tap
- You can view all the available lead templates on this page.
- To view the leads on the template, tap the lead template.
- On this pop-up, to view a lead’s details, tap the lead name.

6.2 Edit & Delete Templates
You can edit and delete templates that you’ve created directly from the mobile app. However, templates that are created by someone else and assigned to you cannot be modified. To edit your templates –
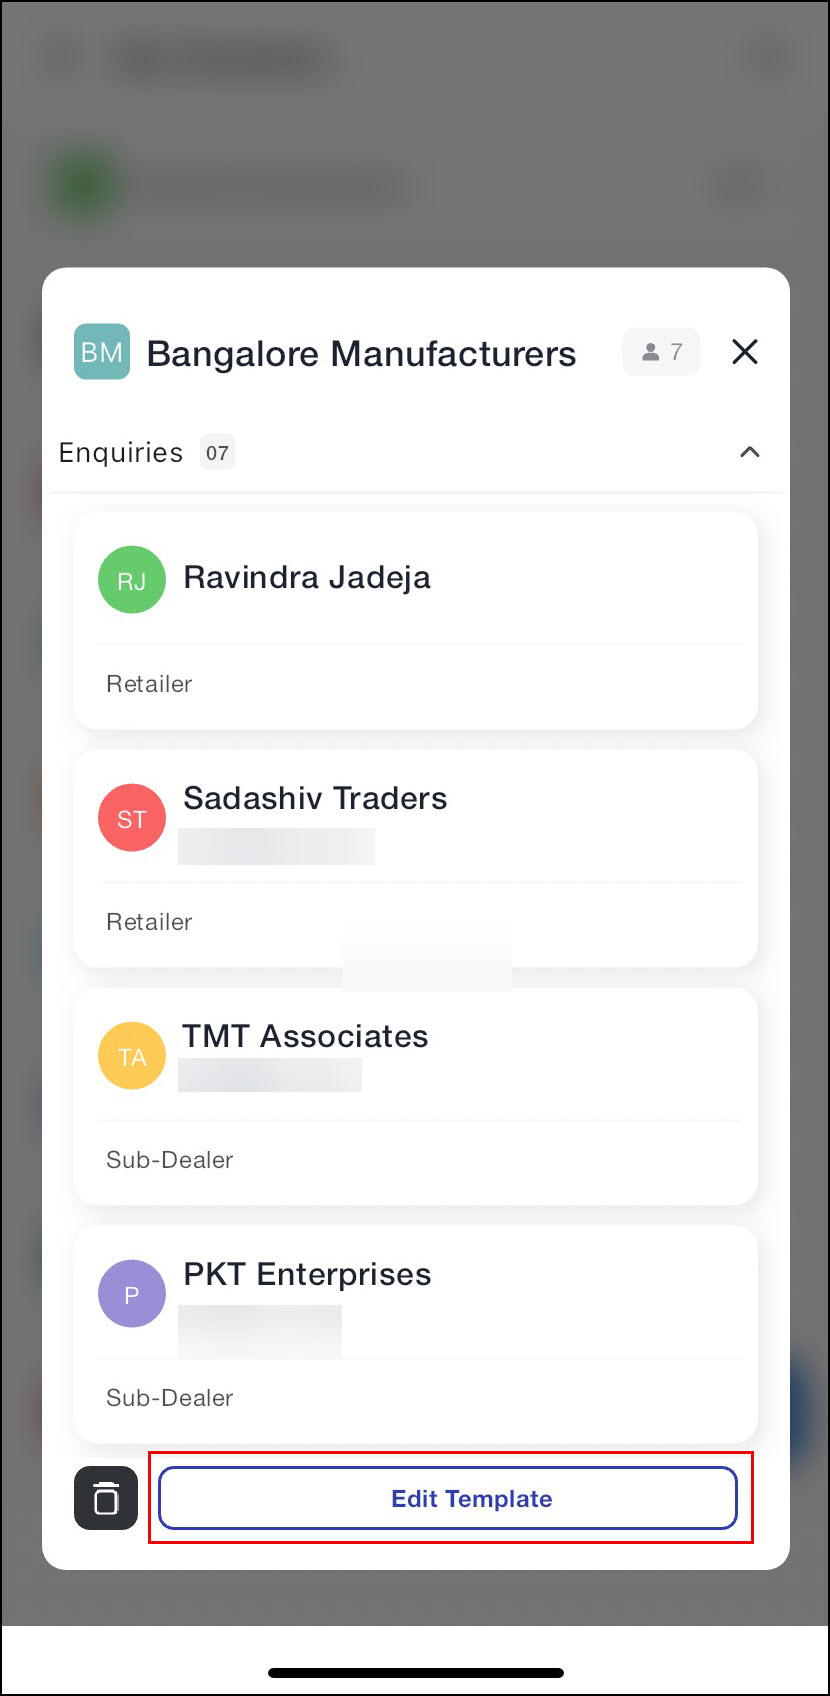
- Once you’ve navigated to My Templates, tap on any template you’ve created.
- Tap Edit Template to update template details or task assignments.
- Once done, tap Save to apply your changes.
To delete your templates –
- From the Template Preview Page, tap the Delete icon.
- Confirm the deletion in the popup “Are you sure you want to delete this template? This action cannot be undone.” The template will be deleted.

7. Clone Plans
You can clone existing Approved or Published plans to reduce the time and effort of creating new plans. All scheduling patterns are copied forward, saving you time when recurring plans are needed. However, you can modify the date range and leads if required. To clone a plan –
- Open your ideal Approved or Published plan from My Plans on the LeadSquared Mobile App. You can view the status and the summary of the full plan.
- Tap the
 Clone Plan icon on the top right corner of the screen.
 - Customize the plan as required with the date range. You can either stick to the same date range of the original plan or modify it. Tap Next.
- View all the leads added to the original plan and modify the plan if required. Tap Next.
- View the summary of the plan and tap Submit for Approval if everything looks good.
8. Approve Plans
Managers can approve/reject their users plans on the mobile app –
- From the dashboard, tap . On the side menu, under Journeys, tap My Approvals.
- Tap the relevant plan. You will now see a summary of the plan created.
- To bulk approve plans, long press a plan card. Then, select all the other plans you wish to bulk approve.
- For plans containing Joint Meetings, a confirmation pop-up will appear, providing options to cancel or proceed with approval.
- Upon confirming, the selected plans will be approved, and the associated Joint Meet Tasks and other Journey Tasks will be created for both the approver and the requester.
- Alongside the dates added in the plan, the number of leads added for that day will be displayed. Tap on these leads to view the details of the leads added. You can also choose to opt out of Joint Meetings here by sliding the Joint Meet toggle.
- The number mentioned above each date in the pending plans represents the number of tasks assigned (task load). Tapping the number will open a popup with a list view of the existing tasks.
- To approve or reject the plan, on the bottom of the page, select the relevant option. While rejecting a plan, enter a comment and tap Reject.
Note:
- Expired plans cannot be selected in bulk to ensure that only active plans are processed.
- Plans must be approved/rejected on or before their start date. For instance, if a user’s plan begins on February 3rd, the manager must approve it by that date at the latest. If no action is taken by the 3rd, the plan will expire. If Auto-Approval is enabled by the admin in the Journeys settings, the pending plans will be approved automatically on the day of the plan.
9. Edit Pending or Approved Plans
Pending or approved plans submitted by your users can be edited to add or remove leads, block a day or revoke a user’s holiday.
Note: While editing a plan, you can select the most relevant leads by choosing from Lead-Based Smart Views.
9.1 Edit Pending Plans
You can edit plans that are pending for approval to ensure that the user’s plan is optimized.
- Navigate to My Plans on Journeys.
- Select the relevant plan marked with Pending status.
- Tap
 and you will be redirected to the Edit Plan page.
 - Here, you can make the relevant changes to the plan and click Update Plan.
9.2 Edit Approved Plans
Alternatively, Admin, Sales Manager, Reporting Manager or Sales Group Manager can edit the Pending as well as Approved plans.
- Navigate to My Approvals on Journeys.
- Select the relevant plan.
- Tap and you will be redirected to the Edit Plan page.
- Here, you can make the relevant changes to the plan and click Update Plan.
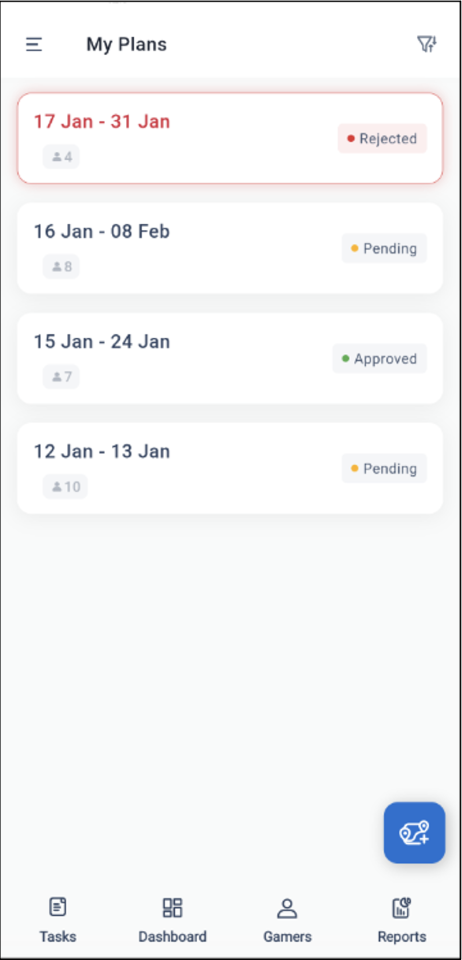
10. Use Plans on Mobile
Once you’ve created your plans, you can view them on the My Plans page. On the right side of each plan, a message will be displayed to indicate whether the plan has been approved, rejected or pending for approval. Once the plan is published, the To-Do Tasks for journeys will be created immediately based on the plan. The To-Dos created will immediately be reflected on the following pages –
11. Notifications
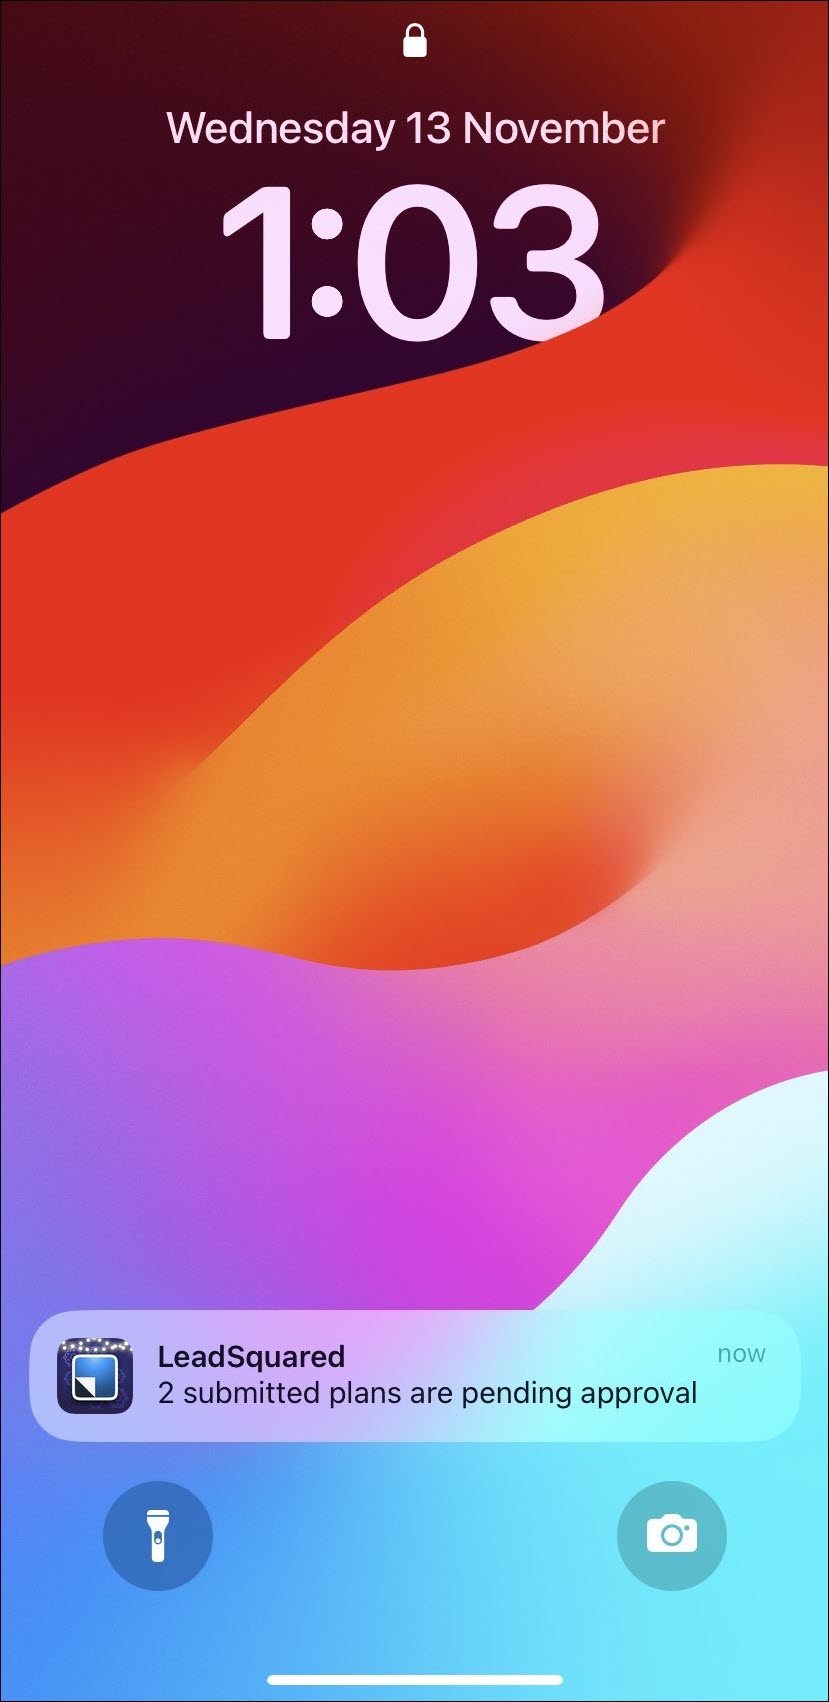
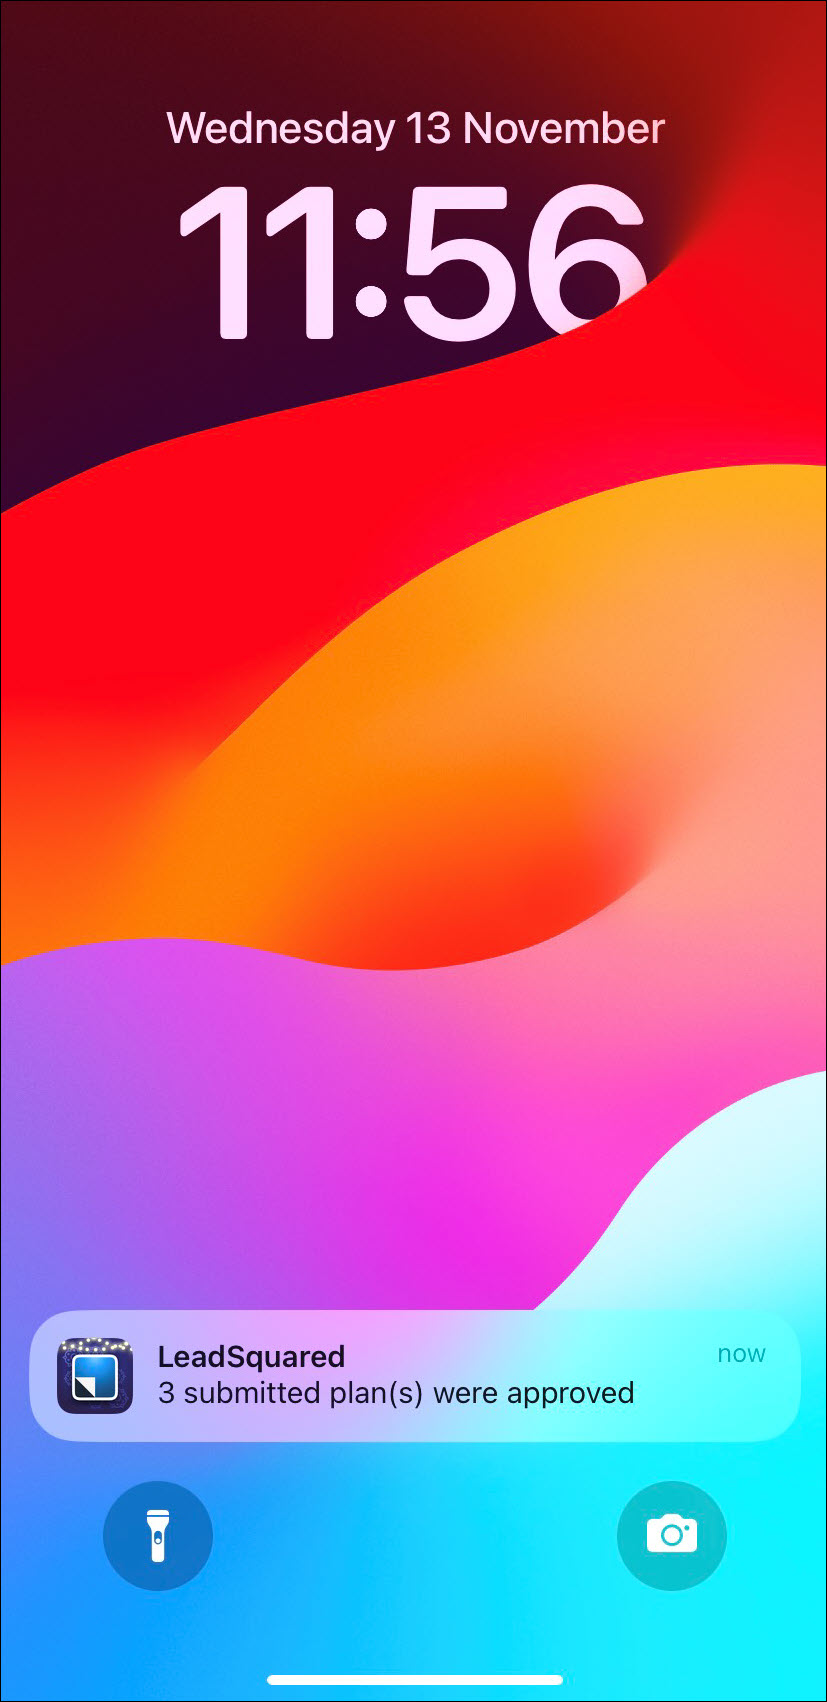
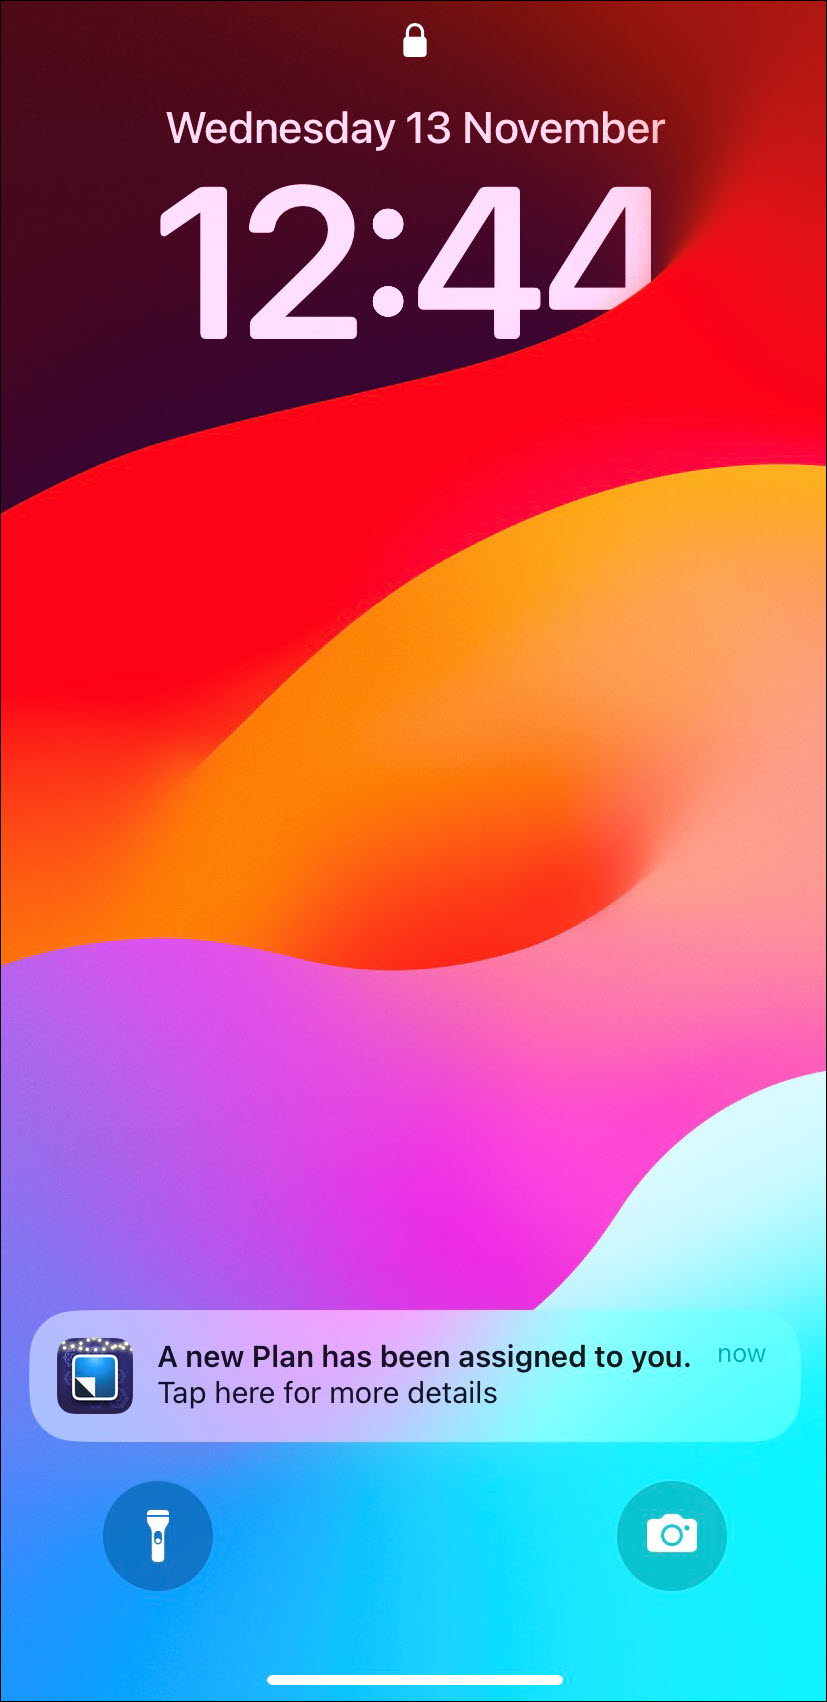
To receive notifications on your mobile, you must enable Notifications in your phone settings. Notifications are sent when –
- A Reporting Manager or Sales Manager receives a plan for approval from a user.
- Your plan is approved or rejected from the LeadSquared Web App or Mobile App.
- Your manager or admin has assigned a plan to you from the LeadSquared Web App or Mobile App.
Any Questions?
We’d love to answer your questions or hear your own unique use cases. Feel free to share your experiences in the comments section below.