


Get Started
Sales Suite
Field Ops
Marketing
Service CRM
Integrations & Apps
FloStack
Manage Leads
1. Feature Overview
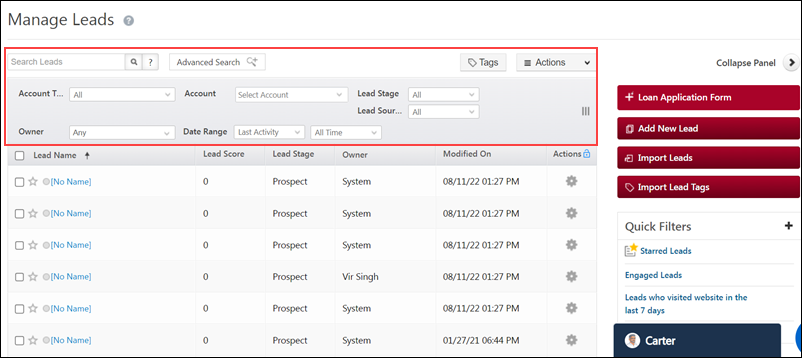
Access all the leads in your system through the Manage Leads page. Add, edit and perform various actions on your leads (like sending emails, cloning leads, adding an activity, etc.). On this page, you can filter your leads by advanced search or quick search. You can access your leads’ details by clicking on their name. To know more, refer to Lead Details Page.
2. Prerequisite
You must have a LeadSquared account.
3. Manage Leads
Navigate to Leads>Manage Leads.
- To add a new lead, click Add New Lead.
- To import new leads, click Import Leads.
- To import and add tags to your leads, click Import Lead Tags.
- Filter your leads based on specific criteria by creating and adding Quick Filters to your leads.
- To create a filter, click
 next to Quick Filters.
 - To add an existing filter, click on it.
- To edit a filter, click
 .
. - To delete a filter, click
 .
.
- To create a filter, click
- To view the row actions, alongside the name of the lead, click
 .
. - To view the grid actions, click
 .
. - To reset all filters, click on the Grid actions and select Reset All Filters.
- To customise the column fields on the Manage Leads grid, click
 .
.
You can also create your own form and publish it on the Manage Leads page using the process designer. The Loan Application form in the GIF below is an example of such a form.
Note:
- You can prevent your sales users from copying and printing sensitive lead information (like Name, Email, Phone number, etc.) from the Lead Details page and Manage Leads grid. This is to prevent the misuse and leakage of your confidential lead data. To enable this feature, contact your account manager, or write to support@leadsquared.com.
- To view leads, activities, and tasks side by side on different tabs, check out the new Smart Views feature. On this page, you can also customise your filters, auto refresh leads that have been filtered, etc. To know more, see Smart Views.
- To know more about importing leads, see How to Import Leads to LeadSquared?
- To know more about adding Quick Filters, see Create Quick Filter to Find Leads.
4. Lead Search
Search for leads on the Manage leads page by entering the lead’s details in the Search Leads field. To know more about how to use this feature, refer to Quick Search. Filter your leads by selecting the account type, account, lead stage, etc. You can also perform an Advanced Search to find your leads. To know more, see
5. Advanced Search
Search for leads that simultaneously satisfy multiple conditions. For example, you can use Advanced Search to find leads that are from California, working in the education industry and have submitted a form on a particular landing page. To know more, see How to Use Advanced Search?
6. Column Customisation
Customise your Manage Leads grid based on your needs.
- When you add a large number of columns on your Manage Leads grid, you can freeze the Actions columns and horizontally scroll through all the other columns on the grid. To do so, alongside Actions, click
 .
. - Rearrange columns by dragging and dropping the columns to the desired position.
- To add new columns, below grid actions, click the column customization icon.

7. Bulk Actions
Perform actions on multiple leads at the same time. Select the boxes alongside multiple leads (with or without filters applied) and click Action. You can now perform bulk actions on all the selected leads. You can also follow the same method to export leads in your system. To know more about exporting leads, see How to Export Your Leads/Lead Details?
Note:
- The actions available may be different for each user based on their implementation.
- You can add custom actions using the Custom Lead and List Actions Connector.
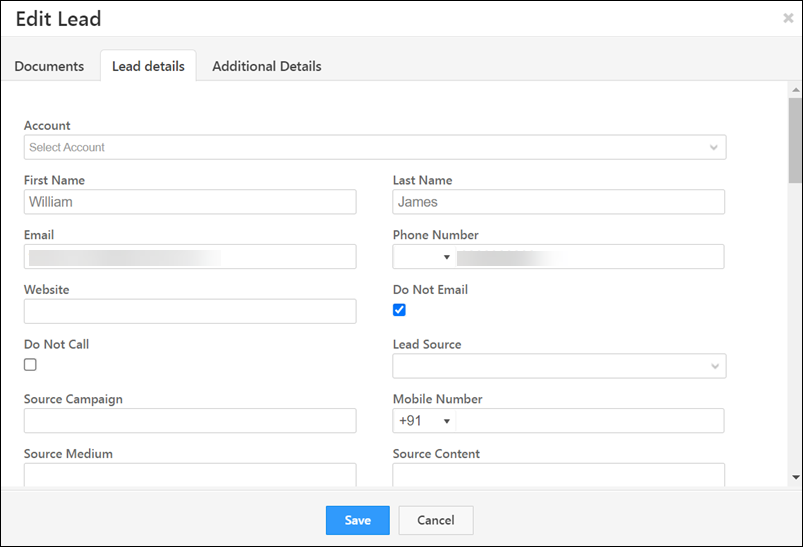
8. Edit
Edit your lead’s details on a pop-up window that appears on the same page. You can also add documents and additional details here. The changes made on this window will be reflected throughout the system. This feature is a row action.
9. Edit +
Edit lead information on the Lead Details page. The changes made on this window will be reflected throughout the system. This feature is a row action.
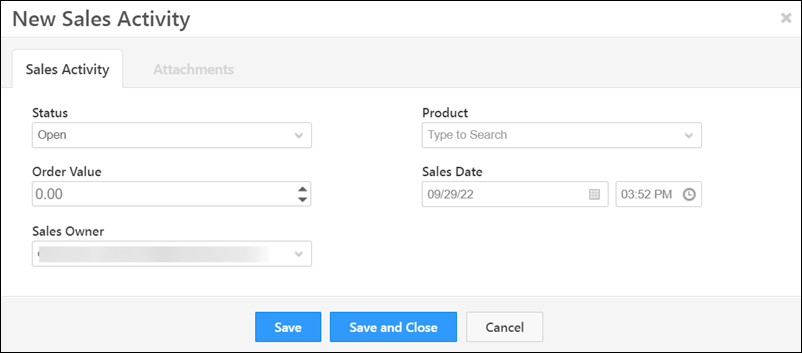
10. New Sales Activity
Add new sales activity on leads directly from the Manage Leads page. The information entered here will be updated on the lead’s Lead Details page. This feature is a row action.
11. Add Task
Create and schedule tasks to your leads directly from the Manage Leads page. The information entered here will be updated on the lead’s Lead Details page. You can also set a reminder to notify the user about the task at a specific time before it has to be performed. This feature is available as a row action. To know more about tasks, see Task Management: Everything You Need to Know

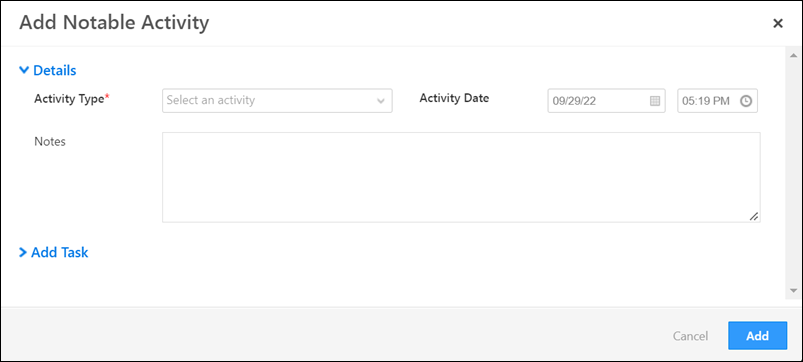
12. Add Activity
Add activities to your leads directly from the Manage Leads page. The information entered here will be updated on the lead’s Lead Details page. You can also add tasks on the Add Notable Activity pop-up window. This feature is available as a row and grid action. To know more about activities, see Activity Management – Feature Guide.
13. Send Email
Send one-to-one emails to your leads and cc other users and non-leads through the Manage Leads page. Once you send an email to a lead, the activity gets updated on the Activity History field on the Lead Details page. To know more about sending one-to-one emails, see

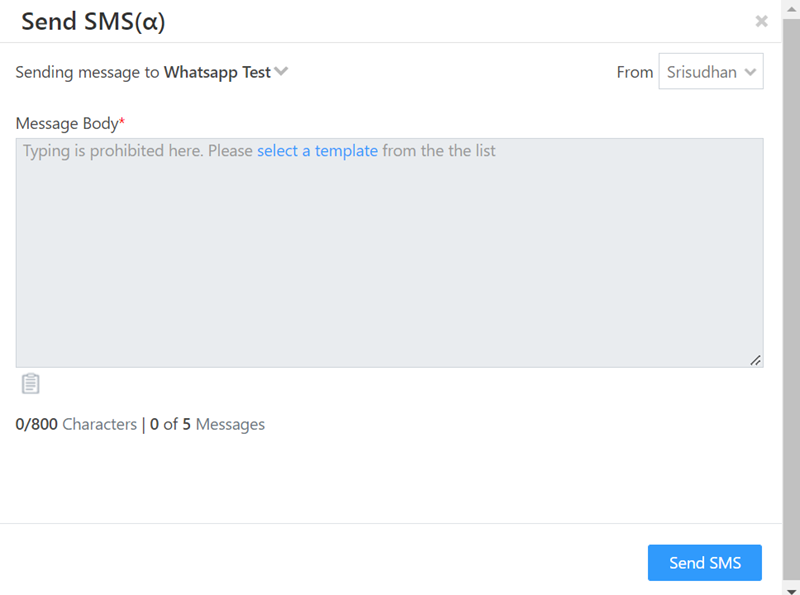
14. Messaging
Nurture your leads by sending them messages through the connectors installed in your account (For example, Whatsapp). Once you send an email to a lead, the activity gets updated on the Activity History field on the Lead Details page.
Note:
- You can select a message template while drafting messages to maintain uniformity in your users’ communication.
- To send WhatsApp messages to your leads, see WhatsApp Business Messaging Connector.
- To send SMS to your leads, see LeadSquared SMS Connectors – India.
15. Make a Call
Make outgoing calls to your leads directly from the Manage Leads page. Once you make a phone call to a lead, the activity gets updated on the Activity History field on the Lead Details page. To know more, see Universal Telephony Connector.
16. Change Owner
Change the lead ownership to a different user directly from the Manage Leads page. The changes made here will be reflected throughout the system. This feature is available as a row and grid action.

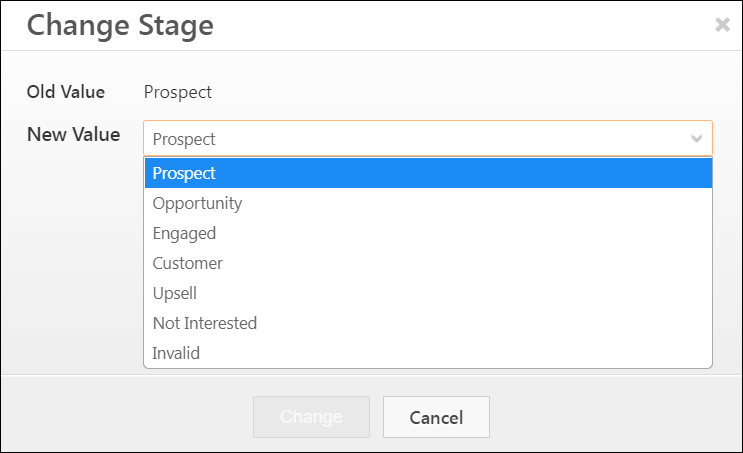
17. Change Stage
Change the lead stage directly from the Manage Leads page. For example, if you completed a sales activity, you can change the lead’s status from prospect to customer on this page. This feature is available as a row and grid action.
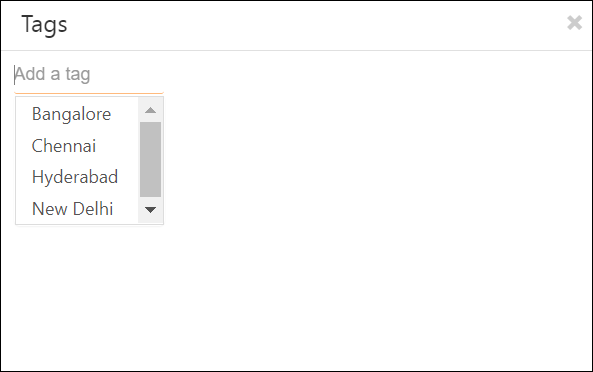
18. Add Tag
Add tags to your leads directly from the Manage Leads page. The tags added to the leads will be reflected throughout the system. This feature is available as a row action. To know more about lead tags, see Tag Your Leads.
19. Add to List
Add leads to any list you’ve created in your account directly from the Manage Leads page. You can also create a new list with the leads you’ve selected. You will be able to view the list on the Manage Lists page. This feature is available as a row and grid action.

20. Delete
Delete unpromising leads from your LeadSquared account directly from the Manage Leads page. To view deleted leads, access the Deleted Leads List report in the Reports section of your account. This feature is available as a row and grid action. To know more, see How to Delete Leads?
Note:
- To delete leads, you must be an Administrator user of your LeadSquared account.
- If you’re any other User, Delete Leads Permission must be enabled by the Admin. For more information, see Permission Templates.

21. Clone
Clone specific lead fields directly from the Manage Leads page. This is useful when you have multiple leads that share common lead details (such as city, organization, etc.). This feature is available as a row action. To know more, see Clone a Lead.

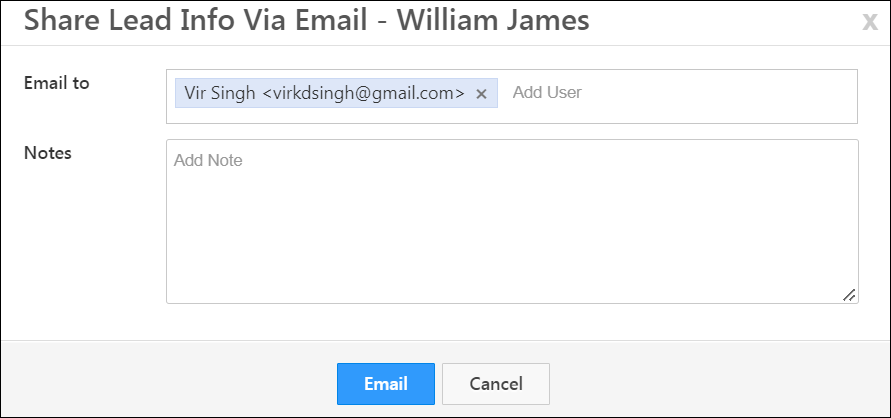
22. Share via Email
Share lead information with other users in your account through emails. You can also add relevant details in the Notes field to give the other user context to the email. This feature is available as a row action. To know more, refer to How to Share a Lead via Email.
23. Export Leads
Export all or selected leads from the Manage Leads page. The exported leads are sent to your registered email address in CSV format. This feature is available as a grid action. To know more, refer to How to Export Your Leads/Lead Details?

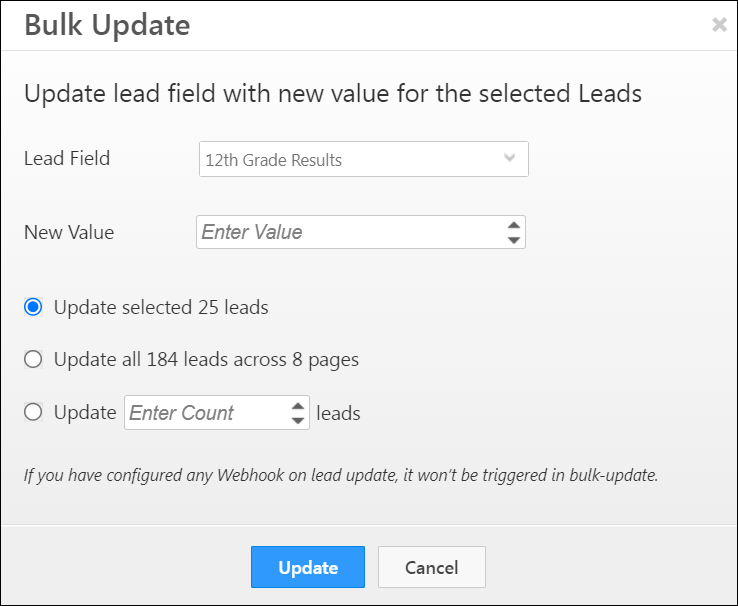
24. Bulk Update
You can update the lead fields of multiple leads at once via bulk update. For example, to assign ten leads to a newly joined sales user, you can bulk update the lead owner field with the new value (i.e., the sales user’s name). This feature is available as a grid action. To know more, see How to Bulk Update Lead Fields?
25. Merge Leads
Merge duplicate leads in your account into a single lead. You can choose the details you want to retain or overwrite. This feature is available as a grid action. To know more, see Merge Leads.

Any Questions?
We’d love to answer your questions or hear your own unique use cases. Feel free to share your experiences in the comments section below.