LeadSquared WhatsApp Integration with Zoko
1. Feature Overview
Zoko’s WhatsApp self-serve solution helps you engage your customers in a simple, secure and reliable way. Zoko facilitates customer support and other marketing efforts through WhatsApp.
LeadSquared offers WhatsApp integration to help users communicate with their leads. Our WhatsApp functionality supports integrations through other solution providers like Infobip, Kaleyra, and Gupshup. This article helps you set up WhatsApp messaging through LeadSquared using Zoko as your service provider.
2. Prerequisites
If you’re not familiar with LeadSquared’s WhatsApp integration, see WhatsApp Business Messaging Connector. For frequently asked questions, see WhatsApp Business FAQs.
- Reach out to us at support@leadsquared.com regarding Zoko WhatsApp integration.
- Get an approved WhatsApp Business Number and Account.
- Submit Message Templates for Approval. To know how to do this, refer to Add WhatsApp Templates to LeadSquared.
3. Installation
To know how to install the WhatsApp Business connector, refer to WhatsApp Business Messaging Connector.
4. Configuration
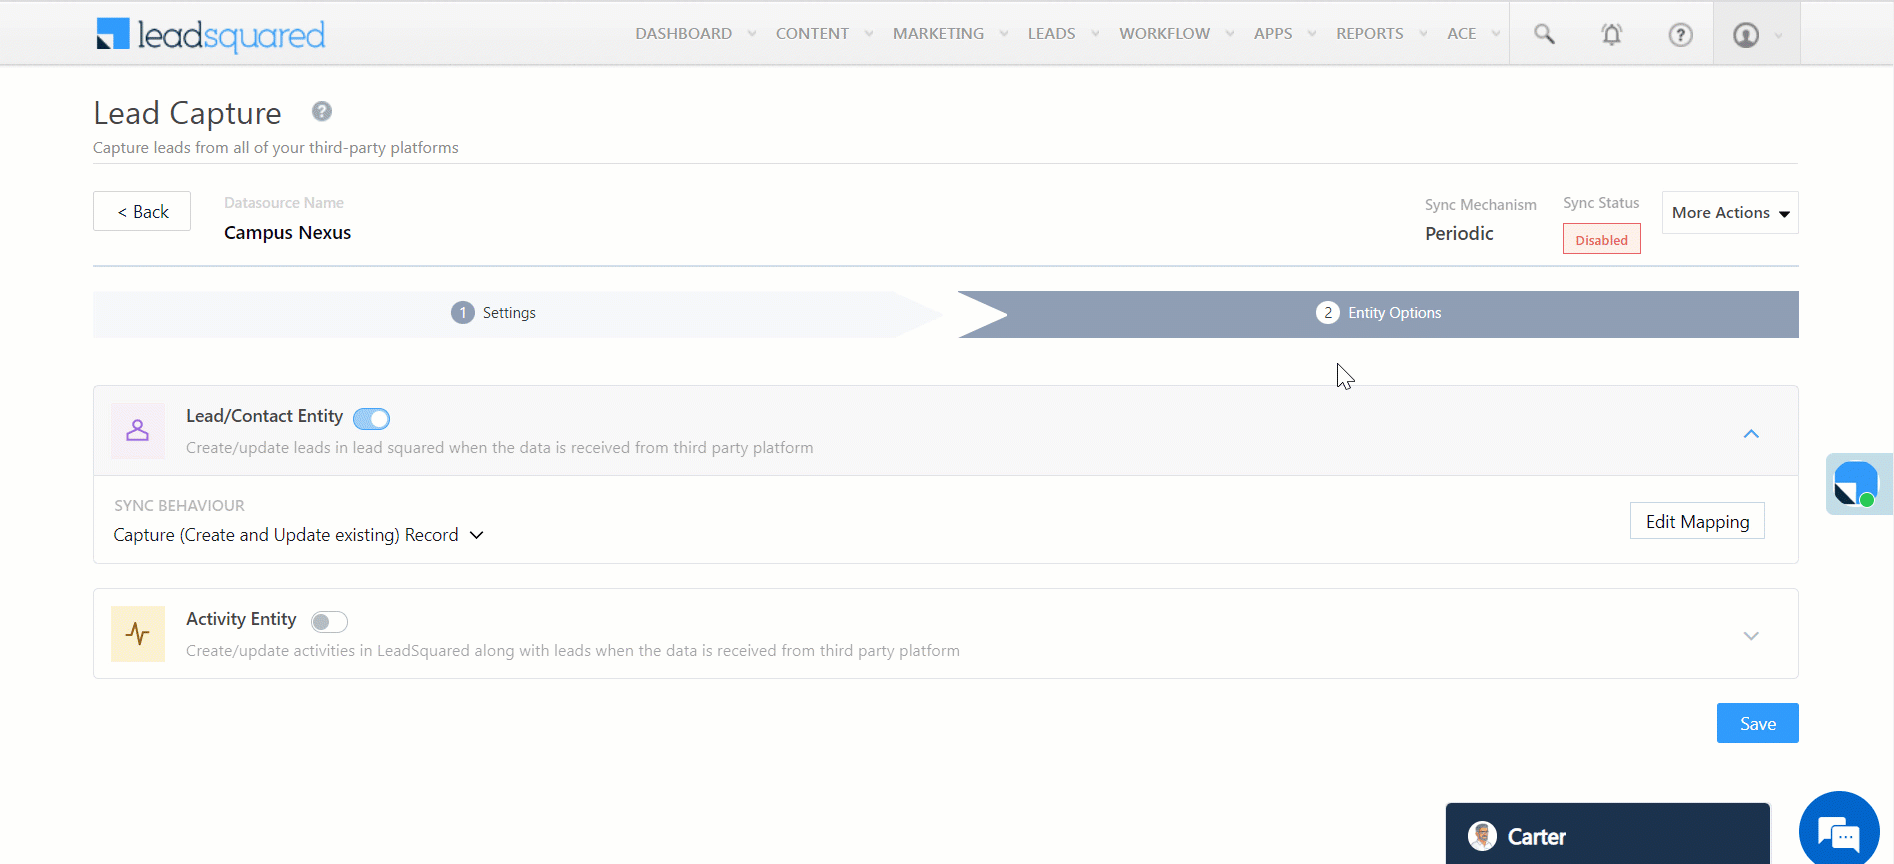
Once the connector is installed, add and configure your WhatsApp phone numbers to the connector.
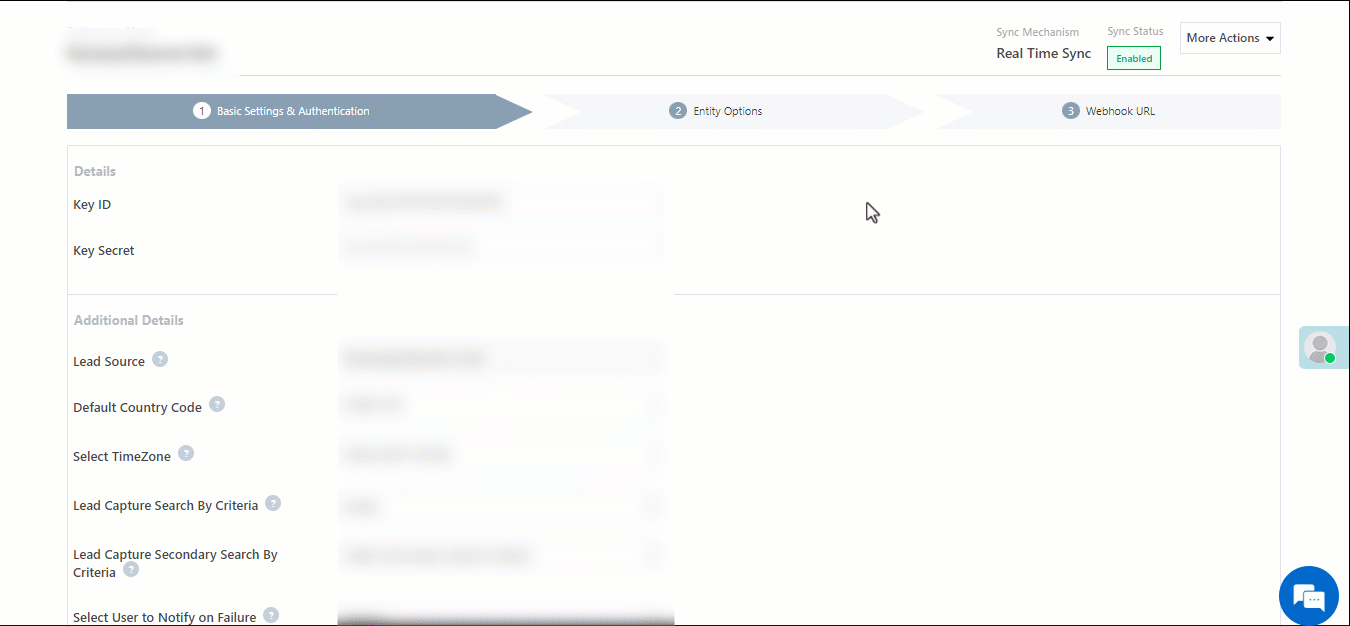
4.1 Basic Details
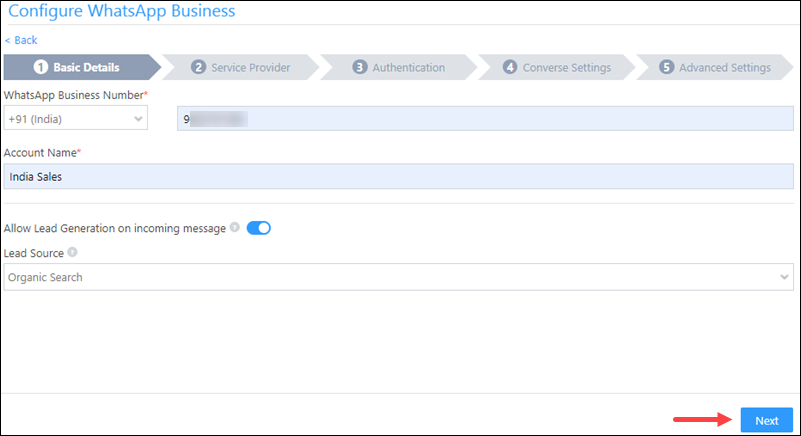
| Field | Description |
| WhatsApp Business Number | Select the country code, and provide your WhatsApp business number. This field is mandatory. To get your WhatsApp business number, contact your Zoko account representative. |
| Account Name | Provide a relevant name for your connector. This field is mandatory. |
| Allow Lead Generation on incoming message | Enable |
| Lead Source | From the dropdown, select a lead source for your leads. |
Once you’re done, click Next.
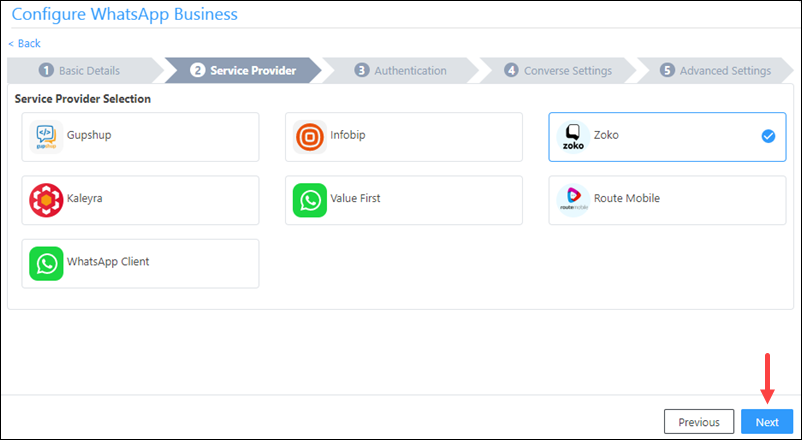
4.2 Service Provider
From the available options, select Zoko and click Next.
4.3 Authentication Set-up
On this screen, enter –
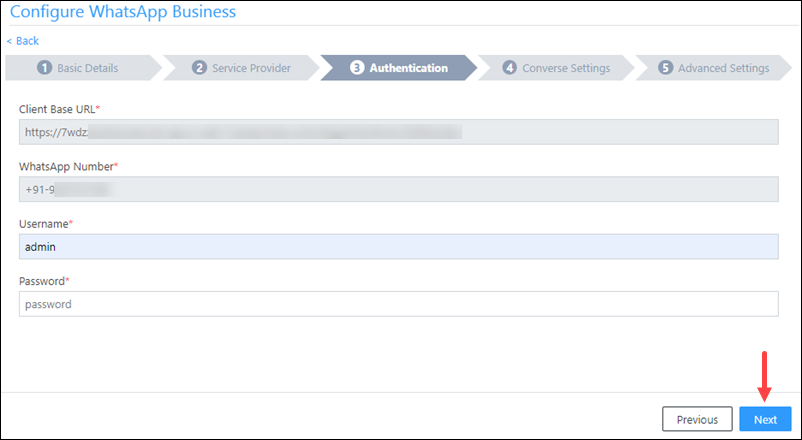
| Field | Description |
| Client Base URL | The base URL is listed here. This is a non-editable field. |
| WhatsApp Number | The WhatsApp business number you provided in the Basic Details screen. This is a non-editable screen. To change the number, navigate back to the Basic Details screen, and change the number there. |
| Username | Pass the following username – chat.zoko.io |
| Password | Your Zoko account’s API key. To obtain the key, from your Zoko account, navigate to Settings>API Keys, hover your cursor over the key, and select Click here to Copy.
To know more, refer to How to Find the Zoko API Key. |
Once you’re done entering all the details, click Next.
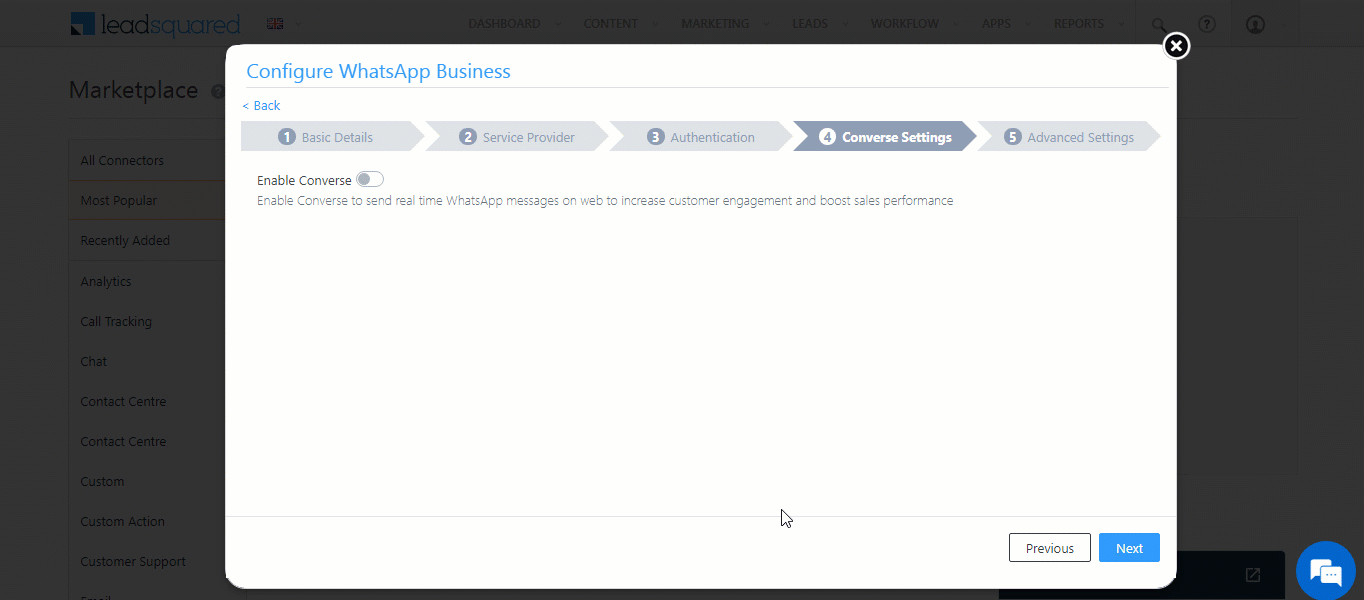
4.4 Converse Settings
LeadSquared Converse is an instant messaging feature that allows you to have real-time conversations with your leads via WhatsApp.
To integrate LeadSquared Converse with WhatsApp, complete the following steps –
- On the Converse Settings tab, toggle the Enable Converse
 slider.
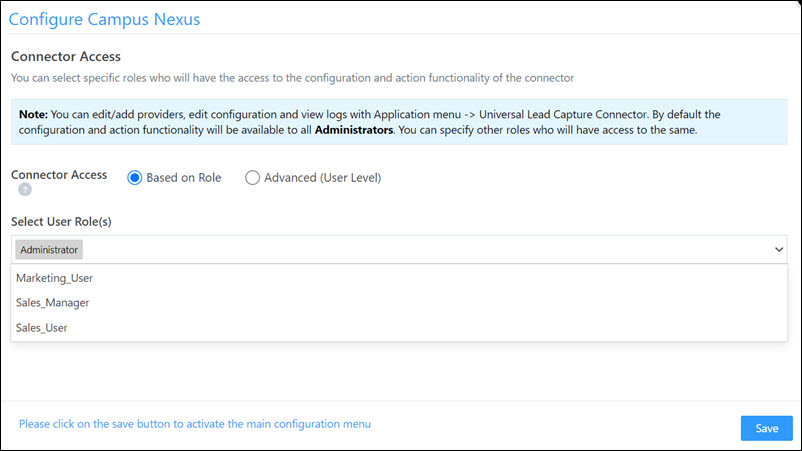
 - Under User Access, grant permissions to users who can communicate with leads through the LeadSquared Converse.
- Based on Role – From the Search and Select Users dropdown, select the LeadSquared user roles that can send messages through LeadSquared Converse.
- Advanced (User Level) – Based on the value entered in the selected user boolean field (e.g., for the user Sam, the “Is Employee” user field contains the value “Yes”), the user will be able to send messages through LeadSquared Converse. From the Select User Field dropdown, select a relevant boolean field.
- Functionality – The following additional settings must be configured –
- Approved Templates – Enable this functionality to allow your users to send approved WhatsApp templates to your leads.
- Unapproved Templates – Enable this functionality to allow your users to send unapproved WhatsApp templates to your leads. These can only be sent if the 24-hours service window is active.
- Notify Lead Owner* – When enabled, only lead owners will get notifications of the WhatsApp messages a lead sends. When disabled, all logged-in users will receive notifications of these WhatsApp messages.
- Sending Rich Media – Enable this functionality to allow your users to send media files in the WhatsApp messages.
Note:
- *Message notifications are only sent to one user, i.e., either the Lead Owner or to the user (other than the Lead Owner) that sent the WhatsApp message to the lead. When the Notify Lead Owner setting is enabled, only the Lead Owner will get notified, while the user who sent the message will not get a notification.
- If you enable the Send Rich Media option, you must also enable the Approved Templates option. This ensures that you can add your media files to a template when messaging your leads.
4.5 Advanced Settings
On this screen, provide the following details –
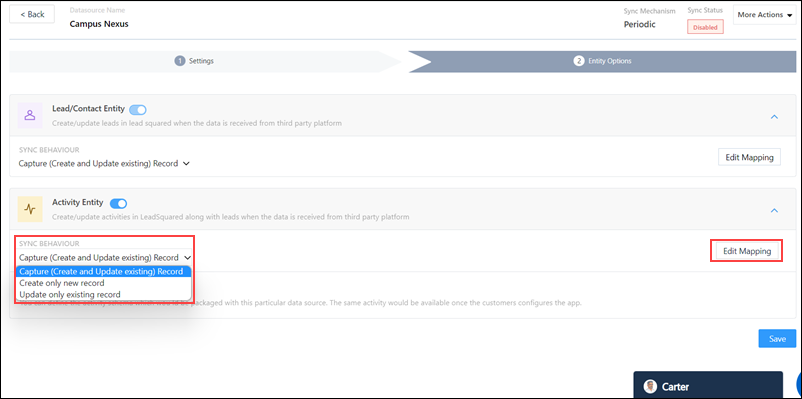
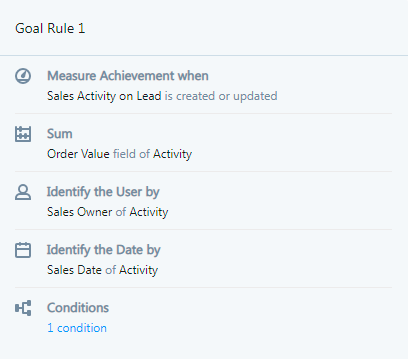
- Activity Mapping – A LeadSquared activity field to your WhatsApp messages. This is the activity that will be posted every time a WhatsApp message is sent or received.
- Default WhatsApp Number Fields – The number you set as the default phone number will be automatically selected when you’re sending a WhatsApp message to a lead. You can also select other numbers that are available from the Add Another Number dropdown.
- Default Country Code – The default country code will be used to send messages to a phone number that’s stored in a custom field, if no country code is listed.
- Enable Rich Media Template Support – If you want to include media files in your WhatsApp message, you must enable the slider.
- Compliance Type – Here, you can select the compliance type for the WhatsApp template, by choosing either WhatsApp Opt-out or Opt-in.
- WhatsApp Opt-out – Your leads can opt-in or out of receiving WhatsApp messages on the basis of this field. From the dropdown, select a LeadSquared lead field for the WhatsApp opt-in/opt-out functionality.
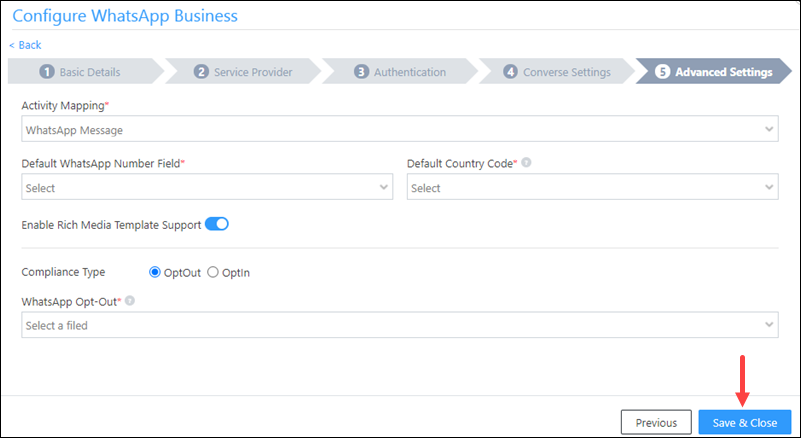
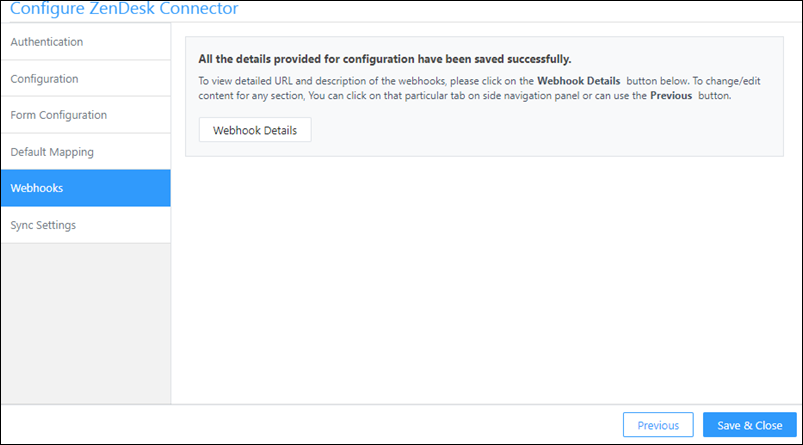
Click Save & Close when you’re done.
- If your credentials are correct, you’ll see the success message highlighted below.
- If they were incorrect, the integration will fail.
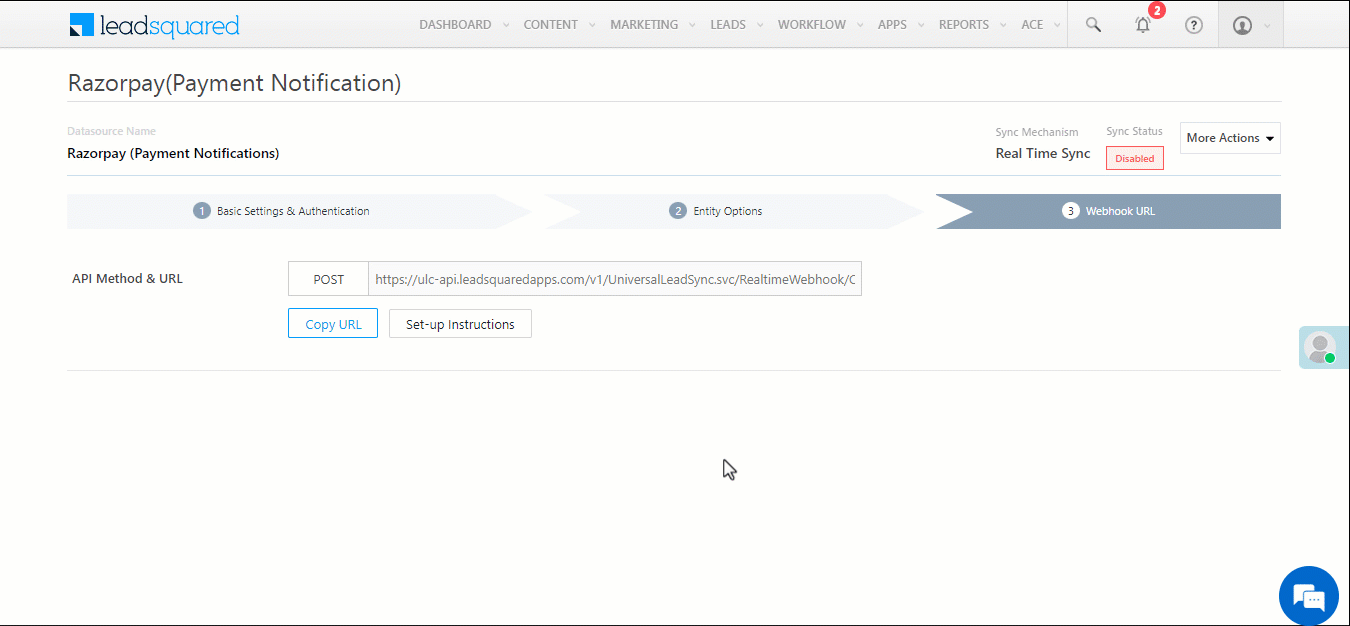
5. Webhook Configuration
To receive incoming messages from your leads, as well as to get the delivery status (Sent, Delivered, Read, or Failed) of your outbound messages, configure the LeadSquared webhook in your Zoko account.
In LeadSquared
- Once the configuration is completed and saved in your LeadSquared account, a webhook is generated.
- To access the webhook, navigate to Apps>Apps Marketplace, search for the WhatsApp Business Connector, and click Configure.
- On the Configure WhatsApp Business pop-up, select the Zoko integration.
- On the Authentication tab, you’ll find the webhook alongside Notifications Webhook URL. Copy this webhook.
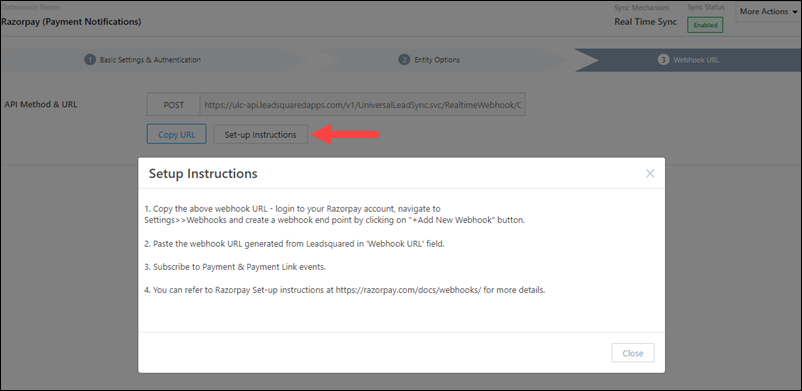
In Zoko
- Login to your Zoko account, and click Settings.
- Then, under Dev Tools, click Webhooks.
- Enter the webhook URL you copied from LeadSquared.
- Under Events to send, select Message Delivery Update and Incoming Message.
- Once you’re done, click Create.
6. Conversing with Leads via WhatsApp
Integrating Converse with LeadSquared’s WhatsApp connector will enable your users to have real-time conversations with your leads through WhatsApp. Using templatised messages, you’ll be able to attach and send media files (such as images, documents, etc.) in your conversations. To know more, refer to LeadSquared Converse.
5. Next Steps
Once the connector is successfully installed, you can proceed to add WhatsApp templates and finally message your leads. For details, see Adding WhatsApp Templates to LeadSquared.
FAQs
What namespace should I use for WhatsApp message templates with buttons when using Zoko as the provider?
If you’re using Zoko as your WhatsApp provider, make sure to set the namespace to template_type_button for templates that include buttons. This is a Zoko-specific requirement, and using the wrong namespace may cause your template to fail.
Any Questions?
Did you find this article helpful? Please let us know any feedback you may have in the comments section below. We’d love to hear from you and help you out!


 .
.